reCamera Pro and Home Assistant Integration: Sound-Triggered Photo Alert
Introduction
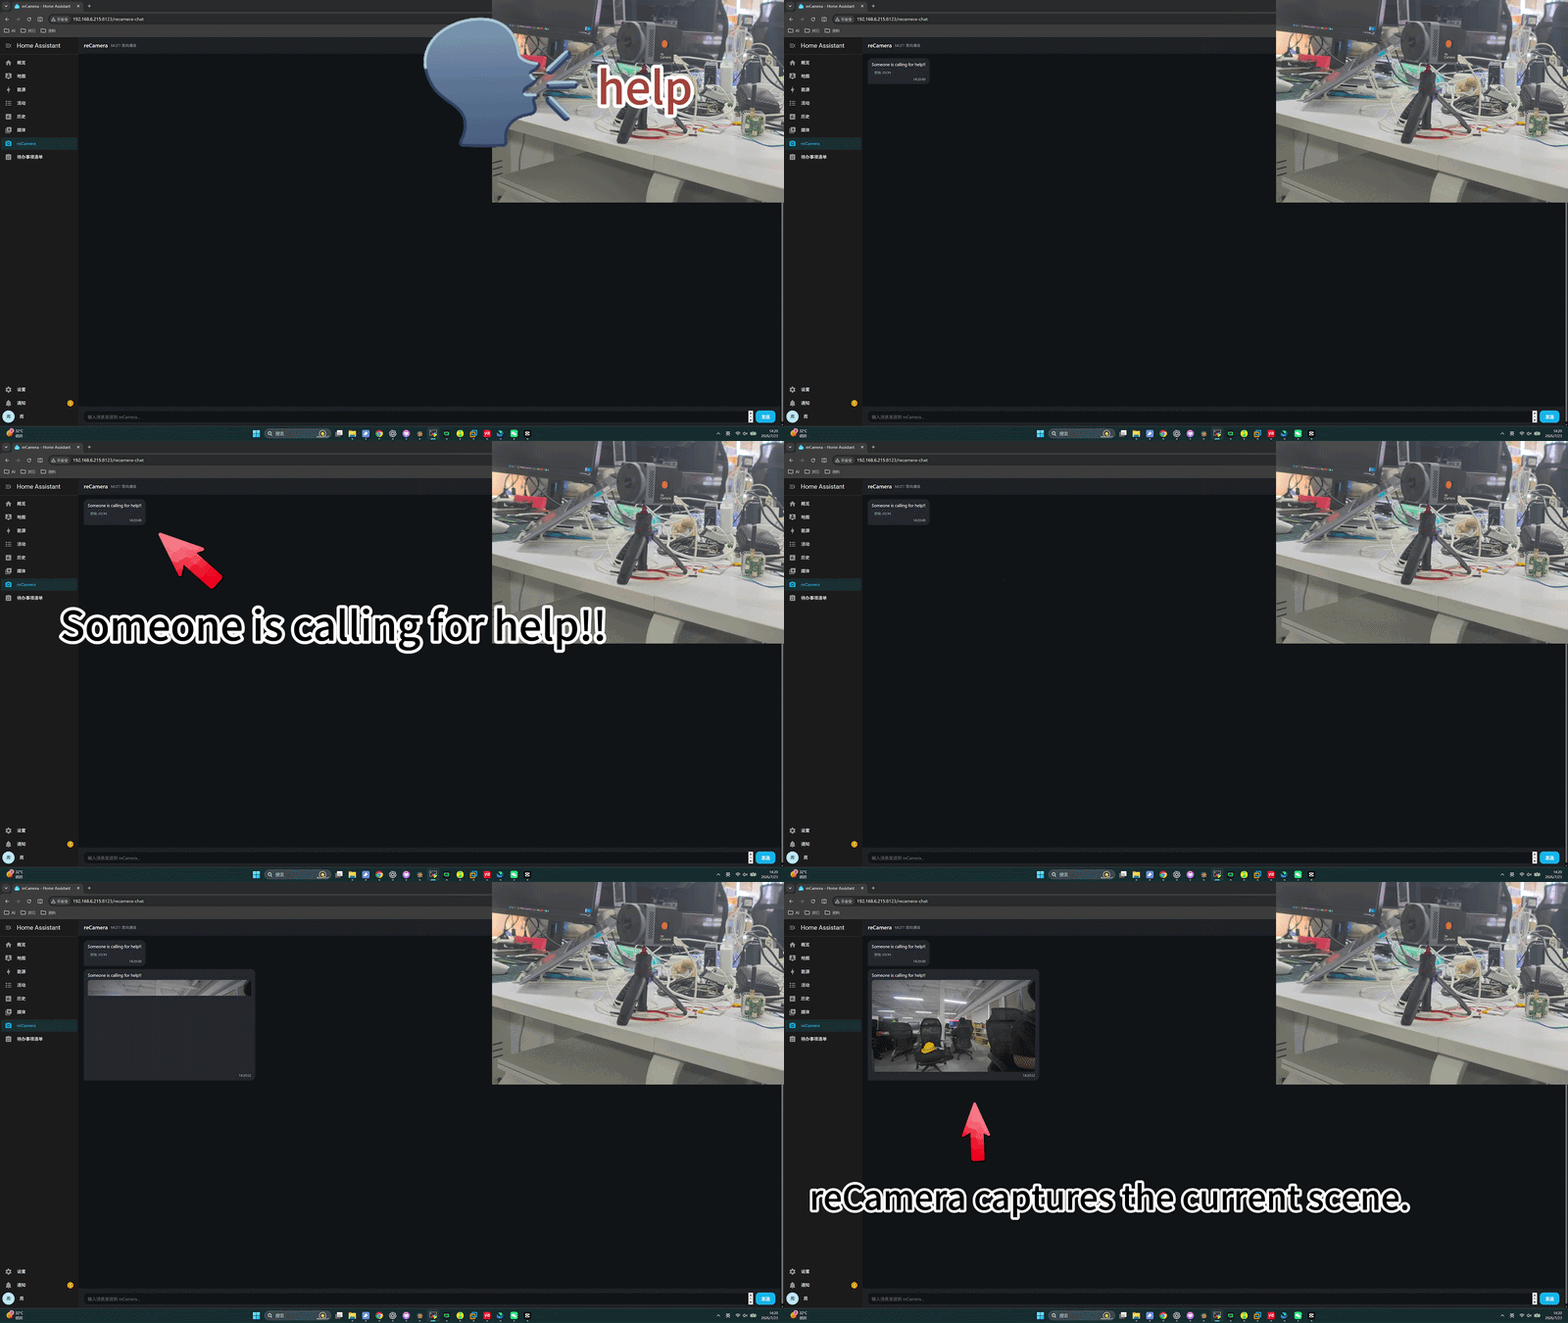
This wiki explains how to integrate reCamera Pro with Home Assistant (HA) to automatically send a custom message and a current camera snapshot to the Home Assistant dashboard when a specific sound is detected. Using the MQTT protocol for bidirectional communication, when reCamera Pro detects a specified sound (e.g., "help") with a confidence level exceeding a threshold, it automatically sends an alert message and a live image to HA.
Hardware Preparation
- A host running Home Assistant (supports Docker, HA OS, or venv deployment)
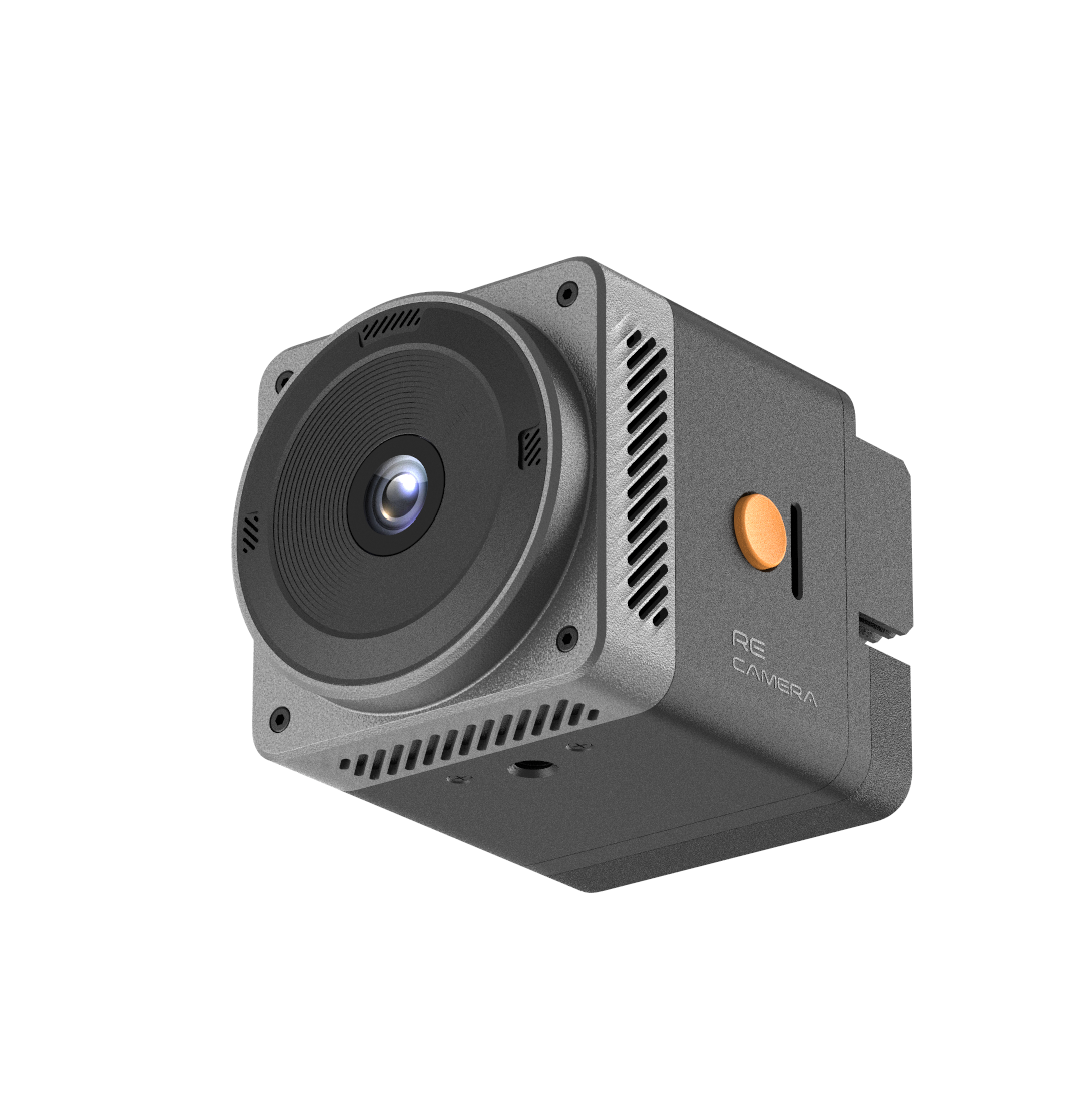
- A reCamera Pro device
| reCamera Pro |
|---|
 |
Installing the reCamera Add-on in HA
We will add a reCamera add-on to Home Assistant to display messages and images from reCamera Pro in HA. Two installation methods are available: automatic installation script (recommended) and manual installation.
Method 1: Automatic Installation Script (Recommended)
Download the install.py script, run it, and enter the HA configuration directory to complete the entire installation automatically.
# Download install.py (includes all files, no additional downloads needed)
python3 install.py

# Or specify the configuration directory directly (non-interactive)
python3 install.py /home/zsz/HA/config
The script will automatically:
- Copy the integration code to
custom_components/recamera_chat/ - Copy the frontend files to
www/recamera_chat/ - Append
recamera_chatandpanel_customconfigurations toconfiguration.yaml(automatically backs up the original) - Verify that all files are in place
The script is compatible with Linux / Windows / macOS and works with all deployment methods including Docker, HA OS, and venv.
After installation, skip to Step 4: Restart Home Assistant.
Method 2: Manual Installation
Step 1: Download the Deployment Package
Download the recamera_chat.zip deployment package and extract it. The extracted directory structure is as follows:
recamera_chat/
└── custom_components/
    └── recamera_chat/
        └── __init__.py
        └── const.py
        └── manifest.json
        └── services.yaml
└── www/
    └── recamera_chat/
        └── panel.js
        └── panel.html
└── configuration_snippet.yaml
Step 2: Copy Files to the HA Configuration Directory
Copy the custom_components and www folders to the Home Assistant configuration directory.
The location of the HA configuration directory depends on your installation method:
- HA OS: Accessible via Samba or SSH at
/config - Docker: The mounted configuration directory (e.g.,
/home/zsz/HA/config) - venv: Your HA installation directory
www/ and custom_components/ are sibling directories and must both be placed directly in the configuration root directory. Do not put www/ inside custom_components/, otherwise the sidebar will not display.
Docker Deployment Example:
# Assuming the HA configuration directory is /home/zsz/HA/config
cd /home/zsz/HA/config

# Copy the integration files
cp -r recamera_chat/custom_components/recamera_chat custom_components/

# Copy the frontend files
cp -r recamera_chat/www/recamera_chat www/
The directory structure after copying:
/config/
└── custom_components/
    └── recamera_chat/
        └── __init__.py
        └── const.py
        └── manifest.json
        └── services.yaml
└── www/
    └── recamera_chat/
        └── panel.js
        └── panel.html
        └── images/          # Images are automatically saved here
└── configuration.yaml
Step 3: Edit configuration.yaml
Add the following configuration to HA's configuration.yaml:
# ===== reCamera Chat (MQTT Bidirectional Chat) =====
recamera_chat:
  broker: 127.0.0.1       # MQTT broker address (127.0.0.1 if HA and broker are on the same host)
  port: 1883              # MQTT broker port
  # username: youruser    # Uncomment and fill in if authentication is required
  # password: yourpass
  topic_in: recamera/chat/to_ha       # reCamera publishes to this topic -> HA receives
  topic_out: recamera/chat/to_camera  # HA panel sends -> reCamera subscribes to this topic
  message_field: ""       # Leave empty = auto-extract message/text/payload/msg/content
  max_history: 200        # Maximum number of message history entries

panel_custom:
  - name: recamera-chat
    sidebar_title: reCamera
    sidebar_icon: mdi:camera
    url_path: recamera-chat
    module_url: /local/recamera_chat/panel.js?v=13
    require_admin: false
The version number in module_url (e.g., ?v=13) must match the version number in the panel.js file. If the version numbers do not match, the browser may load an old cache, causing the panel not to display.
Step 4: Restart Home Assistant
Restart HA to apply the configuration:
- Web interface: Settings -> System -> Power icon (top right) -> Restart
- Command line (Docker):
docker restart homeassistant
Step 5: Verify the Deployment
- After the restart is complete, the reCamera tab (with a camera icon) should appear in the HA sidebar.
- Click on it to see the chat interface, with a Connected status in the top right corner.
- Type text in the input box and press Enter or click the Send button.
- The reCamera side subscribing to
recamera/chat/to_camerashould receive the message.
If the reCamera tab does not appear in the sidebar after restarting, troubleshoot in the following order:
- Check if
www/recamera_chat/panel.jsis located under thewww/directory in the configuration root (not undercustom_components/www/) - Check if
configuration.yamlcontains thepanel_customconfiguration block - Check if the
?v=13version number inpanel.jsmatches the version number in themodule_urlinconfiguration.yaml - Press Ctrl+F5 to force refresh the browser and clear the cache
Configuring reCamera Pro
Since this example requires the camera to take photos, you need to stop the main process of reCamera Pro first to release the camera resources. Run the following command:
pkill -x rkipc
After stopping the main process, download the Python program: reCamera Program
Modify Program Configuration Parameters
After downloading the program, you need to modify the following parameters for it to run correctly:
# ===================== MQTT Configuration =====================

MQTT_HOST = "192.168.6.215"         # MQTT Broker Address
MQTT_PORT = 1883                    # MQTT Broker Port
TARGET_SOUND = "help"               # Name of the sound to detect
CONFIDENCE_THRESHOLD = 94.0         # Trigger threshold, unit: percentage
MQTT_MESSAGE = "Someone is calling for help!!"  # Message to send when triggered
- MQTT_HOST: MQTT Broker address, fill in the IP address of your HA host
- MQTT_PORT: MQTT Broker port, fill in 1883
- TARGET_SOUND: Name of the sound to detect, fill in
"help" - CONFIDENCE_THRESHOLD: Trigger threshold, unit: percentage, fill in
94.0. Messages and images will only be sent if the confidence exceeds this value. - MQTT_MESSAGE: Message to send when triggered, you can fill in the content you want to display on the HA panel.
Upload the Code to reCamera Pro and Execute
- Upload the modified code to reCamera Pro using the following command:
scp voice_capture.py root@<device_IP>:/userdata
- Run the following command to execute the code:
python3 ./voice_capture.py
Expected Results
- After starting the sound detection program, reCamera Pro continuously monitors ambient sounds.
- When the specified sound (e.g., "help") is detected with a confidence level exceeding the threshold, it automatically captures the current scene.
- It sends a custom alert message and image to Home Assistant via MQTT.
- The reCamera panel in the HA sidebar displays the received message and image.
Troubleshooting
| Problem | Possible Cause | Solution |
|---|---|---|
| No reCamera tab in HA sidebar | Incorrect file path or configuration not applied | Check the www/recamera_chat/panel.js path and configuration.yaml configuration |
| Panel shows "Disconnected" | MQTT connection failed | Check if the MQTT broker address and port are correct |
| Sound detection unresponsive | Microphone not connected or insufficient permissions | Confirm the USB microphone is connected, check the audio device on reCamera Pro |
| Image not displayed | Camera resource occupied | Confirm that pkill -x rkipc has been executed to release the camera |
Resources
- reCamera Pro Product Page
- Home Assistant Official Documentation
- reCamera Chat Deployment Package
- reCamera Sound Detection Program
- Automatic Installation Script
Tech Support & Product Discussion
Thank you for choosing our products! We are here to provide you with different levels of support to ensure your experience with our products is as smooth as possible. We offer multiple communication channels to cater to different preferences and needs.