reComputer AI Industrial R2000 Flash OS

reComputer AI Industrial R2000 series is powered by Raspberry Pi CM5 and Hailo-8 AI accelerator, this compact edge AI system delivers 26 TOPS for real-time multi-channel vision processing. With a quad-core Cortex-A76 CPU, up to 16GB RAM, 64GB eMMC, and a versatile interface, it ensures seamless integration into industrial AI applications.
Hardware Requirements
You need to prepare the following hardware
- reComputer AI Industrial R2000 x 1
- Host Computer (Windows/Mac/Linux) x 1
- Ethernet cable x 1
- Power adapter (12V-24V) BYO
- USB Type-C cable x 1
Software Requirements
Flash OS
For Windows host computer
-
Step 1. Download Raspberry Pi Imager software from here
-
Step 2. Open Raspberry Pi Imager software

- Step 3. Press CTRL + SHIFT + X on the keyboard to open Advanced options window

- Step 4. Click CHOOSE OS and select your preferred OS

NOTE: You can select other OS such as 64-bit Ubuntu by navigating into Other general purpose OS
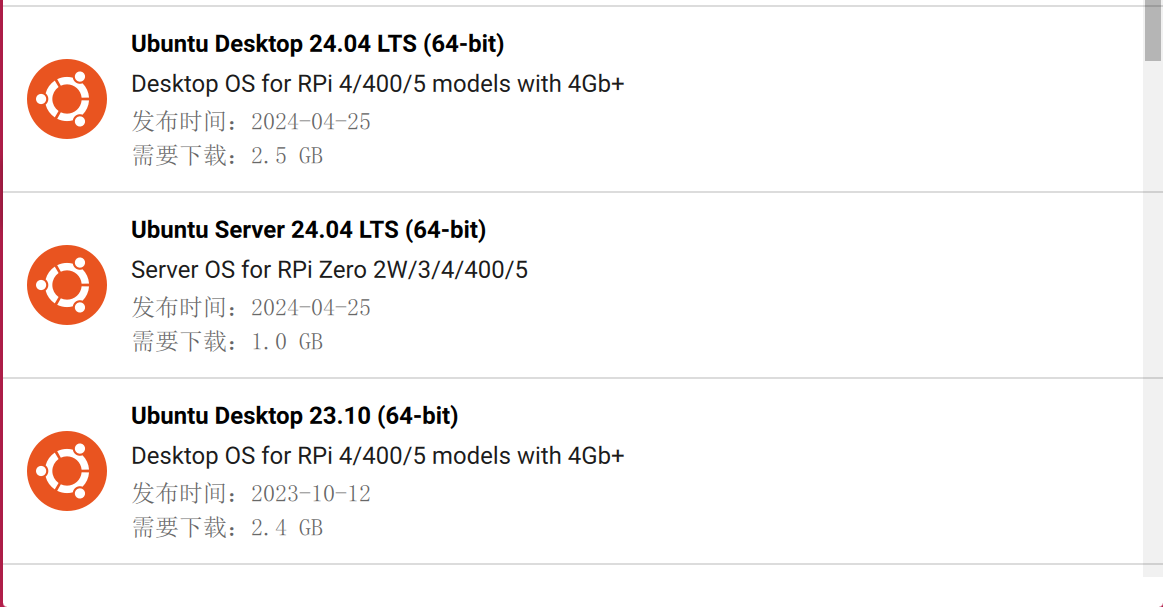
Or you can use this link to download the image file:
-
Step 5. Click CHOOSE STORAGE
-
Step 6. Finally, click WRITE

Please wait a few minutes until the flashing process is complete.
For MAC host computer
You need to install homebrew before proceed the following steps.
Please open a terminal and type brew -V to check if you have setup the correct homebrew environment, you should see the version of the homebrew environment you have installed.
-
Step 1. Download and Install Raspberry Pi Imager Application by visiting this link
-
Step 2. Open the Raspberry Pi Imager Application
- Step 3. Press CTRL + SHIFT + X on the keyboard to open Advanced options window
Here you can set a hostname, enable SSH, set a password, configure wifi, set local settings and more
- Step 4. Click CHOOSE OS and select your preferred OS
NOTE: You can select other OS such as 64-bit Ubuntu by navigating into Other general purpose OS
Or you can use this link to download the image file:
-
Step 5. Click CHOOSE STORAGE
-
Step 6. Finally, click WRITE
For Linux host computer
- Step 1. Download snap
sudo apt install snap
- Step 2. Download rpi-imager
snap install rpi-imager
- Step 3. Open Raspberry Pi Imager software
rpi-imager
The result is shown as below:

- Step 4. Press CTRL + SHIFT + X on the keyboard to open Advanced options window
Here you can set a hostname, enable SSH, set a password, configure wifi, set local settings and more
- Step 5. Click CHOOSE OS and select your preferred OS
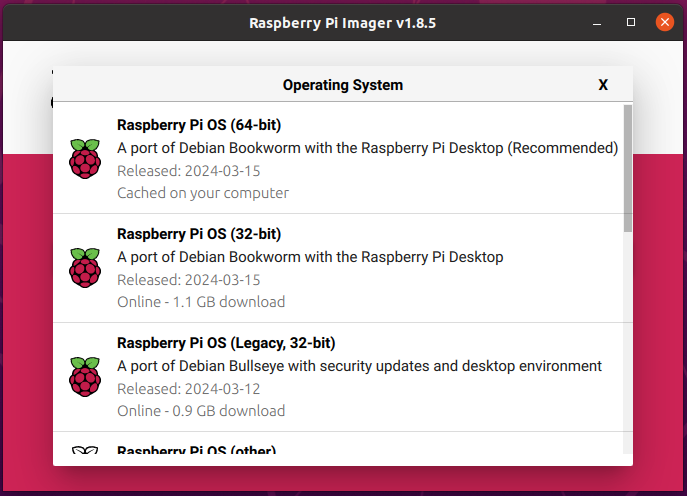
NOTE: You can select other OS such as 64-bit Ubuntu by navigating into Other general purpose OS
Or you can use this link to download the image file:
-
Step 6. Click CHOOSE STORAGE and select the connected eMMC drive
-
Step 7. Finally, click NEXT and YES

Please wait a few minutes until the flashing process is complete. The result is shown as below:

Boot from SSD (NVMe via USB)
Update EEPROM
This method works if you have an SSD and have booted the device successfully with emmc. Please make sure your system is the latest Raspberry Pi system (Bookworm or later) and and your RPi 5 firmware is updated to 2023-12-06 (Dec 6th) or newer, otherwise it may not recognize the NVME-related configurations.
Step 1: Ensure that your Raspberry Pi system is up-to-date (Bookworm or later), enter the following command to update the RPi 5 firmware:
  sudo apt update && sudo apt upgrade -y
  sudo rpi-eeprom-update  # If it is not post-December 2023 type the following into a terminal to start the configuration tool
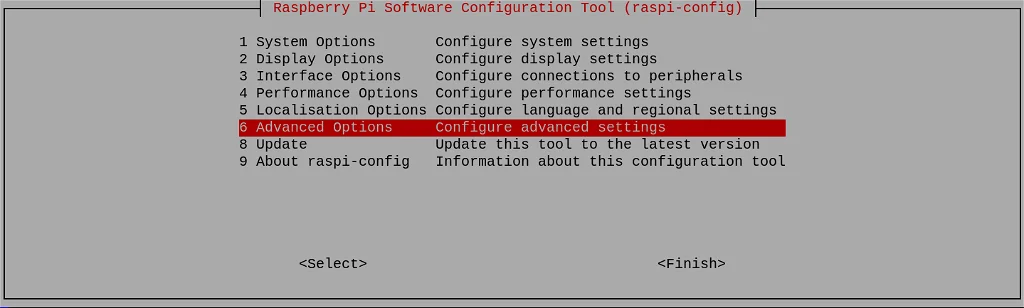
  sudo raspi-config
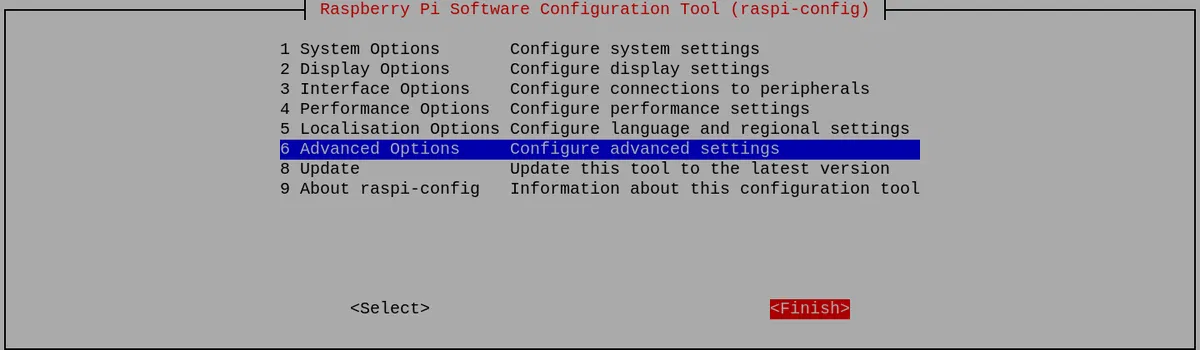
Scroll down to Advanced Options and press Enter:
Scroll down to Bootloader Version and press Enter:
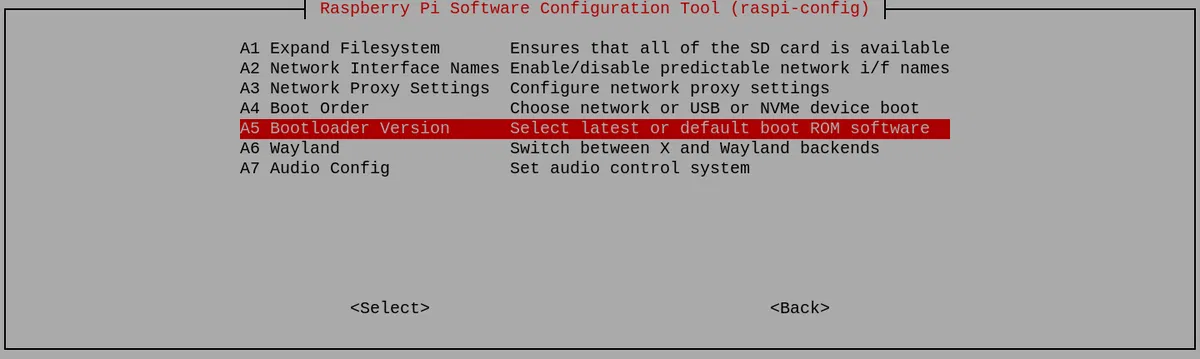
And finally choose Latest, and press Enter:
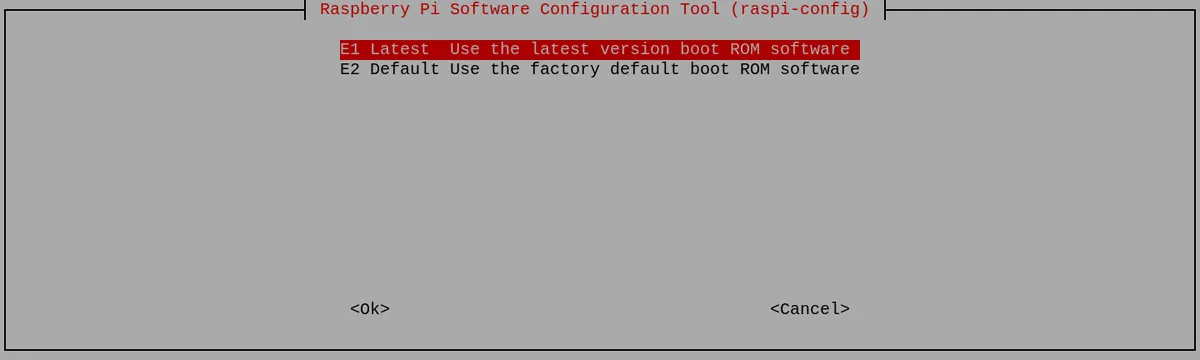
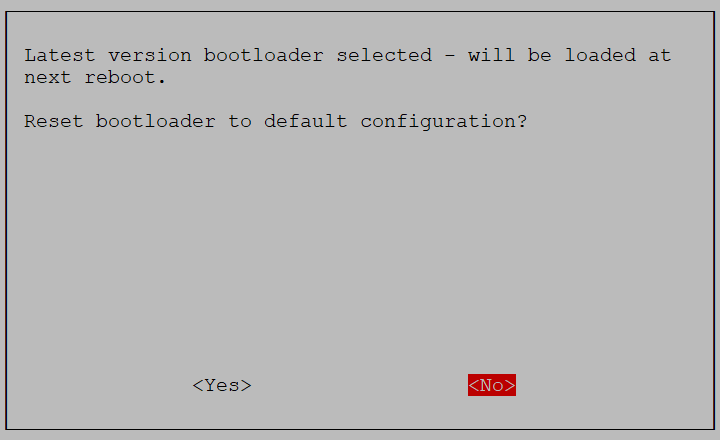
Select No here - you want the latest bootloader.
And exit from the tool by selecting Finish:
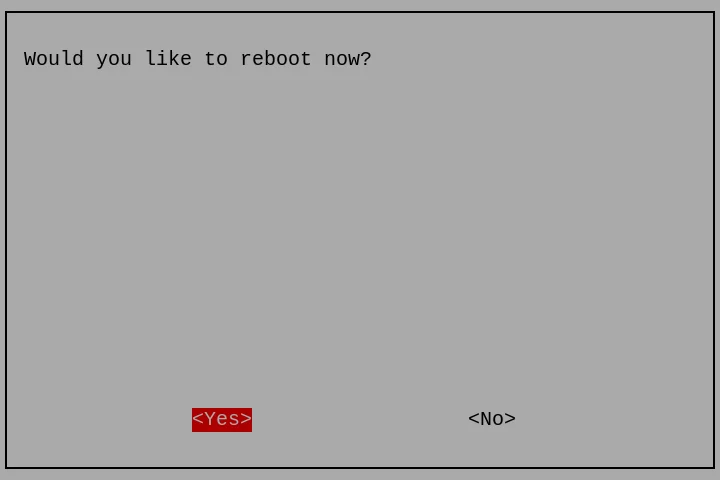
If asked to reboot, select Yes.
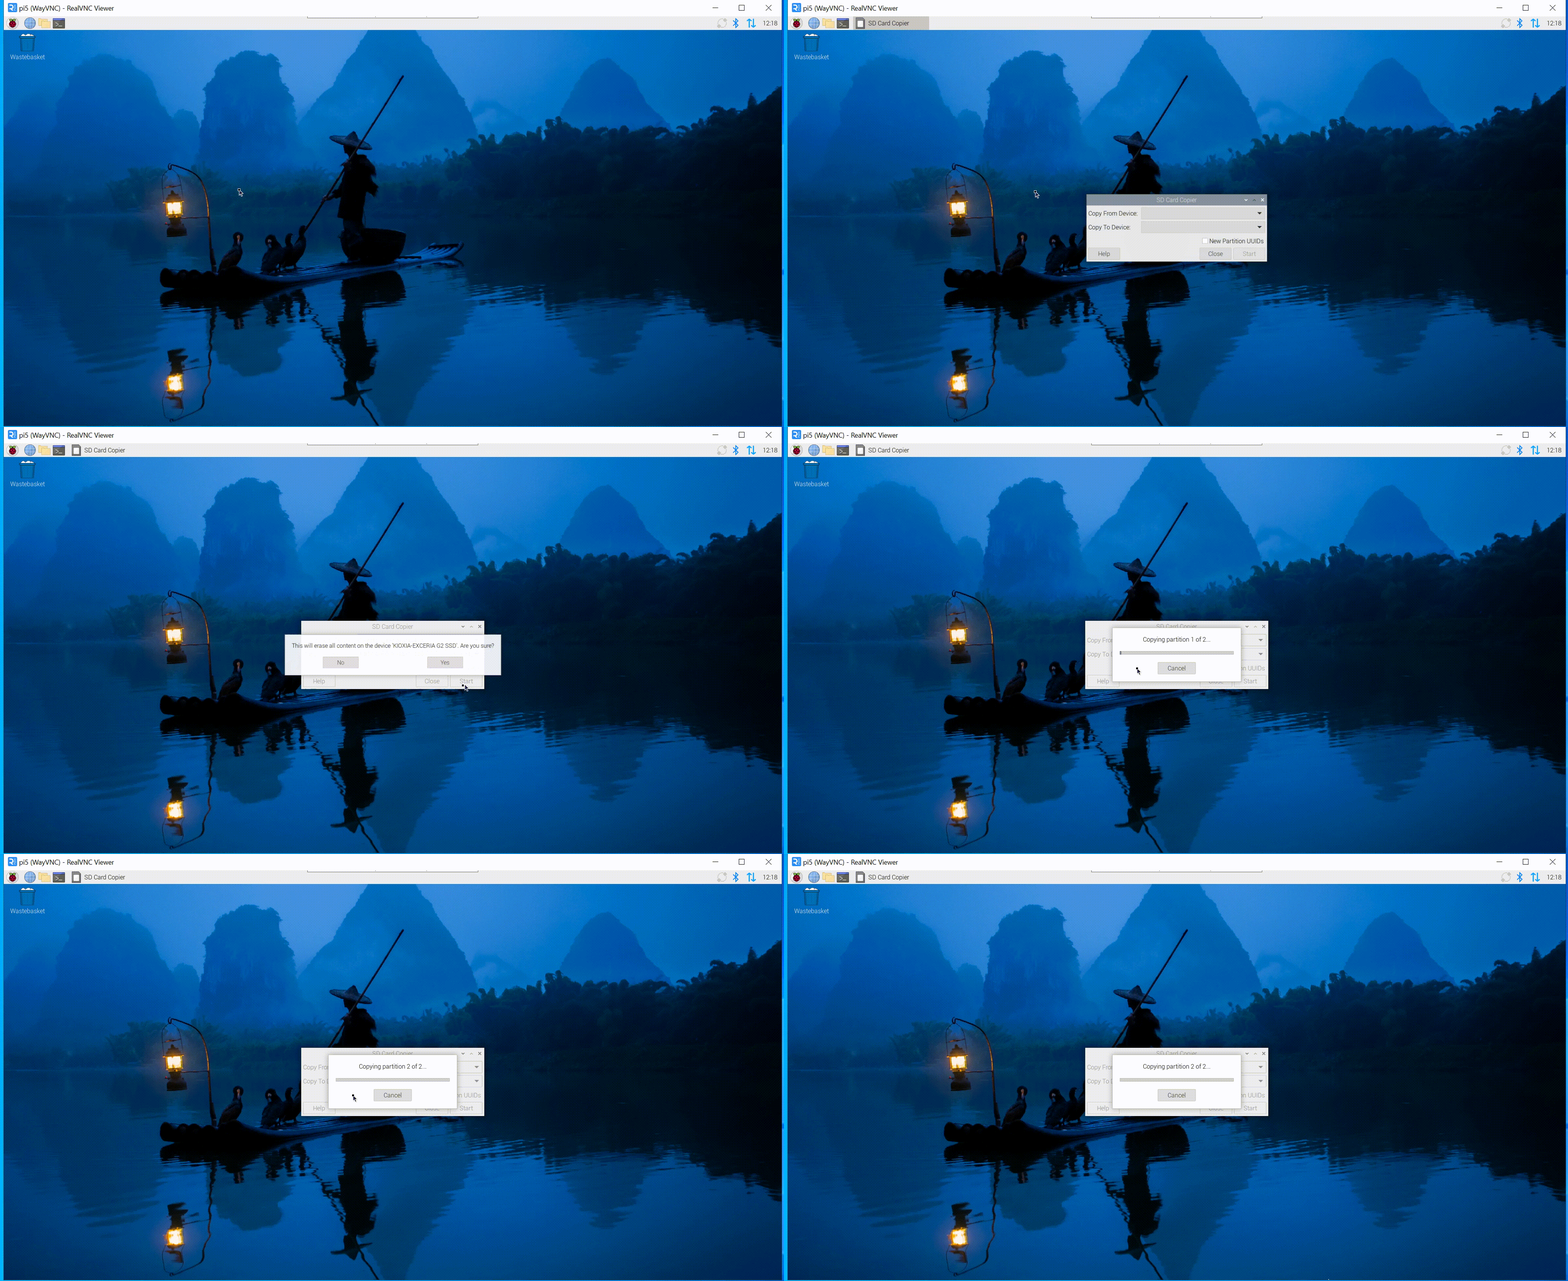
Step 2:Cick Applications =>Accessories =>SD Card Copier on the main screen, run the SD Card Copier program, and copy the OS to the NVME ssd as shown in the figure below.
Setting the Raspberry Pi to boot from the SSD
If you have easy access to your SD card slot, you could turn off your Pi, remove the SD card, and (if everything is working as expected) it should automatically boot from the SSD the next time you start it up. If you want to leave the SD card in place and still boot from the SSD, you need to change the boot order.
Step 1: Enter the following command:
sudo raspi-config
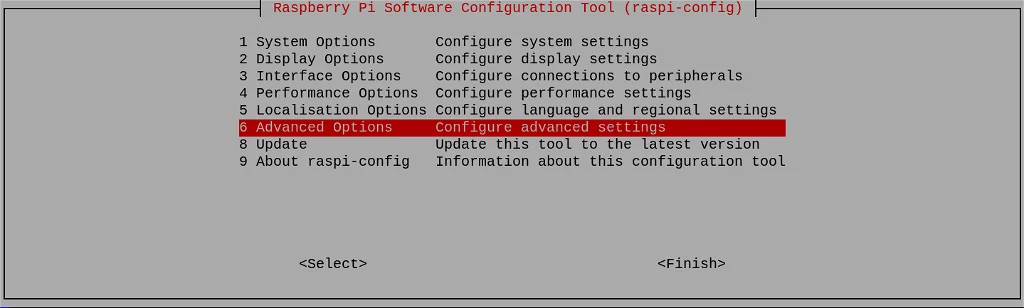
Scroll down to Advanced Options and press Enter:
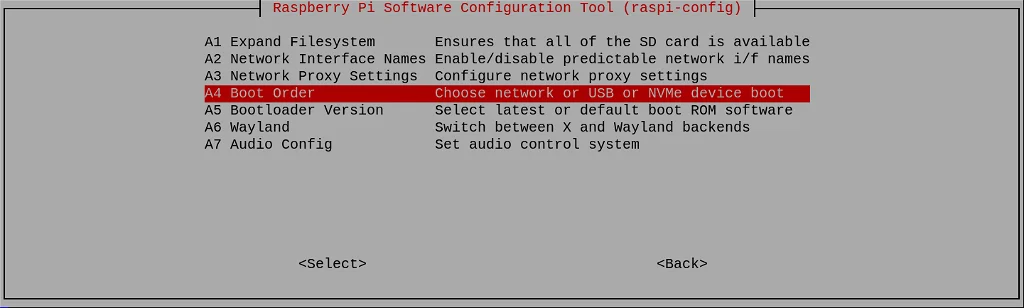
Step 2: Scroll down to Boot Order and press Enter:
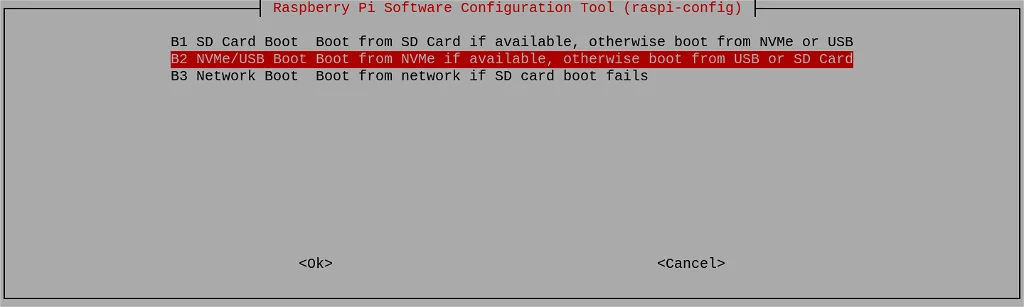
Step 3: Choose NVMe/USB Boot and press Enter:
Configuration will be confirmed. Press Enter:
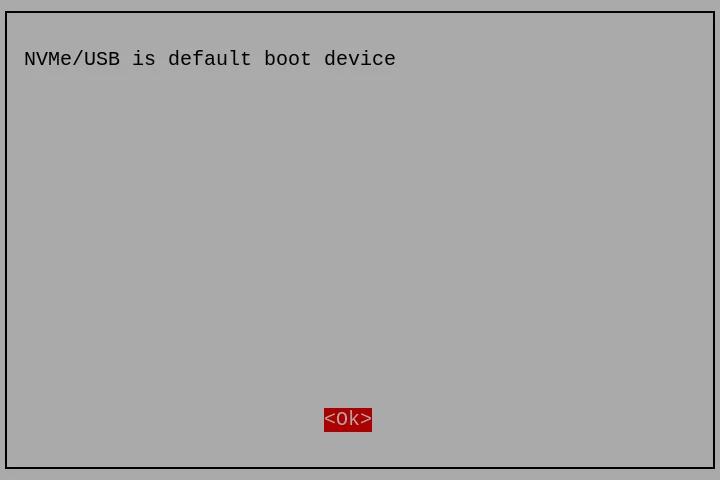
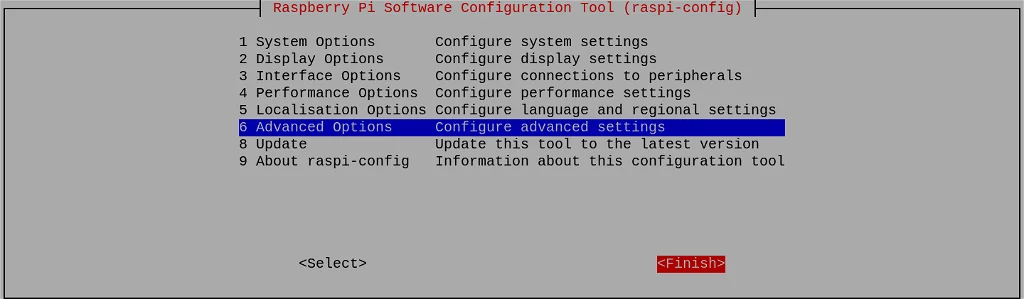
Step 4: Return to the first screen by selecting Back or pressing the Esc key. Then navigate to Finish using the right cursor key.
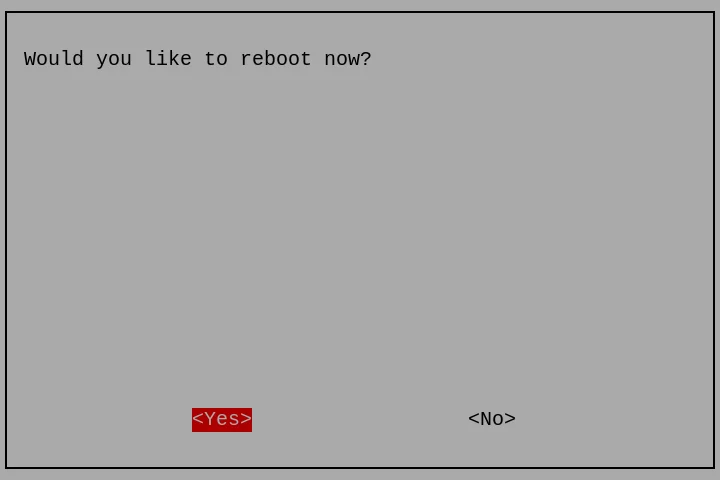
You will be asked whether you want to reboot now. Click Yes:
Flash Ubuntu to SSD (NVMe via USB)
First: Update EEPROM with SD card
Follow Update EEPROM to update the EEPROM.
The SSD used on this device is an NVMe SSD connected through a USB 3.0 bridge. During boot, the Raspberry Pi firmware detects it as a USB storage device, so the correct boot priority is a USB boot order rather than a native NVMe-only boot order. To set the SSD as the highest-priority boot device, use the following command:
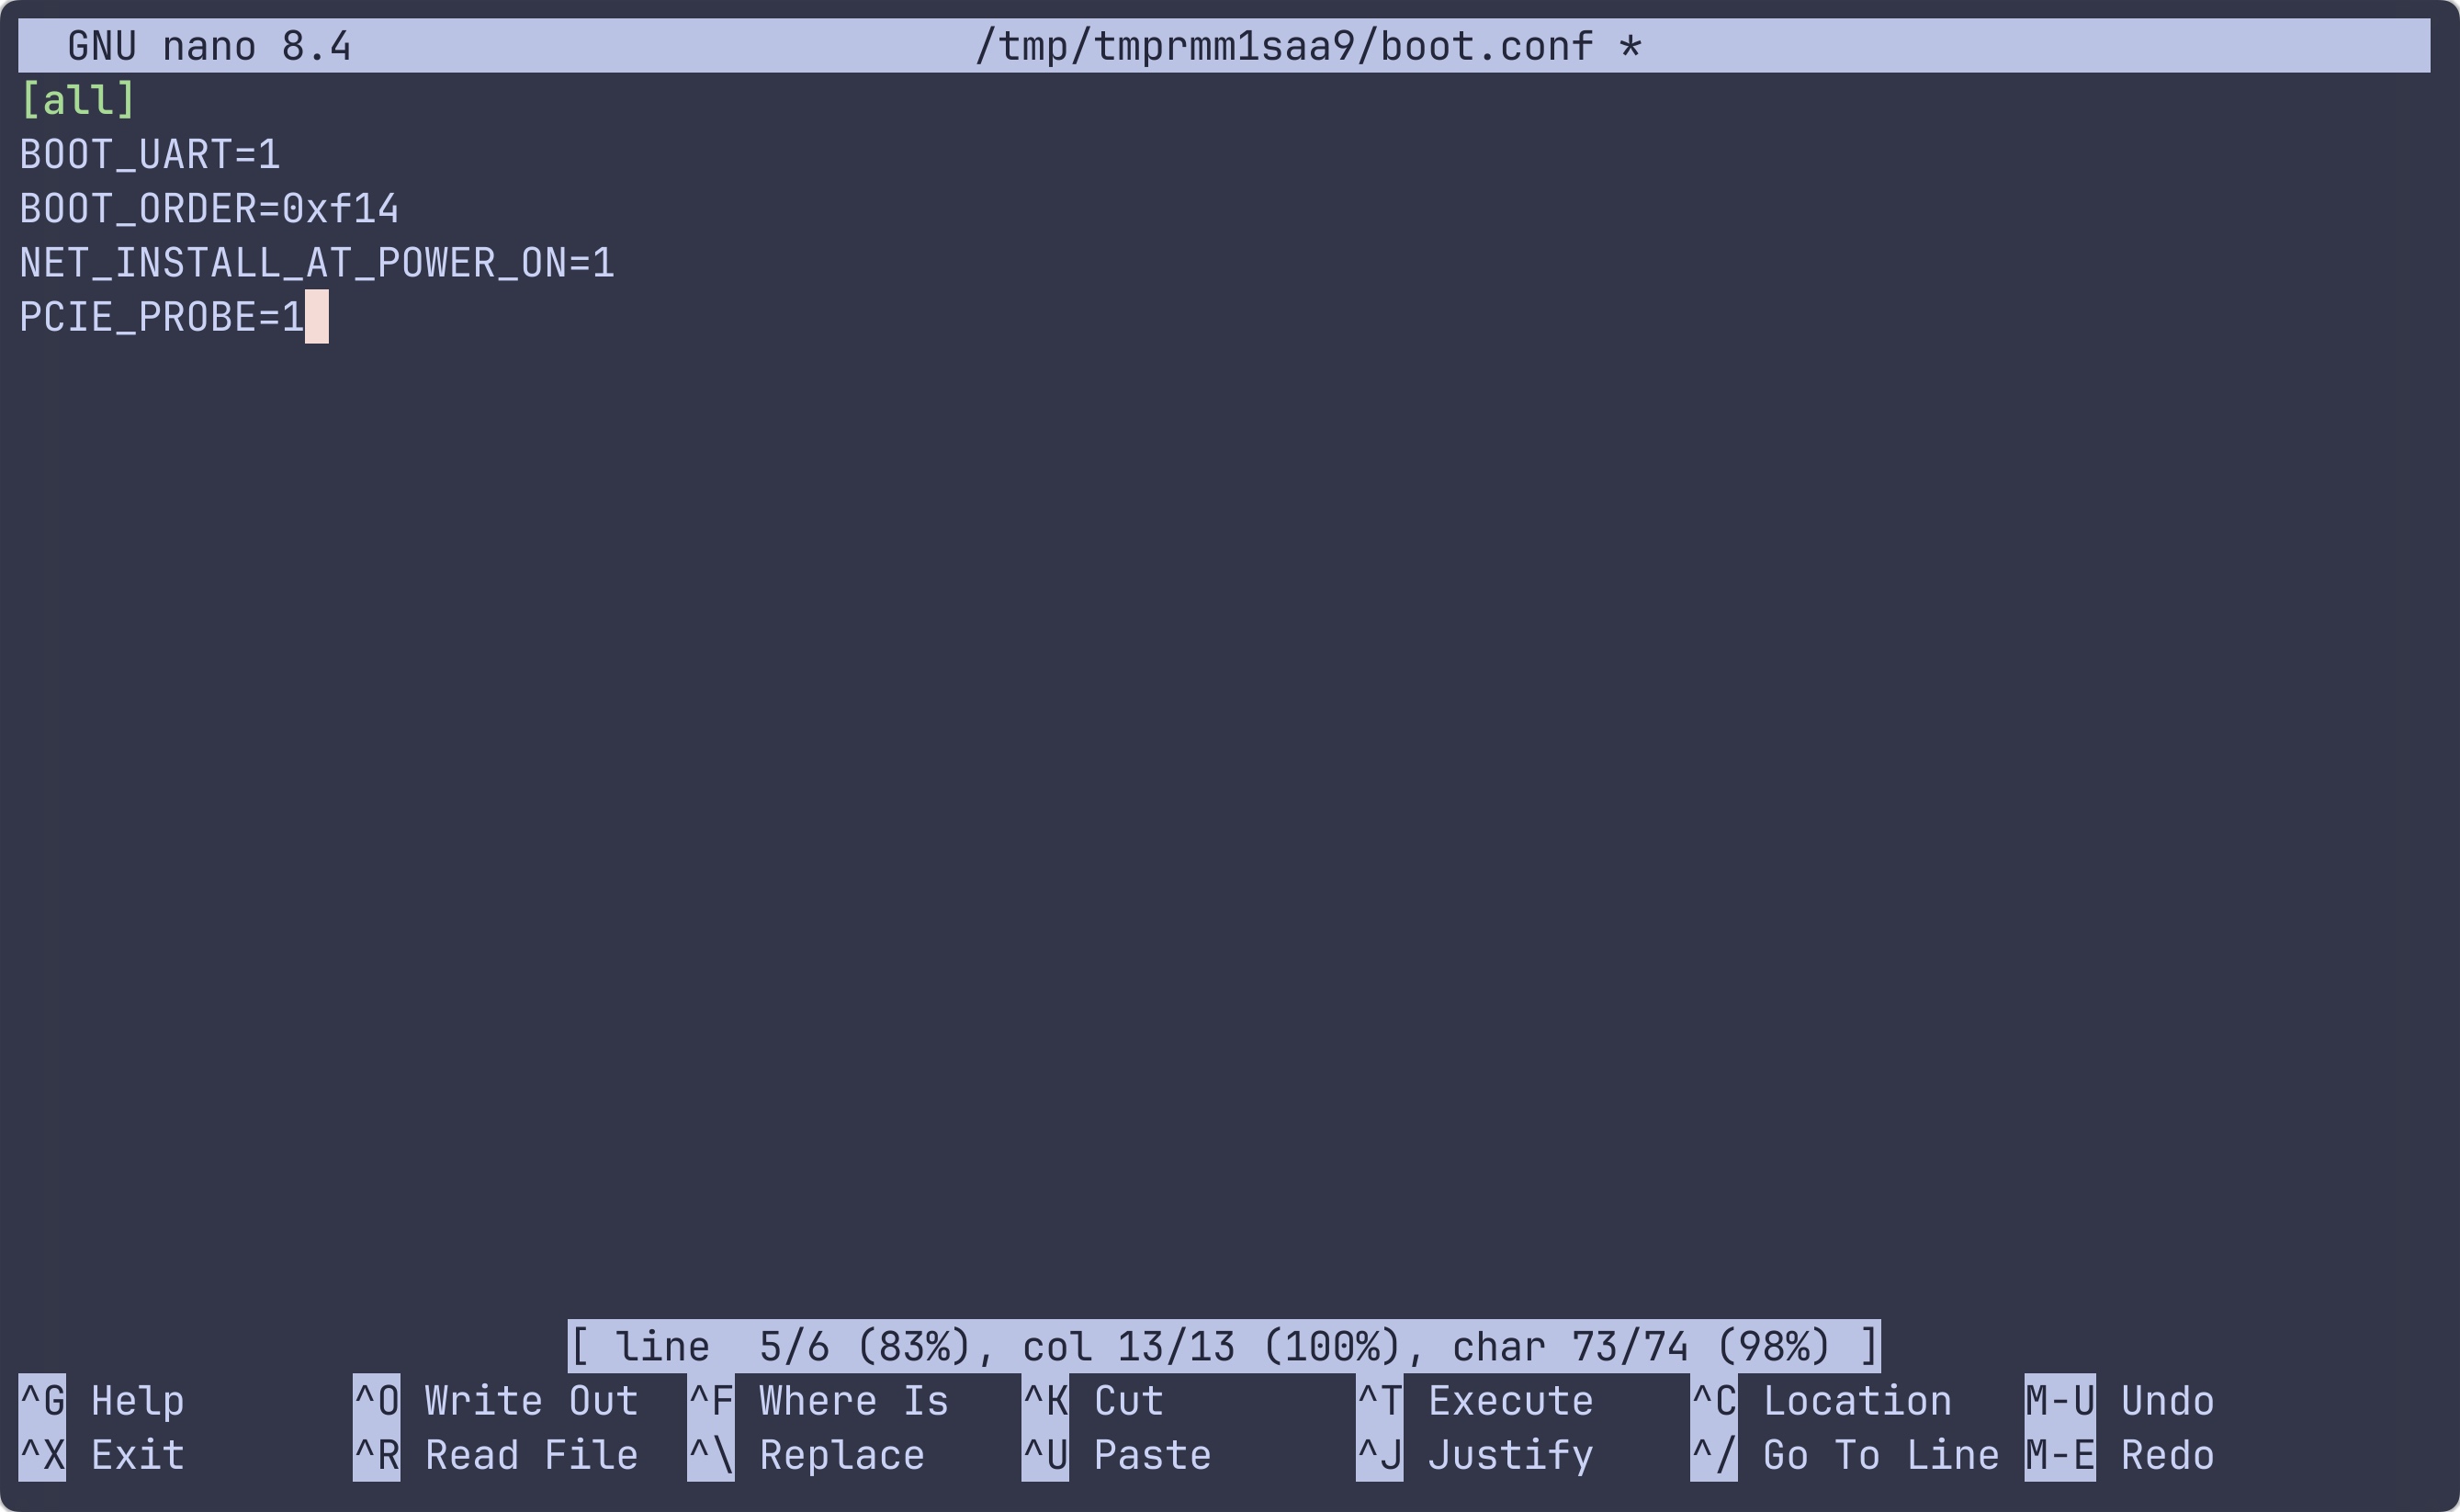
sudo rpi-eeprom-config --edit
And then change rpi-eeprom-config like below:
BOOT_UART=1
BOOT_ORDER=0xf14
NET_INSTALL_AT_POWER_ON=1
PCIE_PROBE=1
Use Ctrl+X and input y to store the result. And the result is as follows:
Second: Burn Ubuntu onto the SSD
Open Raspberry Pi Imager:
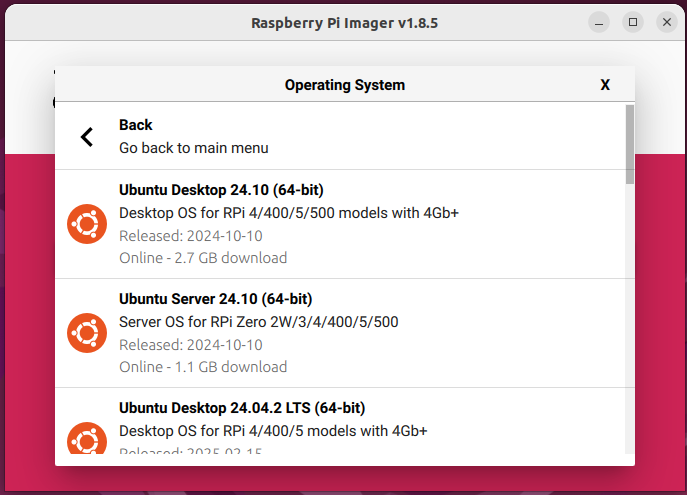
Choose Ubuntu os:
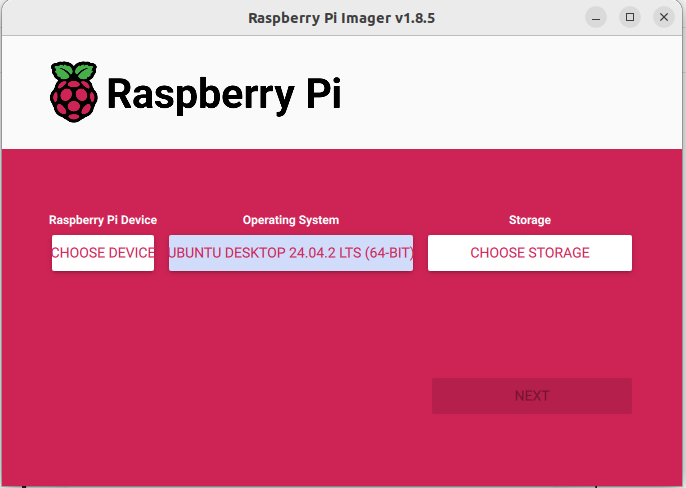
Finally, click Next and wait for the flashing process to complete.
Tech Support & Product Discussion
Thank you for choosing our products! We are here to provide you with different support to ensure that your experience with our products is as smooth as possible. We offer several communication channels to cater to different preferences and needs.