Relay Add On Module For XIAO

Overview
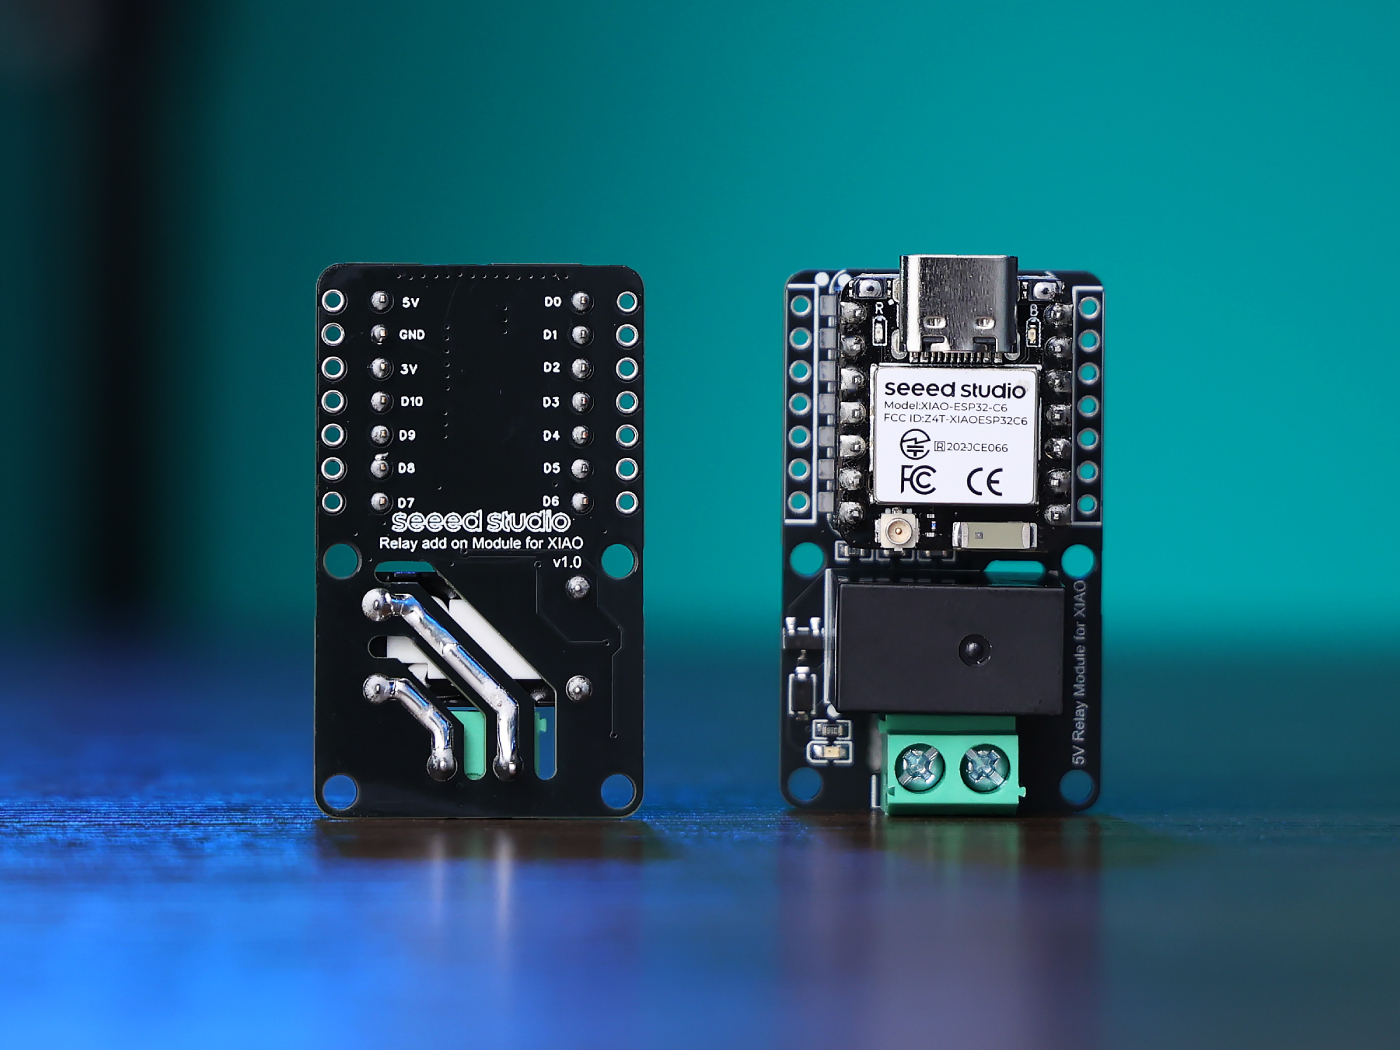
The Relay Add On Module For XIAO is a smart module from Seeed Studio designed to control AC-powered appliances. It is characterized by the combination of XIAO, through the ESPHome access Home Assistant to control a variety of appliances, so that your home smarter!
Key Features and Specifications
| Parameter | Value |
|---|---|
| Relay Pin | D1 |
| Operating Voltage | 5V |
| Operating Current | 1A |
| Relay Life | 100,000 Cycle |
| Max Switching Voltage | 250VAC |
| Max Switching Current | 10A |
| Electrical endurance | 1.5x10^4 OPS (10A 250VAC, Resistive load, at 85°C, 1s on 9s off) |
For more information, click here to download PDF file.
Getting Started
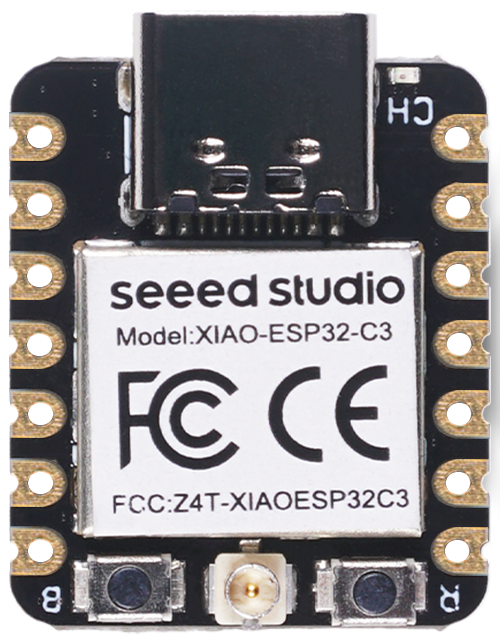
If you want to follow this tutorial through everything, you will need to prepare the following. Except for XIAO ESP32 C3, you can also use other ESP32 series products, like XIAO ESP32 C6 and XIAO ESP32 S3. The ultimate goal of this project is to control relay module in the Home Assistant.
| XIAO ESP32C3 | Relay Module |
|---|---|
 |  |
The content of this tutorial will broadly go through the following steps.
- Select your Home Assistant environment
- Install and cofigure ESPHome in Home Assistant
- Configure the XIAO ESP32C3 and ESPHome connection
- Add Relay Module to Home Assistant Dashboard
Fast Flash Firmware
We've created a quick flash firmware page for the XIAO, you can use the site below directly to flash Relay's firmware for the XIAO you have without programming. The site will automatically detect the chip of the XIAO you are connecting to, without having to choose, and directly flash the XIAO firmware version that corresponds to the ESP32 chip.
Select your Home Assistant environment
In this routine, we will not expand on how to install the Home Assistant environment, we will assume that you already have a working Home Assistant device.
If you wish to learn how to install Home Assistant, then you can refer to the official tutorial. We strongly recommend that you install Home Assistant using an x86 device as this is the most user friendly way for you to install Home Assistant with Supervised.

According to the table above, it is most appropriate to install Home Assistant OS and Home Assistant Supervised, which will take a lot of hassle off your hands. If you are running Home Assistant on Docker with OpenWRT (e.g. using LinkStar H68K), please don't worry, we will also provide you with a detailed reference on how to do this.
We have also written how to install Home Assistant for some of Seeed Studio products, please refer to them.
- Getting Started with Home Assistant on ODYSSEY-X86
- Getting Started with Home Assistant on reTerminal
- Getting Started with Home Assistant on LinkStar H68K/reRouter CM4
Step 1. Install ESPHome
If you have the Home Assistant OS installed, it has an Add-on Store, which makes it much easier to install ESPHome.

In the Add-on Store, you can search for and install ESPHome.

Step 2. Upload firmware to XIAO ESP32C3
We've created a quick flash firmware page for the XIAO, you can use the site below directly to flash Relay's firmware for the XIAO you have without programming. The site will automatically detect the chip of the XIAO you are connecting to, without having to choose, and directly flash the XIAO firmware version that corresponds to the ESP32 chip.
Step 3. Add Relay Module to Home Assistant Dashboard
After flashing the firmware, you can see that there is a wireless network named seedstudio-relay-module. Please connect to this network and enter 192.168.4.1 in your browser to configure the network for your device. Please use the same network as your Home Assistant.
Go to setting, and Devices & services

In the Discovered area, you will find XIAO, click CONGFIUGE

Select a area or leave it by default, click FINISH

After that, click Devices, find xiao_esp32c3(you name it before) and click into it

Here is ESPHome device page, you can add some automations and so on. Now we need to add it to dashboard, so click it.

Click NEXT and click ADD TO DASHBOARD


Now, click Overview at left side

You will see the Relay Control appear here

Step 7. Use relay module to control a table lamp
We can click the switch to see if the relay work well. If you see the little green light on the board when you click the switch, it means work well!
I remodeled my little table lamp with this relay module. Cut the positive wire and plug it into each of the two ports of the relay module. You can see the affect in the below video. This relay module can't power XIAO, so please remember to use battery or USB cable to power XIAO.
Please pay attention to the safety of electricity and do not touch the relays during power-on.

Congratulations on successfully completing your journey on Relay Module For XIAO! Let's do more interesting remodels!
Resources
[PDF] Relay Add On Module For XIAO Relay_SCH
Tech Support & Product Discussion
Thank you for choosing our products! We are here to provide you with different support to ensure that your experience with our products is as smooth as possible. We offer several communication channels to cater to different preferences and needs.