Build Your Own App for reSpeaker Clip with Live STT, Transcription, Diarization, and Summary Using Python SDK
Introduction
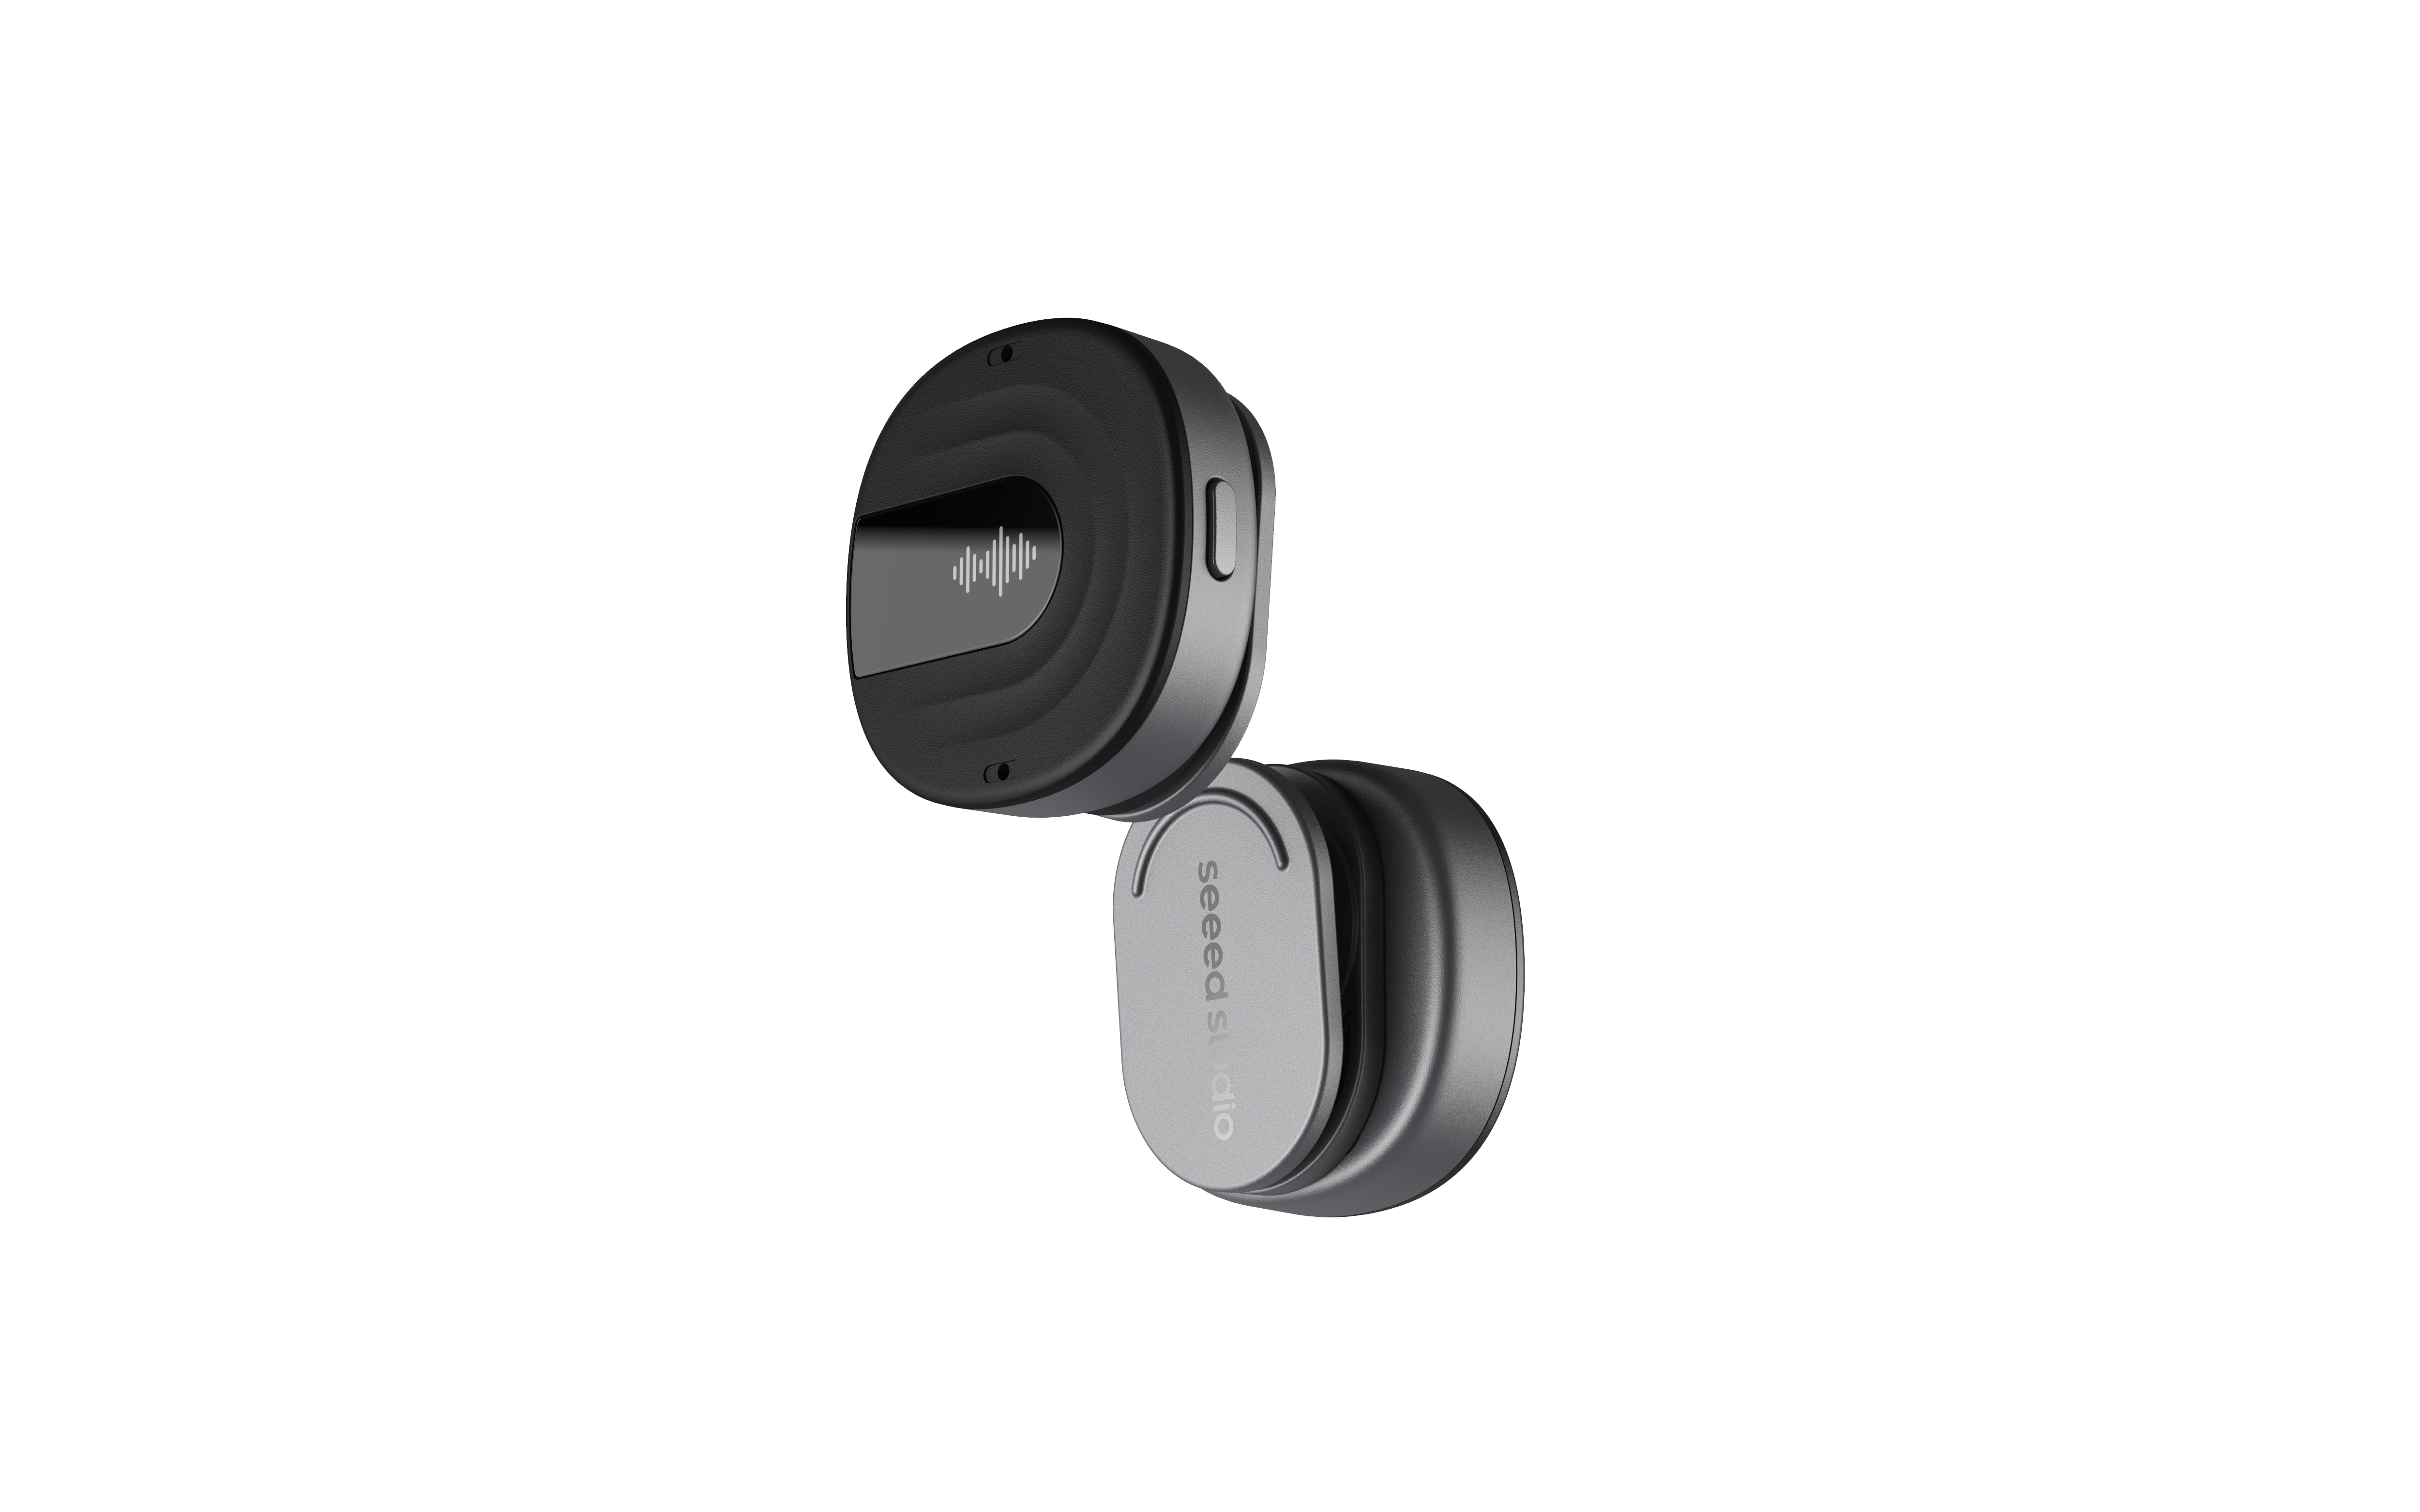
reSpeaker STT Web transforms the reSpeaker Clip into an intelligent, AI-powered voice and meeting assistant, connecting embedded audio hardware with modern web and cloud AI technologies. Using BLE or Wi-Fi, it continuously synchronizes recordings from the device and processes them through powerful speech and language AI pipelines. It also adds a real-time Live STT tab that streams the Clip's microphone audio over BLE (RTC mode) and transcribes it to text as you speak.
With dedicated workflows for live real-time speech-to-text, speech transcription, speaker diarization, and AI-generated meeting summaries, users can turn conversations into structured, actionable information — instantly, or after the fact. Built with Python and a modular architecture, the project provides a flexible foundation for developers and embedded engineers to build next-generation voice and AI applications with the reSpeaker Clip.
How it works
The app has four tabs. The Live STT tab is real-time; the other three record to the SD card and process after you stop.
Live STT (real-time, BLE only):
- Connect to the Clip over BLE (auto-scan, or scan and pick a specific device).
- Press Start Streaming. The backend sends
AT+START=RTC(live session, nothing written to the SD card) thenAT+DOWNLOAD=<session>to start the stream. - The Clip pushes one 20 ms Opus packet per frame over BLE (File Data characteristic).
- The backend decodes each packet to PCM, runs a layered VAD (WebRTC + adaptive energy gate), and only sends completed speech utterances to Groq — silence is never uploaded.
- Transcripts are pushed live to the browser over a WebSocket as text lines; a
listening/SPEAKINGindicator shows VAD state. - Press Stop to flush the final utterance and tear the stream down (
AT+STOP).
Record-and-process tabs (BLE or WiFi):
- Connect to the Clip over BLE (default) or WiFi.
- Pick a tab and hit Start. Audio streams off the device in the background as it records (continuous sync — same as the original
clip-webtool). Which tab you started from decides the pipeline that runs on this recording. - Stop recording. Once the final sync finishes, the app:
- encodes the merged audio to
.ogg(Opus), - converts that to a 16kHz mono
.wav(via PyAV — no separate ffmpeg install needed), - Transcription tab: sends the
.wavto Groq, gets plain text back. - Diarization tab: sends the
.wavto Speechmatics withdiarization: "speaker", fetches the word-level JSON transcript, and groups it into speaker turns (S1,S2, ...). - Summary tab: sends the
.wavto Groq for transcription, then feeds the transcript to Groq's chat API (openai/gpt-oss-20b) to generate structured meeting minutes (title, key points, action items, decisions). - pushes the result to the browser over the existing WebSocket.
- encodes the merged audio to
- Each tab has its own "Recordings" list (filtered by which pipeline the session was recorded under), with playback and a Process/Re-run button per recording.
Live STT sessions are never stored on the SD card, so they don't appear in the Recordings lists — the transcript is the output.
API keys
Each tab has its own Settings card — Groq key on the Live STT, Transcription and Summary tabs (shared — set it once, usable by all three), Speechmatics key on the Diarization tab. Nothing is hardcoded or committed. Keys live in memory for the life of the server process. Check "Remember on this machine" to also persist them to app/settings.local.json (gitignored) so they survive a restart.
- Groq: get a key at https://console.groq.com — used for live STT (
whisper-large-v3-turbo, per-utterance calls), transcription (whisper-large-v3-turbo) and summarization (openai/gpt-oss-20bchat completions). - Speechmatics: get a key at https://portal.speechmatics.com — uses the batch REST API with
diarization: "speaker"(submit → poll → fetch JSON transcript → group into speaker turns),enhancedoperating point by default. See Batch diarization in their docs.
Project structure
respeaker-stt-clip-rtc/
├── clip/                       # vendored Clip SDK (BLE/WiFi device control, RTC stream callbacks)
├── app/
│   ├── main.py                 # FastAPI app: device control + recording + live STT + pipelines
│   ├── stream.py               # RTCStreamManager: BLE RTC stream -> decode -> VAD -> Groq -> WebSocket
│   ├── opus_decode.py          # PyAV raw-Opus -> int16 PCM decoder (48 kHz, 20 ms frames)
│   ├── vad.py                  # StreamVAD: WebRTC VAD AND adaptive energy gate + hangover/pre-roll
│   ├── demo_sample_packets.json  # bundled Opus packets for no-hardware demo mode
│   ├── audio_convert.py        # PyAV-based conversion to 16kHz mono WAV
│   ├── config.py               # runtime settings (per-provider API keys)
│   ├── llm/
│   │   └── groq_summarizer.py  # Groq chat summarization via openai/gpt-oss-20b
│   ├── stt/
│   │   ├── base.py             # STTProvider interface
│   │   ├── groq_provider.py    # transcribe() / transcribe_bytes() — plain text
│   │   └── speechmatics_provider.py # transcribe() + diarize() — speaker turns
│   └── static/
│       └── index.html          # UI — Live STT + three record tabs, settings, results
├── reference/web/              # original browser-only Web Bluetooth streaming reference
├── docs/                       # project documentation
└── requirements.txt
Each synced recording gets a meta.json (written at record-start, records which pipeline the session belongs to) and, once processed, a transcript.json. Live STT output is streamed live and not persisted to disk.
Requirements
- Python 3.10+
- No separate ffmpeg install needed — WAV conversion uses PyAV (
avon PyPI), which ships its own bundled codec libraries, including on Windows webrtcvad-wheelsfor the WebRTC VAD layer (falls back to the adaptive energy gate automatically if it can't install)- A paired reSpeaker Clip device (BLE) for the actual recording — this part can't be exercised without the hardware
- For the Live STT tab: a Clip running firmware with RTC live streaming support (
AT+START=RTC), and BLE transport (RTC streaming is BLE-only)
Setup
git clone https://github.com/KasunThushara/clip-sdk-python-usage.git && cd clip-sdk-python-usage
python -m venv venv && source venv/bin/activate
pip install -r requirements.txt
python app/main.py
Then open http://localhost:5000.
For WiFi transport instead of BLE (record tabs only — Live STT requires BLE):
python app/main.py --transport wifi --wifi-host 192.168.4.1 --wifi-port 8089
Interface Overview
Live STT (RTC streaming)
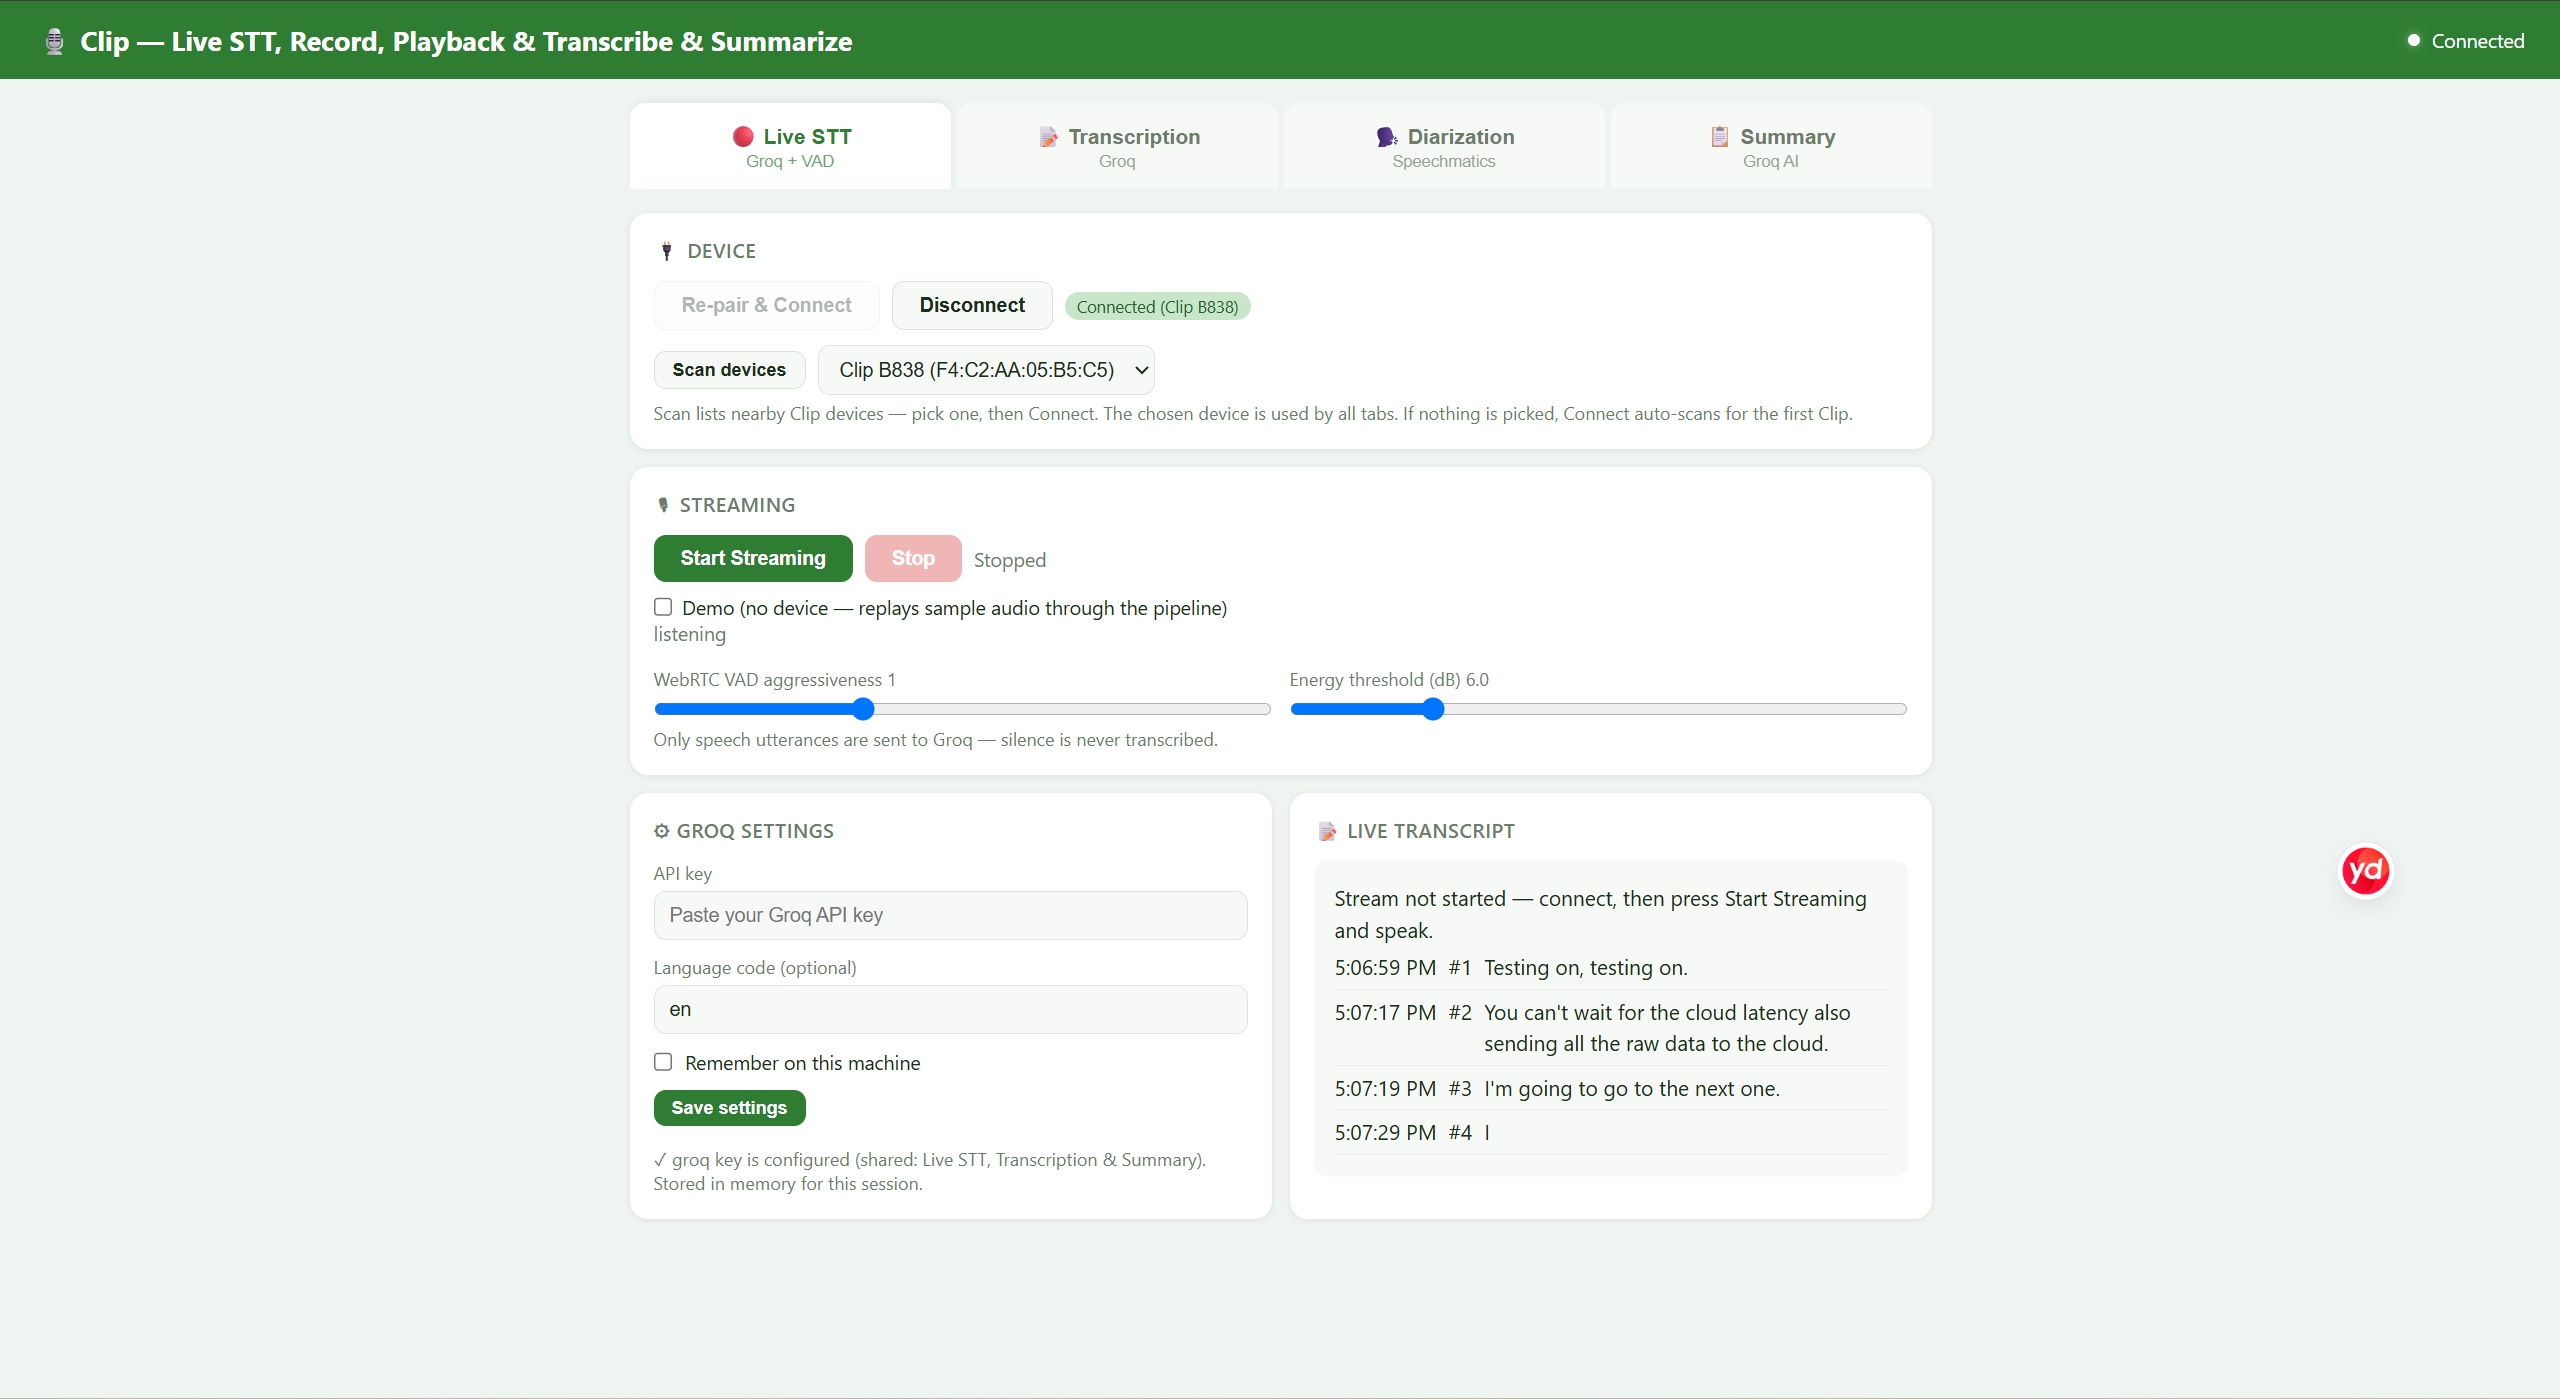
The device card at the top is shared across all tabs — scan for nearby Clips, pick yours from the dropdown, then press Connect. If Connect fails with a Windows BLE pairing error, use Re-pair & Connect to clear the stale bond.
- Add your Groq API key in the Live STT settings card.
- Connect to the Clip (BLE auto-scan or a device you picked after scanning).
- Press Start Streaming. Speak — each utterance (speech followed by silence) is transcribed and appears in the transcript box in real time. The indicator shows
listening/SPEAKING. - Adjust the WebRTC VAD aggressiveness (0–3) and energy threshold (dB) sliders to tune how aggressively silence is rejected.
- Press Stop to flush any pending utterance and end the stream.
No hardware handy? Tick Demo (no device) — bundled Opus packets replay through the exact same decode → VAD → Groq pipeline so you can verify keys and tuning first.
Transcription
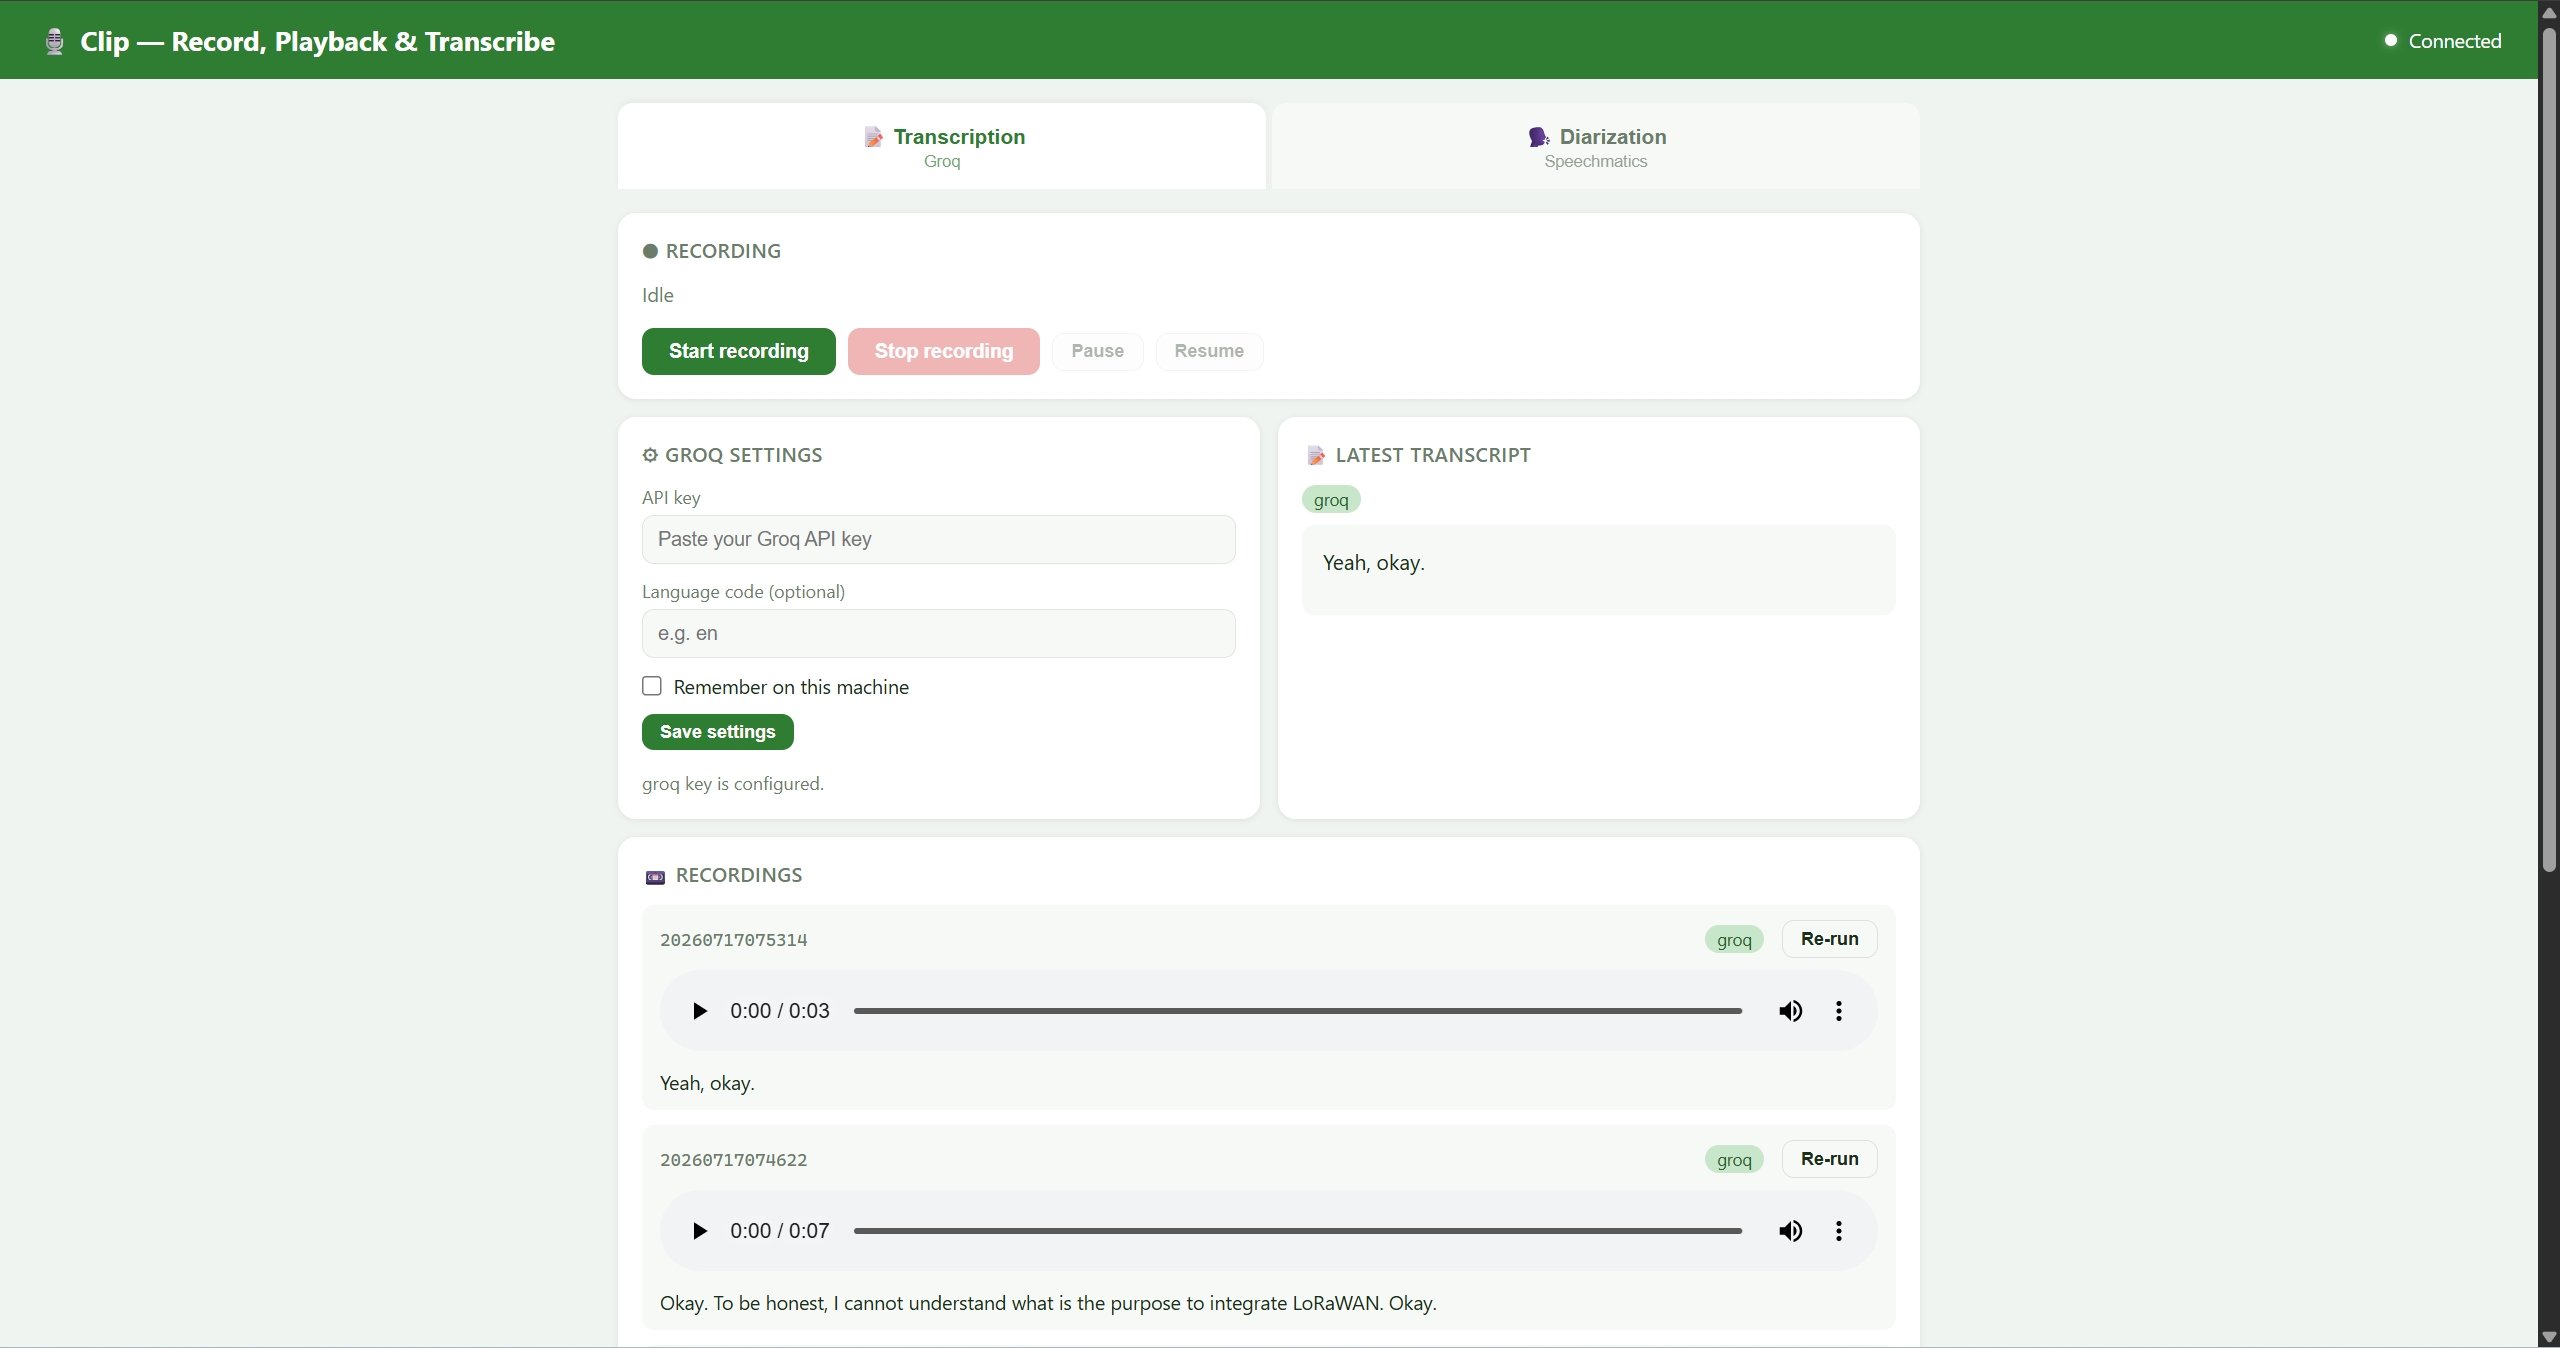
Add your Groq API key. Press the recording button, and once you want to stop, press stop.
Diarization
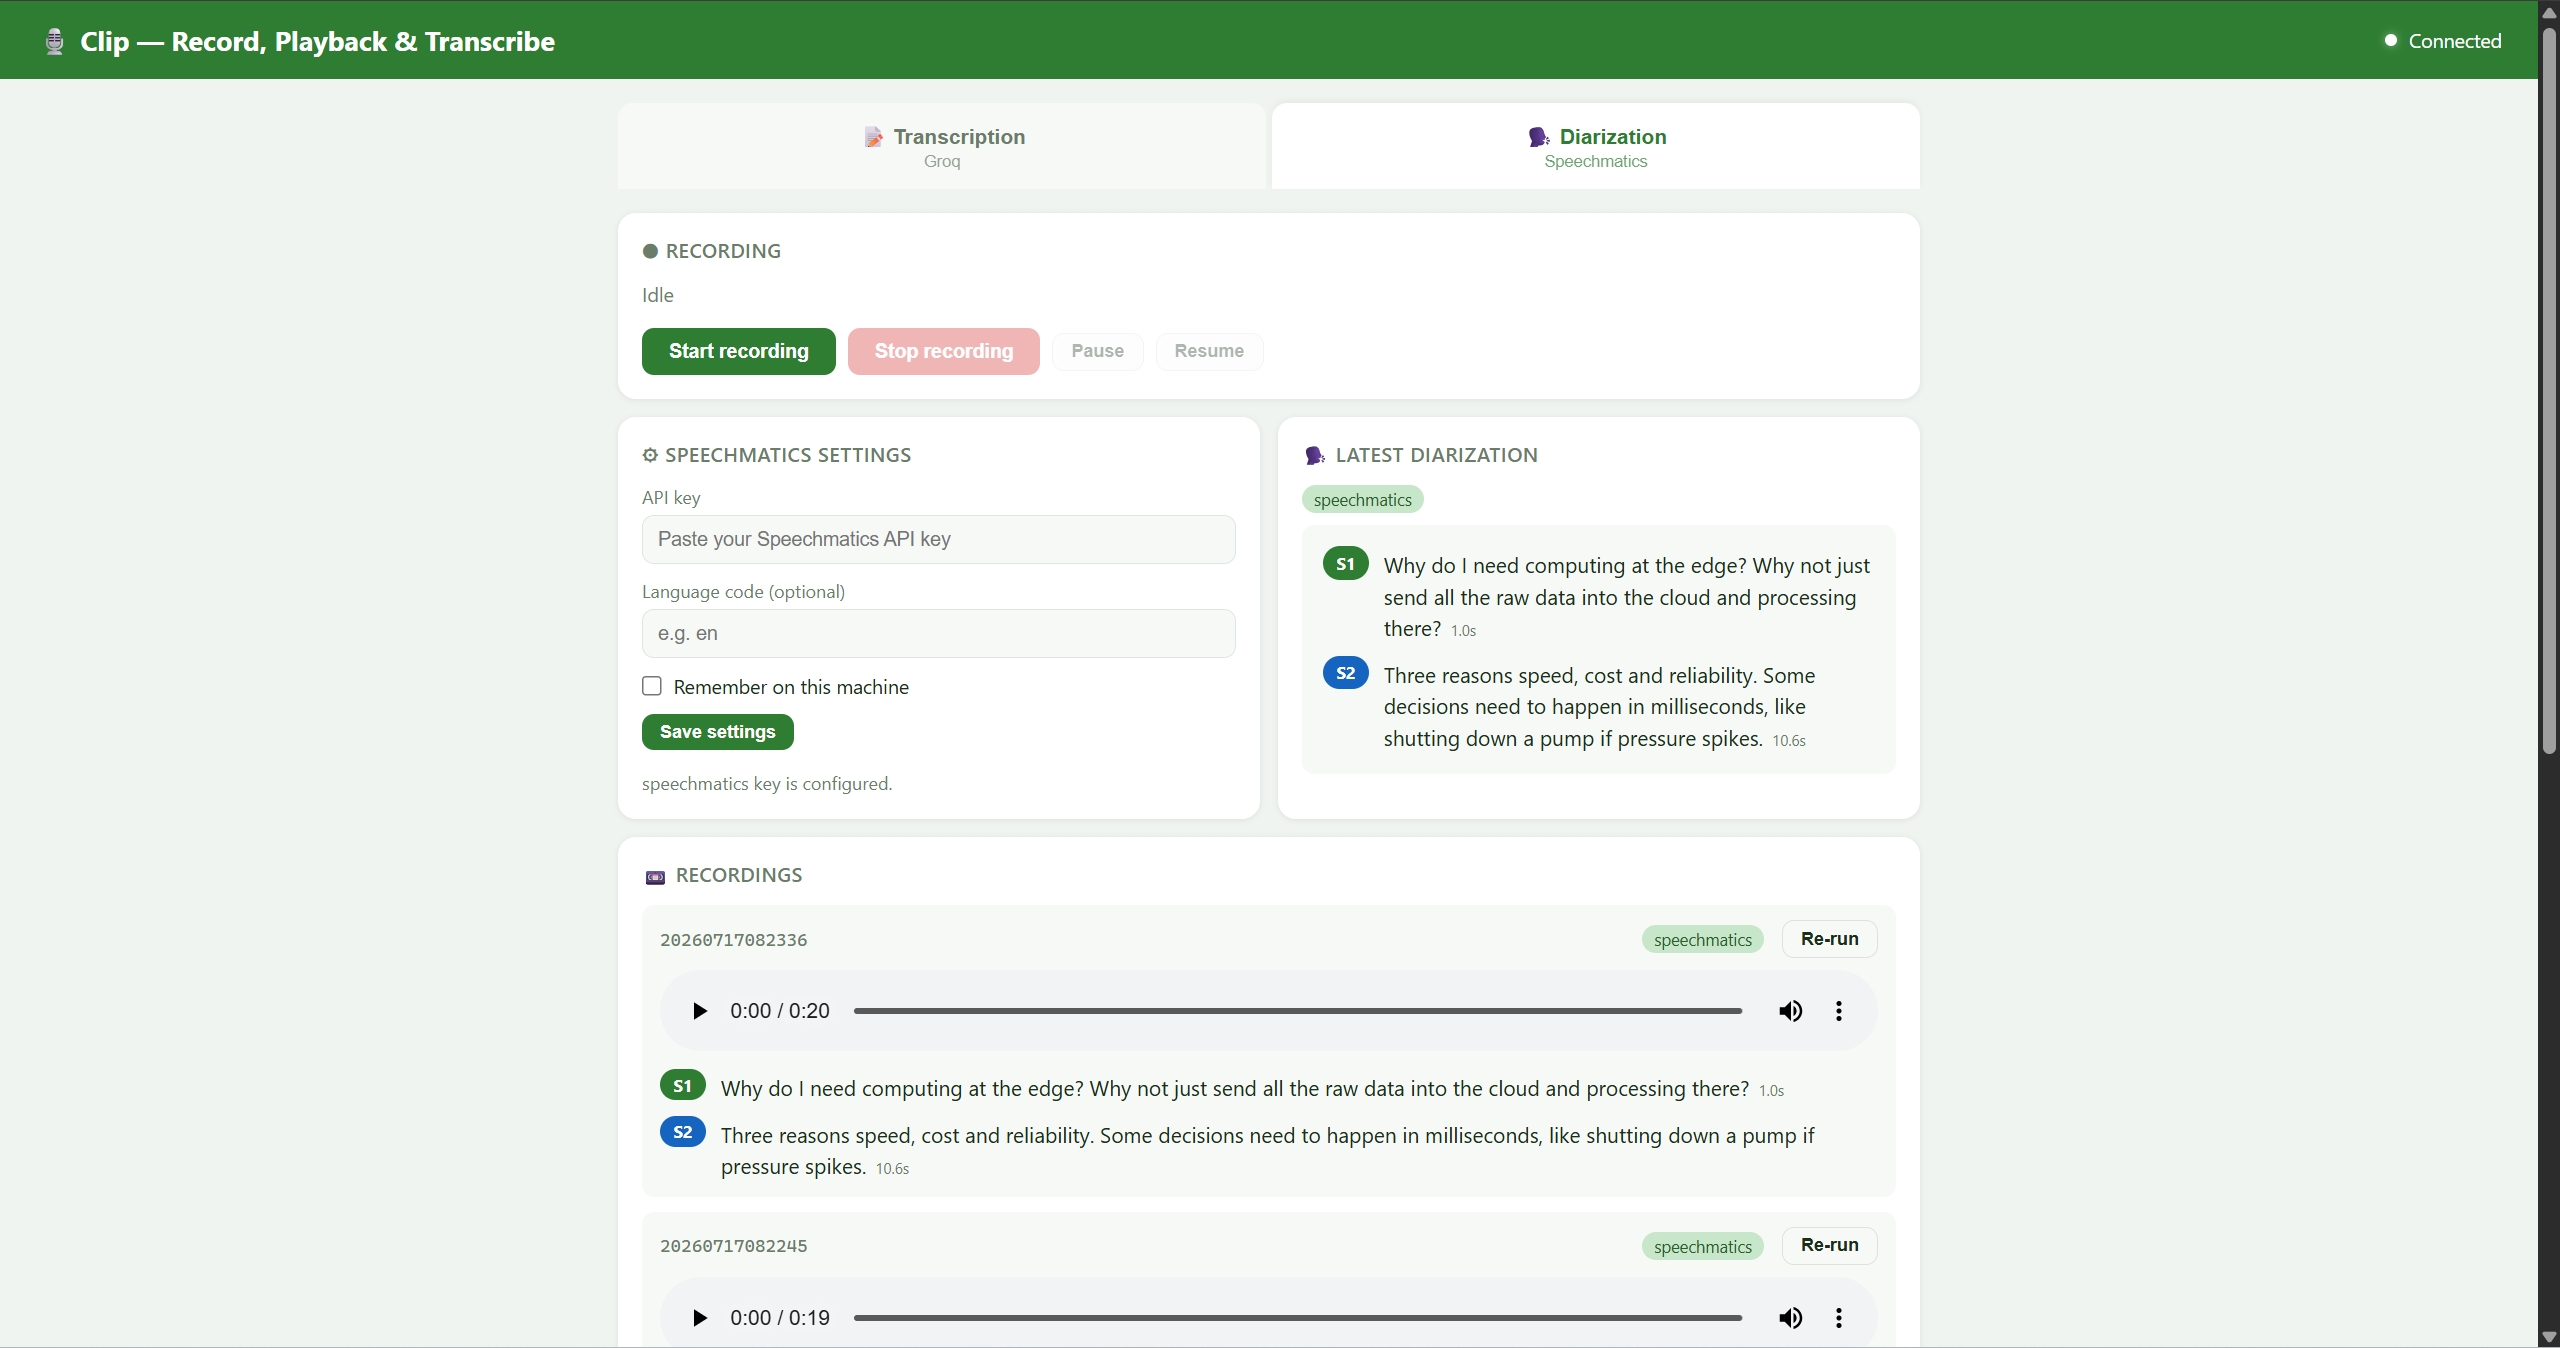
Add your Speechmatics API key. Press the recording button, and once you want to stop, press stop.
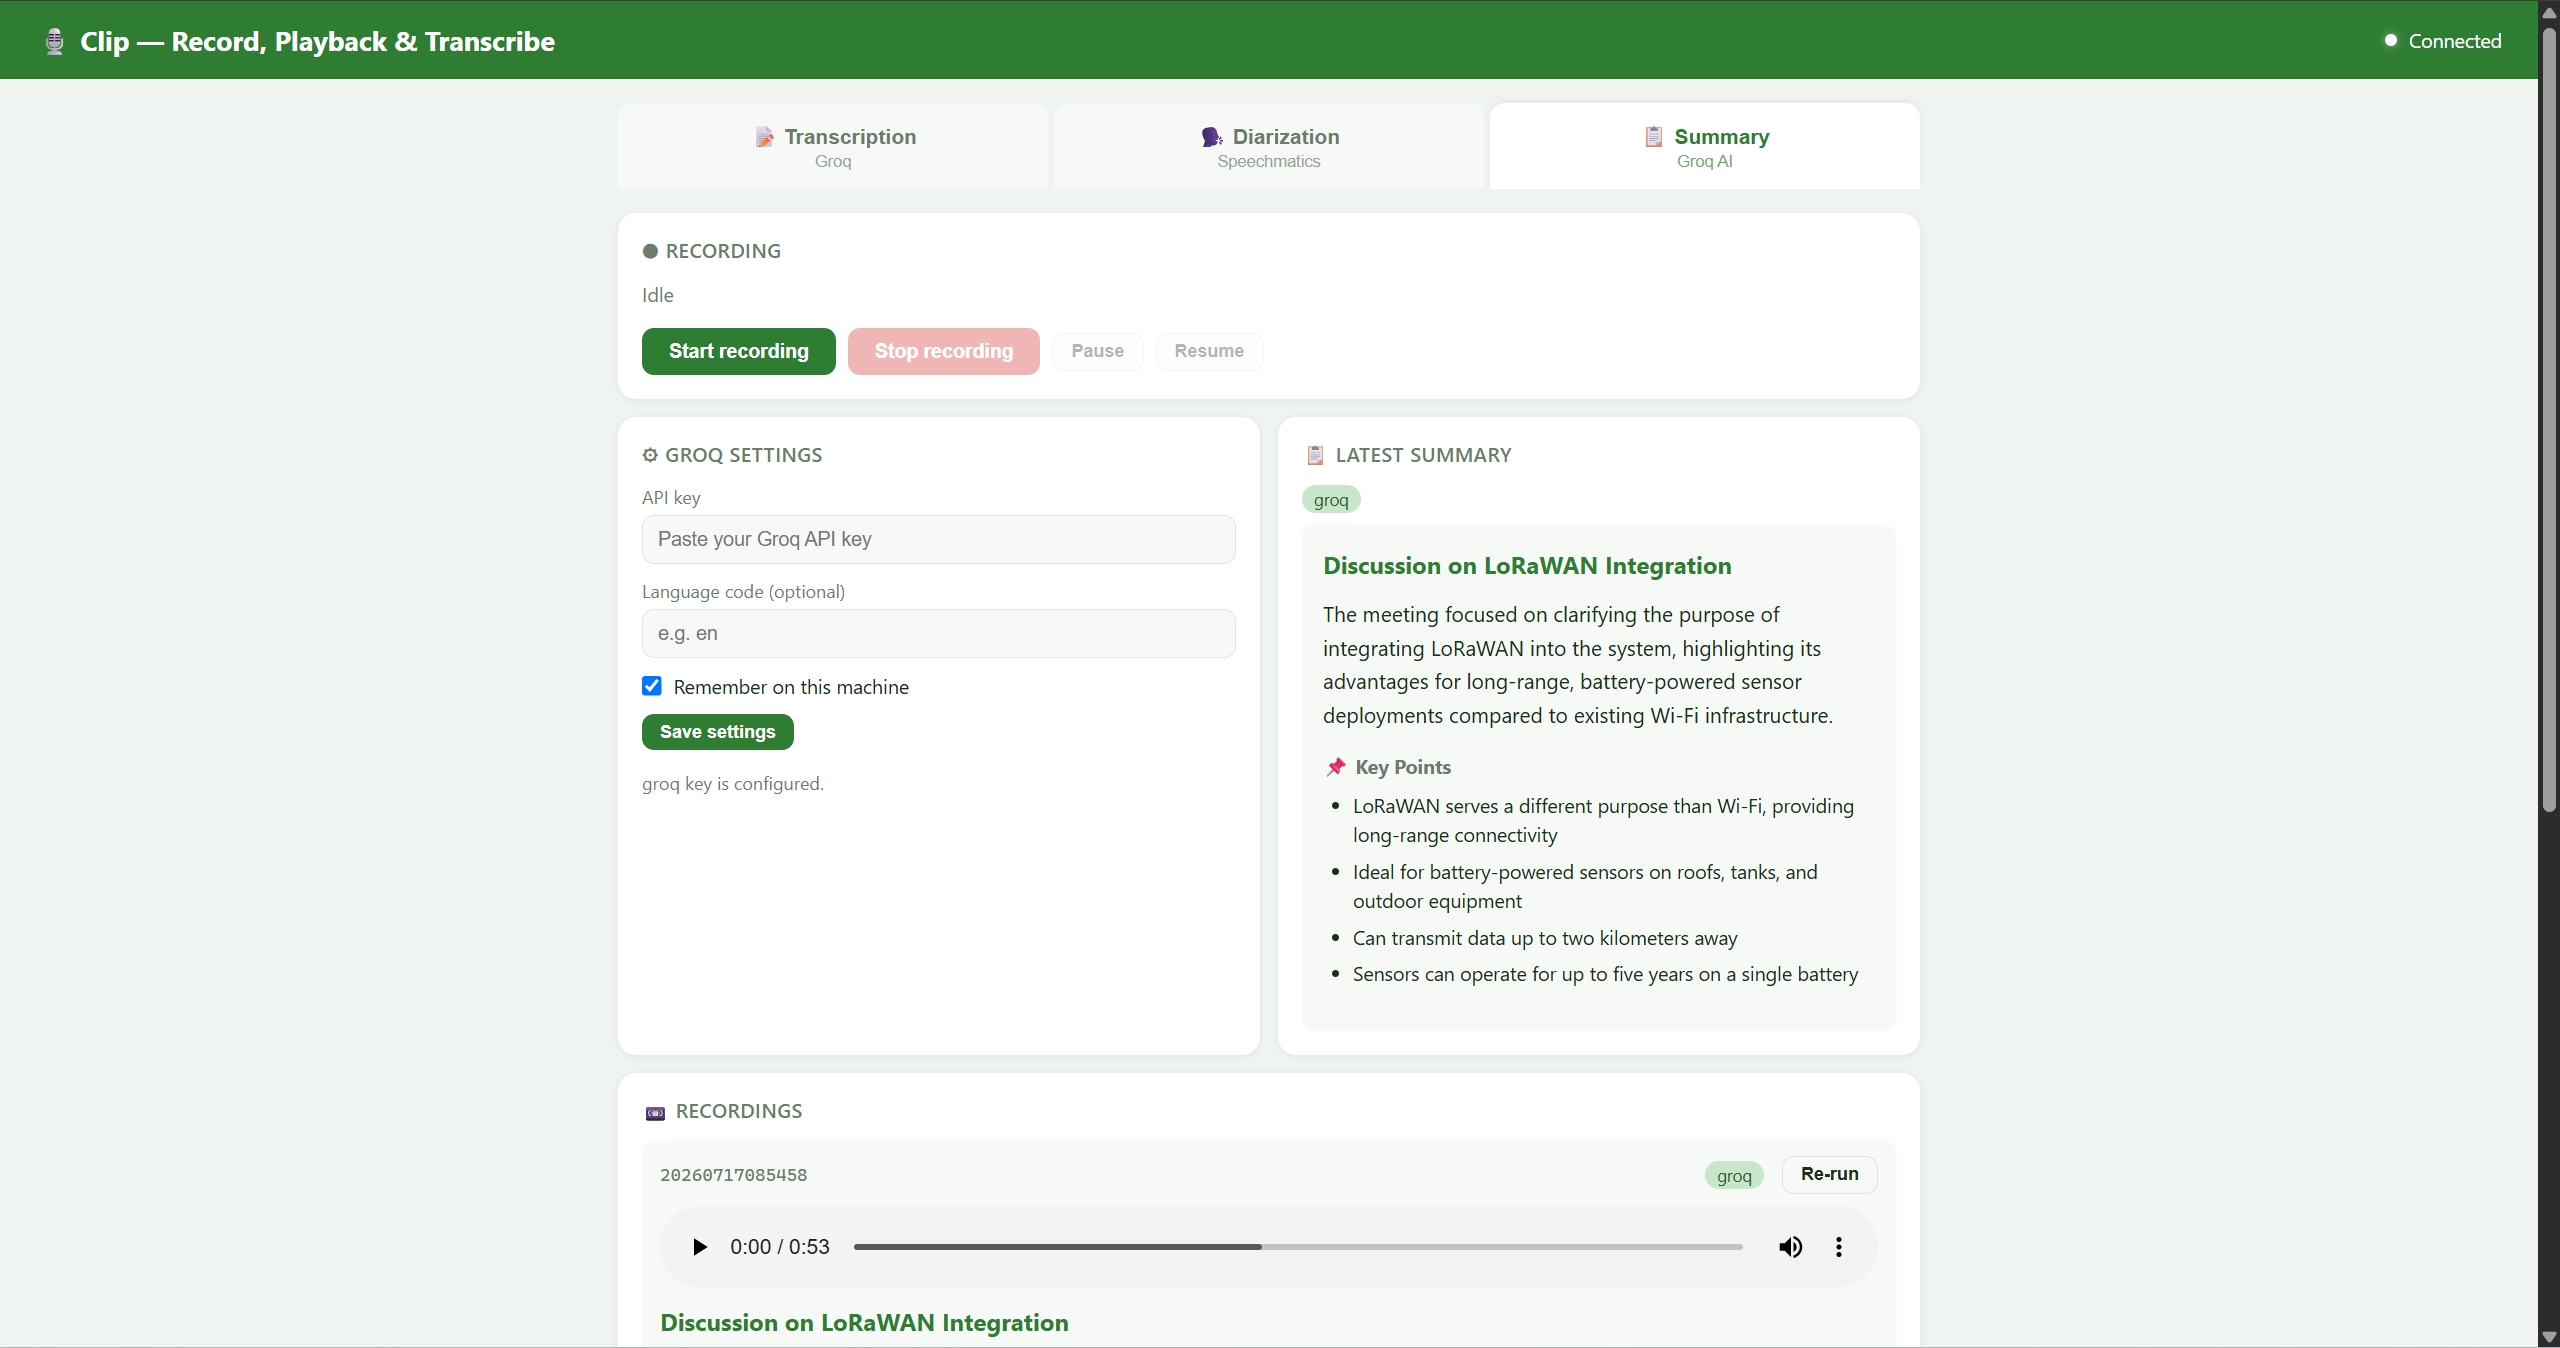
Summary
Add your Groq API key. Press the recording button, and once you want to stop, press stop.
Tech Support & Product Discussion
Thank you for choosing our products! We are here to provide you with different support to ensure that your experience with our products is as smooth as possible. We offer several communication channels to cater to different preferences and needs.