Deploying an Offline Smart Voice Assistant End-to-End
Overview
This project demonstrates a fully local smart voice assistant designed for smart offices and smart spaces. It uses the ReSpeaker XVF3800 microphone array for high-quality voice capture, combined with on-device speech-to-text (STT) for accurate transcription. A local large language model (LLM) processes user queries intelligently without relying on the cloud, ensuring privacy and low latency. Text-to-speech (TTS) generates natural voice responses, enabling real-time interaction. The system is ideal for environments such as offices, malls, kiosks, and meeting rooms where secure, offline voice control is essential.
Hardware Required
| ReSpeaker XVF3800 | Jetson AGX Orin 32GB H01 Kit |
|---|---|
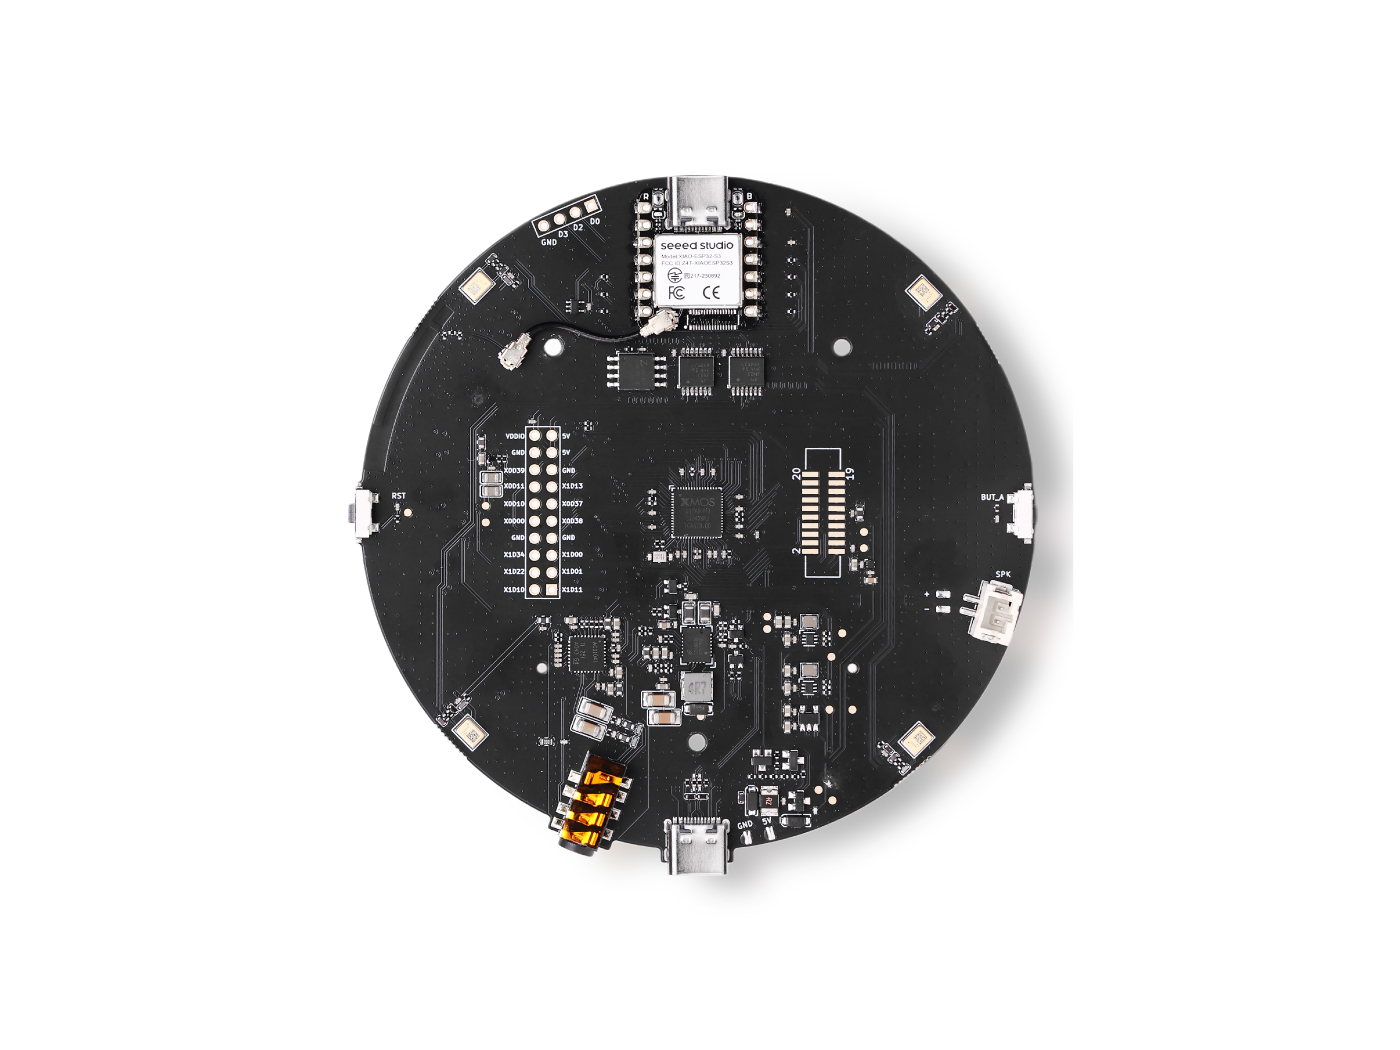 | 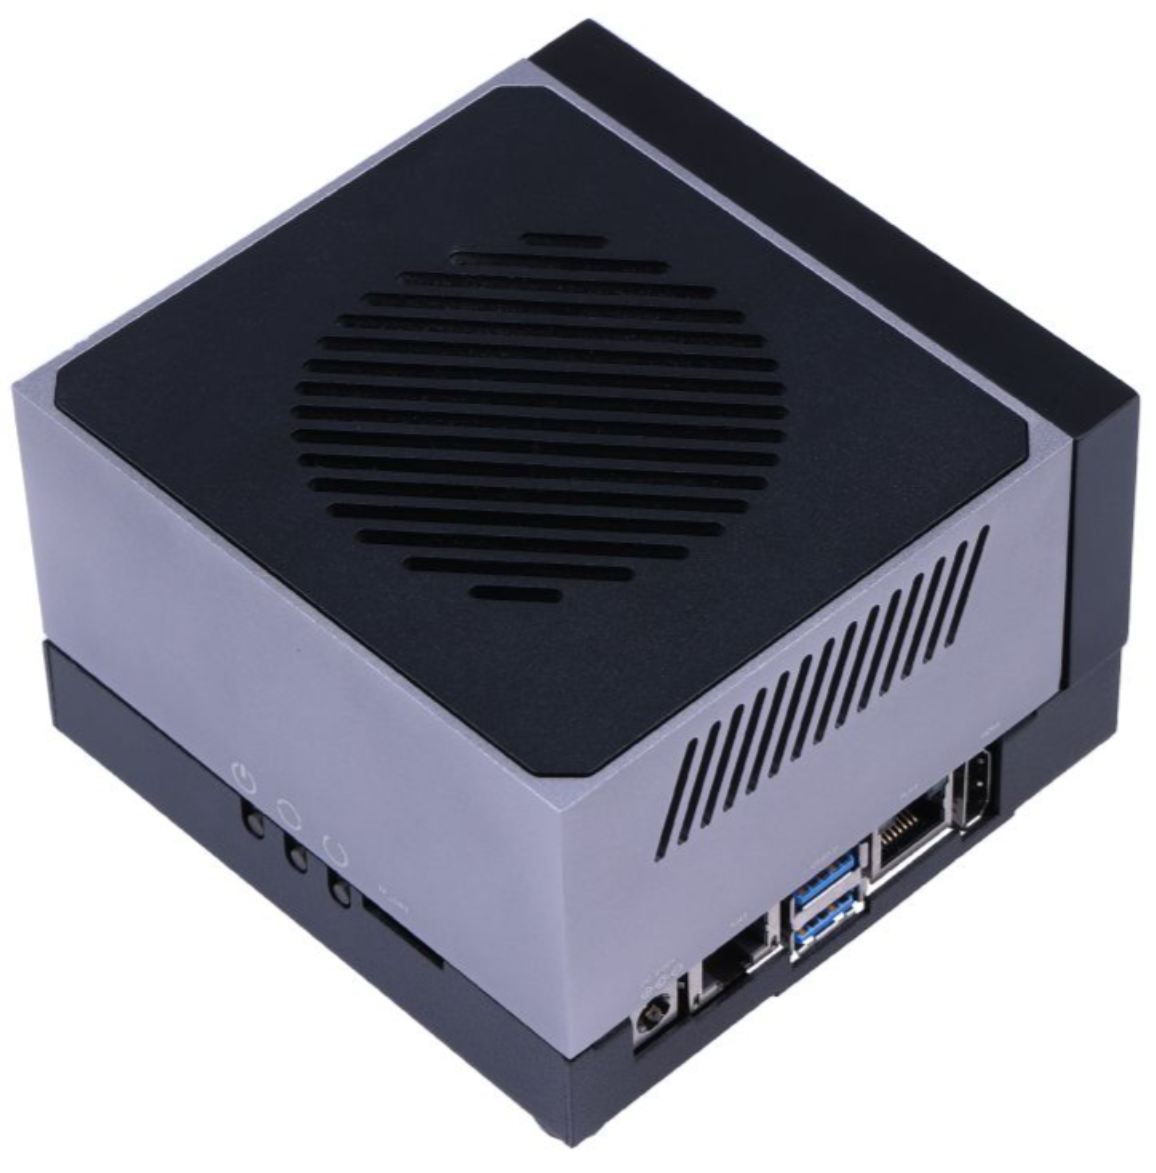 |
Prepare the Devices
ReSpeaker XVF3800 – USB Firmware Installation
Ensure the ReSpeaker XVF3800 USB Mic Array is updated with the latest firmware before use.
-
Follow the official firmware update guide:
- ReSpeaker XVF3800 Firmware Update Seeed Studio Wiki
This step ensures stable USB audio input and compatibility with downstream speech processing pipelines.
NVIDIA Jetson AGX Orin – Initial Setup
If your Jetson AGX Orin is not yet set up, flash it with the appropriate JetPack version.
-
Official setup guide:
- Jetson AGX Orin 32GB H01 Flash JetPack Seeed Studio Wiki
After flashing and booting into Ubuntu, update the system and install JetPack components:
sudo apt update
sudo apt install nvidia-jetpack
CUDA Environment Configuration
Check Installed CUDA Version
Verify which CUDA directories are available:
ls /usr/local
You should see a folder such as cuda, cuda-12.x, or similar.
Add CUDA Paths Permanently
Edit your shell configuration file:
nano ~/.bashrc
Add the following lines at the bottom (replace with your actual CUDA version):
# CUDA paths
export PATH=/usr/local/cuda-(your_version)/bin${PATH:+:${PATH}}
export LD_LIBRARY_PATH=/usr/local/cuda-(your_version)/lib64${LD_LIBRARY_PATH:+:${LD_LIBRARY_PATH}}
Apply the changes:
source ~/.bashrc
Verify CUDA Installation
Confirm CUDA is correctly installed and accessible:
nvcc --version
If the CUDA version is displayed, GPU support is ready.
Install Whisper with GPU Support
Clone Whisper Repository
Whisper is built from source to enable CUDA acceleration.
-
Repository:
Install required dependencies:
sudo apt-get install libsdl2-dev
Build Whisper with CUDA Enabled
From the whisper.cpp directory, run:
cmake -B build -DGGML_CUDA=1 -DWHISPER_SDL2=ON
cmake --build build -j --config Release
This compiles Whisper with GPU acceleration and SDL support.
Download Whisper Model
Download the Whisper model from Hugging Face:
-
Model:
- ggml-base-q8_0.bin
Place the downloaded model inside the models/ directory:
whisper.cpp/models/
Run Whisper Server
Start the Whisper server with GPU support:
cd whisper.cpp
./build/bin/whisper-server \
  -m models/ggml-base.en.bin \
  --host 0.0.0.0 \
  --port 8080 \
  --gpu
This launches a real-time speech-to-text server accessible over the network.
Install Ollama for Local LLM Inference
Ollama officially supports NVIDIA Jetson devices and provides CUDA-accelerated local LLM execution.
Install Ollama using the official installer:
curl -fsSL https://ollama.com/install.sh | sh
Run the Gemma 3 model:
ollama run gemma3:4b
Smart Voice AI Assistant – Quick Start Guide
Architecture Summary
- Wake Word Detection – Listens continuously for a predefined activation phrase.
- Speech-to-Text (STT) – Converts user speech into text using a local speech recognition engine.
- RAG-powered LLM – Retrieves relevant context from a vector database and generates intelligent responses using a local LLM.
- Text-to-Speech (TTS) – Converts the generated response into natural-sounding speech.
All processing is performed locally to ensure low latency, data privacy, and offline capability.
Project repository:
Clone the repo
git clone https://github.com/KasunThushara/LocalVoiceAssistant.git
Quick Start
Install Dependencies
Ensure Python and required system dependencies are installed, then run:
pip install -r requirements.txt
Download a Text-to-Speech (TTS) Model
This project uses Piper TTS models. Below is an example using a male English voice (Amy):
# Example: female voice (amy)
wget -O models/en_US-amy-low.onnx \
  https://huggingface.co/rhasspy/piper-voices/resolve/main/en/en_US/amy/low/en_US-amy-low.onnx

wget -O models/en_US-amy-low.onnx.json \
  https://huggingface.co/rhasspy/piper-voices/resolve/main/en/en_US/amy/low/en_US-amy-low.onnx.json
You may replace this with any compatible Piper voice model as needed.
Download Embedding Model (One-Time Setup)
The embedding model is required for building the vector database used by the RAG pipeline.
python download_sentence_tf.py
This step only needs to be run once.
Build the Vector Database
Create or rebuild the vector database used for contextual retrieval:
python test_scripts/rebuild_vector.py
This process indexes your documents and prepares them for fast semantic search.
Run the Application
Start the Smart Voice AI Assistant:
python app.py
Once running, the system will listen for the wake word and respond to voice queries in real time.
References
Tech Support & Product Discussion
Thank you for choosing our products! We are here to provide you with different support to ensure that your experience with our products is as smooth as possible. We offer several communication channels to cater to different preferences and needs.