ROS2 Voice Pipeline on reSpeaker XVF3800
Introduction
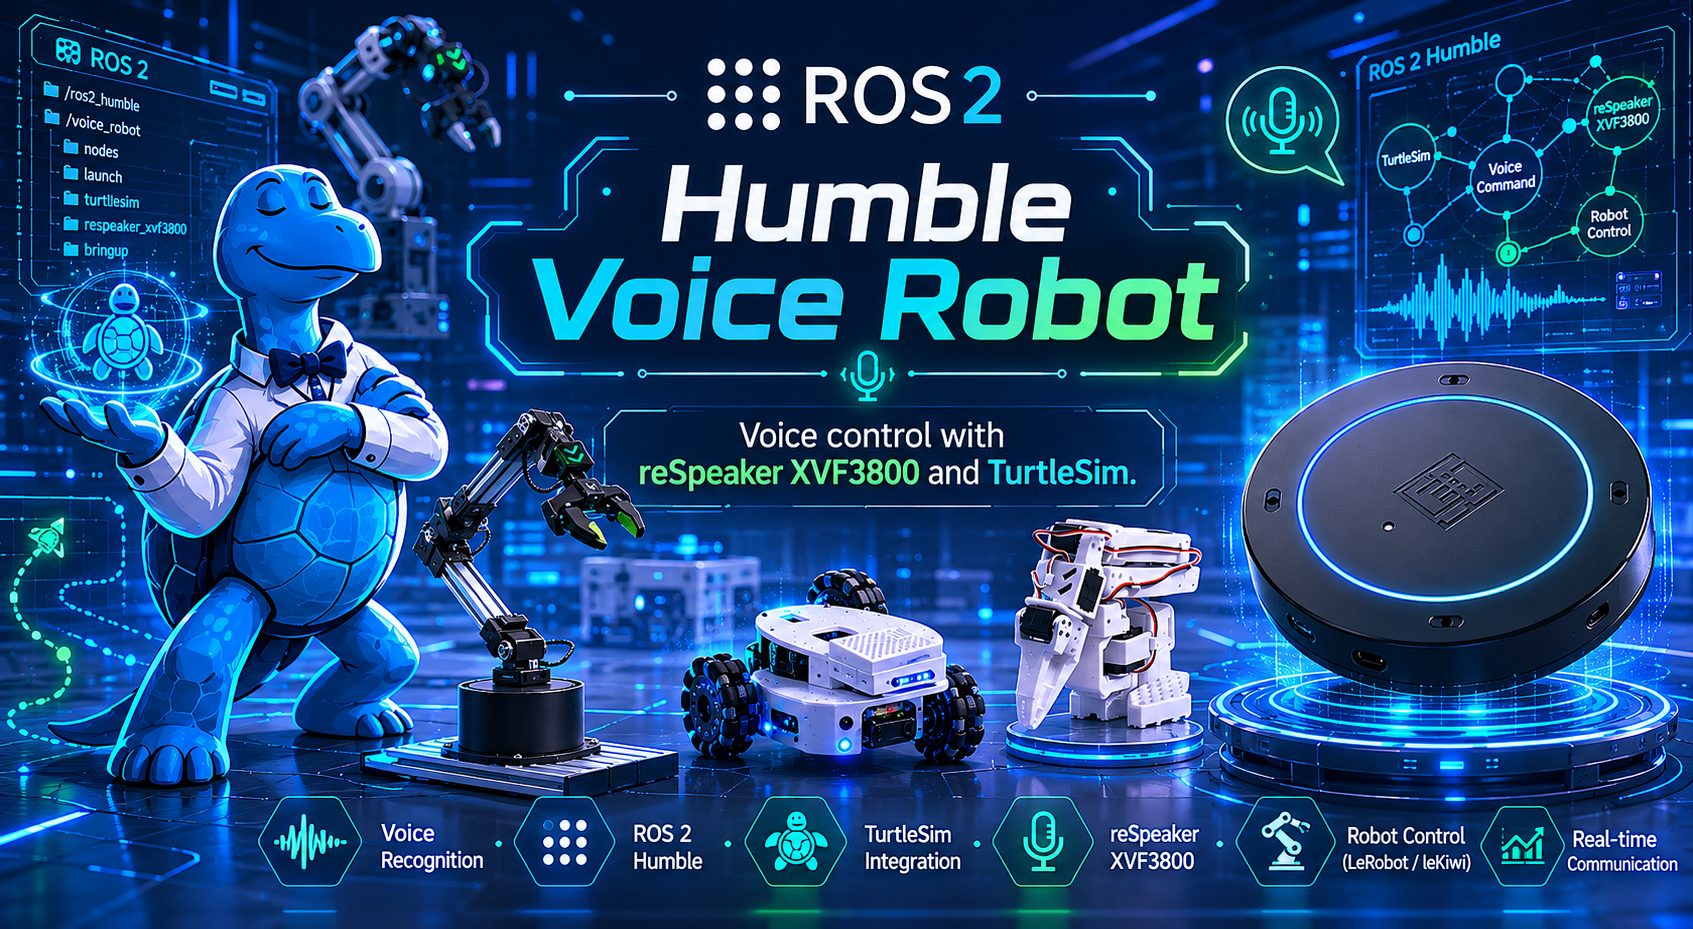
This project turns your voice into TurtleSim control using a reSpeaker XVF3800 microphone array and ROS2. Say “Hey Jarvis” followed by a command, and Jarvis records audio, transcribes it with Groq Whisper, interprets intent with Groq LLaMA, and responds with Groq Orpheus TTS. It supports forward/backward motion, angle turns, DoA-based facing, and instant stop commands. The system integrates wake-word detection, audio capture, ROS2 topics, and simulator command publishing in one seamless pipeline. It is designed for fast setup with Ubuntu and ROS2 Humble, making voice-driven robot experiments easy to run.
Part 1 — Install ROS2 Humble
Skip this part if ROS2 Humble is already installed on your machine. Check by running:
ros2 --version
1.1 Set up the ROS2 apt repository
# Make sure your system is up to date
sudo apt update && sudo apt upgrade -y

# Install required tools
sudo apt install -y software-properties-common curl

# Add the ROS2 GPG key
sudo curl -sSL https://raw.githubusercontent.com/ros/rosdistro/master/ros.key \
    -o /usr/share/keyrings/ros-archive-keyring.gpg

# Add the ROS2 repository to your sources
echo "deb [arch=$(dpkg --print-architecture) signed-by=/usr/share/keyrings/ros-archive-keyring.gpg] \
    http://packages.ros.org/ros2/ubuntu $(. /etc/os-release && echo $UBUNTU_CODENAME) main" \
    | sudo tee /etc/apt/sources.list.d/ros2.list > /dev/null
1.2 Install ROS2 Humble Desktop
sudo apt update
sudo apt install -y ros-humble-desktop
The
desktopvariant includes TurtleSim, RViz, and all tools you need. This download is around 1 GB — it may take a few minutes.
1.3 Install build tools
sudo apt install -y python3-colcon-common-extensions python3-rosdep
1.4 Source ROS2 automatically on every terminal
echo "source /opt/ros/humble/setup.bash" >> ~/.bashrc
source ~/.bashrc
1.5 Verify the installation
ros2 --version
# Expected output: ros2 cli    version 0.18.x (or similar)
Then test TurtleSim to confirm everything works:
# Terminal 1
ros2 run turtlesim turtlesim_node

# Terminal 2
ros2 run turtlesim turtle_teleop_key
You should see a window with a turtle you can drive with arrow keys. Press Ctrl+C in both terminals when done.
Part 2 — Create a udev Rule for the Device
Create a new udev rule to ensure proper permissions for the ReSpeaker USB Mic Array:
sudo nano /etc/udev/rules.d/50-respeaker.rules
Add the following lines to the file:
# ReSpeaker USB Mic Array
SUBSYSTEM=="usb", ATTR{idVendor}=="2886", ATTR{idProduct}=="0018", MODE="0666", GROUP="plugdev"
SUBSYSTEM=="usb", ATTR{idVendor}=="2886", ATTR{idProduct}=="001a", MODE="0666", GROUP="plugdev"
Reload udev Rules and Restart the Service
Reload the udev rules and restart the service for changes to take effect:
sudo udevadm control --reload-rules
sudo udevadm trigger
sudo service udev restart
Unplug and replug your reSpeaker USB Mic Array to apply the new rules.
Part 3 — Get a Groq API Key
This project uses Groq's free cloud API for:
- Whisper — speech-to-text
- LLaMA 3 — understanding your commands
- Orpheus — Jarvis's voice reply
- Go to console.groq.com and create a free account
- Click API Keys in the left sidebar
- Click Create API Key, give it a name (e.g. "jarvis"), and copy it
- Save it somewhere safe — you will paste it into
config.envshortly
The Groq free tier is generous enough for development and testing. No credit card is required to get started.
Part 4 — Install Python Dependencies (System-Wide)
Important: Do NOT use a virtual environment for this project. ROS2 uses the system Python and cannot see packages installed inside a venv. We install everything with
--break-system-packagesto make them available to ROS2 nodes.
pip install \
    groq \
    openwakeword \
    pyaudio \
    numpy<2 \
    python-dotenv \
    pyusb \
Download the "Hey Jarvis" wake word model
python3 -c "import openwakeword; openwakeword.utils.download_models()"
This downloads pre-trained models to ~/.openwakeword/. It takes about 30 seconds.
Install PortAudio (required by PyAudio)
sudo apt install -y portaudio19-dev python3-pyaudio
Part 5 — Create Your ROS2 Workspace
Skip to Part 6 if you already have a
~/ros2_wsworkspace.
# Create the workspace directory
mkdir -p ~/ros2_ws/src
cd ~/ros2_ws

# Build the empty workspace to set it up
colcon build

# Source it and add to .bashrc so it loads automatically
echo "source ~/ros2_ws/install/setup.bash" >> ~/.bashrc
source ~/.bashrc
Part 6 — Clone and Configure the Project
6.1 Clone the repository
cd ~/ros2_ws/src
git clone https://github.com/KasunThushara/ros_voice_controller.git my_robot_controller
Your workspace should now look like this:
~/ros2_ws/
└── src/
    └── my_robot_controller/
        ├── my_robot_controller/
        │   ├── voice_node.py
        │   ├── rotate_doa.py
        │   ├── wakeword.py
        │   └── ...
        ├── launch/
        │   └── jarvis.launch.py
        └── config.env.example
6.2 Create your config file
cd ~/ros2_ws/src/my_robot_controller
cp config.env.example config.env
nano config.env
Open the file and fill in your values:
# ── Groq API (required) ────────────────────────────────
GROQ_API_KEY=gsk_xxxxxxxxxxxxxxxxxxxxxxxxxxxxxxxx   ← paste your key here

# ── Microphone ─────────────────────────────────────────
MIC_INDEX=1          ← find the correct number in Step 6.3 below
WAKEWORD_THRESHOLD=0.5
WAKEWORD_COOLDOWN=2

# ── Recording ──────────────────────────────────────────
RECORDING_SECONDS=4
SAMPLE_RATE=16000

# ── Models ─────────────────────────────────────────────
WAKEWORD_MODEL=hey jarvis
LLM_MODEL=llama-3.1-8b-instant
STT_MODEL=whisper-large-v3-turbo
TTS_MODEL=canopylabs/orpheus-v1-english
TTS_VOICE=autumn
Save with Ctrl+O, Enter, Ctrl+X.
6.3 Find your correct MIC_INDEX
Run this helper to list all audio input devices:
python3 -c "
import pyaudio
p = pyaudio.PyAudio()
print('\nAvailable INPUT devices:\n')
for i in range(p.get_device_count()):
    d = p.get_device_info_by_index(i)
    if d['maxInputChannels'] > 0:
        print(f'  [{i}]  {d[\"name\"]}')
        print(f'        channels={int(d[\"maxInputChannels\"])}  rate={int(d[\"defaultSampleRate\"])}Hz')
p.terminate()
"
Example output:
Available INPUT devices:

  [0]  HDA Intel PCH: ALC897 Analog
        channels=2  rate=44100Hz

  [1]  reSpeaker XVF3800
        channels=6  rate=16000Hz    ← this is the one you want

  [2]  USB PnP Sound Device
        channels=2  rate=16000Hz
Find the line that says reSpeaker or XVF3800. Note the number in brackets — that is your MIC_INDEX. Update config.env with that number.
Part 7 — Build the Package
cd ~/ros2_ws
colcon build --packages-select my_robot_controller
source ~/.bashrc
Expected output:
Starting >>> my_robot_controller
Finished <<< my_robot_controller [3.2s]

Summary: 1 package finished [3.5s]
You must run
colcon buildandsource ~/.bashrcevery time you change any Python file.
Part 8 — Run the Project
ros2 launch my_robot_controller jarvis.launch.py
You should see three processes start:
[turtlesim_node-1]   [INFO] Spawning turtle [turtle1] at x=[5.54], y=[5.54]
[angle_controller-2] [INFO] AngleController ready — listening on /target_angle
[voice_command-3]    [INFO] reSpeaker XVF3800 found — DoA ready
[voice_command-3]    [WakeWord] Listening on device 1 (6ch → mono) for 'hey jarvis' ...
[voice_command-3]    [INFO] Jarvis is listening ...
A window will open showing the turtle. Now speak:
"Hey Jarvis, move forward"
Jarvis will reply "Moving forward!" and the turtle will move.
Voice Command Reference
| Say this | What happens |
|---|---|
"Hey Jarvis, move forward" | Turtle moves forward 1 step |
"Hey Jarvis, move backward" | Turtle moves backward 1 step |
"Hey Jarvis, turn left" | Turtle rotates left 90° |
"Hey Jarvis, turn left 45" | Turtle rotates left 45° |
"Hey Jarvis, turn right" | Turtle rotates right 90° |
"Hey Jarvis, turn right 30 degrees" | Turtle rotates right 30° |
"Hey Jarvis, turn to my direction" | Turtle faces toward your voice (DoA) |
"Hey Jarvis, face me" | Same as above |
"Hey Jarvis, turn to 90" | Turtle rotates to absolute 90° |
"Hey Jarvis, face 180 degrees" | Turtle rotates to absolute 180° |
"Hey Jarvis, spin around" | Turtle does a full 360° spin |
"Hey Jarvis, do a 360" | Same as above |
"Hey Jarvis, stop" | Turtle stops immediately |
Project File Structure
my_robot_controller/
│
├── my_robot_controller/          # Python package (ROS2 nodes)
│   ├── __init__.py
│   ├── voice_node.py             # Main voice pipeline node
│   ├── rotate_doa.py             # PID angle controller node
│   ├── wakeword.py               # Wake word detection (openwakeword)
│   ├── audio_recorder.py         # Mic recording after wake word
│   ├── stt.py                    # Speech-to-text (Groq Whisper)
│   ├── llm.py                    # Intent parsing (Groq LLaMA)
│   ├── tts.py                    # Text-to-speech (Groq Orpheus)
│   └── config.py                 # Loads settings from config.env
│
├── launch/
│   └── jarvis.launch.py          # Starts all 3 nodes together
│
├── config.env                    # Your secrets (not in git)
├── config.env.example            # Template — copy to config.env
├── package.xml
└── setup.py
How the nodes connect
reSpeaker XVF3800 (USB)
        │
        ├── [voice_command node]
        │     openwakeword → Groq Whisper → Groq LLaMA → Groq Orpheus
        │     │                                          │
        │     │ publishes /target_angle (Float32)        │ speaks reply
        │     │ publishes /turtle1/cmd_vel (Twist)       │
        │     │                                          ▼
        │     ▼                                     Speaker output
        └── [angle_controller node]
              subscribes /target_angle
              subscribes /turtle1/pose
              PID control → publishes /turtle1/cmd_vel
                                        │
                                        ▼
                              [turtlesim_node]
Configuration Reference
All settings live in config.env. Edit and rebuild to apply changes.
| Variable | Default | Description |
|---|---|---|
GROQ_API_KEY | (required) | Your Groq API key |
MIC_INDEX | 1 | PyAudio device index of the reSpeaker |
WAKEWORD_MODEL | hey jarvis | Wake word phrase |
WAKEWORD_THRESHOLD | 0.5 | Detection sensitivity (0.0–1.0, lower = more sensitive) |
WAKEWORD_COOLDOWN | 2 | Seconds before wake word can re-trigger |
RECORDING_SECONDS | 4 | How long to record after wake word fires |
SAMPLE_RATE | 16000 | Audio sample rate in Hz |
LLM_MODEL | llama-3.1-8b-instant | Groq LLM model for intent parsing |
STT_MODEL | whisper-large-v3-turbo | Groq Whisper model for transcription |
TTS_MODEL | canopylabs/orpheus-v1-english | Groq TTS model |
TTS_VOICE | autumn | Voice for speech output (tara, leah, leo, dan, mia) |
Resources
Built with:
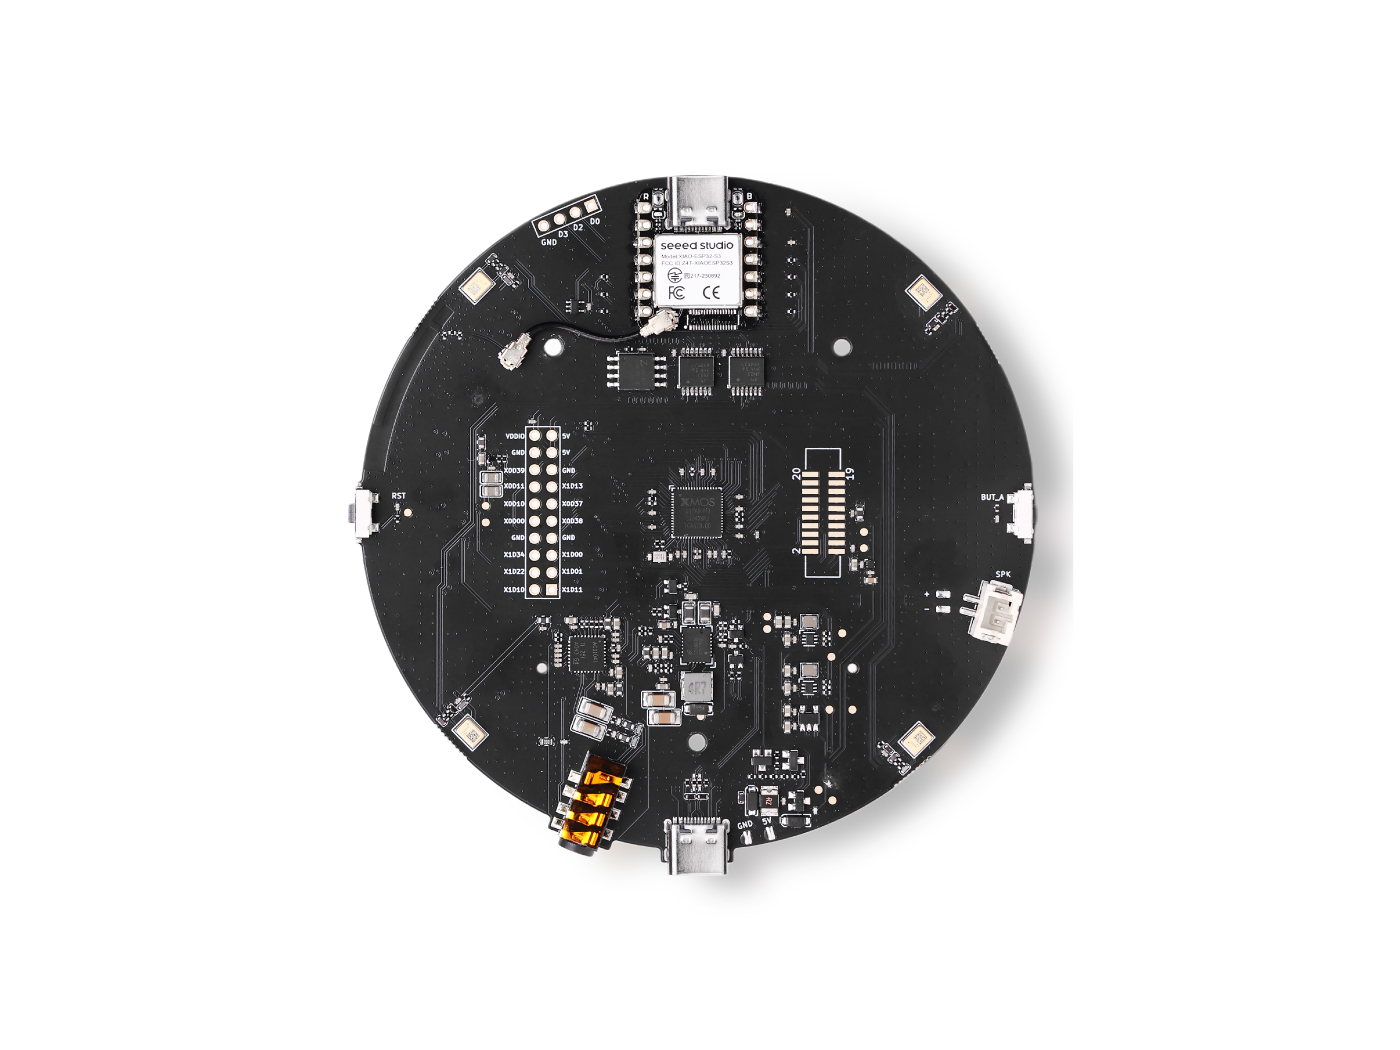
- Seeed Studio reSpeaker XVF3800 — mic array with XMOS XVF3800
- ROS2 Humble — robot middleware
- openwakeword — local wake word detection
- Groq — ultra-fast Whisper STT, LLaMA LLM, Orpheus TTS
- TurtleSim — ROS2 turtle simulator
Tech Support & Product Discussion
Thank you for choosing our products! We are here to provide you with different support to ensure that your experience with our products is as smooth as possible. We offer several communication channels to cater to different preferences and needs.