SenseCraft AI with reSpeaker
Introduction
SenseCraft AI is Seeed Studio's no-code/low-code AI platform that simplifies deploying pre-trained artificial intelligence models to edge devices such as the reSpeaker . This guide focuses on configuring the reSpeaker for wakeword detection using the custom trigger "Lumio," enabling voice-activated control for your projects without writing complex code. With SenseCraft AI, you can quickly test, preview, and integrate wakeword events into your hardware workflows. The platform also allows you to create and upload your own custom models for detecting specific sound events and custom wakewords, giving you full flexibility to tailor voice interactions to your unique application needs.
| reSpeaker Lite | reSpeaker XVF3800 | |
|---|---|---|
 | OR | 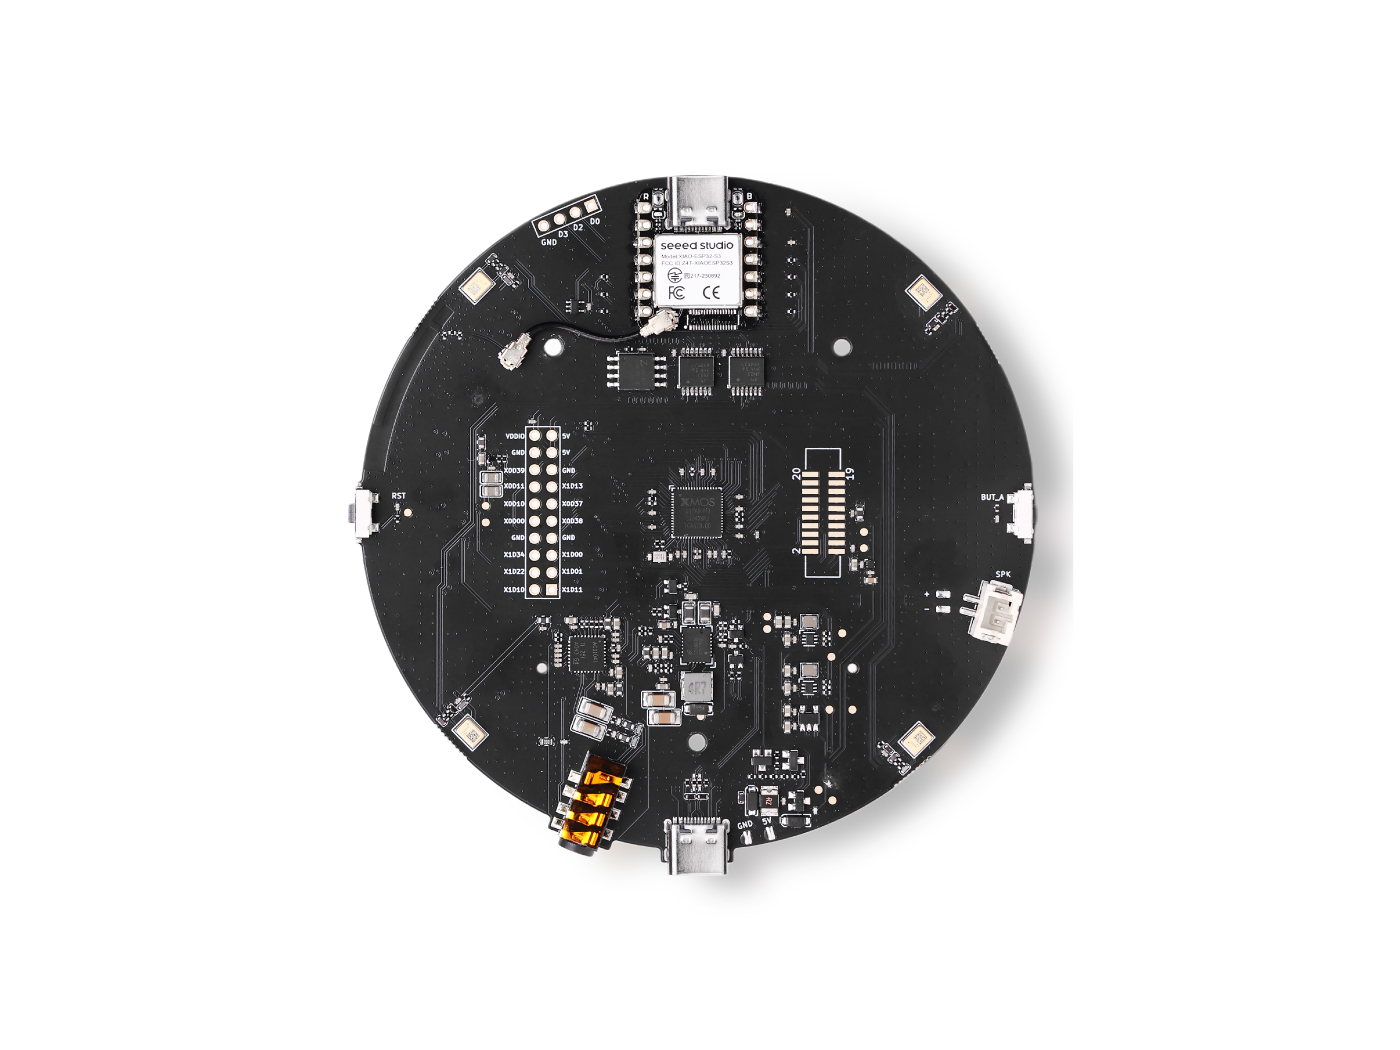 |
Deploy Existing Model
Step 1: Update the Device Firmware
Before deploying the wakeword model, ensure your reSpeaker XVF3800 is running the correct firmware version.
The required firmware file is:
respeaker_xvf3800_i2s_master_dfu_firmware_v1.0.7_48k_test5.bin
Follow your device's standard DFU (Device Firmware Update) procedure to flash this file to the reSpeaker XVF3800.
If you are using a reSpeaker Lite, please ensure that it is running the correct firmware version.
The required firmware file is:
respeaker_lite_i2s_dfu_firmware_v1.0.9.bin
Follow your device's standard DFU (Device Firmware Update) procedure to flash this file to the reSpeaker Lite.
Step 2: Navigate to SenseCraft AI Platform
Open your web browser and go to:
Step 3: Access the Training Section
From the main navigation menu:
- Click on Products
- Select SenseCraft AI
- Choose Training AI Models
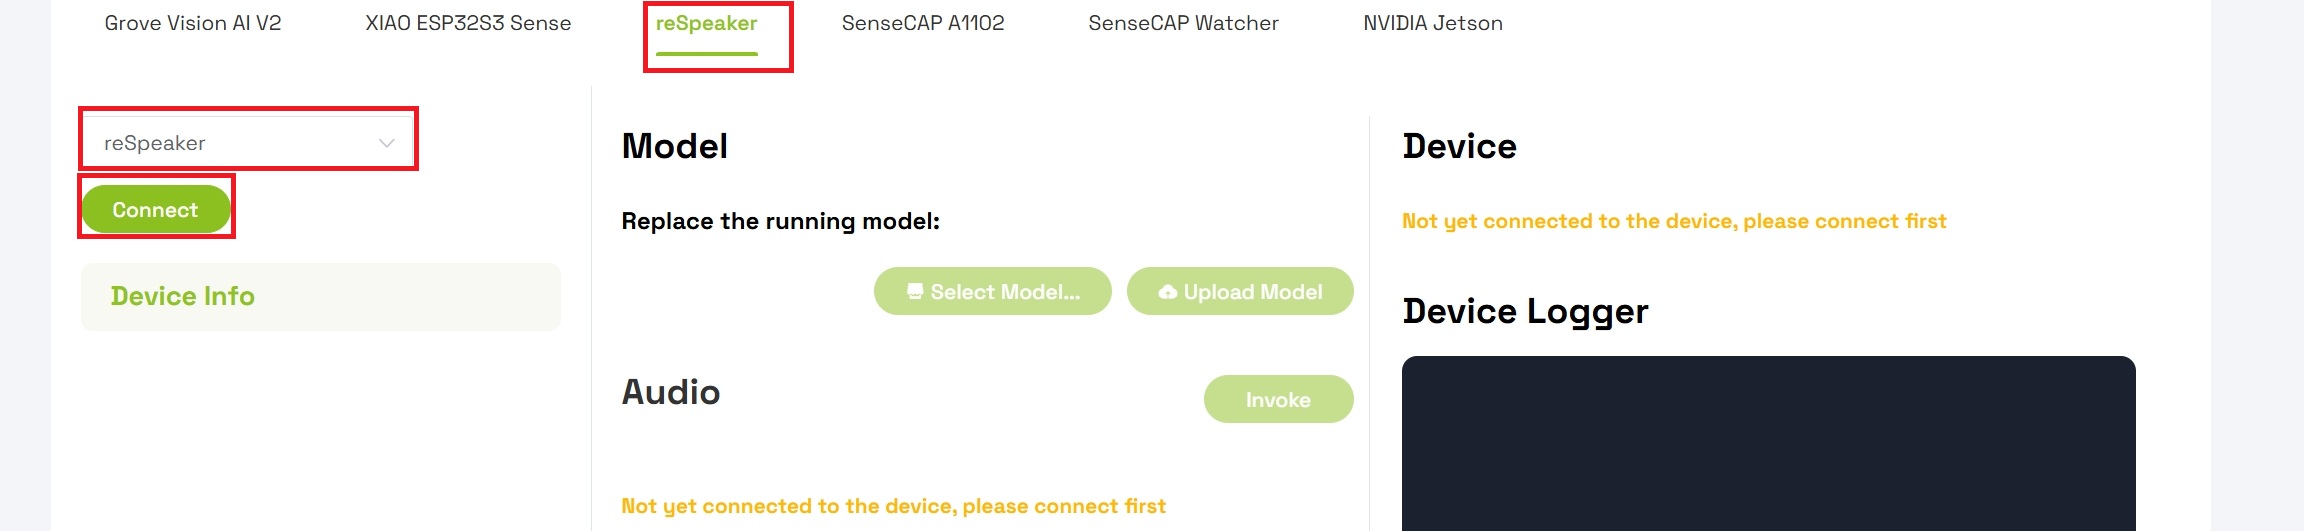
Step 4: Open Your Workspace
- Navigate to your Workspace

- Verify that the workspace is set to reSpeaker as the active device type
- Select reSpeaker from the device list
- Click the Connect button to establish a connection with your device
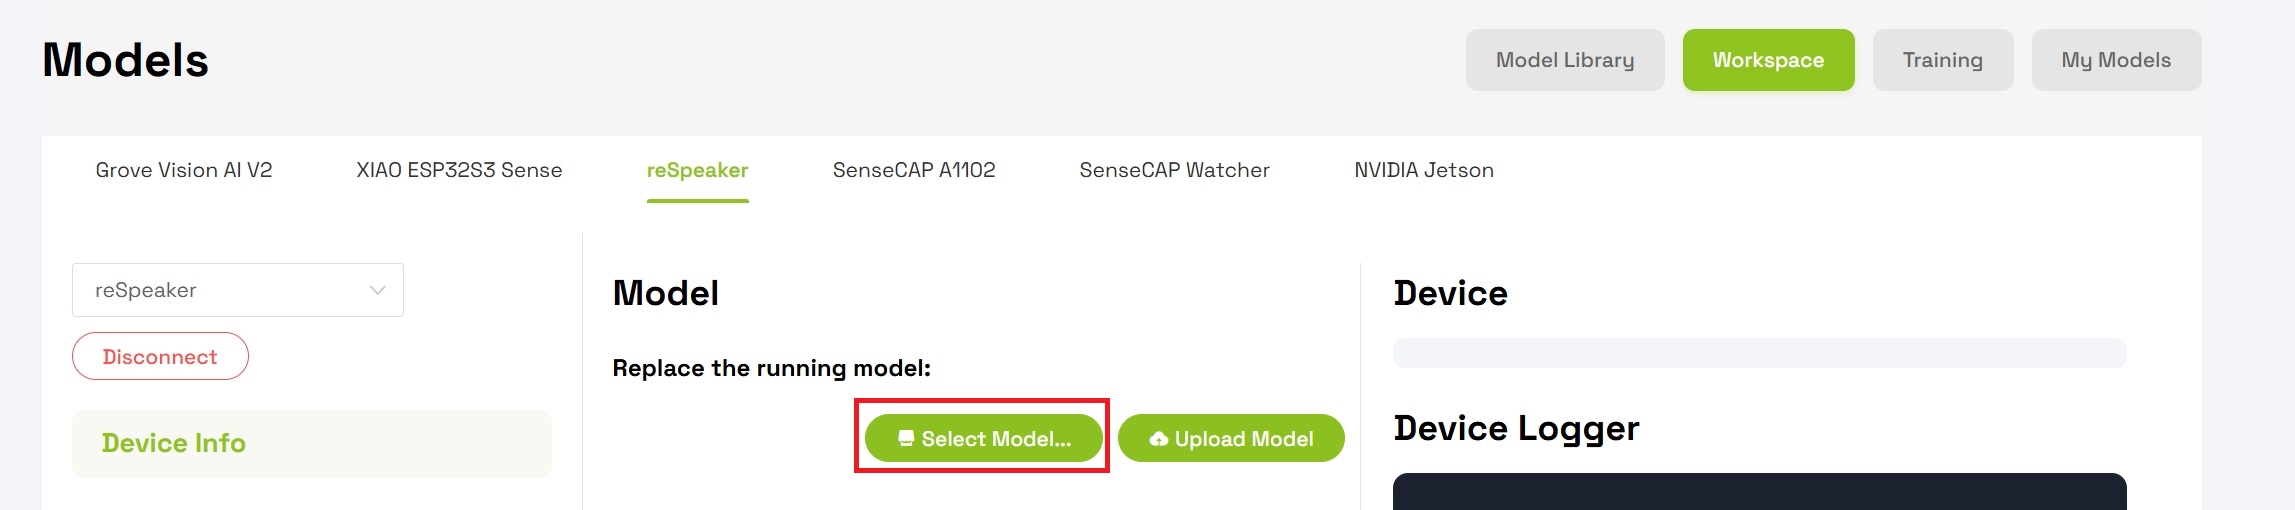
Step 5: Replace the Running Model
Once connected, you will replace the existing model on the device:
- Locate the Model section under "Replace the device running model"
- Click Select Model
- Choose Keyword Spotting- Lumos Keyword recognition from the available options
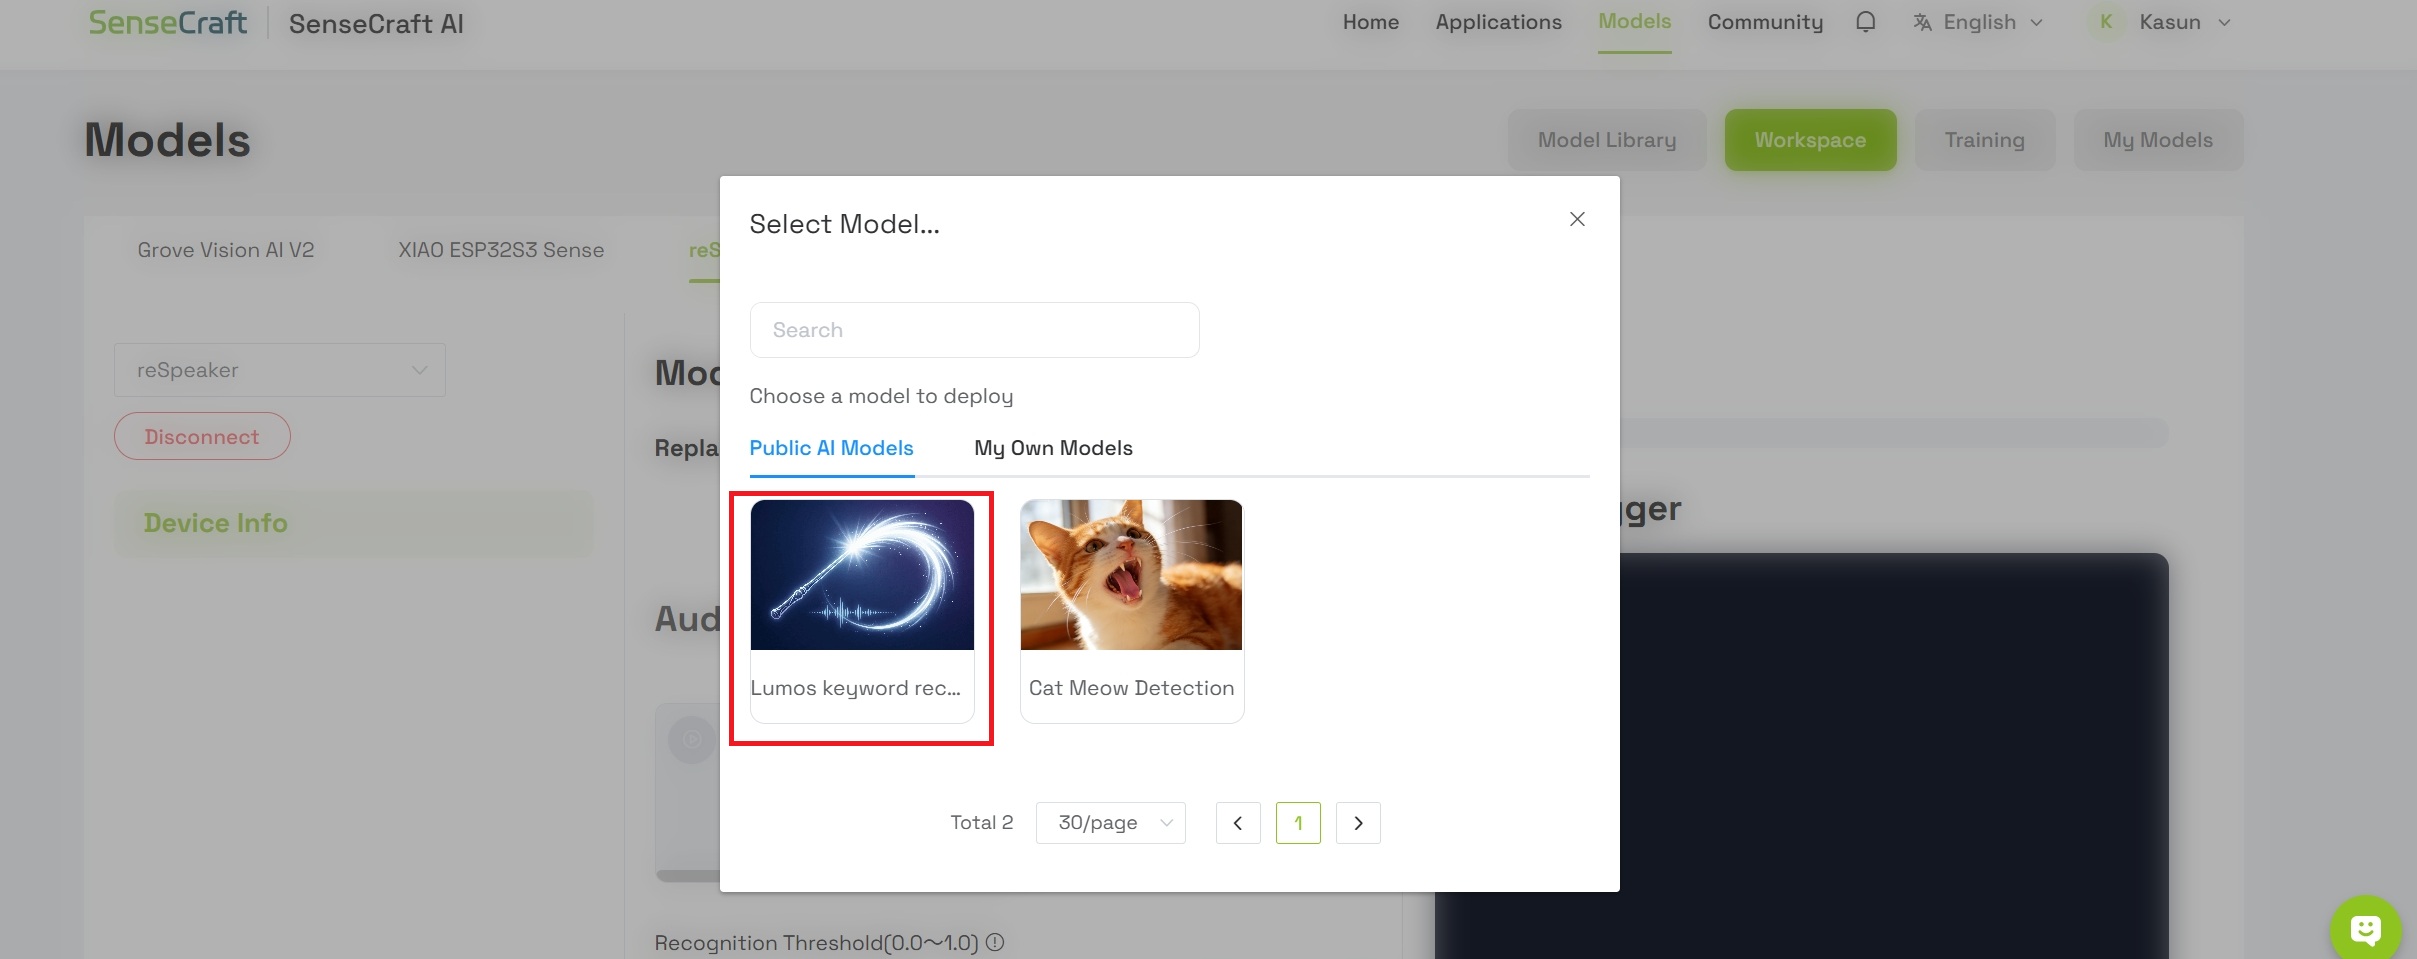
The model you are deploying is called Lumos. It is a lightweight speech recognition model designed to provide efficient, low-latency voice interaction capabilities for edge devices. By analyzing audio spectral features, the model can accurately detect the specific wake word "Lumos" even amidst complex ambient background noise.
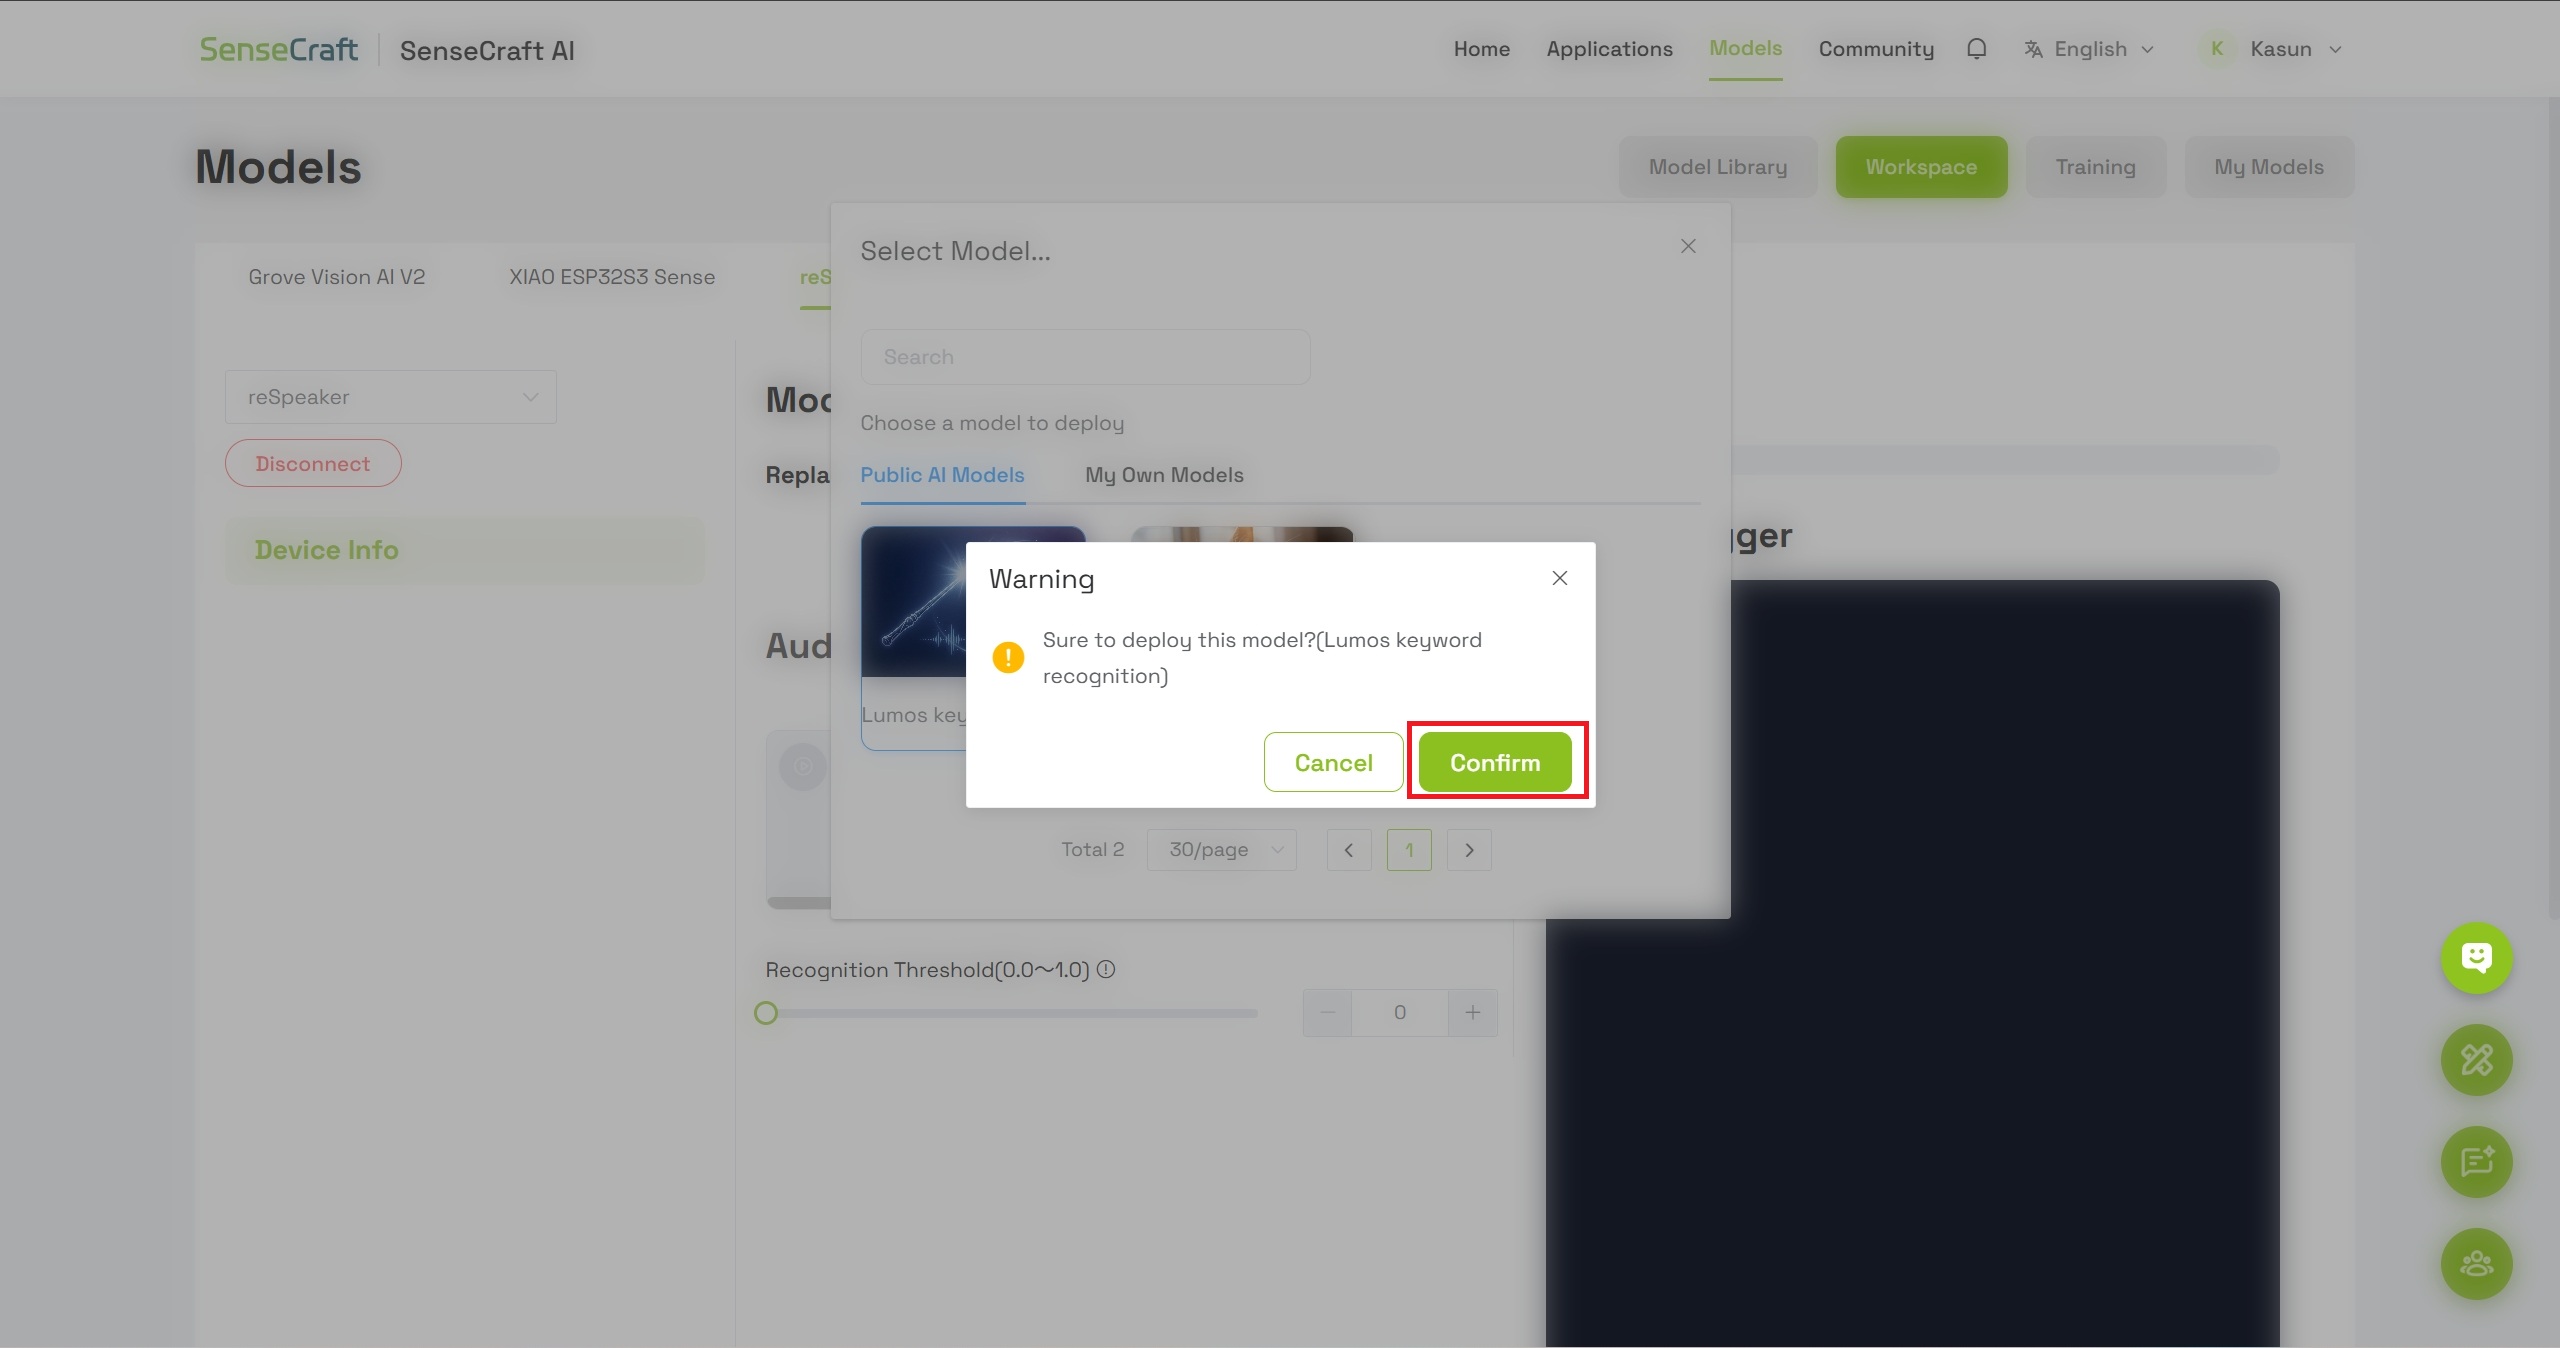
Step 6: Confirm Model Deployment
- A dialog box will appear with model details
- Click Confirm to proceed with flashing the model to your device
- Wait for a moment while the model is being flashed to the reSpeaker
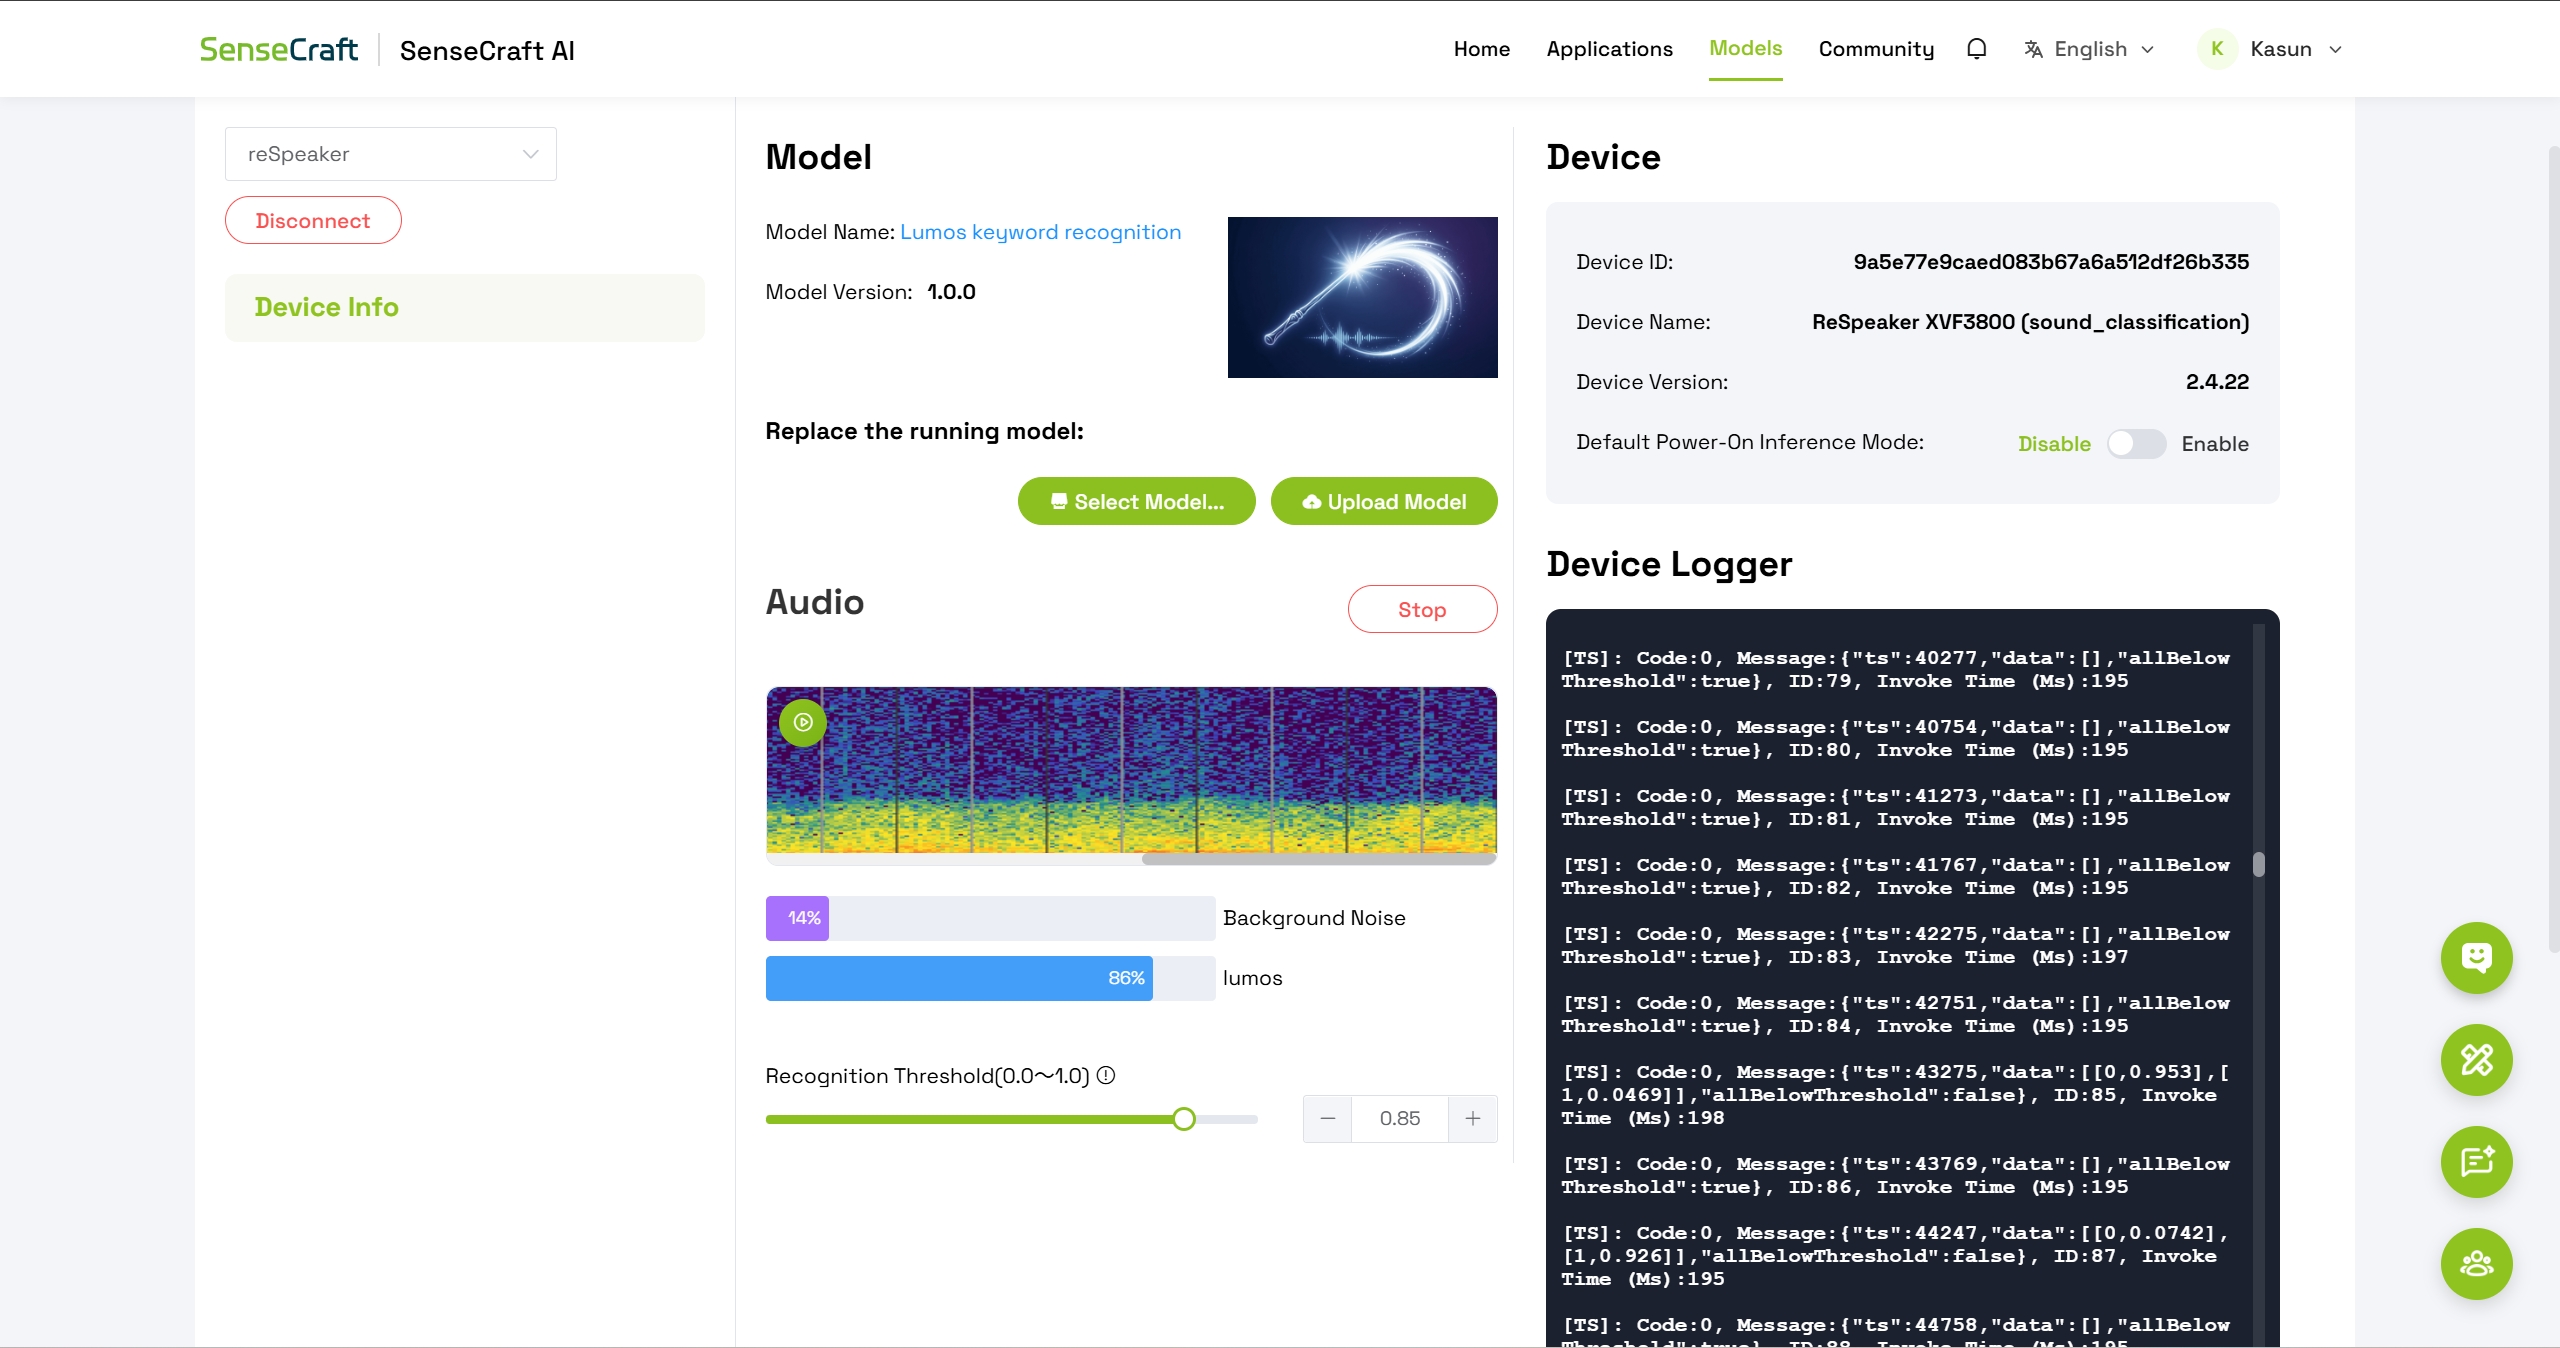
Step 8: Test Wakeword Detection
After successful deployment, you will see:
- Audio spectrum visualization – displaying real-time sound input
- Two detection classes:
- Background Noise
- Lumos
To test the wakeword:
- Speak the word "Lumos" clearly into the reSpeaker microphone
- Observe the confidence level for the Lumos class increase
- Adjust the threshold parameter as needed to fine-tune detection sensitivity
Train and deploy your own audio classifier
Step 1: Open the Training Tab
- Navigate to https://sensecraft.seeed.cc/
- From the main menu, go to Products → SenseCraft AI → Training AI Models
- Click on the Training tab to access the audio classification interface

Step 2: Connect Your reSpeaker Device
Under Audio Classification / Detection:
- Verify that reSpeaker Microphone is selected as the input device
- Click the Connect button to establish a connection
- Wait for the platform to confirm successful connection

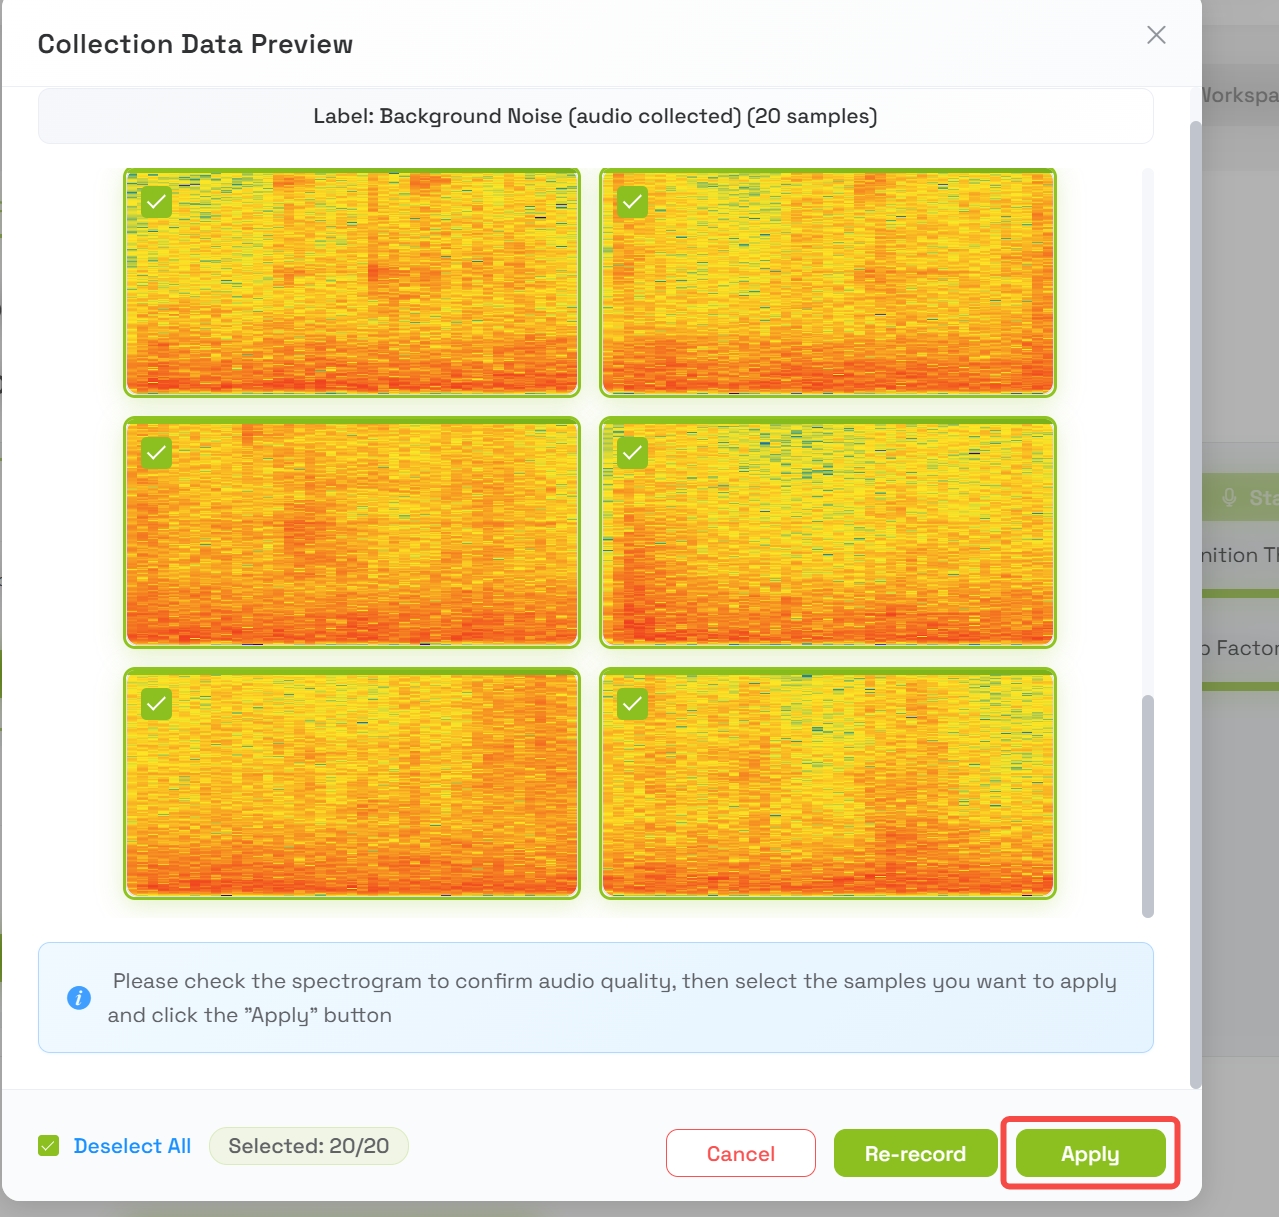
Step 3: Collect Background Noise Data
Before training custom sounds, you must establish a baseline for normal ambient noise.
- Press Collect Training Data for Background Noise

- The platform will automatically record for approximately 20 seconds
- The recording will be split into 1-second samples
- Once complete, a preview of the background data samples will appear
- Review the samples and press Apply when satisfied
Step 4: Create a Custom Sound Class
Now you will add a new class for the specific sound you want the model to detect.
4.1 Name Your Class
- Click Add New Class
- Enter the class name: Grassbreaking
- Press Create or confirm the new class
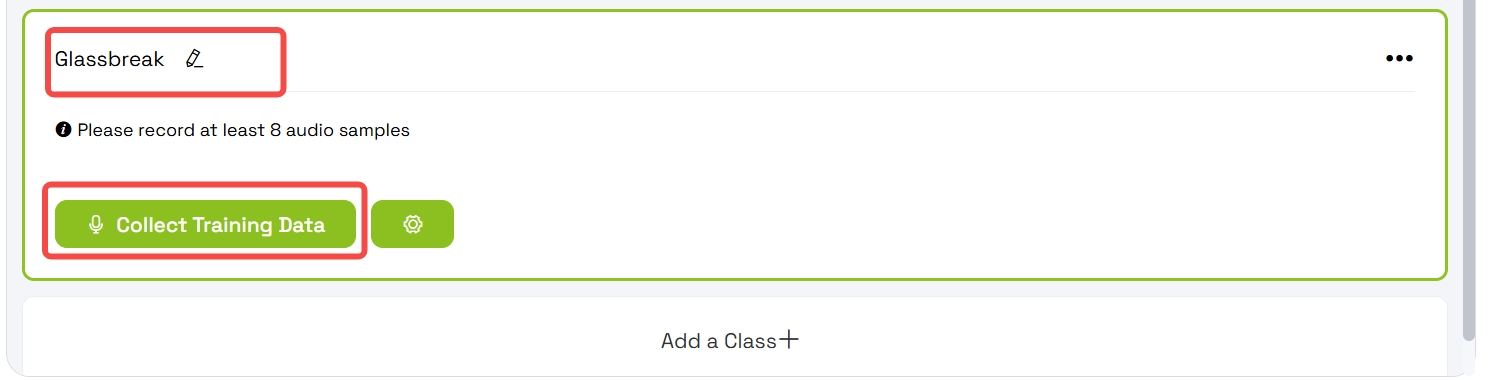
4.2 Collect Training Data for the Custom Class
- Select the Grassbreaking class
- Press Collect Training Data
- The platform will record for approximately 2 seconds
- The recording will be split into 1-second samples
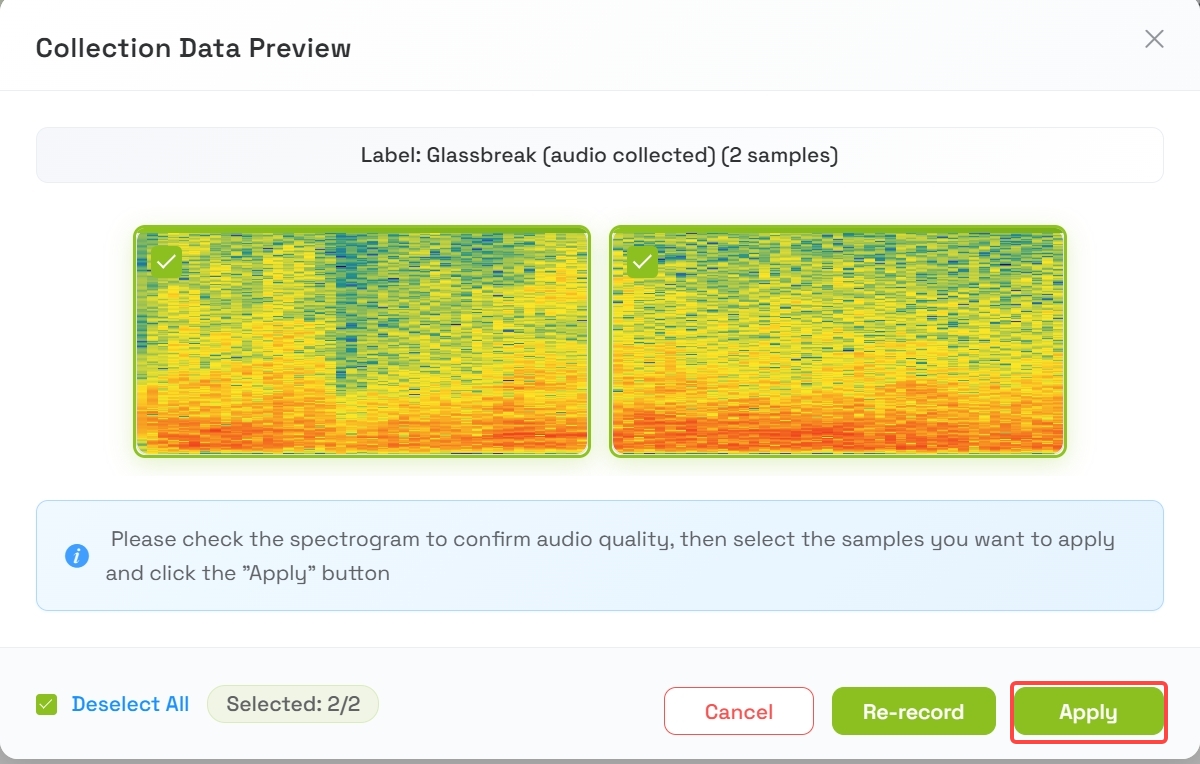
4.3 Review and Apply Samples
- After collection, a preview of the 2 samples will appear
- Listen to or review the samples
- Press Apply when you are satisfied with the quality
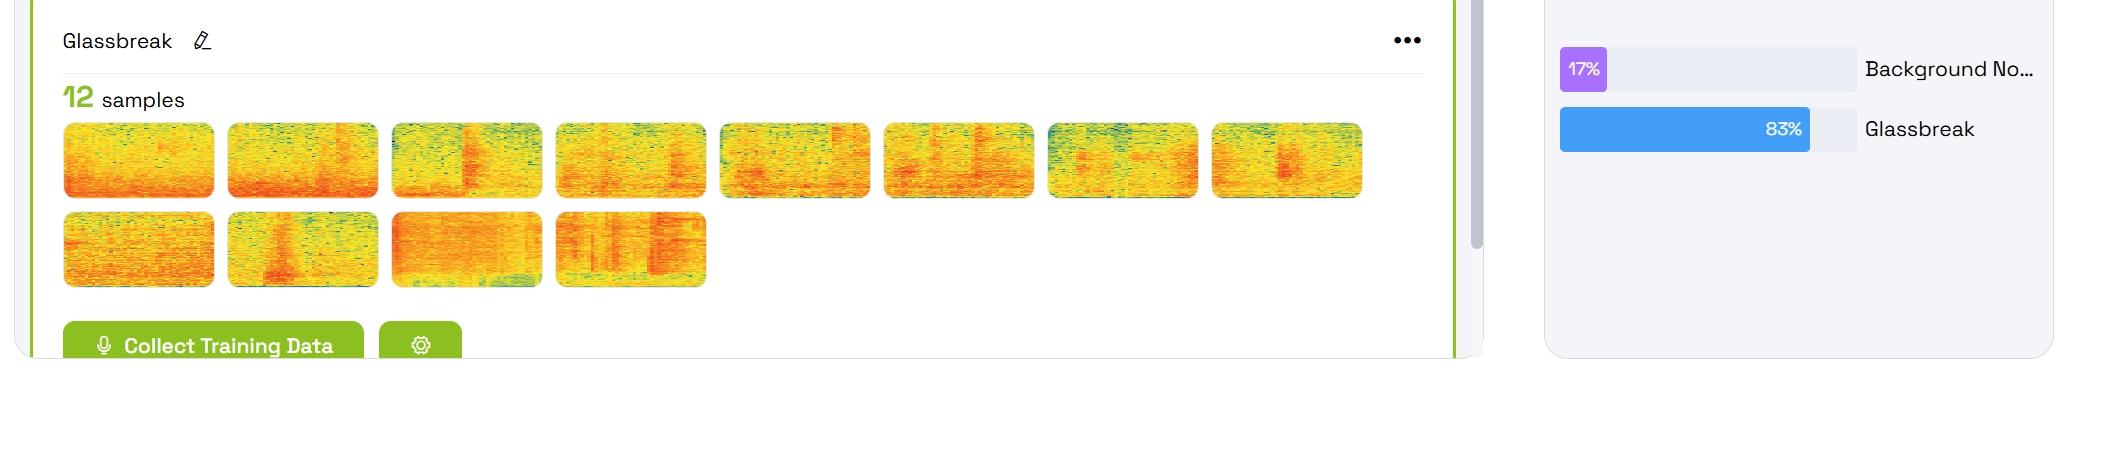
4.4 Repeat for More Samples
To achieve reliable detection, repeat the data collection process until you have collected at least 8 samples for the Grassbreaking class.
Tips for good samples:
- Vary the intensity of the grass breaking sound
- Collect samples from slightly different positions or angles
- Ensure the sound is clearly audible above background noise
Step 5: Train the Model
Once you have collected sufficient data, it is time to train the model.
5.1 Navigate to Training Step
Go to Step 2: Training in the interface.
5.2 Confirm Device Selection
Verify that reSpeaker is selected as the target device for training.
5.3 Start Training
- Press the Train button
- Wait a few minutes for the training process to complete
- Do not close the browser or disconnect the device during training

5.4 Review Training Results
After training finishes, your trained classes will appear with:
- Animated probability bars showing confidence levels
- Real-time predictions based on live audio input
Step 6: Deploy the Model to reSpeaker
6.1 Go to Deployment Step
Navigate to Step 3: Deploy in the interface.
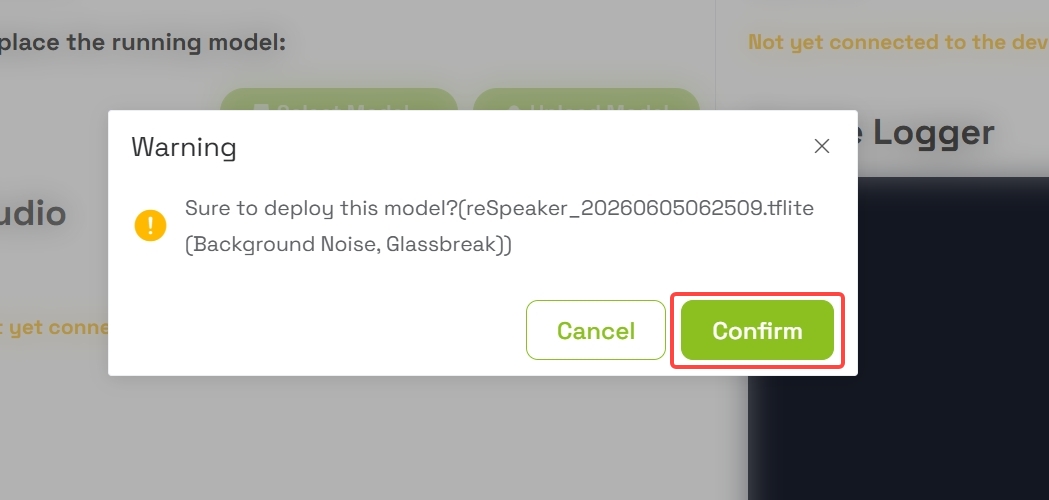
6.2 Deploy the Model
- Click the Deploy button to push the model to your device

- A confirmation dialog will appear
- Confirm the deployment to push the TFLM (TensorFlow Lite Micro) model to the reSpeaker's XIAO ESP32-S3
6.3 Wait for Completion
The deployment process may take a moment. Wait for the confirmation message indicating successful deployment.
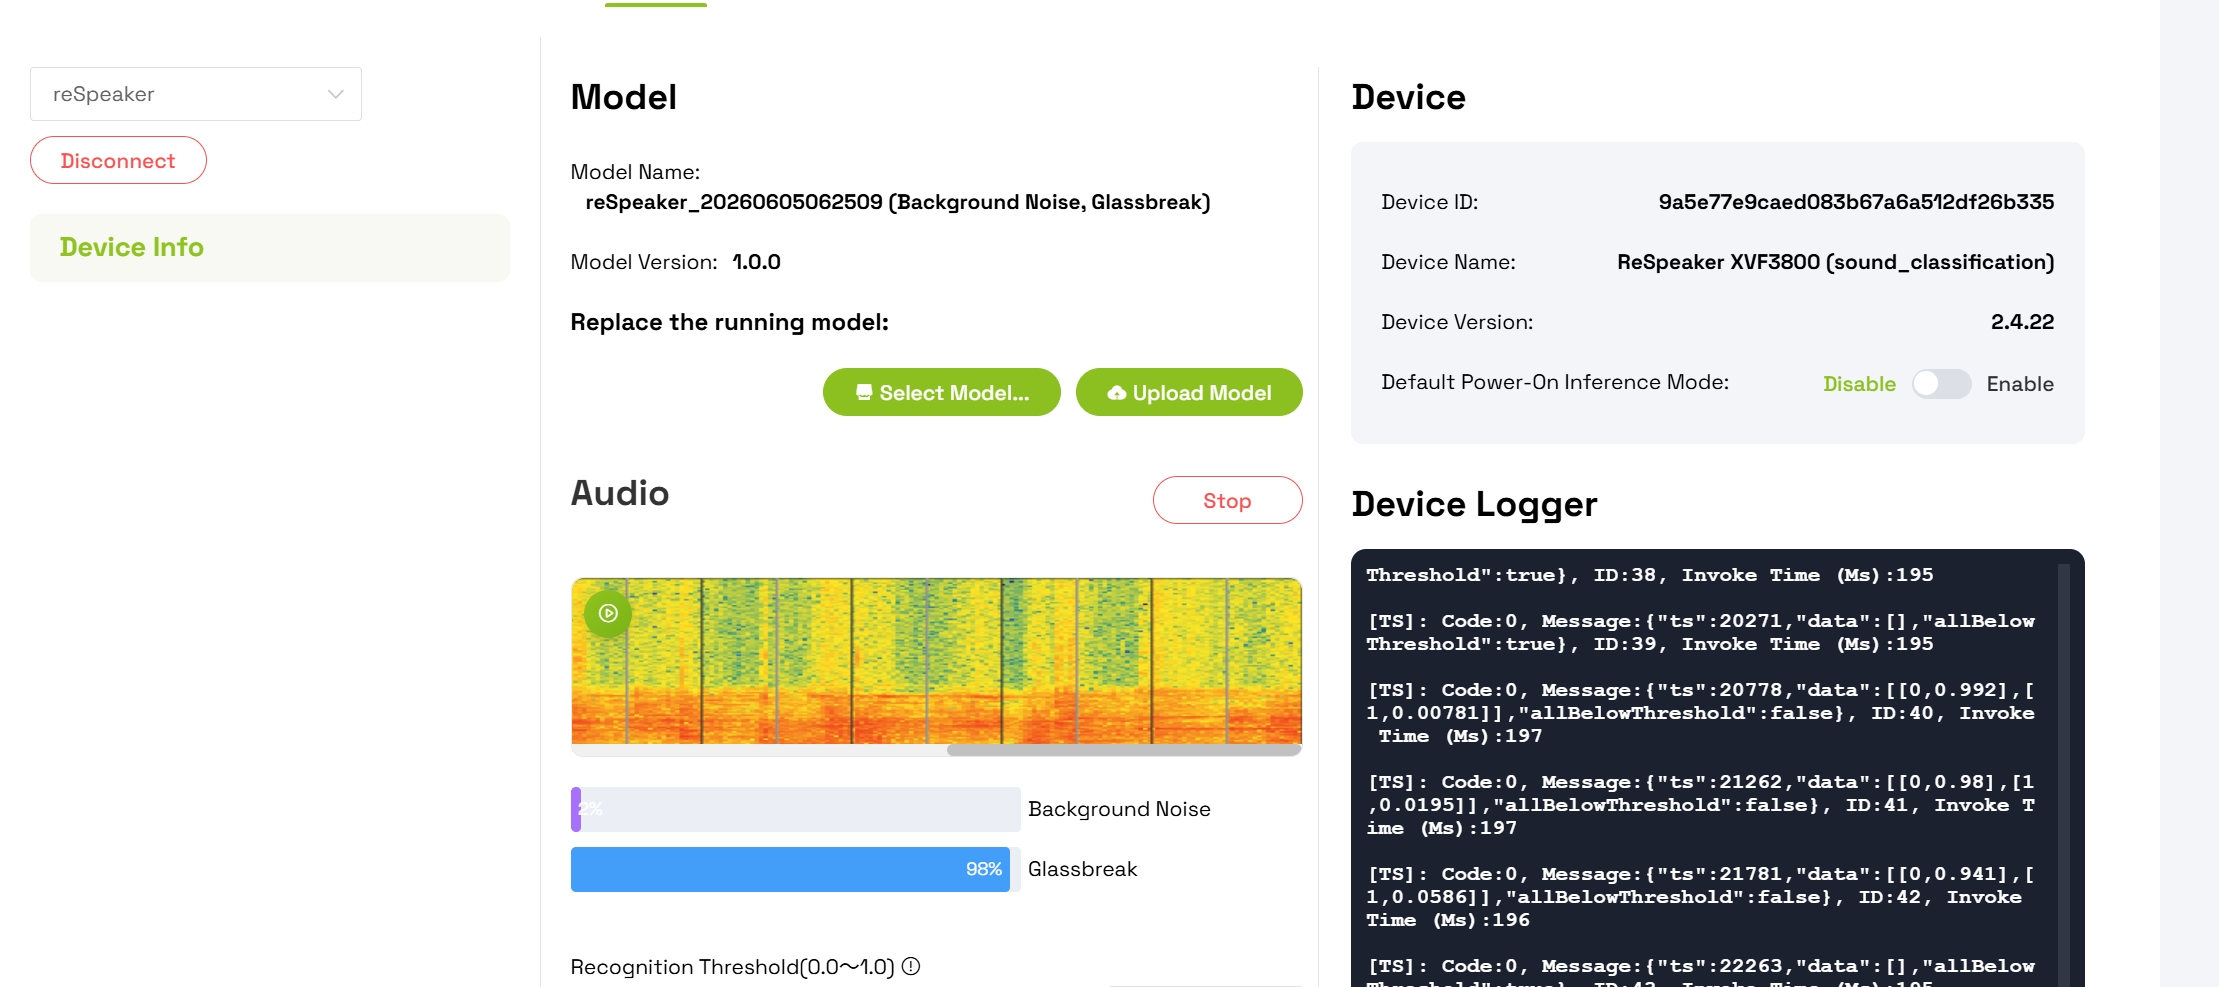
Step 7: Monitor Real-Time Detection
After successful deployment:
- The interface will display animated confidence bars for each detected class
- Speak or produce the grass breaking sound to test detection
- Observe the confidence level for the Grassbreaking class increase
- Watch the Background Noise confidence decrease when the custom sound is detected
Tech Support & Product Discussion
Thank you for choosing our products! We are here to provide you with different support to ensure that your experience with our products is as smooth as possible. We offer several communication channels to cater to different preferences and needs.