Using AI Generation in SenseCraft HMI
Introduction
SenseCraft HMI is Seeed Studio's interactive interface design platform specifically created for screen-based products. One of its most powerful features is the AI Generation function, which allows you to create beautiful display layouts and images by simply describing what you want in natural language.
This tutorial will guide you through using the AI Generation capabilities in both the Gallery and Canvas sections of SenseCraft HMI, enabling you to:
-
Generate custom images based on text descriptions
-
Create complete interface layouts with properly positioned components
-
Refine and adjust AI-generated content through conversation
-
Deploy your designs directly to your device with one click
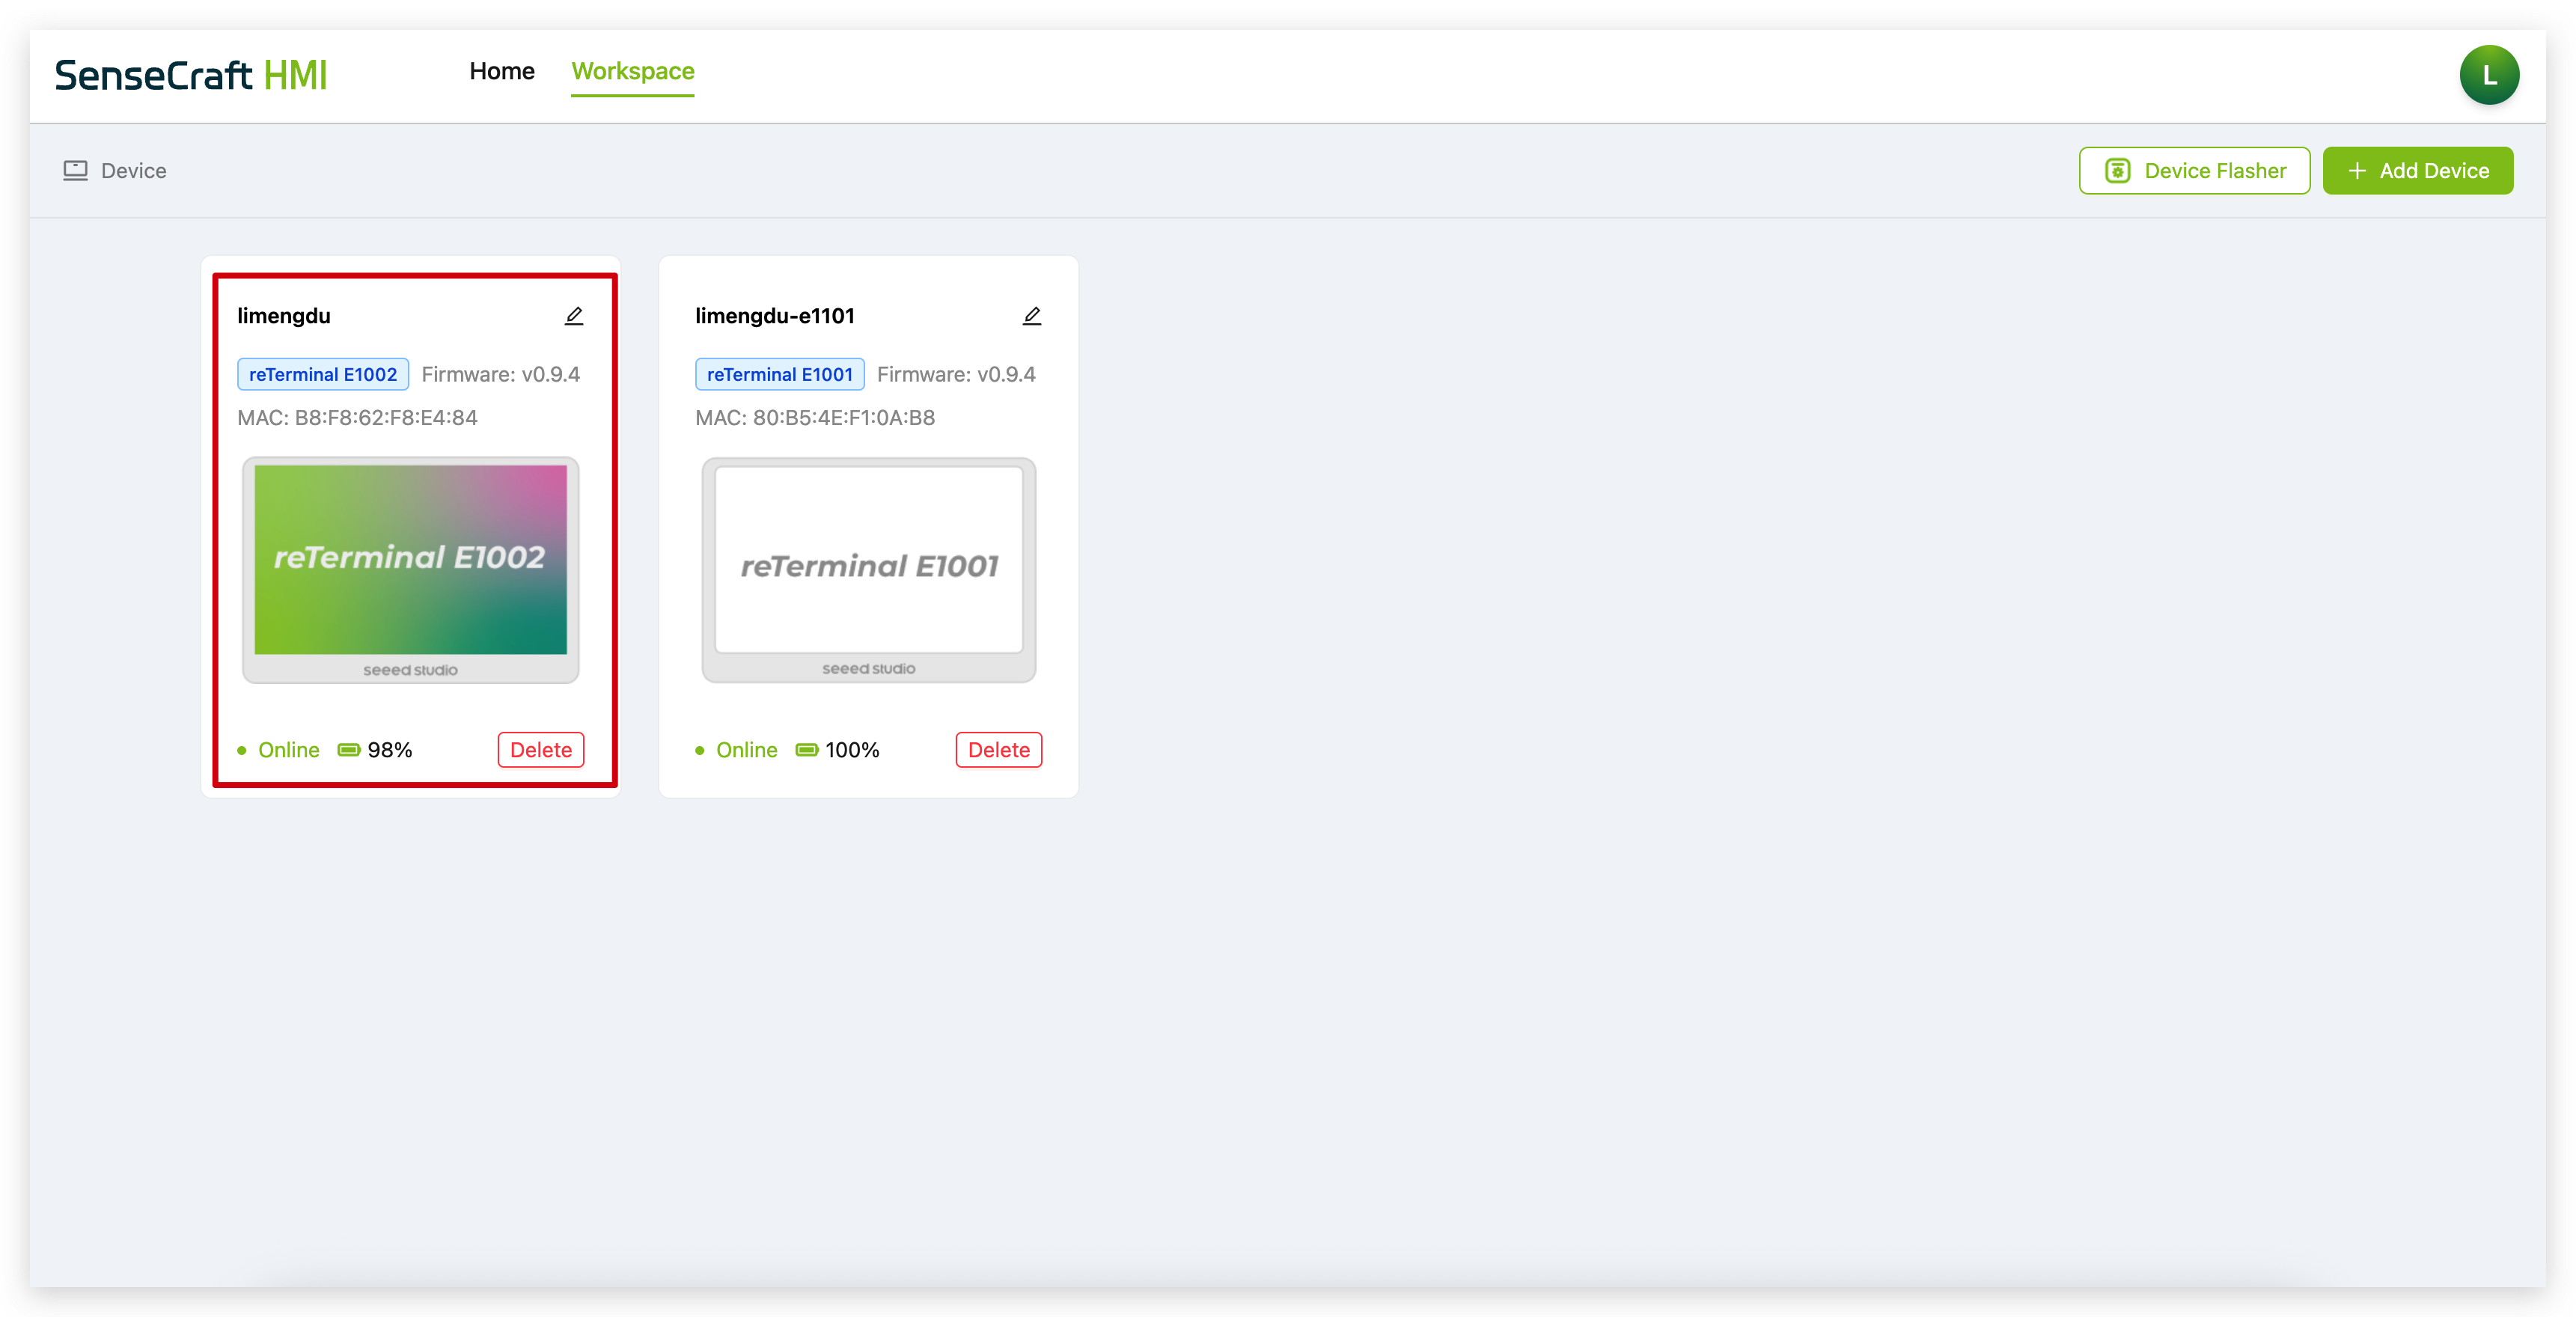
This article will use the reTerminal E1002 as an example to explain how to use this feature on the SenseCraft HMI platform.
Getting Started with AI Generation
The AI Generation feature is available in both the Gallery and Canvas sections of SenseCraft HMI. Each implementation serves a different purpose:
-
Gallery AI Generation: Creates standalone images based on your descriptions
-
Canvas AI Generation: Designs complete interfaces with functional components like buttons, text fields, and data displays
Let's explore how to use each of these features effectively.
AI Generation in Gallery
The Gallery AI Generation allows you to create custom images for your display without needing any design skills or external tools.
Accessing Gallery AI Generation
Step 1. Navigate to the SenseCraft HMI platform below.
Step 2. Connect your device or select an already paired device to use.
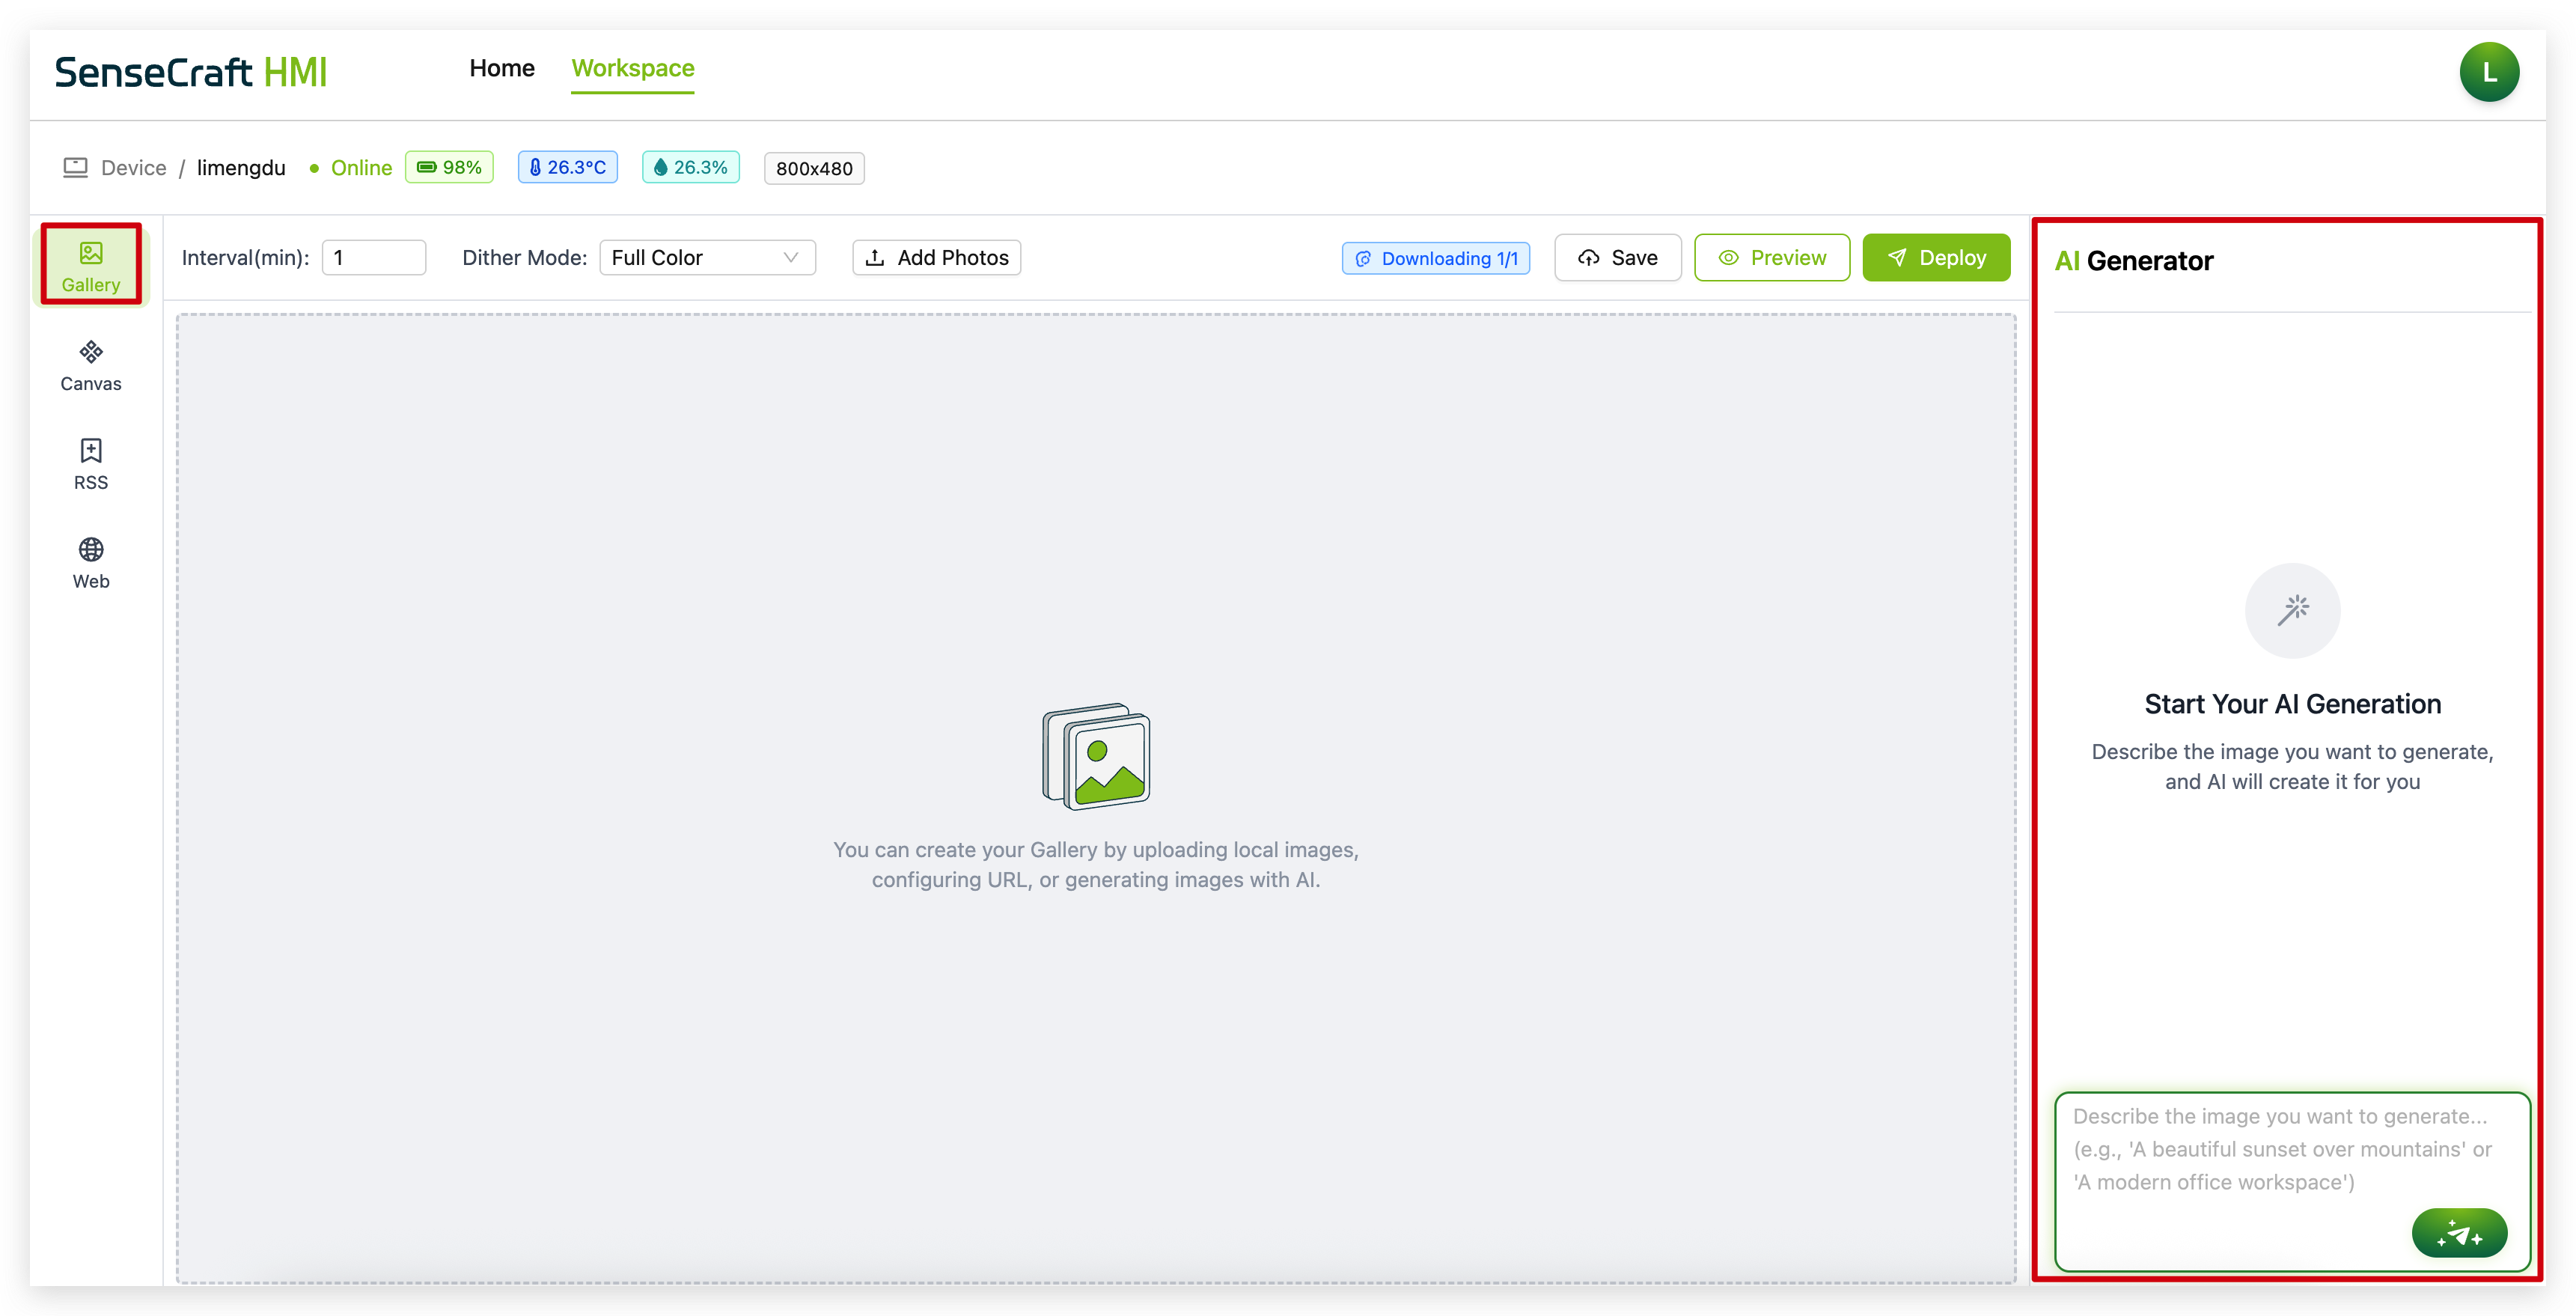
Step 3. Click on the "Gallery" tab in the left sidebar
Step 4. Notice the AI Generator panel on the right side of the screen
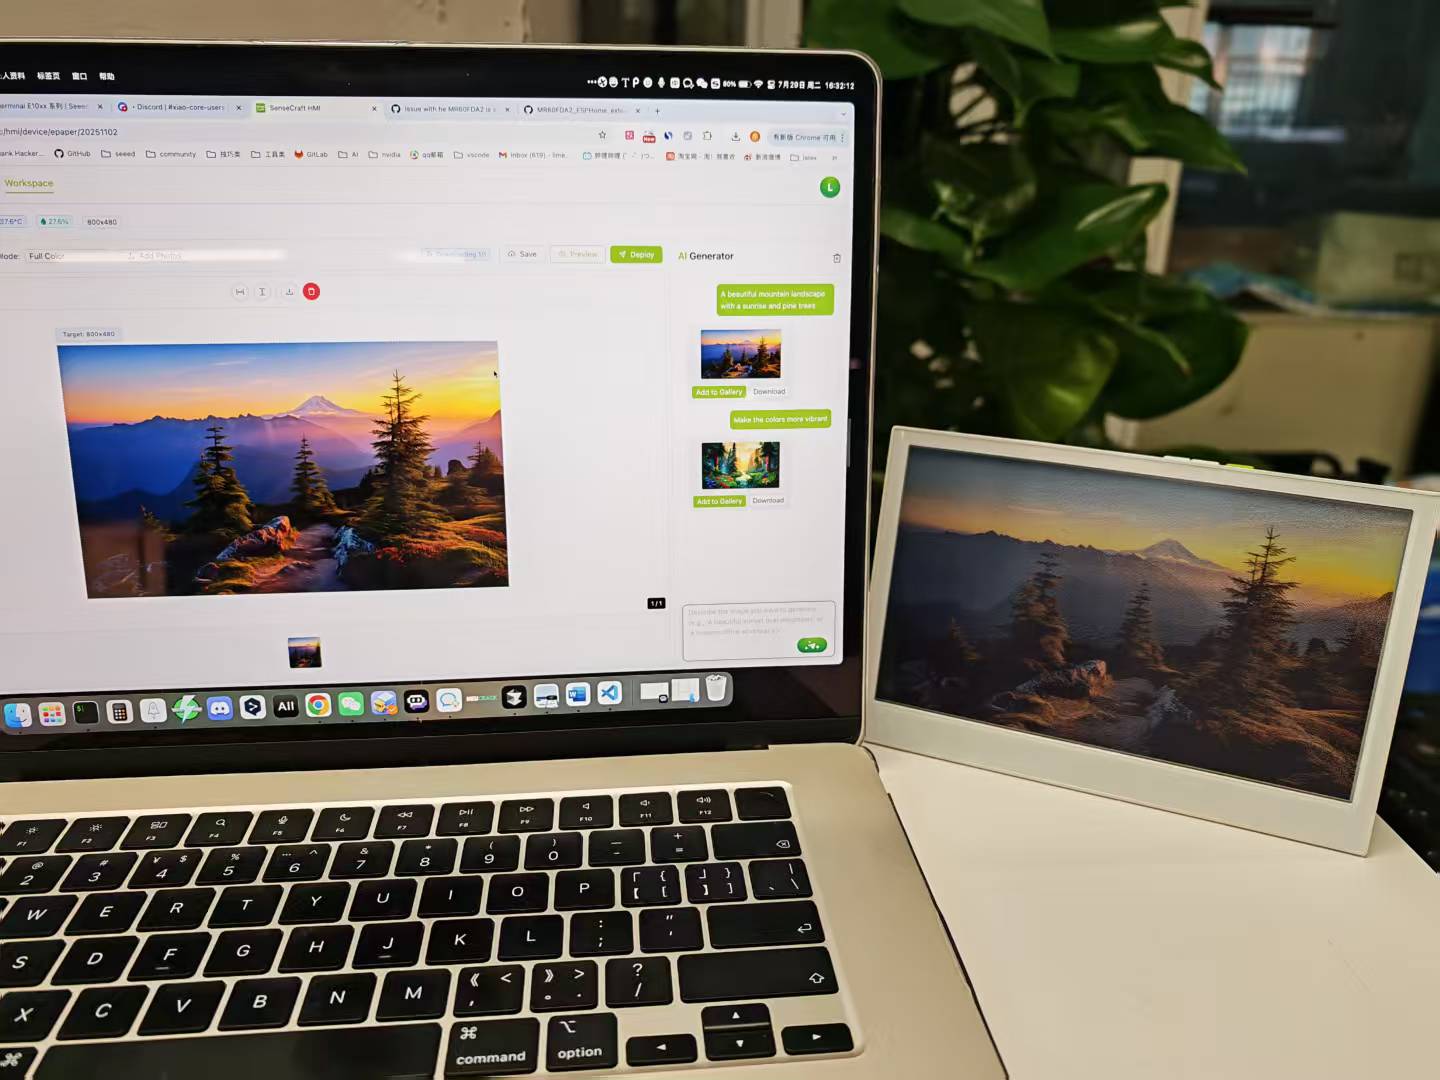
Creating Images with AI in Gallery
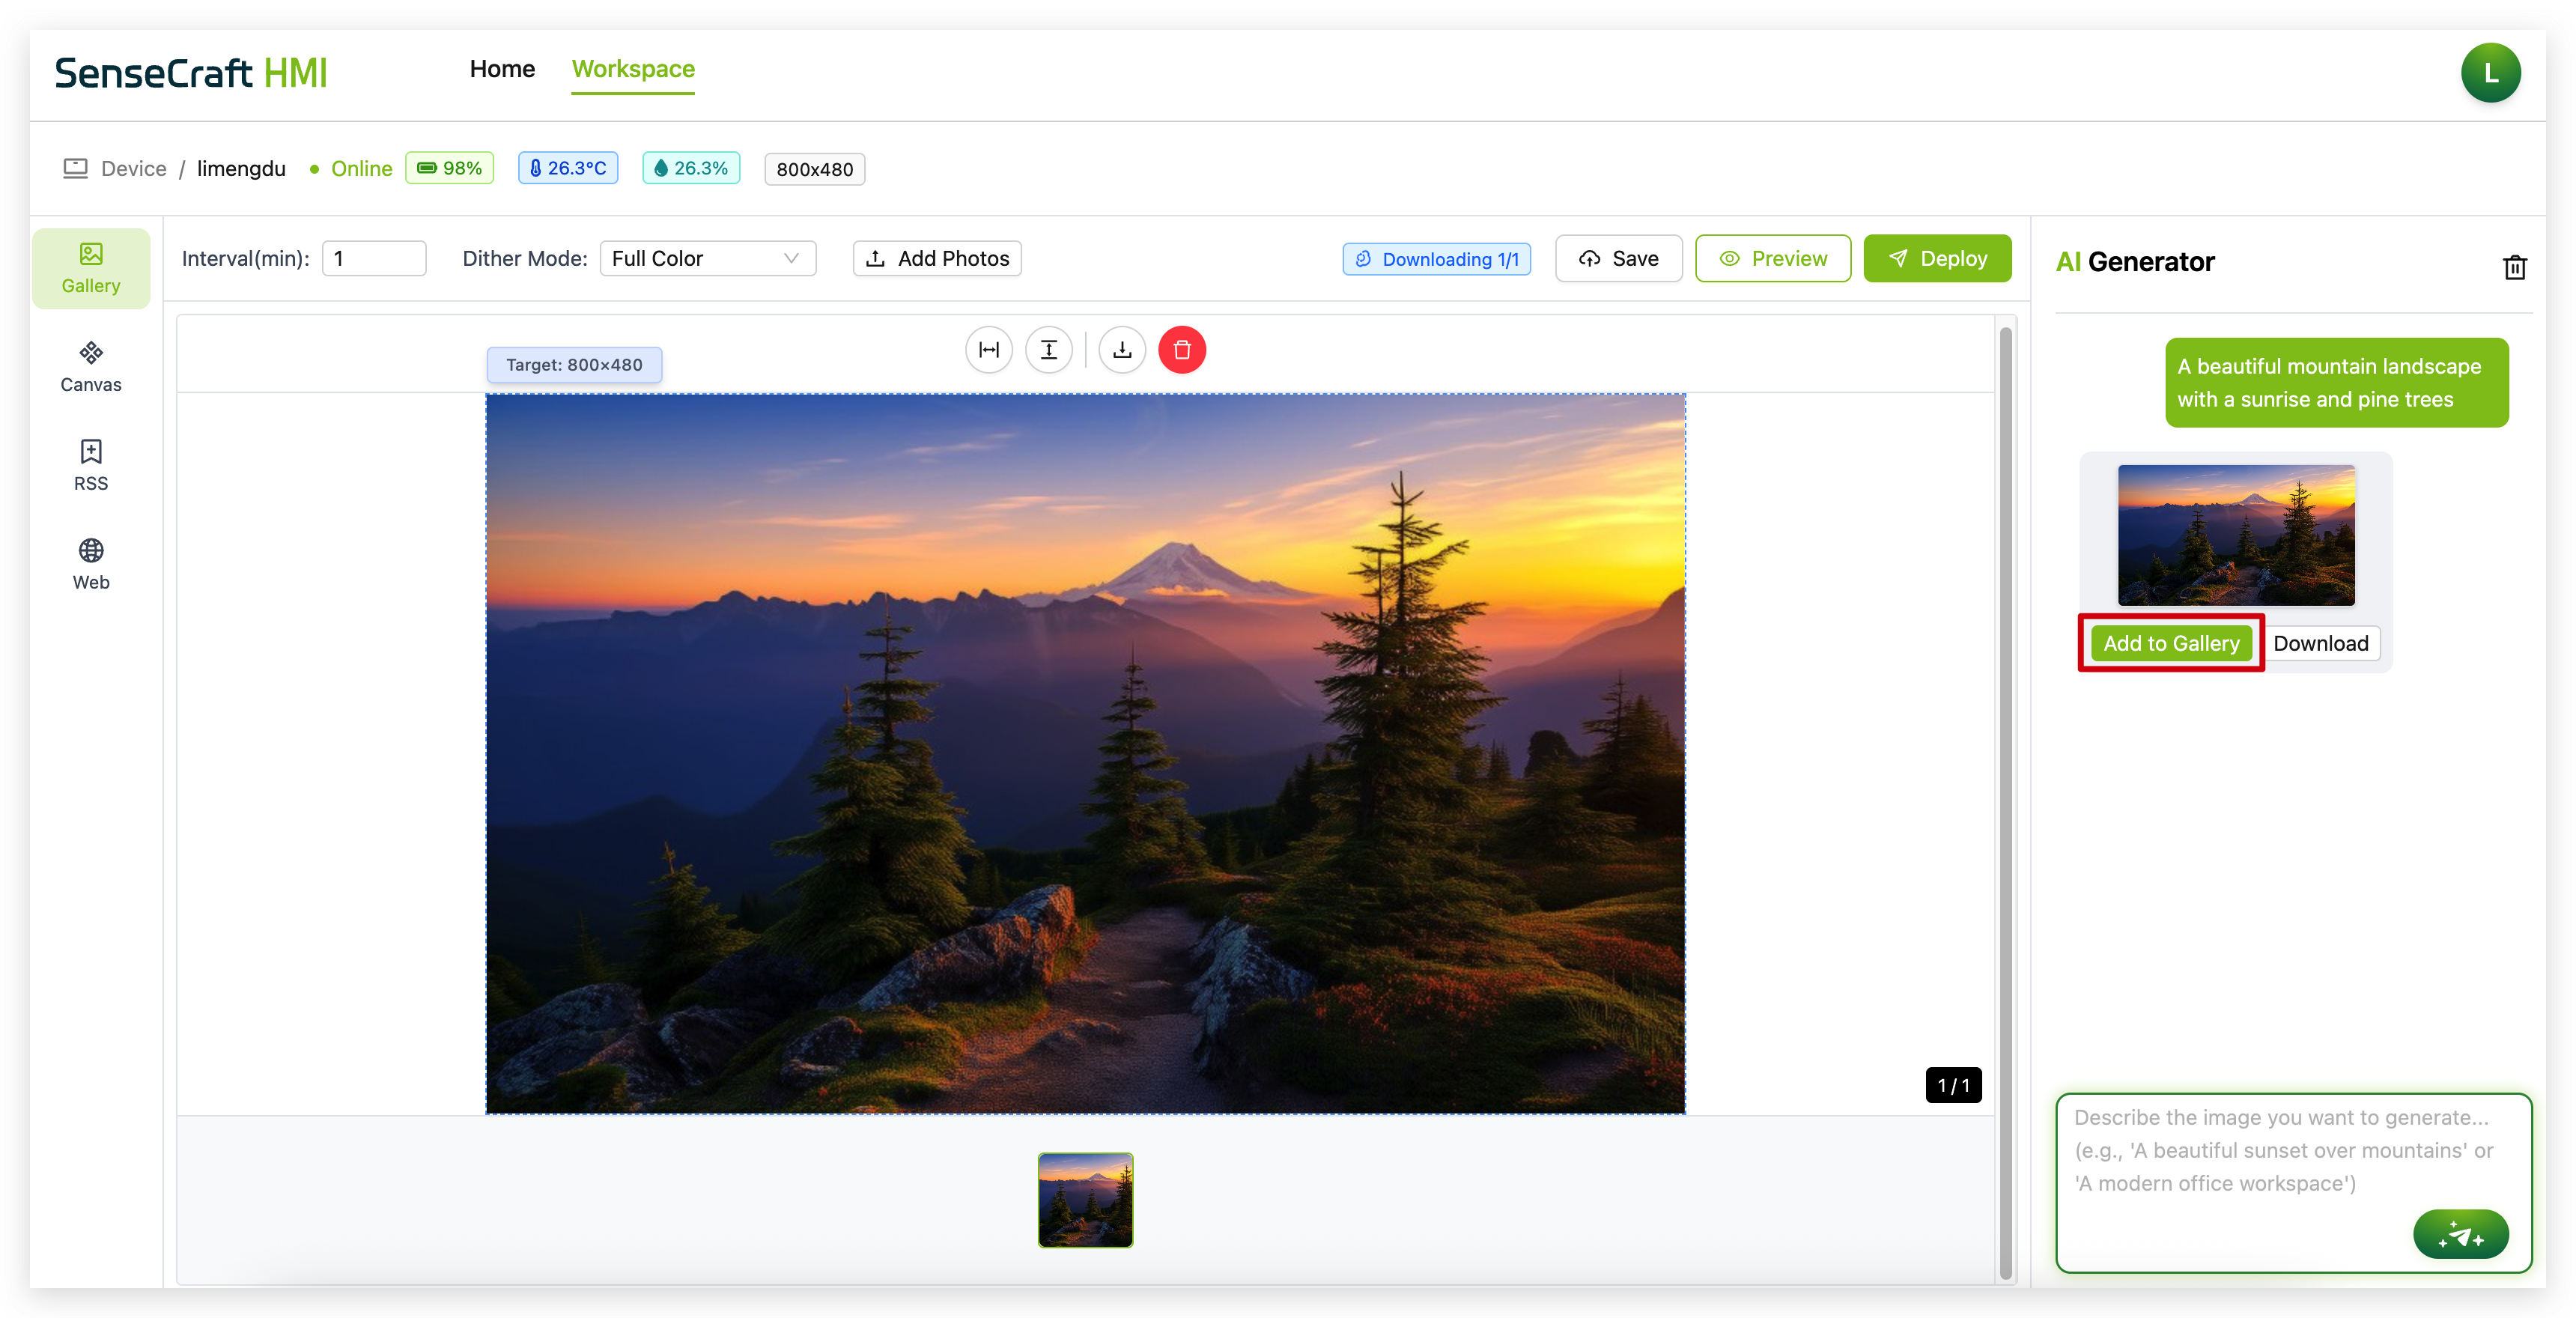
Step 1. In the AI Generator panel, you'll see a text input field with a prompt like "Describe the image you want to generate..."
Step 2. Enter a detailed description of the image you want to create. For example:
-
"A beautiful mountain landscape with a sunrise and pine trees"
-
"A minimalist dashboard showing temperature and humidity icons"
-
"A circuit board pattern with Seeed Studio logo in the center"
Step 3. Click the "Generate" button (magic wand icon) to start the image generation process
Step 4. Wait while the AI processes your request. This typically takes 10-30 seconds depending on the complexity of your description.
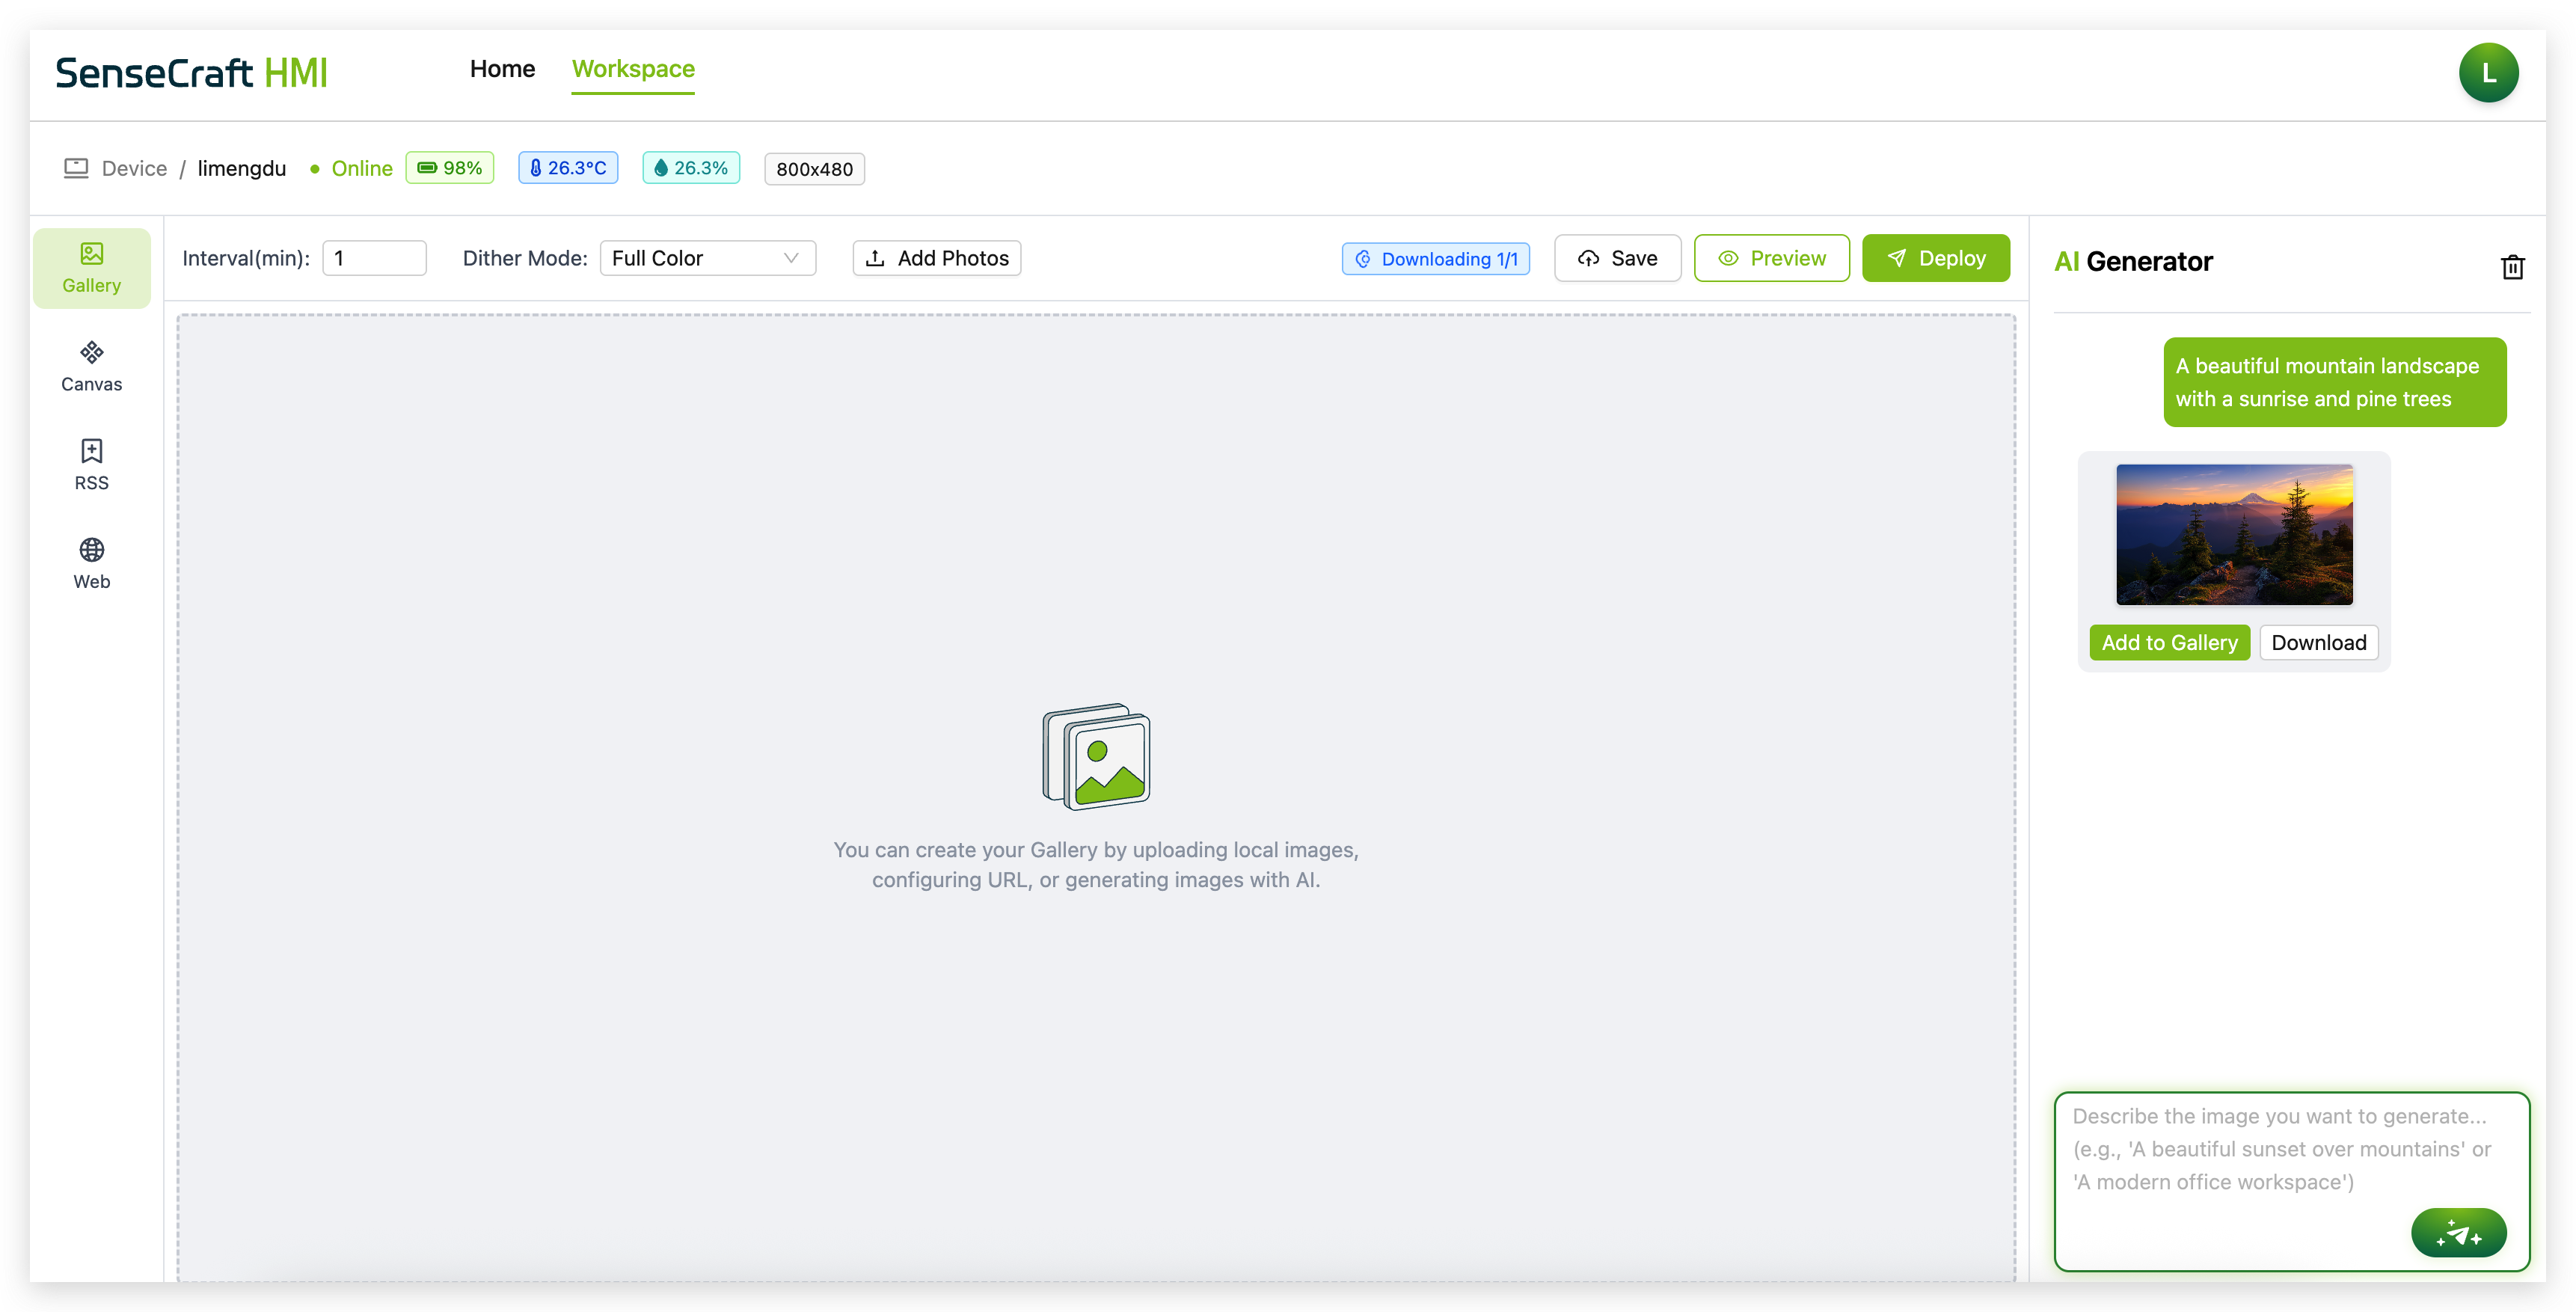
Step 5. Once completed, click the "Add to Gallery" button, and the AI-generated image will appear in your gallery
Refining AI-Generated Gallery Images
After generating an image, you can refine it through conversation with the AI:
Step 1. If you're not satisfied with the result, you can provide feedback directly in the AI Generator panel. For example:
-
"Make the colors more vibrant"
-
"Add more contrast to the image"
-
"Change the background to blue"
Step 2. Click "Generate" again to create a new version based on your feedback
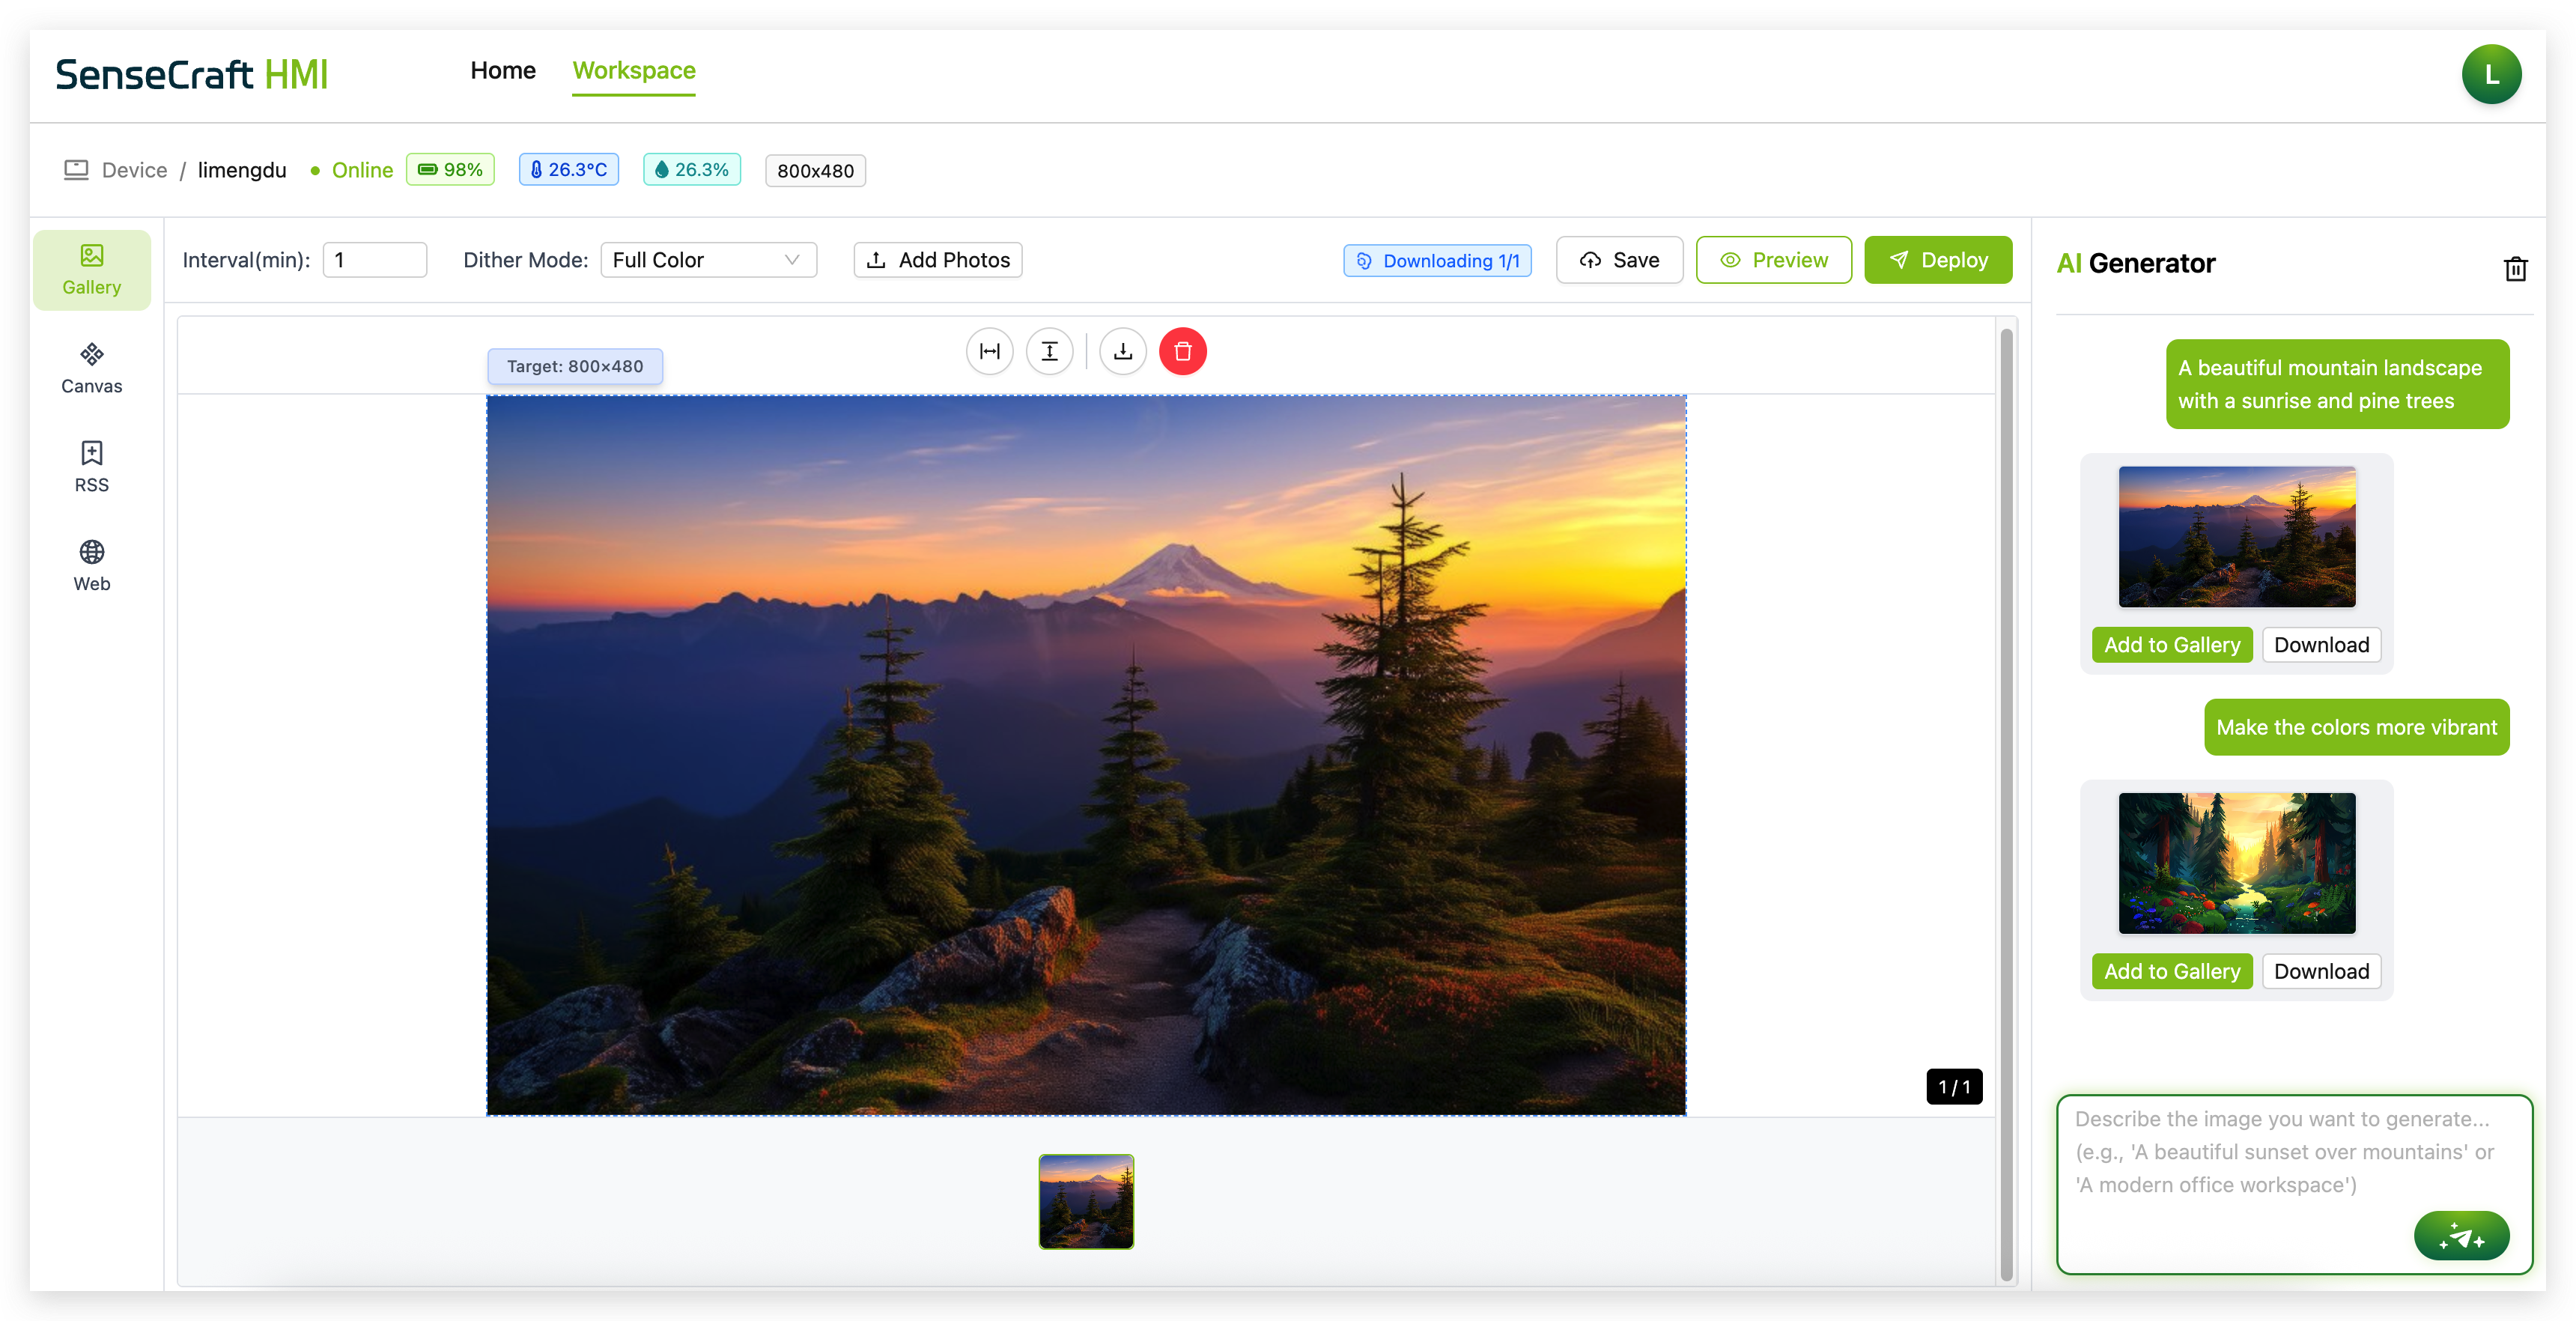
Step 3. Continue this iterative process until you're satisfied with the result
AI Generation in Canvas
The Canvas AI Generation is more powerful, allowing you to create complete interactive interfaces with functional components.
Accessing Canvas AI Generation
Step 1. Click on the "Canvas" tab in the left sidebar
Step 2. Notice the AI Generator panel on the right side of the screen, similar to the one in Gallery

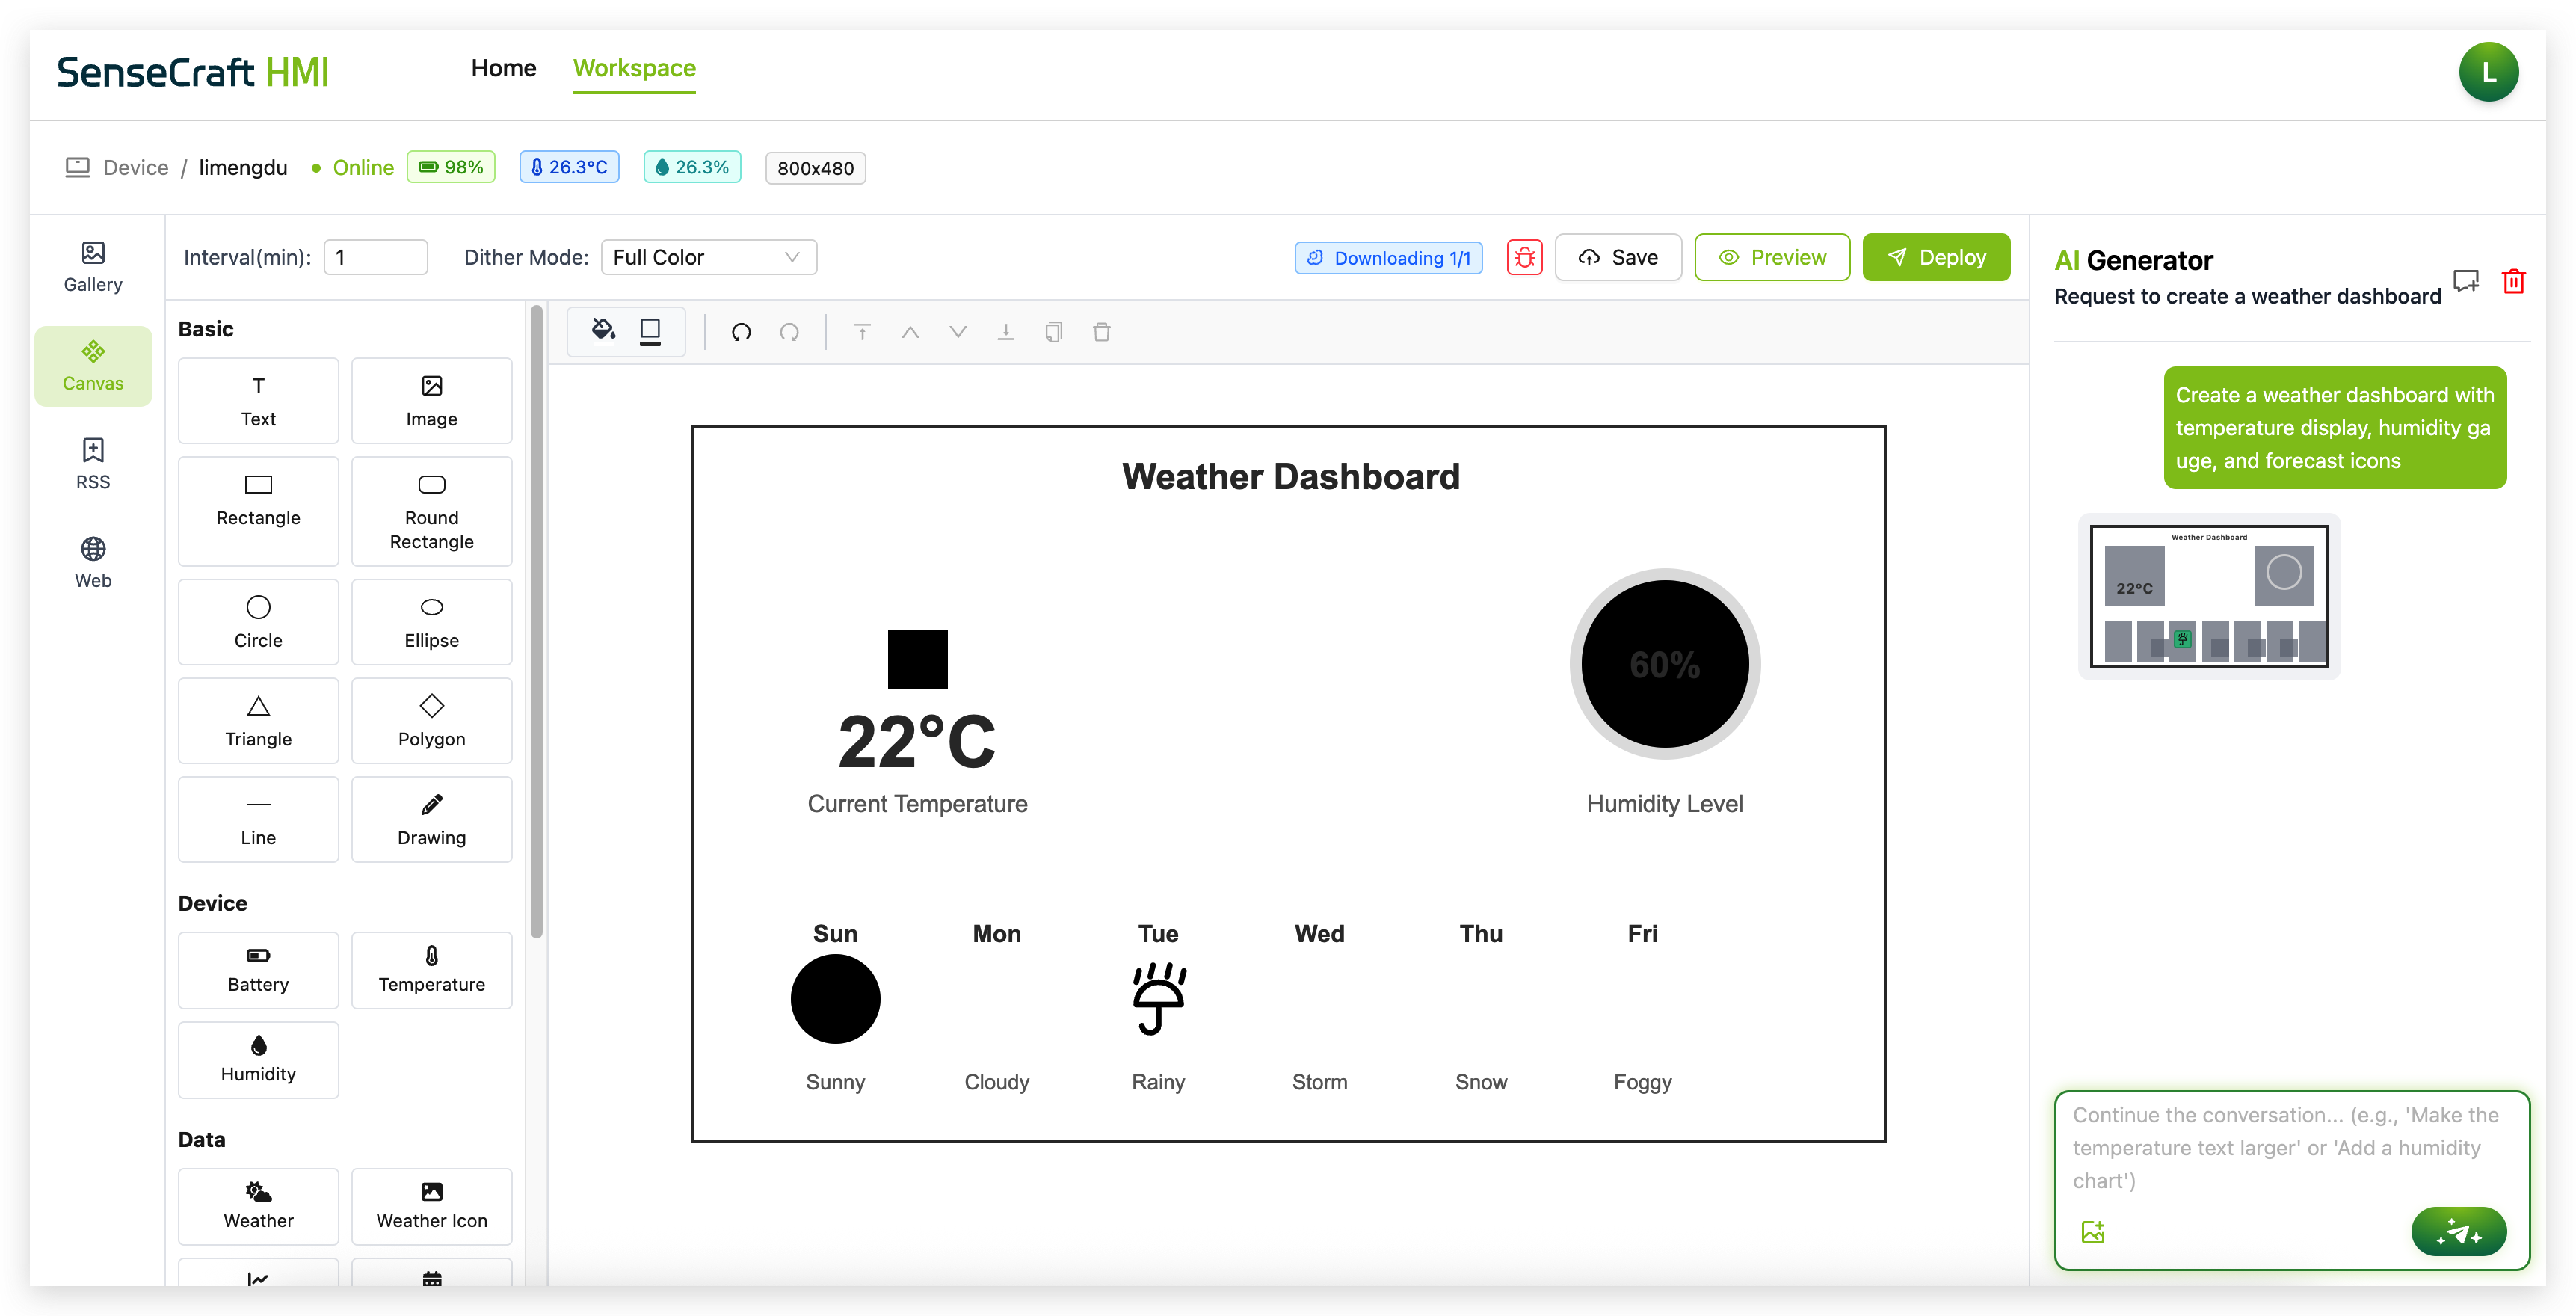
Creating Interfaces with AI in Canvas
Step 1. In the AI Generator panel, enter a description of the interface you want to create. Be specific about the components you need. For example:
-
"Create a weather dashboard with temperature display, humidity gauge, and forecast icons"
-
"Design a smart home control panel with buttons for lights, thermostat, and security"
-
"Make a fitness tracker interface with step counter, heart rate display, and activity history"
Step 2. Click the "Generate" button to start the interface generation process
Step 3. Wait while the AI processes your request and creates the interface layout
Step 4. Once complete, the AI will place various components on your Canvas according to your description
Refining AI-Generated Interfaces
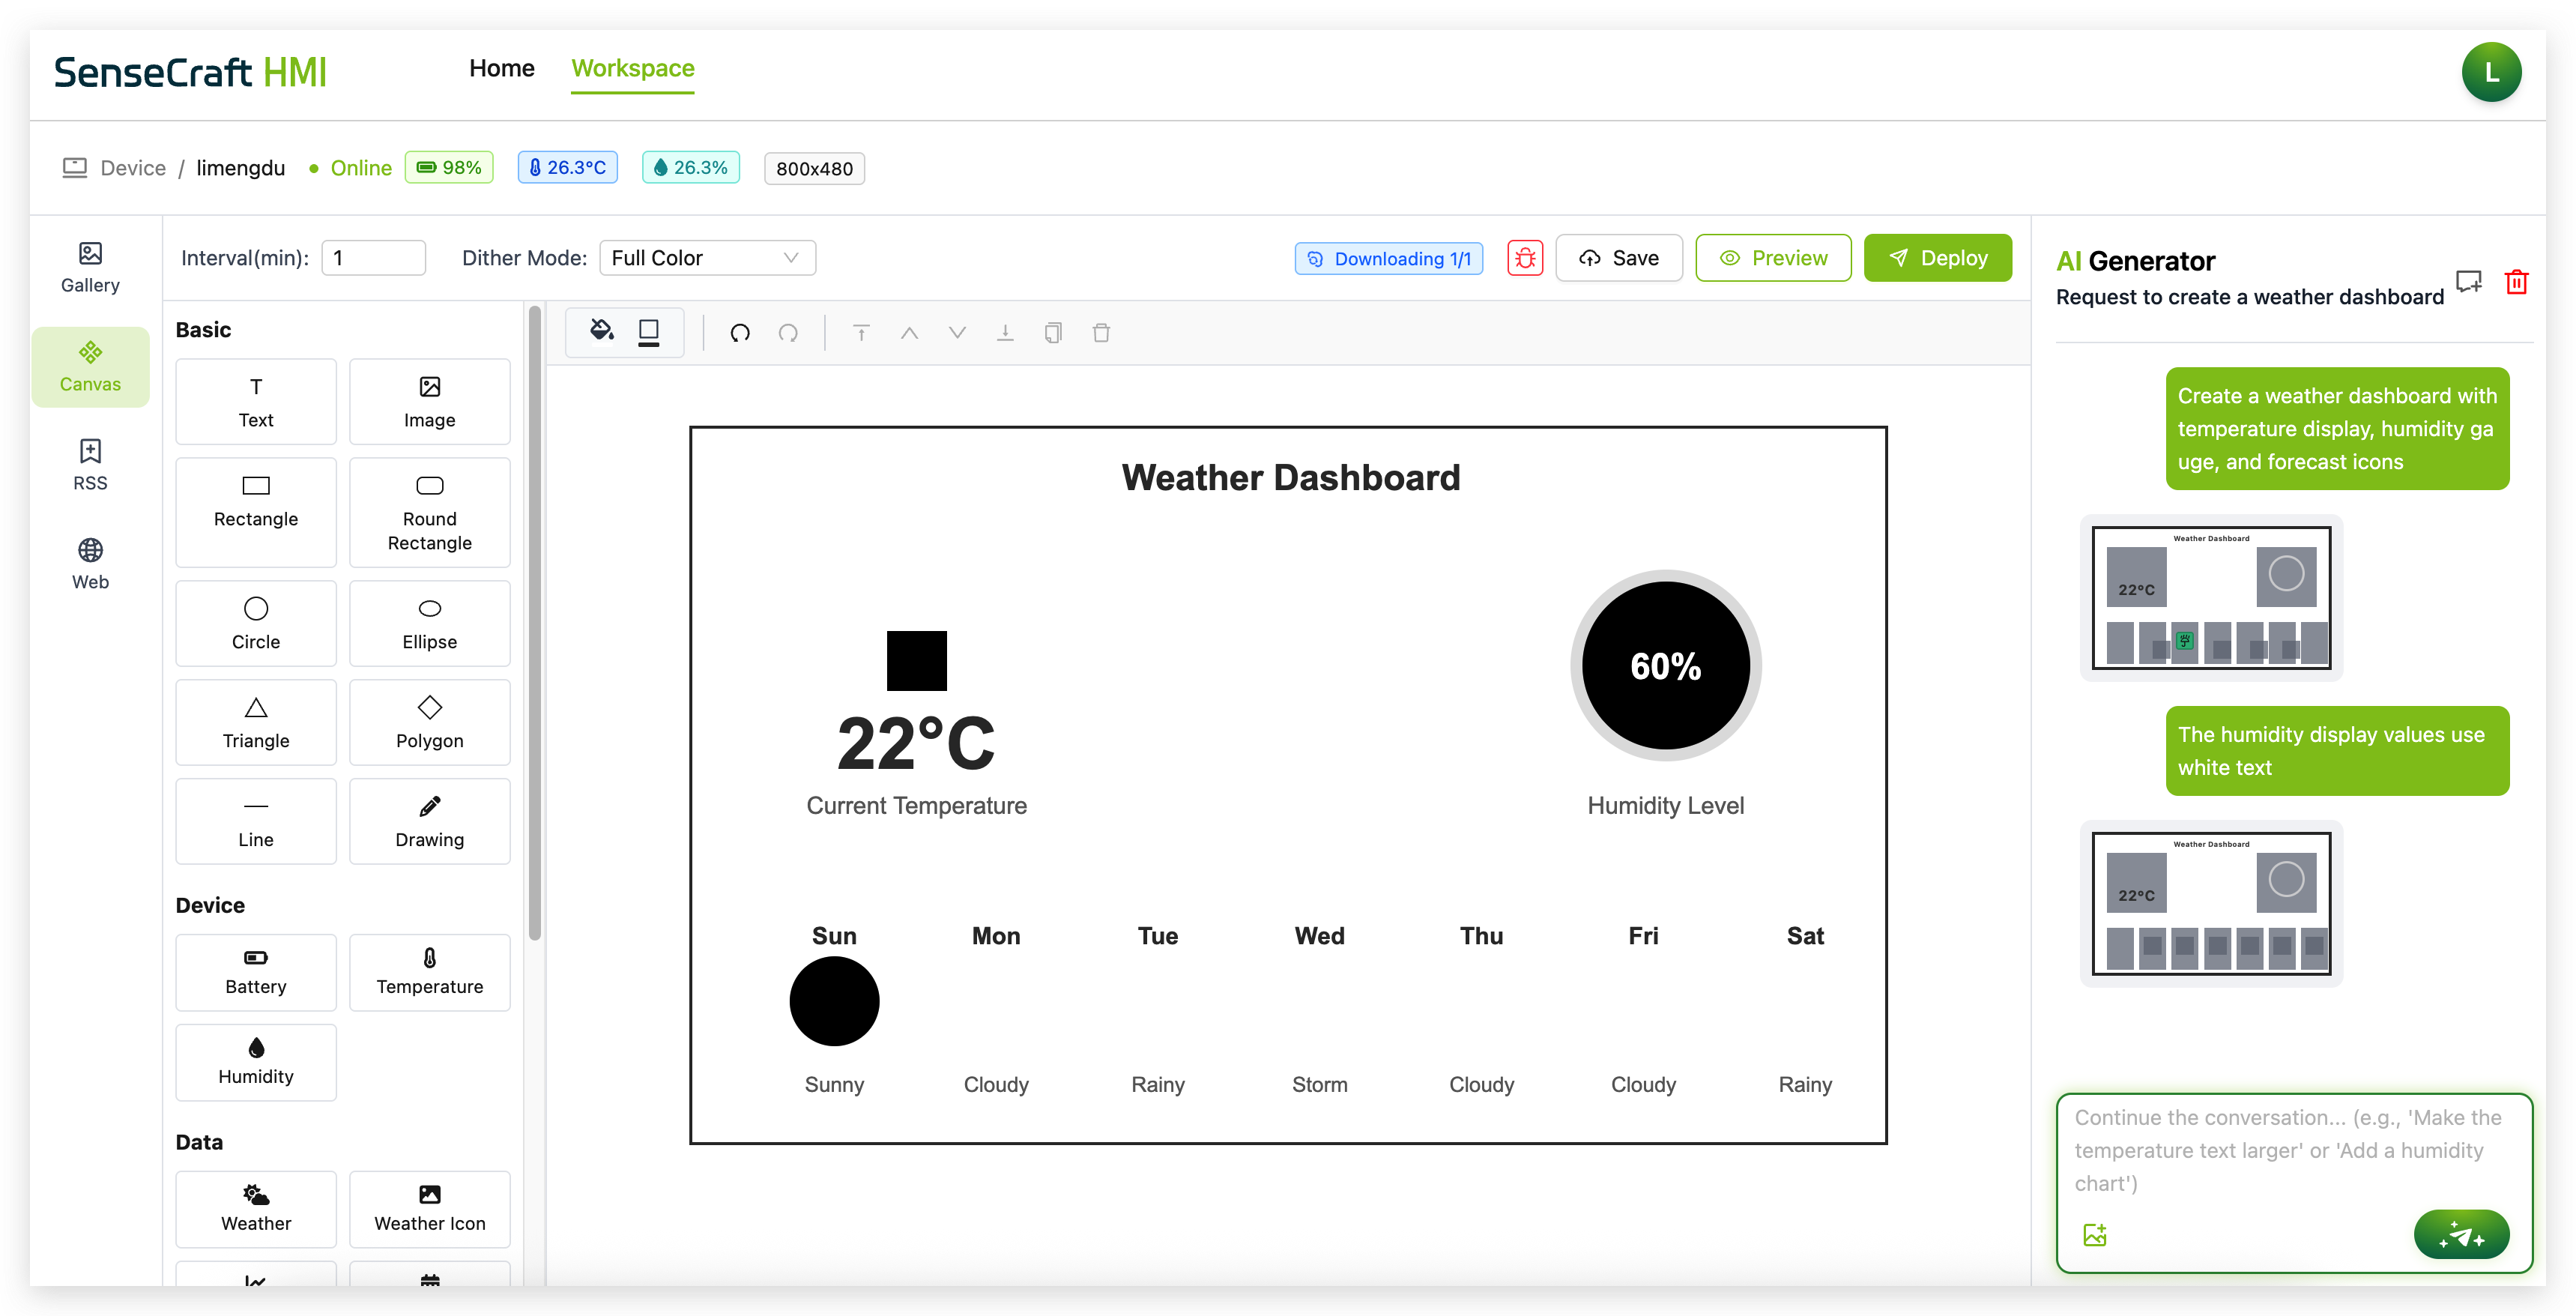
The Canvas AI is designed for iterative improvement:
Step 1. Review the generated interface and identify any changes you'd like to make
Step 2. You can provide specific feedback in the AI Generator panel. For example:
-
"Move the temperature display to the top right"
-
"Make the buttons larger and add labels below them"
-
"Change the color scheme to dark mode"
-
"Add a clock at the top center"
Step 3. Click "Generate" again to update the interface based on your feedback
Step 4. You can also manually adjust any component by selecting it and using the editing tools in the Canvas
Component Types Available in AI-Generated Interfaces
The Canvas AI can create and position a variety of components:
Basic Components:
-
Text labels
-
Images
-
Shapes (rectangles, circles, lines)
-
Buttons
-
Icons
Device Data Components:
-
Temperature displays
-
Humidity indicators
-
Battery level indicators
-
Weather information
-
Time and date displays
When generating an interface, you can specifically request these components in your prompt.
Using AI-Generated Interfaces
Once you're satisfied with your AI-generated interface:
Step 1. Make any final manual adjustments to component positioning or properties
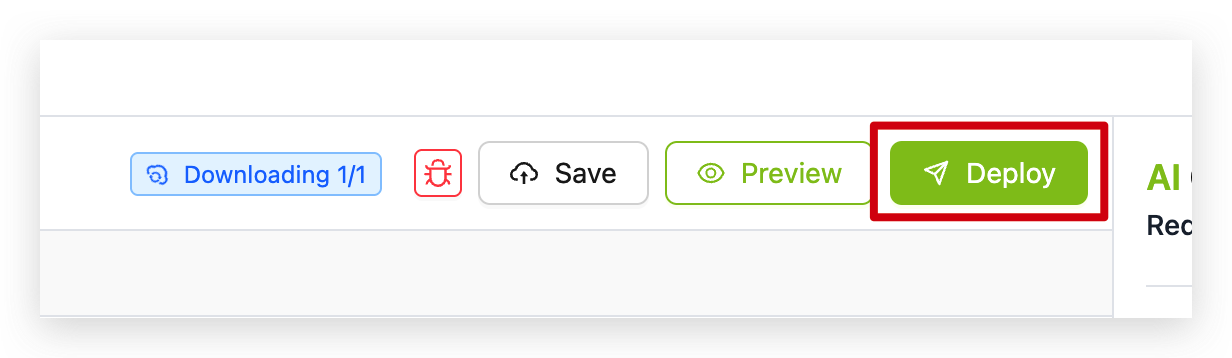
Step 2. Deploy the interface to your connected device by clicking the "Deploy" button
Best Practices for AI Generation
To get the most out of the AI Generation feature, follow these tips:
Tips for Effective Prompts
-
Be specific: Instead of "Create a dashboard," try "Create a dashboard with temperature display in the center, humidity on the right, and a clock at the top"
-
Mention colors and style: "Use a blue and white color scheme with rounded corners for all elements"
-
Reference familiar designs: "Make it look like a smart thermostat interface" or "Design it similar to a fitness tracker display"
Iterative Refinement
The most successful designs often come from multiple rounds of feedback:
-
Start with a general description
-
Generate the initial design
-
Provide specific feedback on what to change
-
Generate an updated version
-
Repeat until satisfied
Combining AI Generation with Manual Editing
For the best results:
-
Use AI to quickly create the basic layout and components
-
Manually fine-tune the positioning, sizing, and properties of individual elements
-
Add any custom functionality or data bindings manually
-
Use AI again if you want to add new sections or make major changes
Conclusion
The AI Generation feature in SenseCraft HMI revolutionizes how you create interfaces for your screen-based devices. By combining the power of AI-generated content with SenseCraft HMI's easy deployment, you can quickly create professional-looking displays without extensive design skills.
Whether you're generating custom images in Gallery or complete interactive interfaces in Canvas, the AI Generation tool helps you bring your ideas to life faster and with less effort.
Resources
Tech Support & Product Discussion
Thank you for choosing our products! We are here to provide you with different support to ensure that your experience with our products is as smooth as possible. We offer several communication channels to cater to different preferences and needs.