Setting AI Models on SenseCAP A1102 Using SenseCraft APP
The SenseCAP A1102 is a powerful sensor device that combines advanced AI capabilities with ease of deployment. This guide will walk you through deploying AI models on the A1102 using the SenseCraft app, offering step-by-step instructions for pairing, configuration, and testing.
Getting Started with SenseCAP A1102
What is SenseCAP A1102?
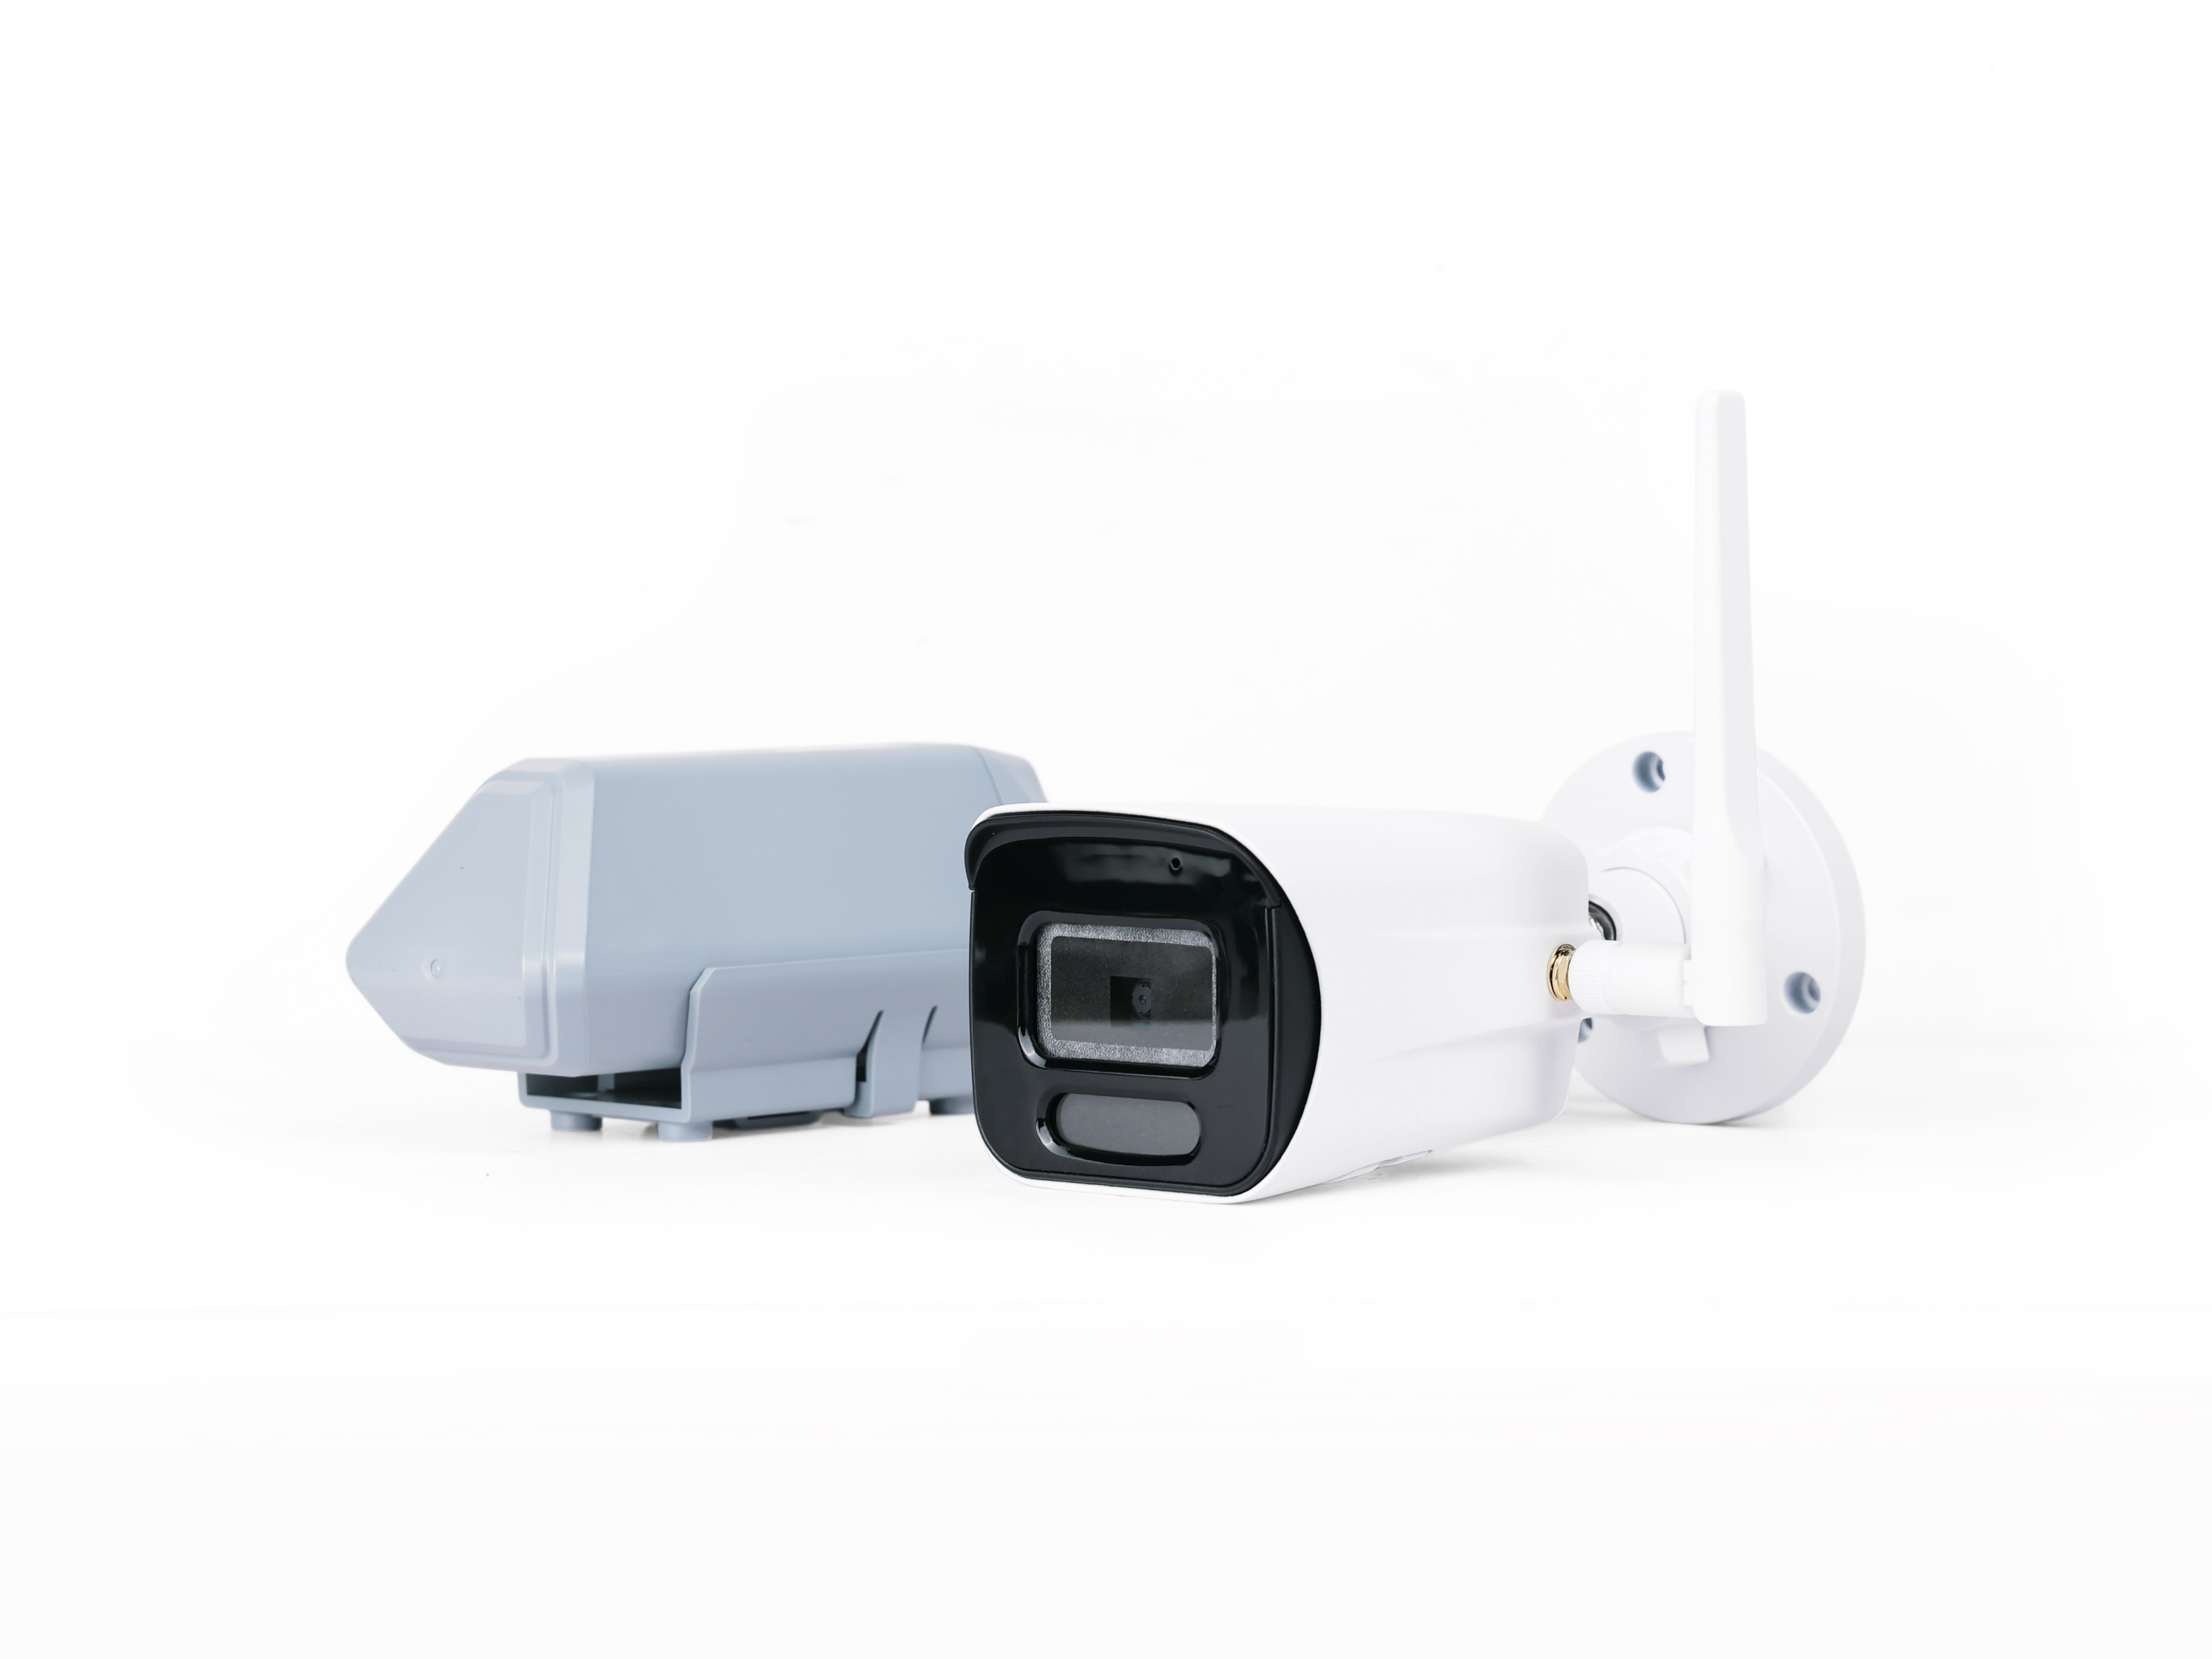
The SenseCAP A1102 is an intelligent camera sensor designed for edge AI applications. Equipped with 8GB of memory, it can:
- Deploy custom AI models.
- Automatically save recognized images.
- Enable real-time recognition with high accuracy.
Requirements
Before starting, ensure you have:
- The SenseCAP A1102 device.
- The SenseCraft AI app installed on your smartphone.
- Any pre-trained AI model for deployment.
Configuring the SenseCAP A1102
Power on the Vision AI camera
If you need to modify the AI camera settings, you must follow the steps below to power up the AI camera.
If you only need to modify LoRaWAN transmission-related settings, you can skip this section.
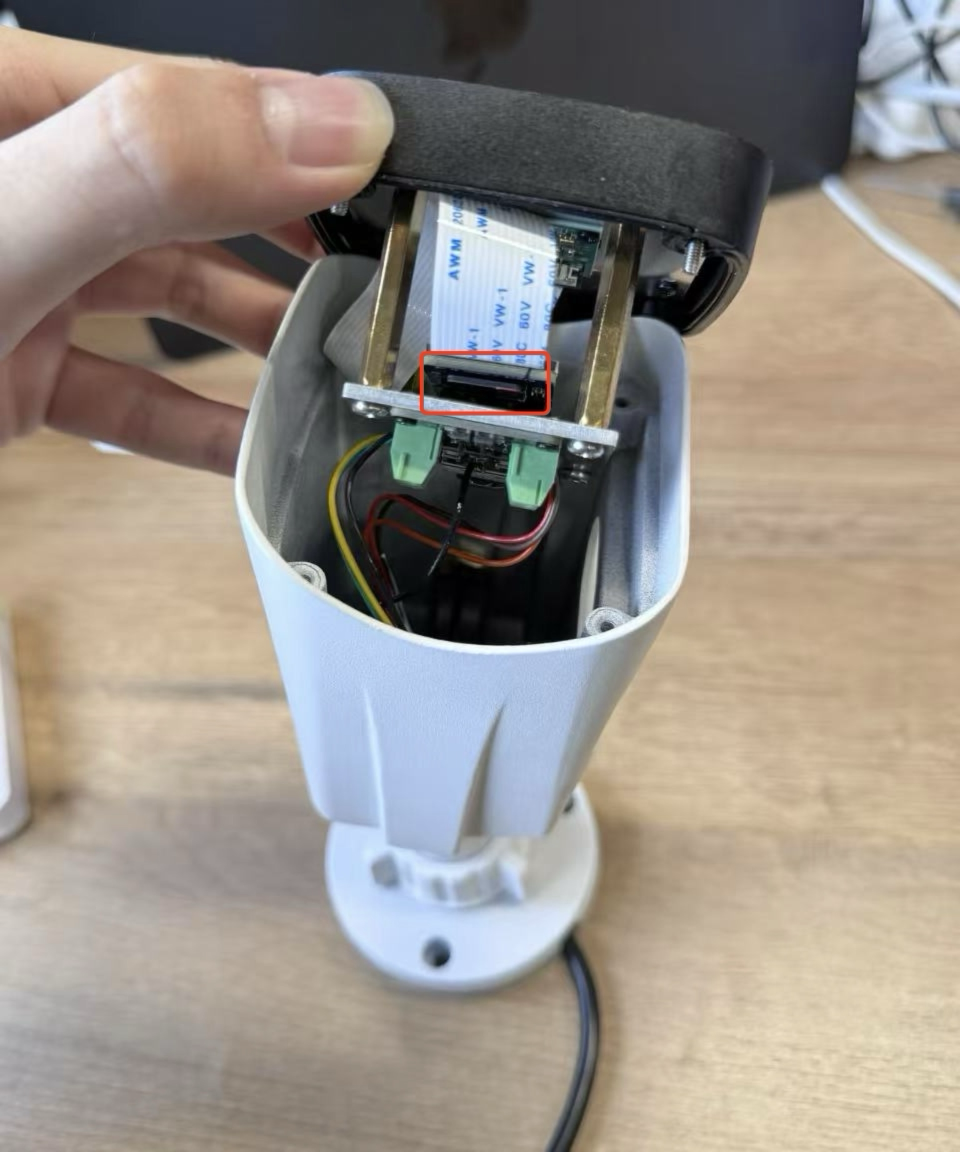
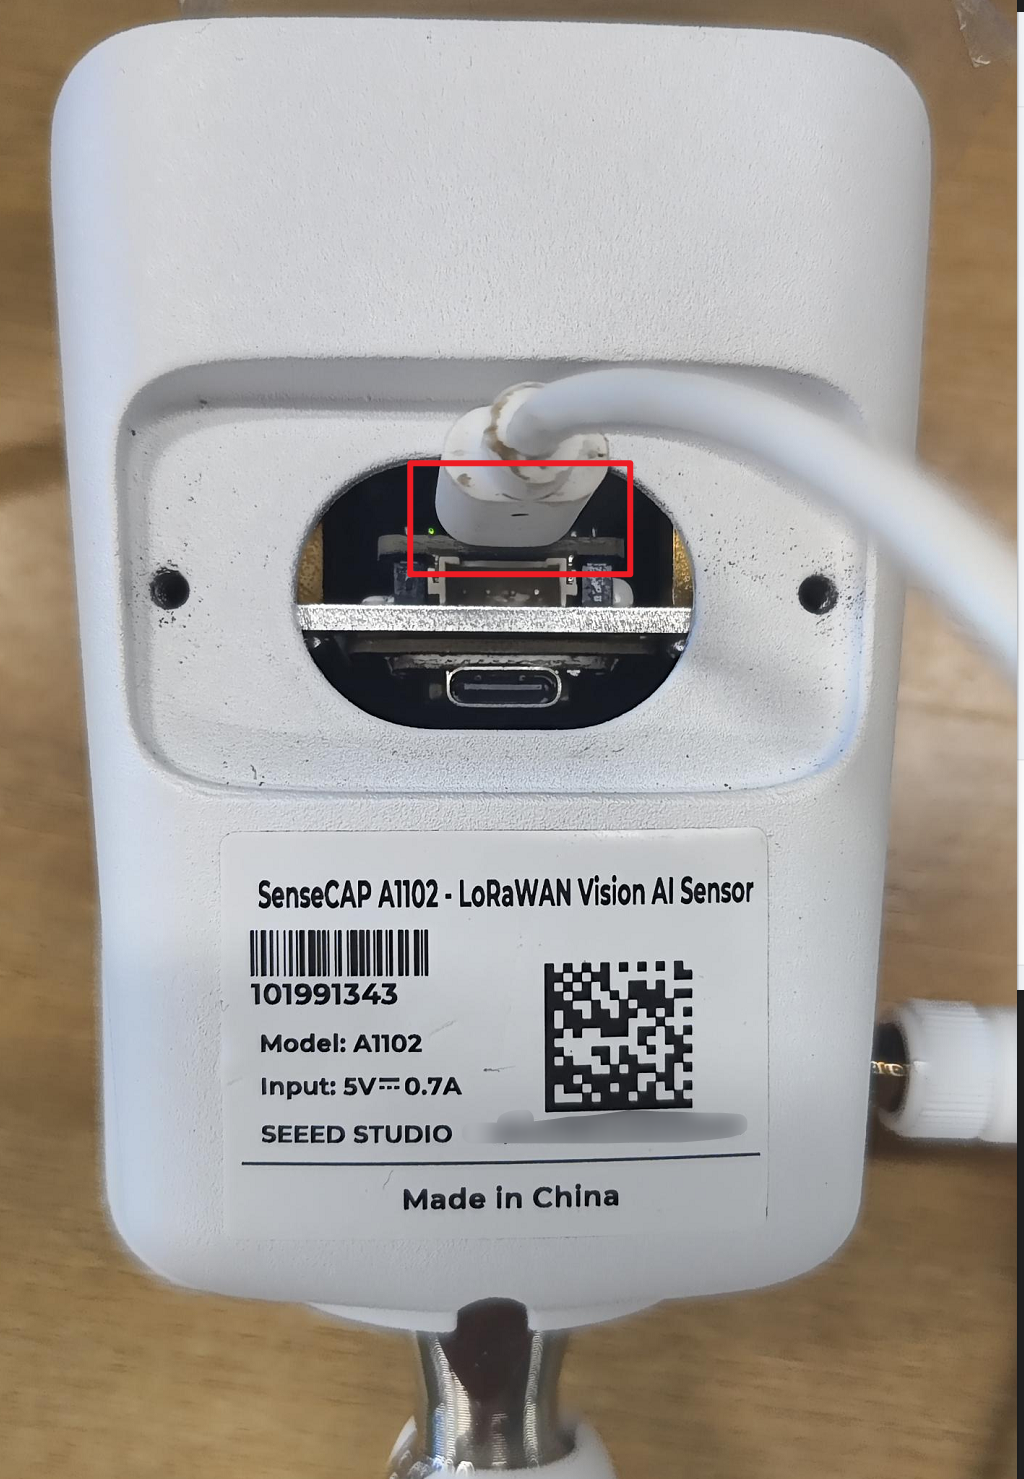
Connect the Type-C port to A1102 to your computer according to the following instructions.
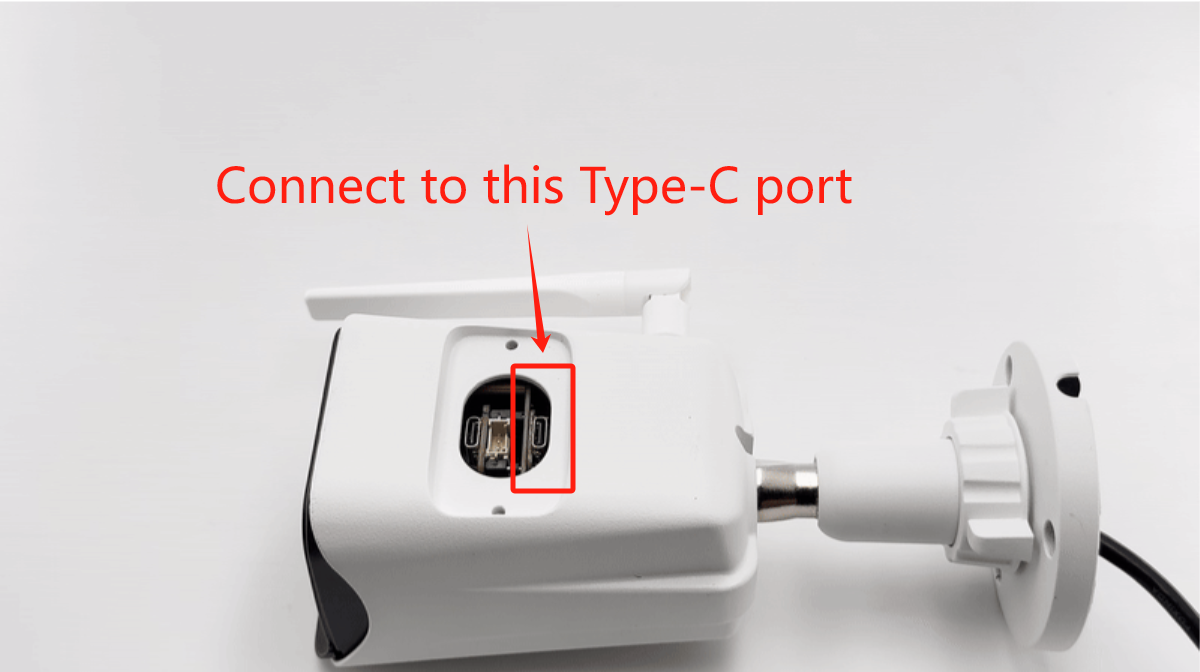
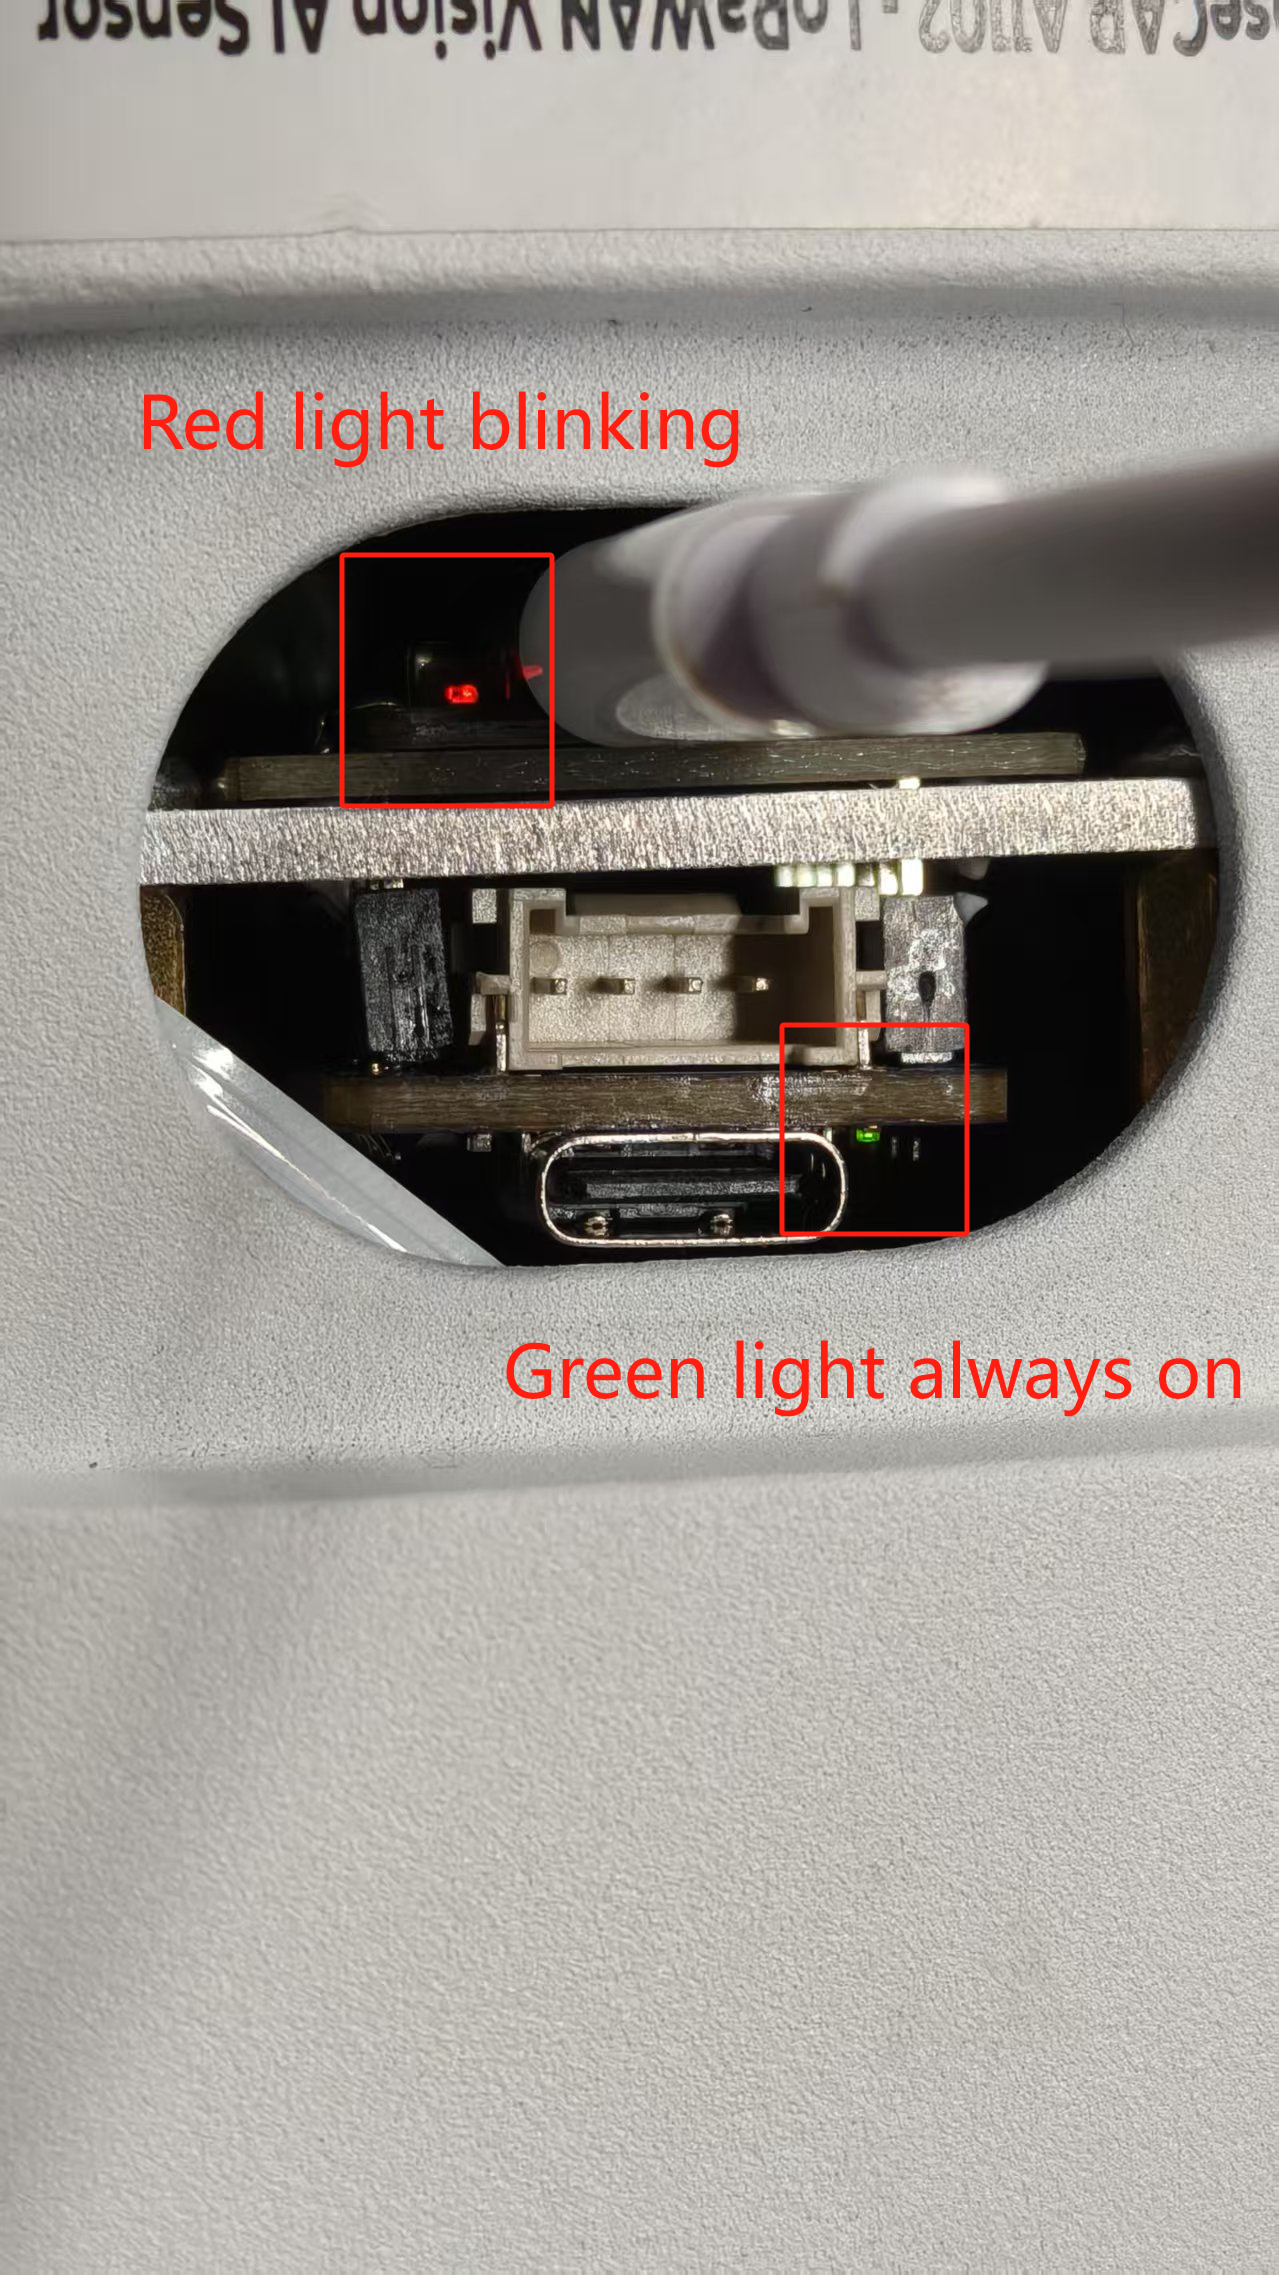
If it is connected properly, you can see two indicators light up.
Access Advanced Settings
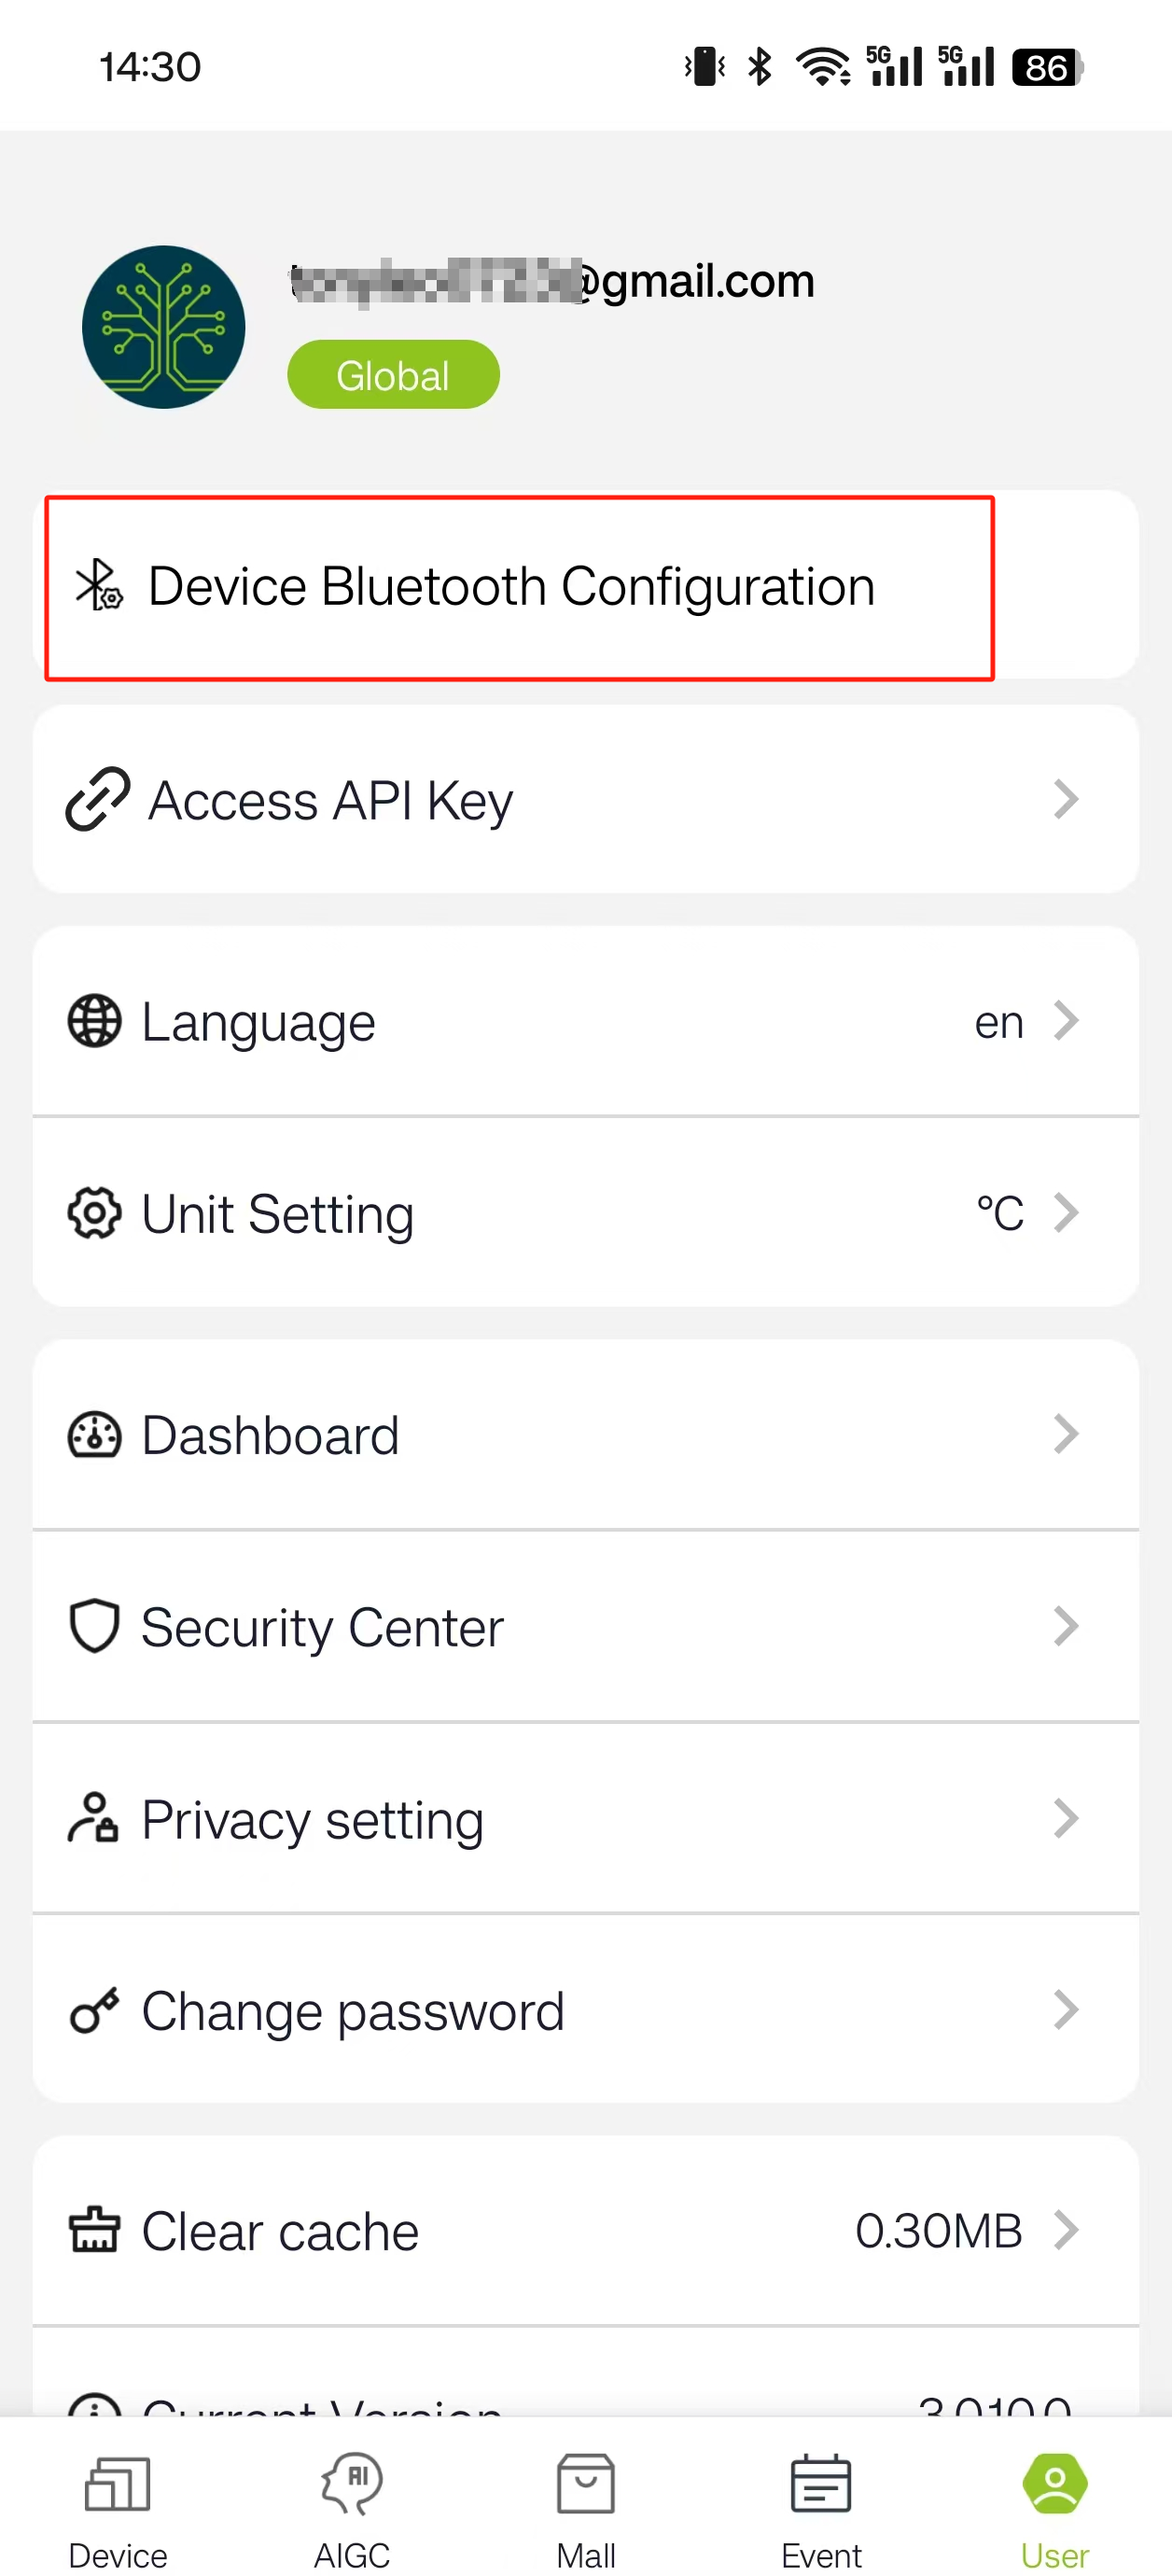
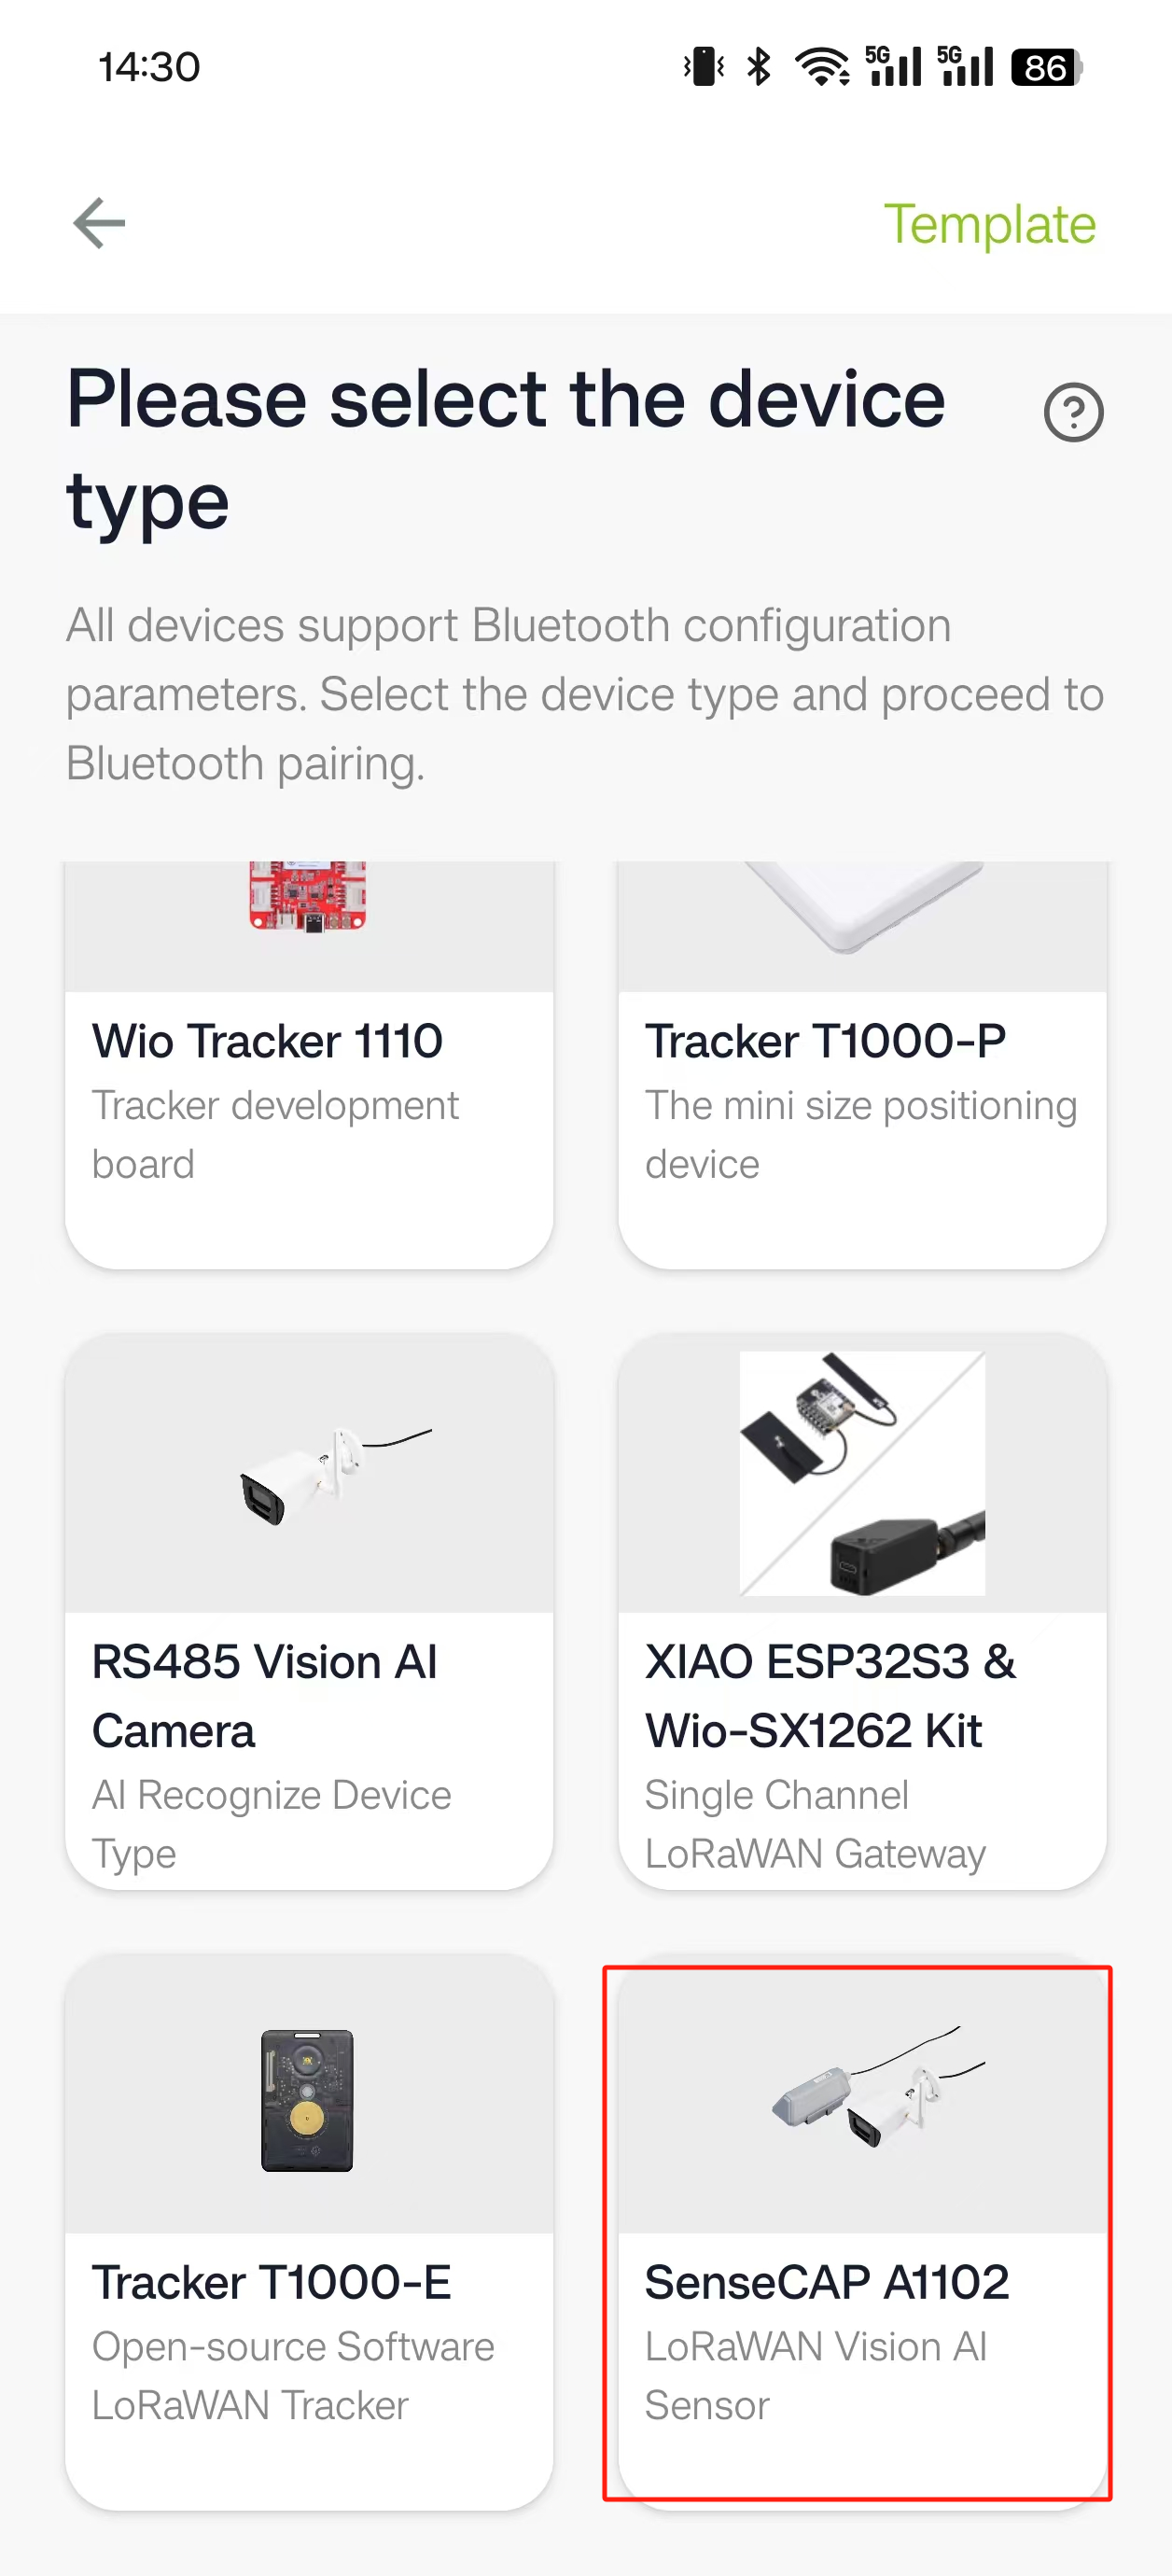
Select “User” in the bottom navigation bar and click “Device Bluetooth Configuration”.
Slide to the bottom and select “SenseCAP A1102”.
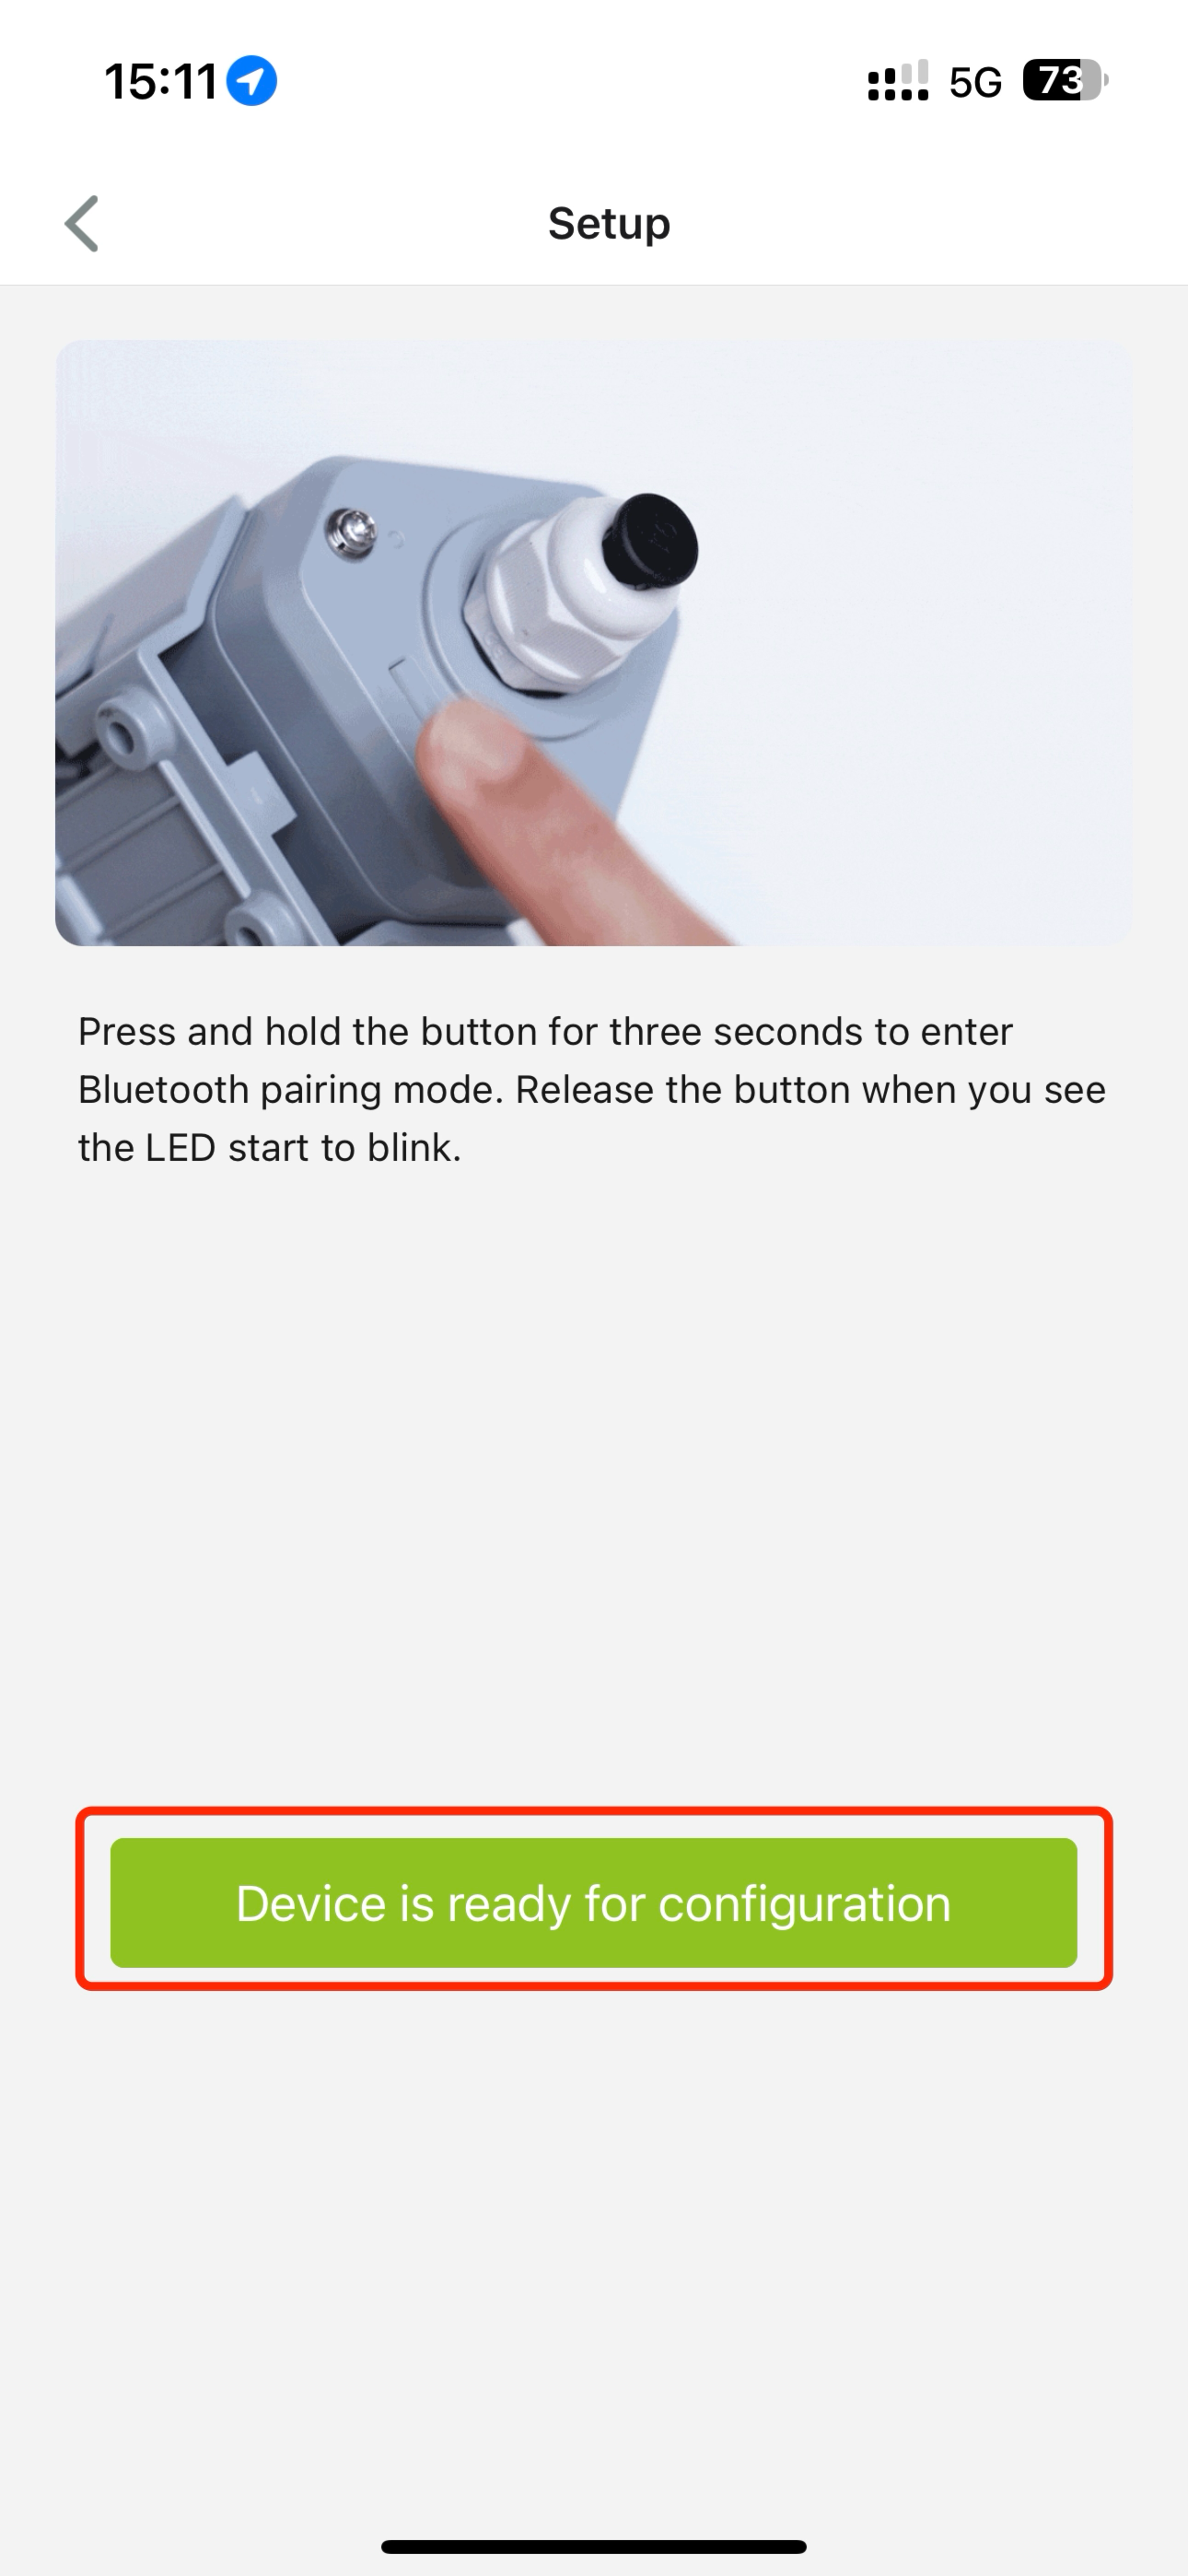
Press and hold the power button on the SenseCAP A1102 for three seconds to enable pairing mode.
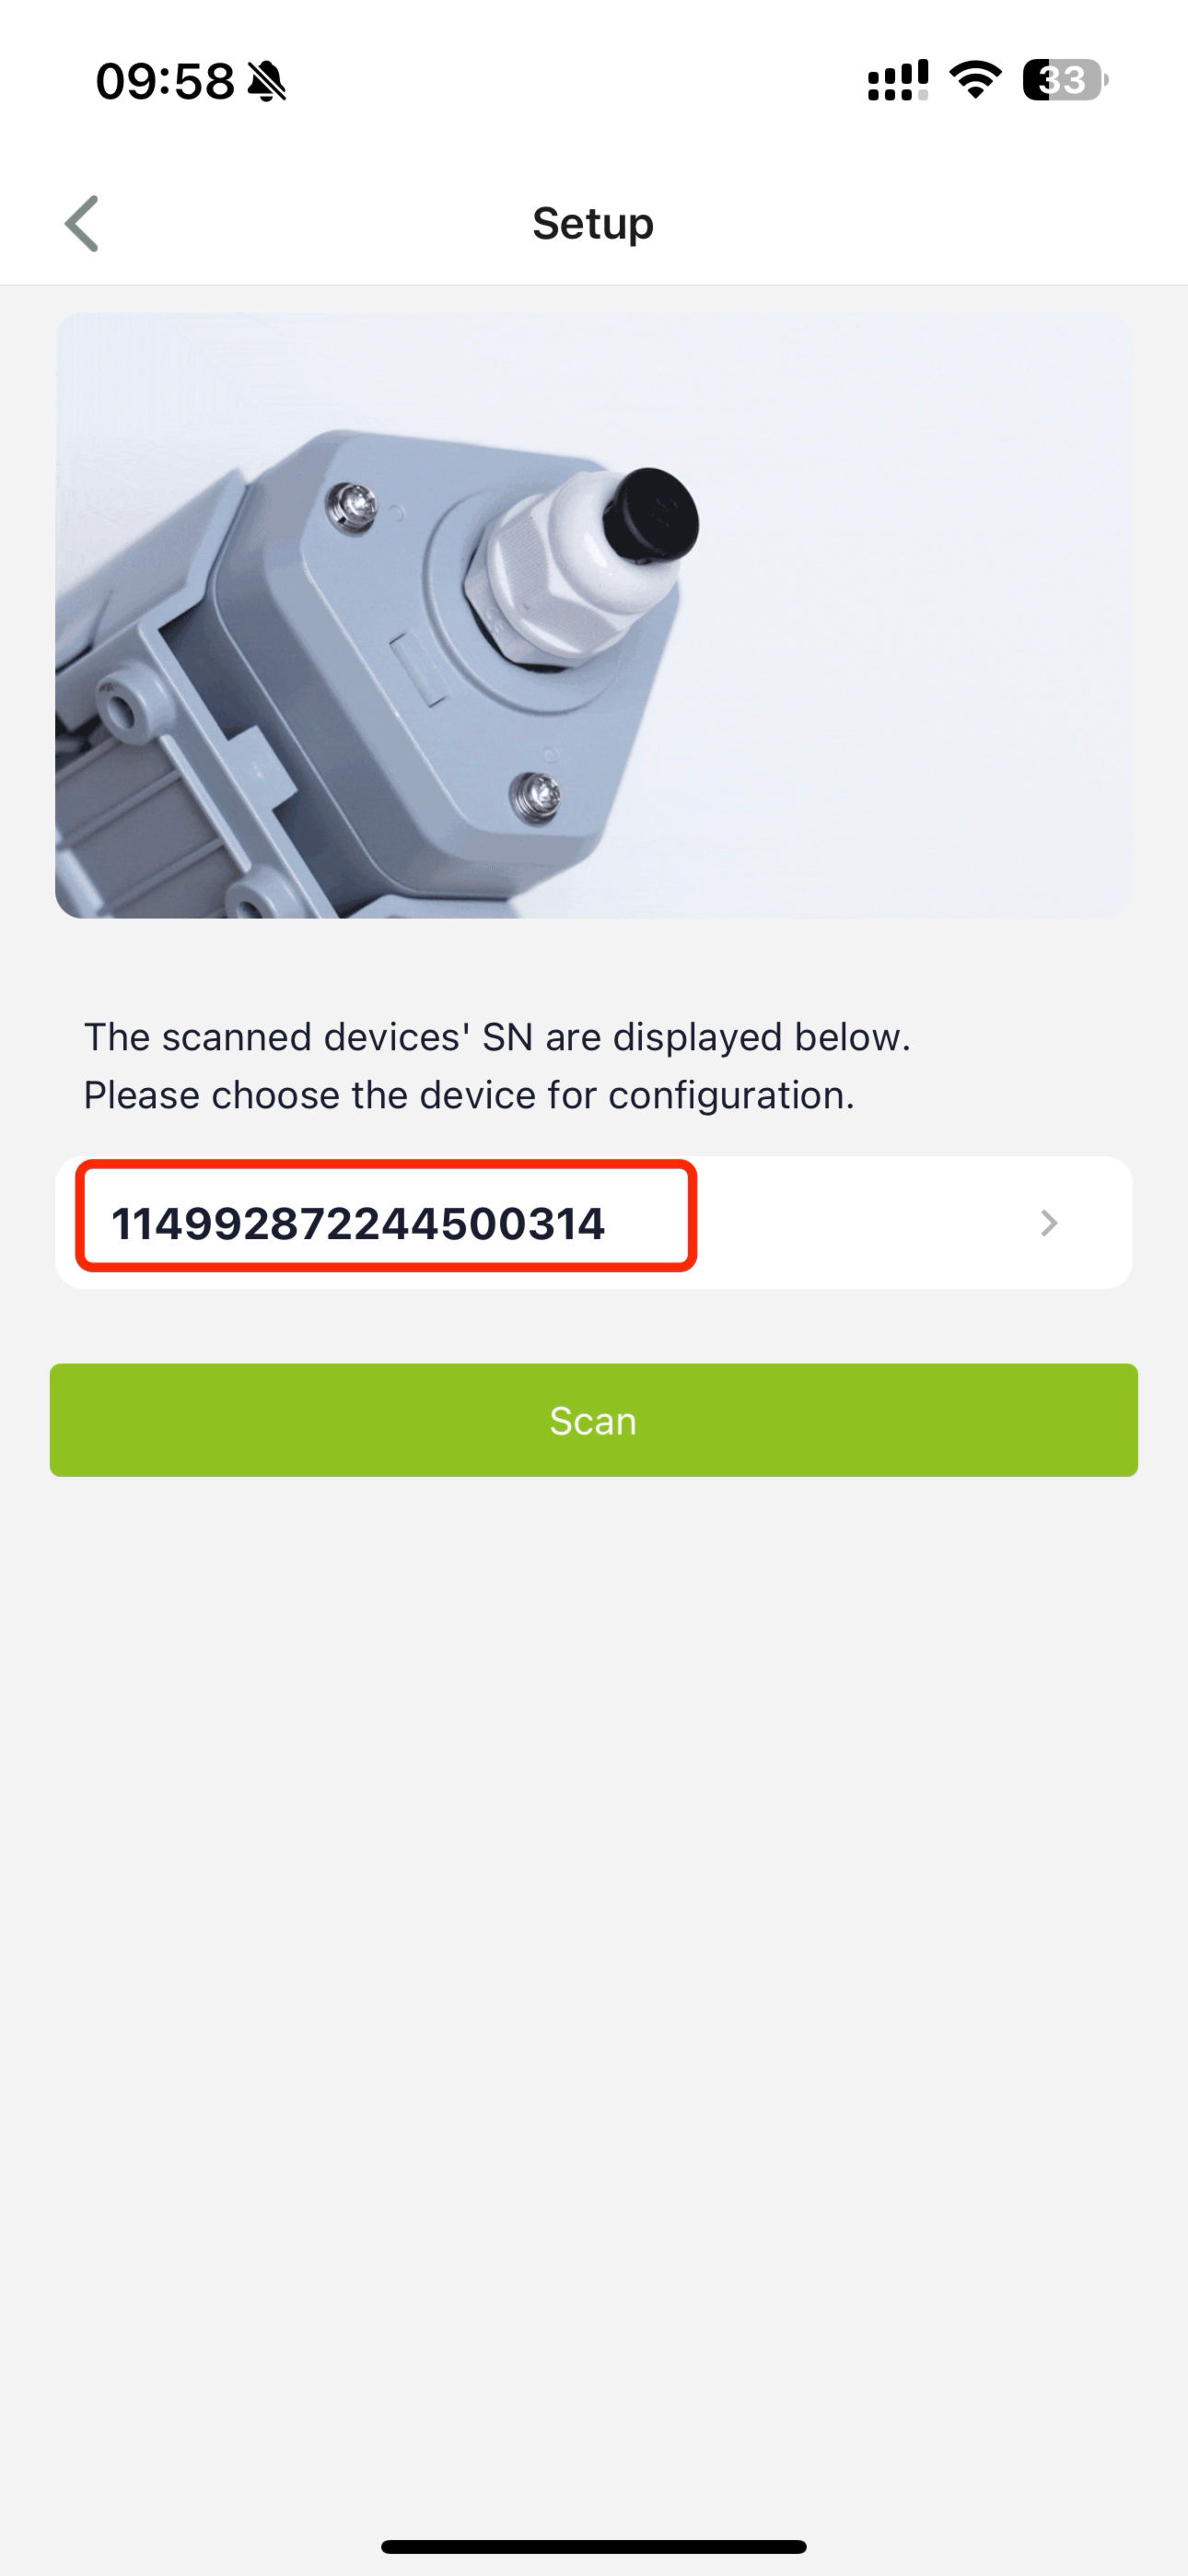
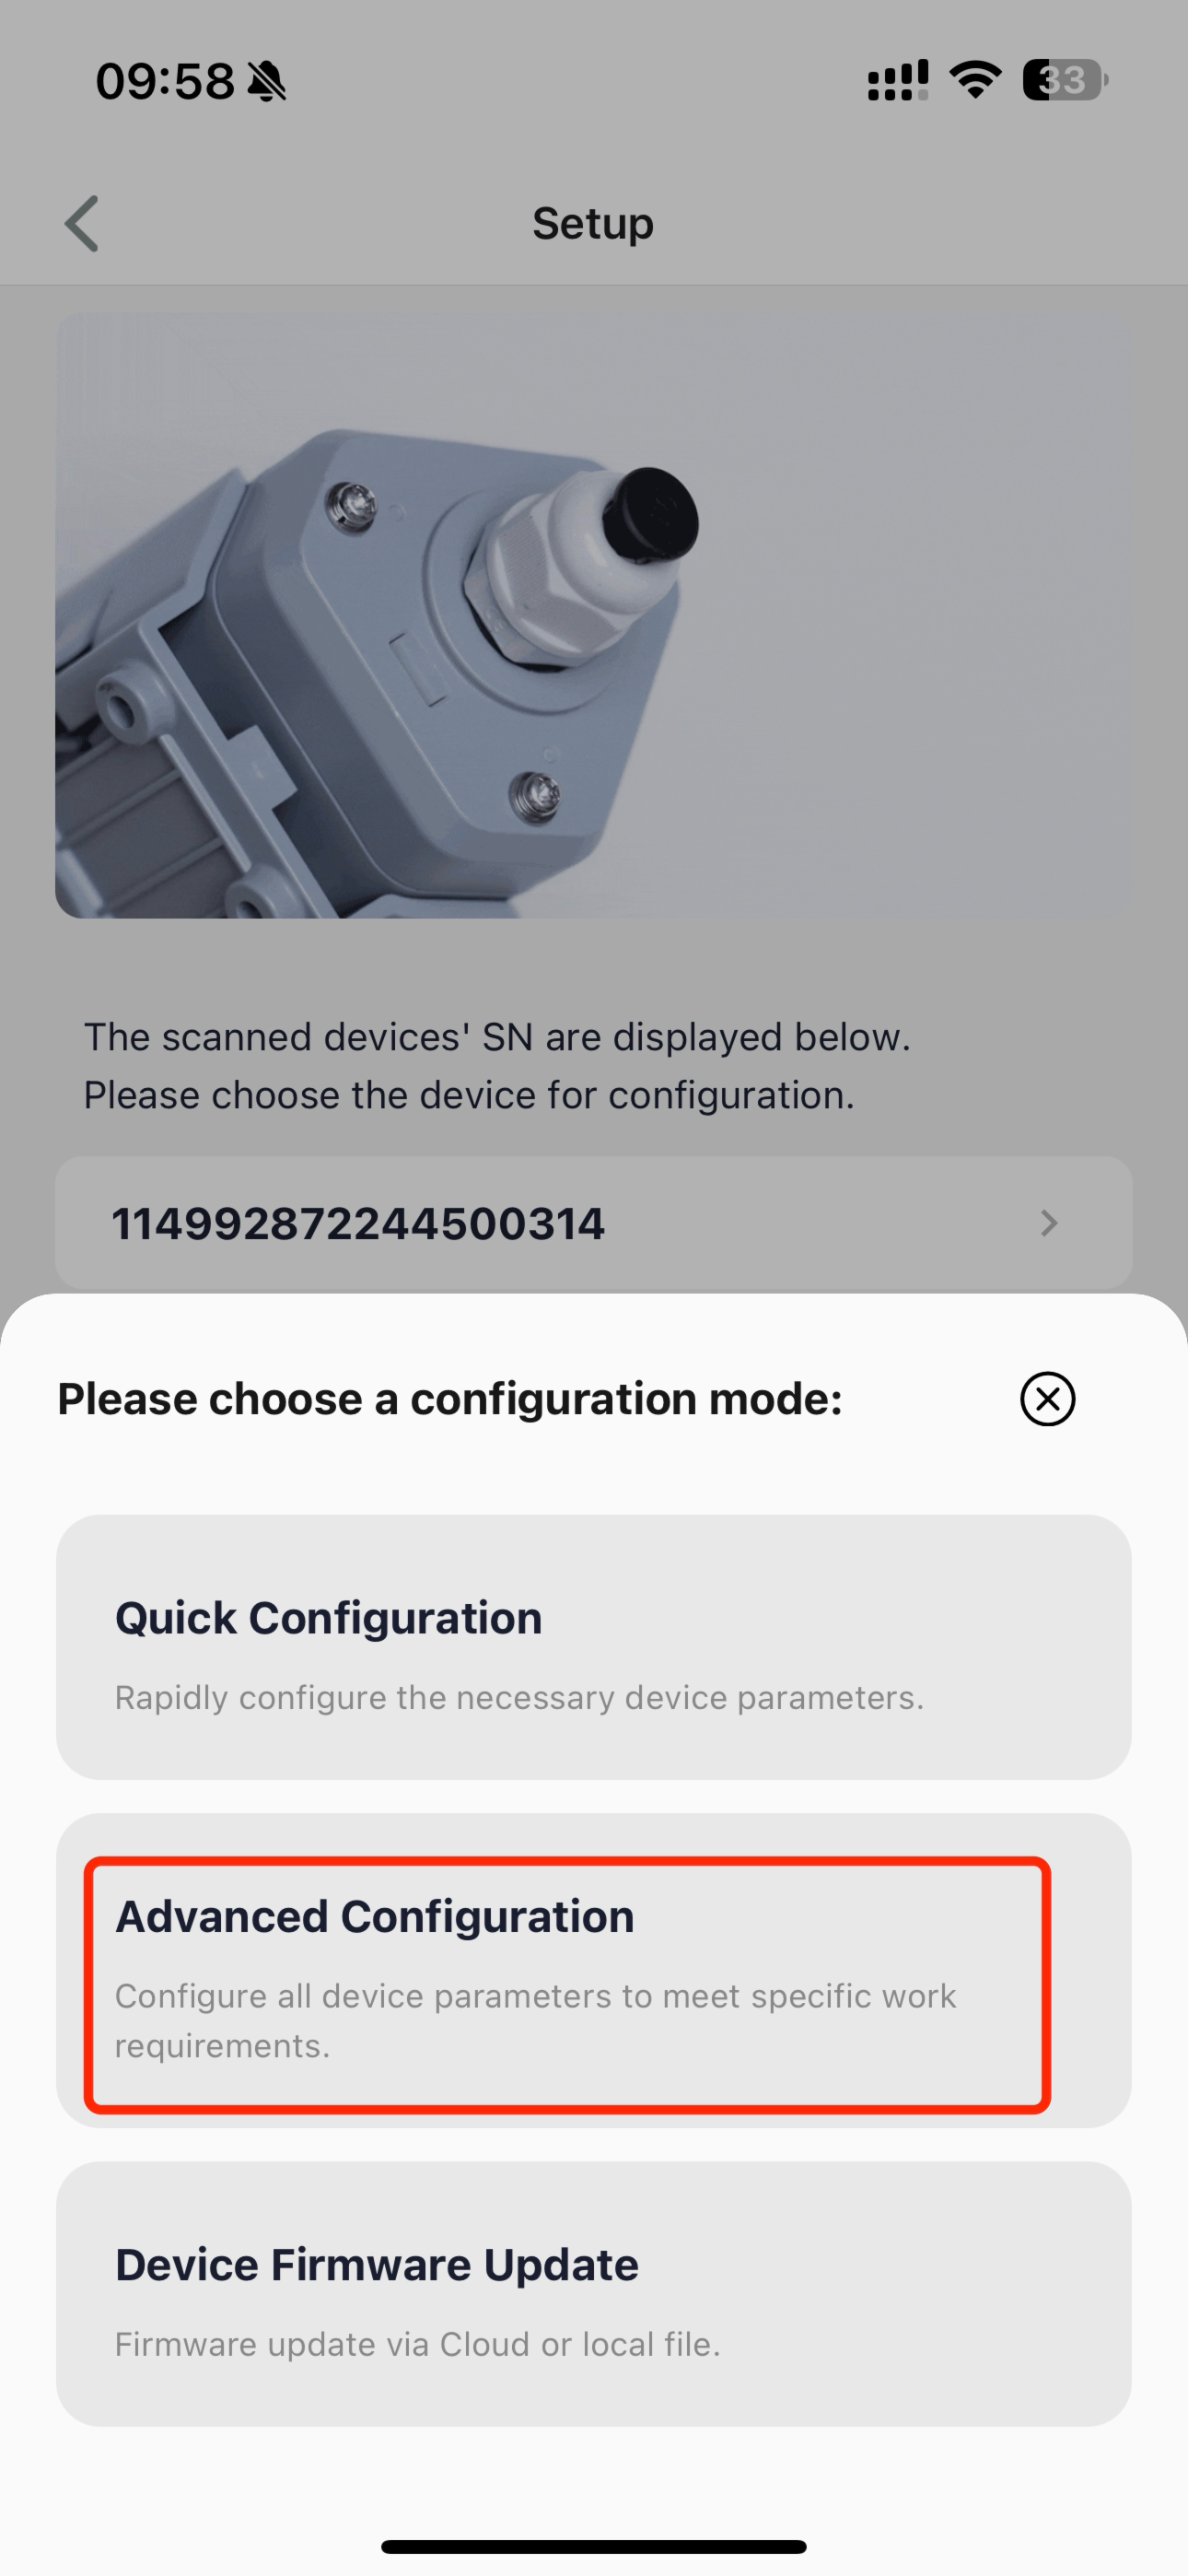
Once paired, click on Advanced Settings in the SenseCraft AI app.
Navigate to additional configuration options by clicking Advanced Settings again.
Select A1102 options by clicking AI Camera again.
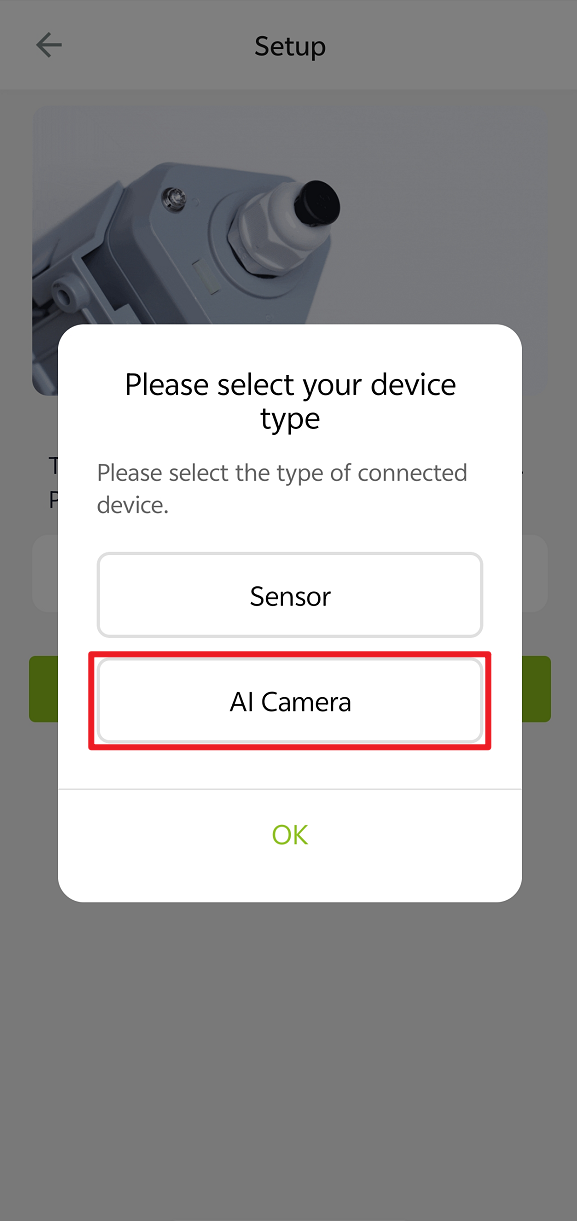
Deploying an AI Model
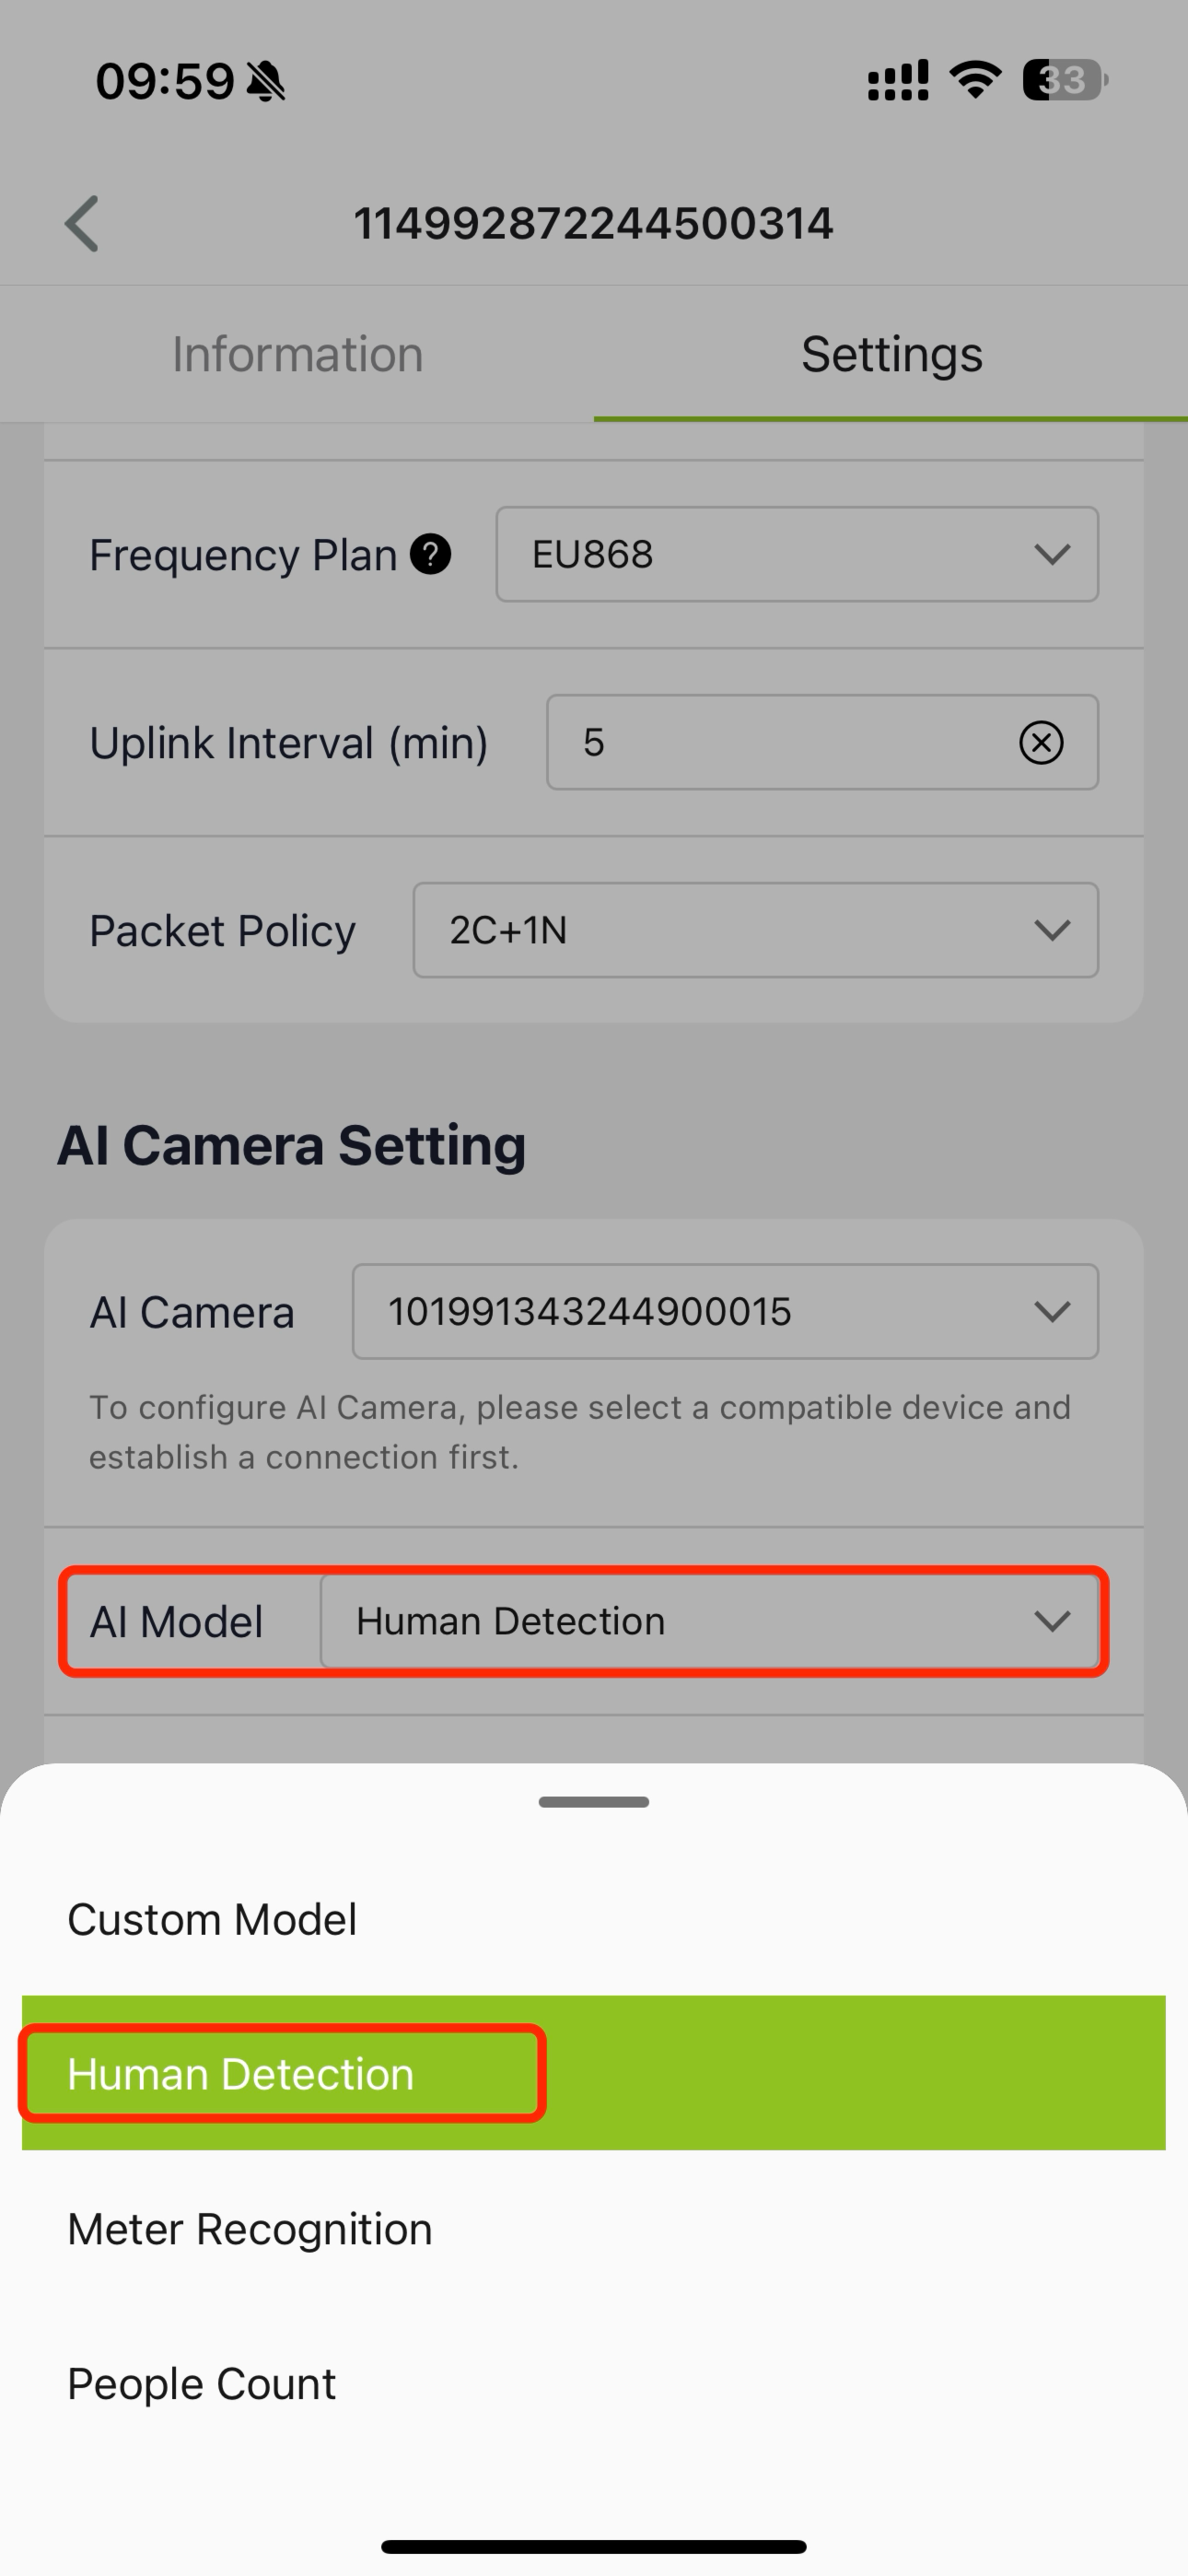
Selecting an AI Model
From the settings menu, select your desired AI model for deployment. Choose from pre-loaded models or upload a custom model.

Configuring Model Parameters
If you need to modify the AI camera settings, you must follow the steps to power up the AI camera.
Please refer to Power on the Vision AI camera.
Set parameters like:
- Confidence Level: Adjust the threshold for object recognition (e.g., 80% confidence).
- Save Recognized Images: Enable or disable saving recognized images to the memory card.
Testing and Running the Model
Preview Camera Capture
After deploying the model, preview the camera's captured images directly in the app to ensure the model is working as expected.
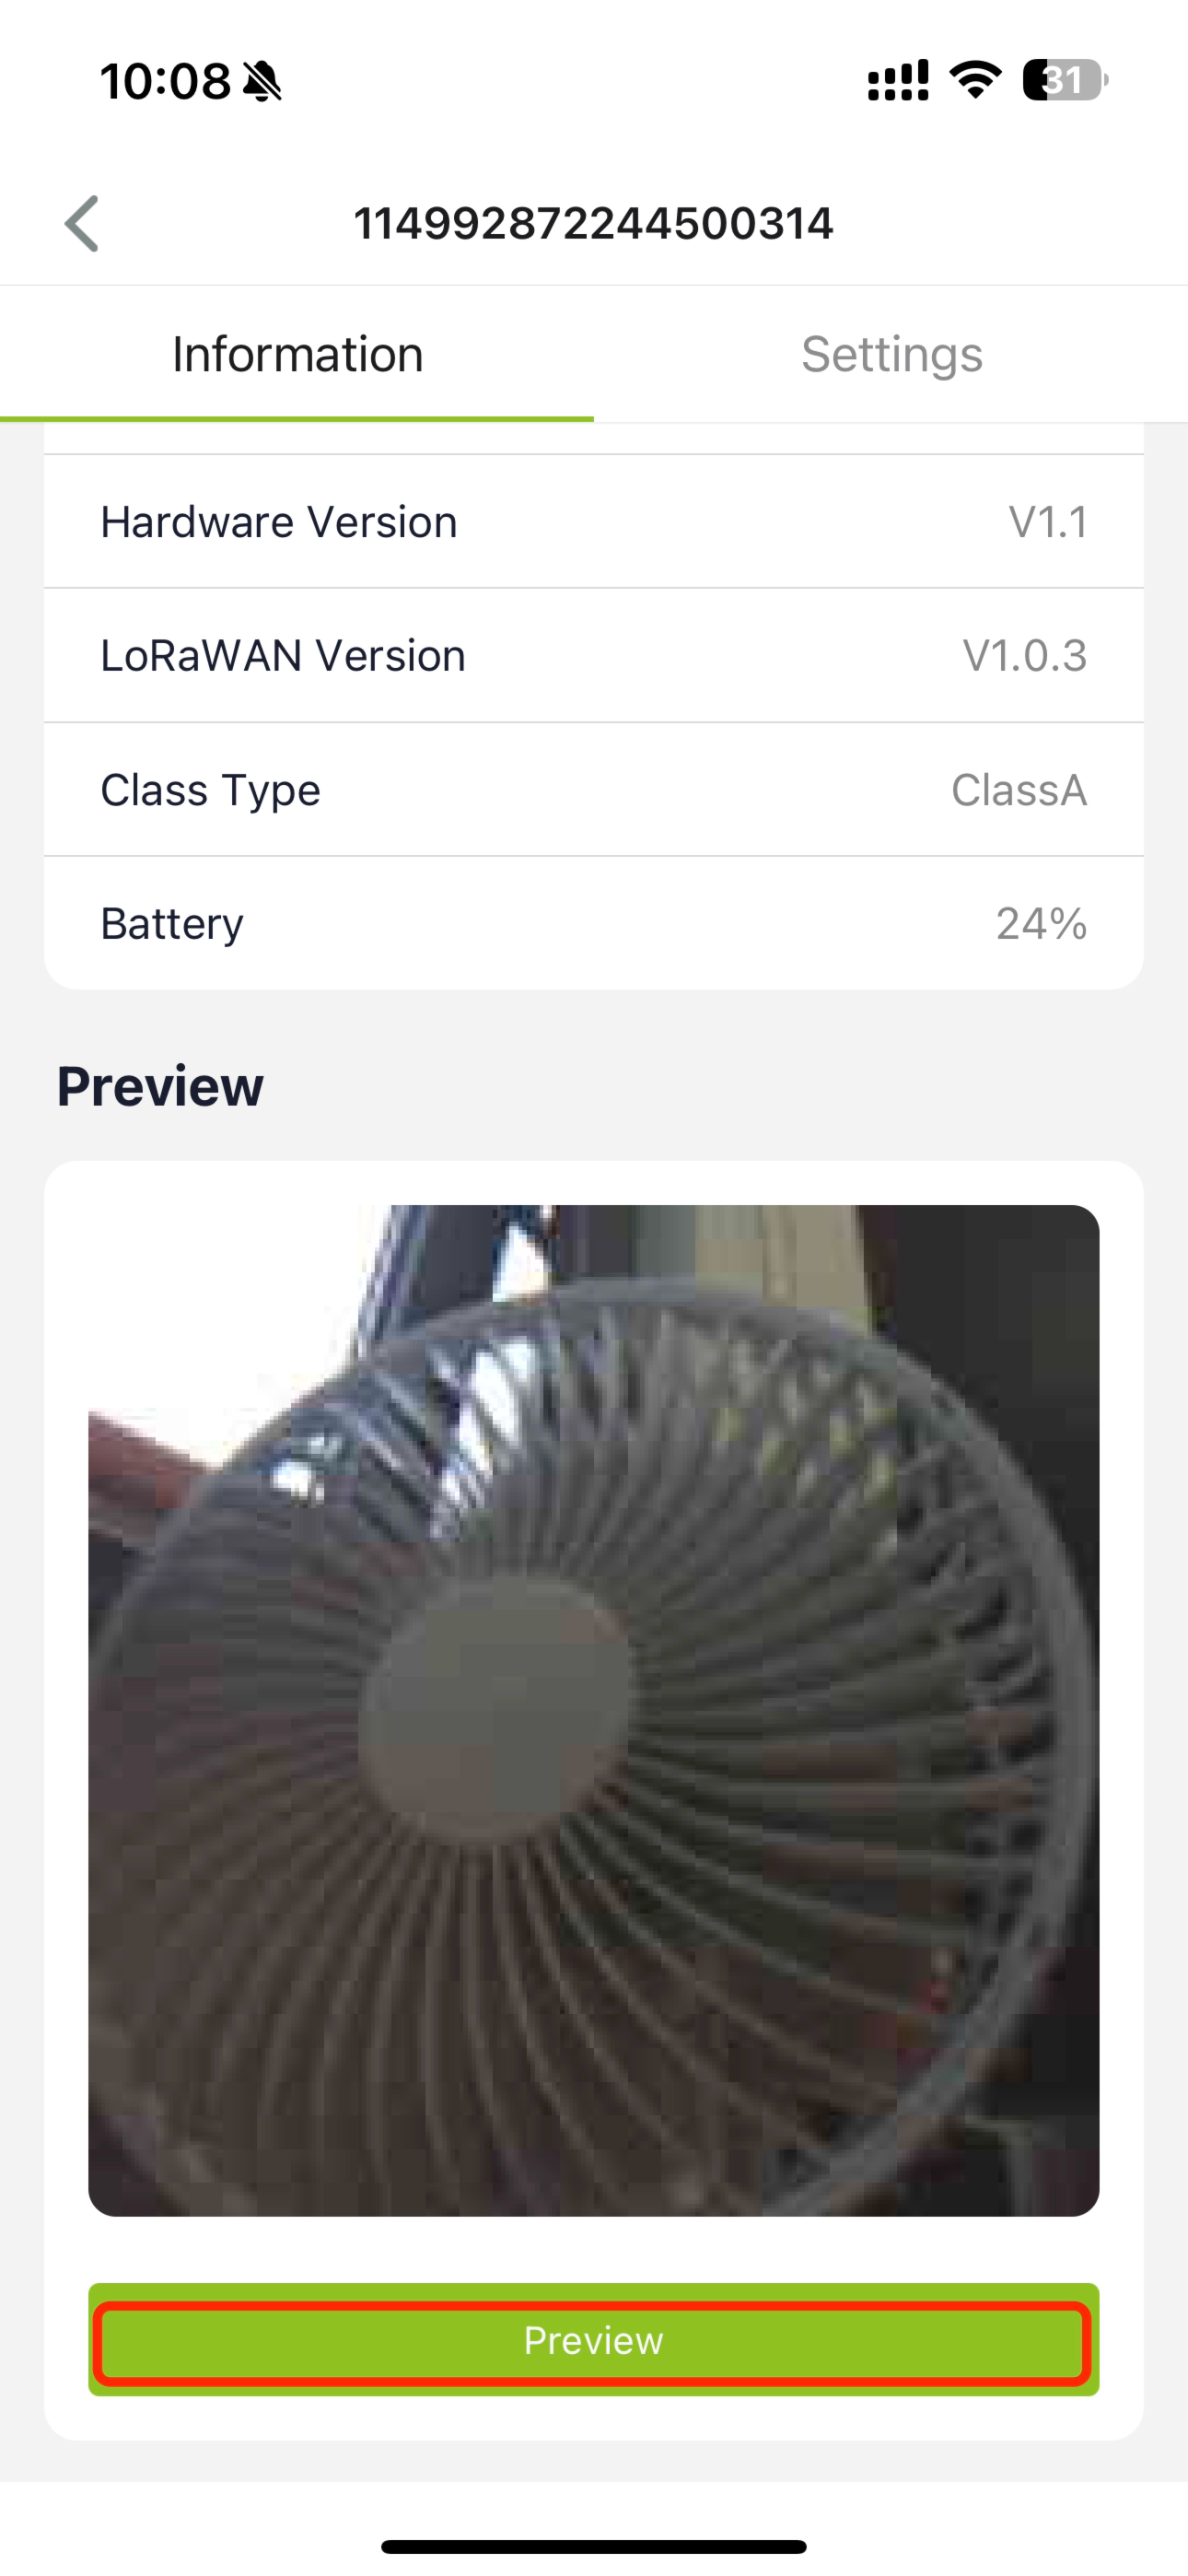
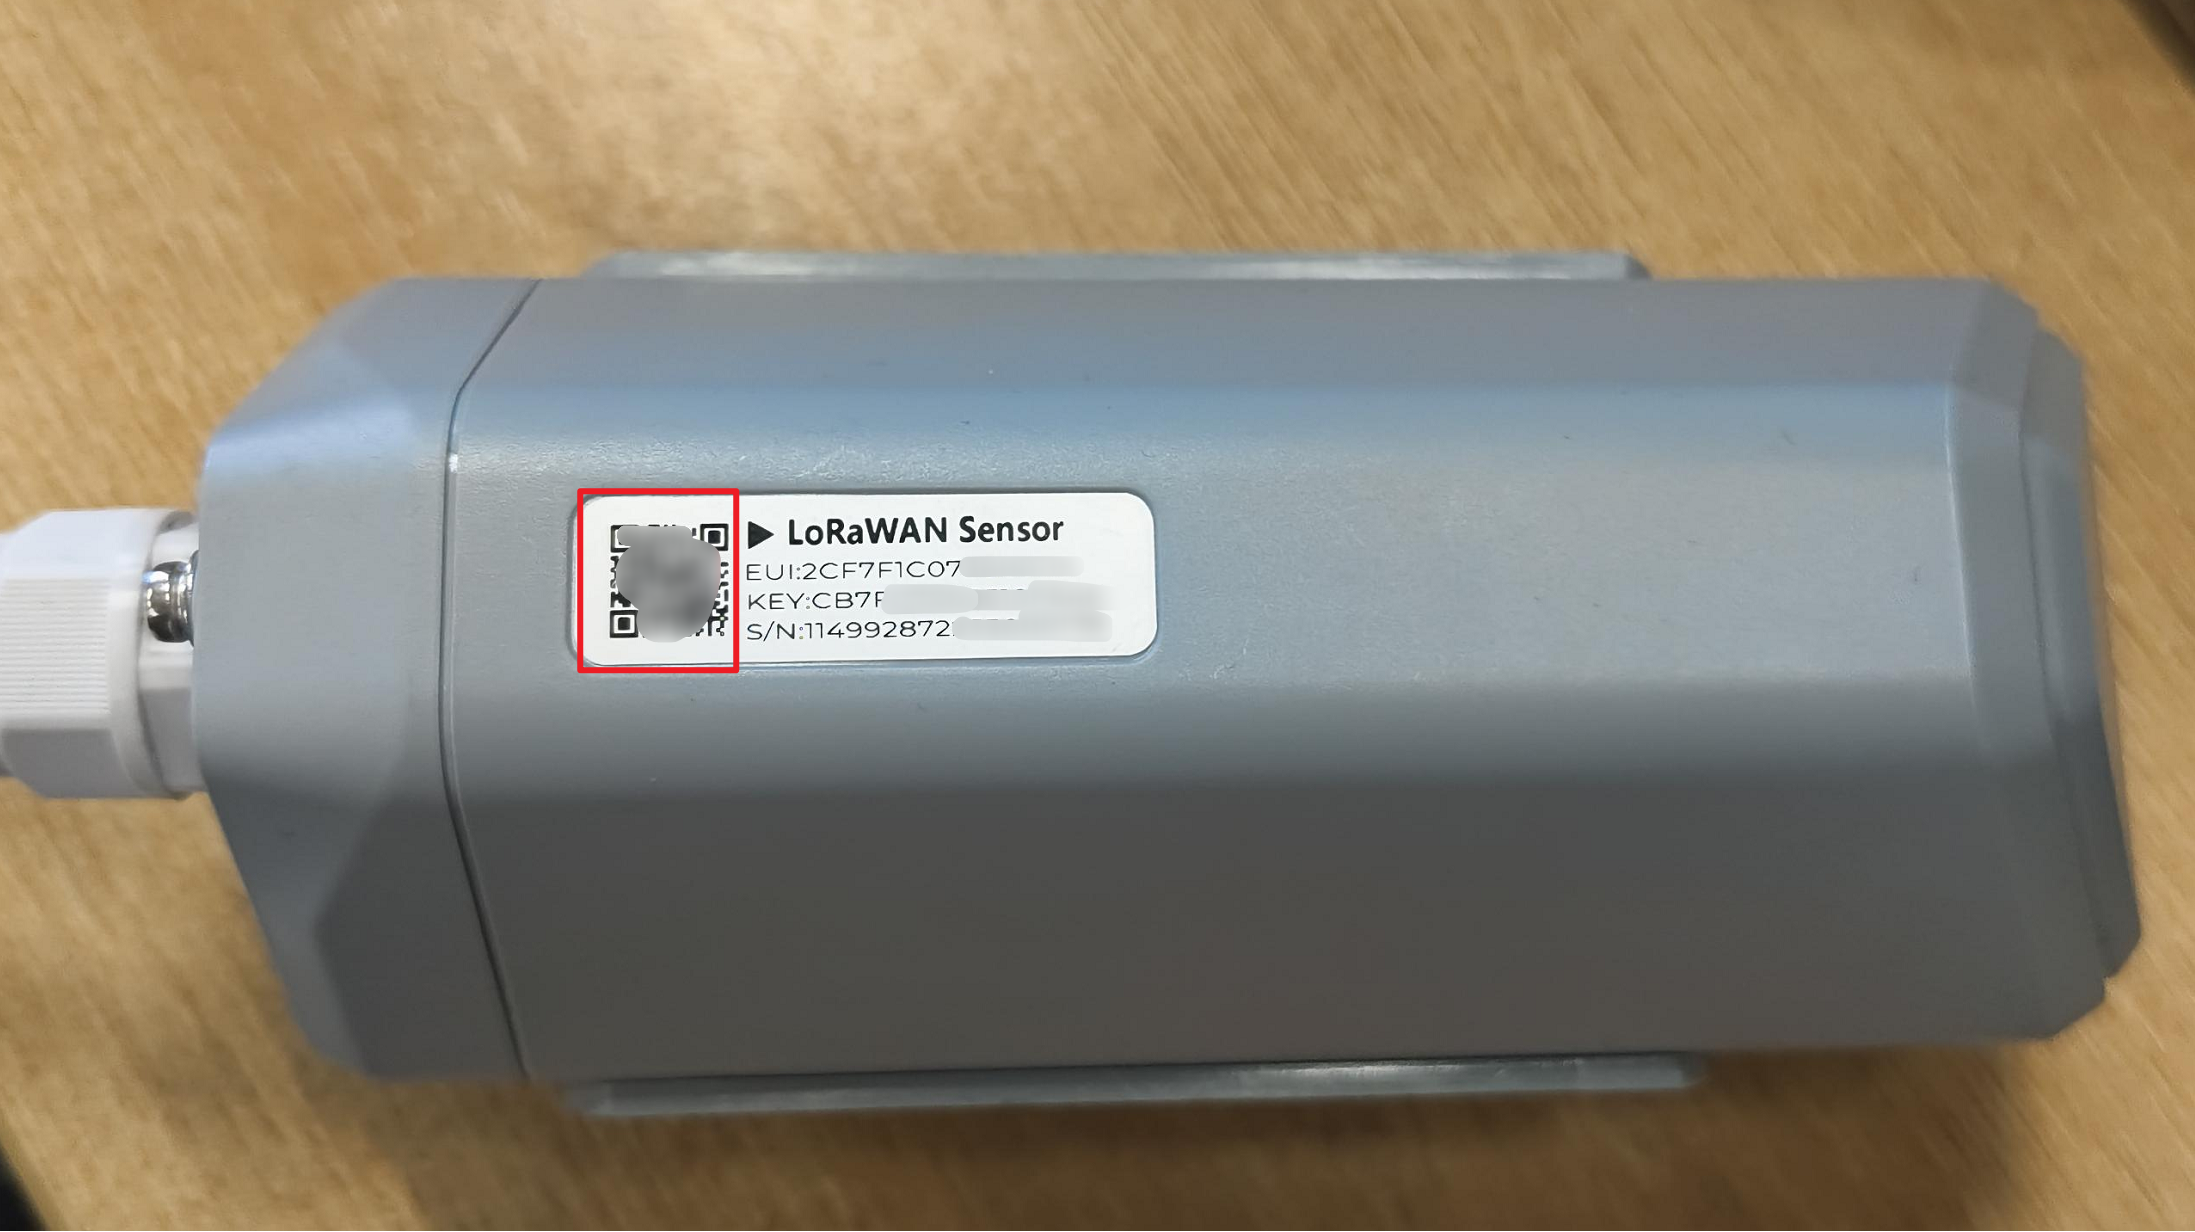
View Device Information
Scan the QR code on LoRaWAN Sensor S2100 to bind device.
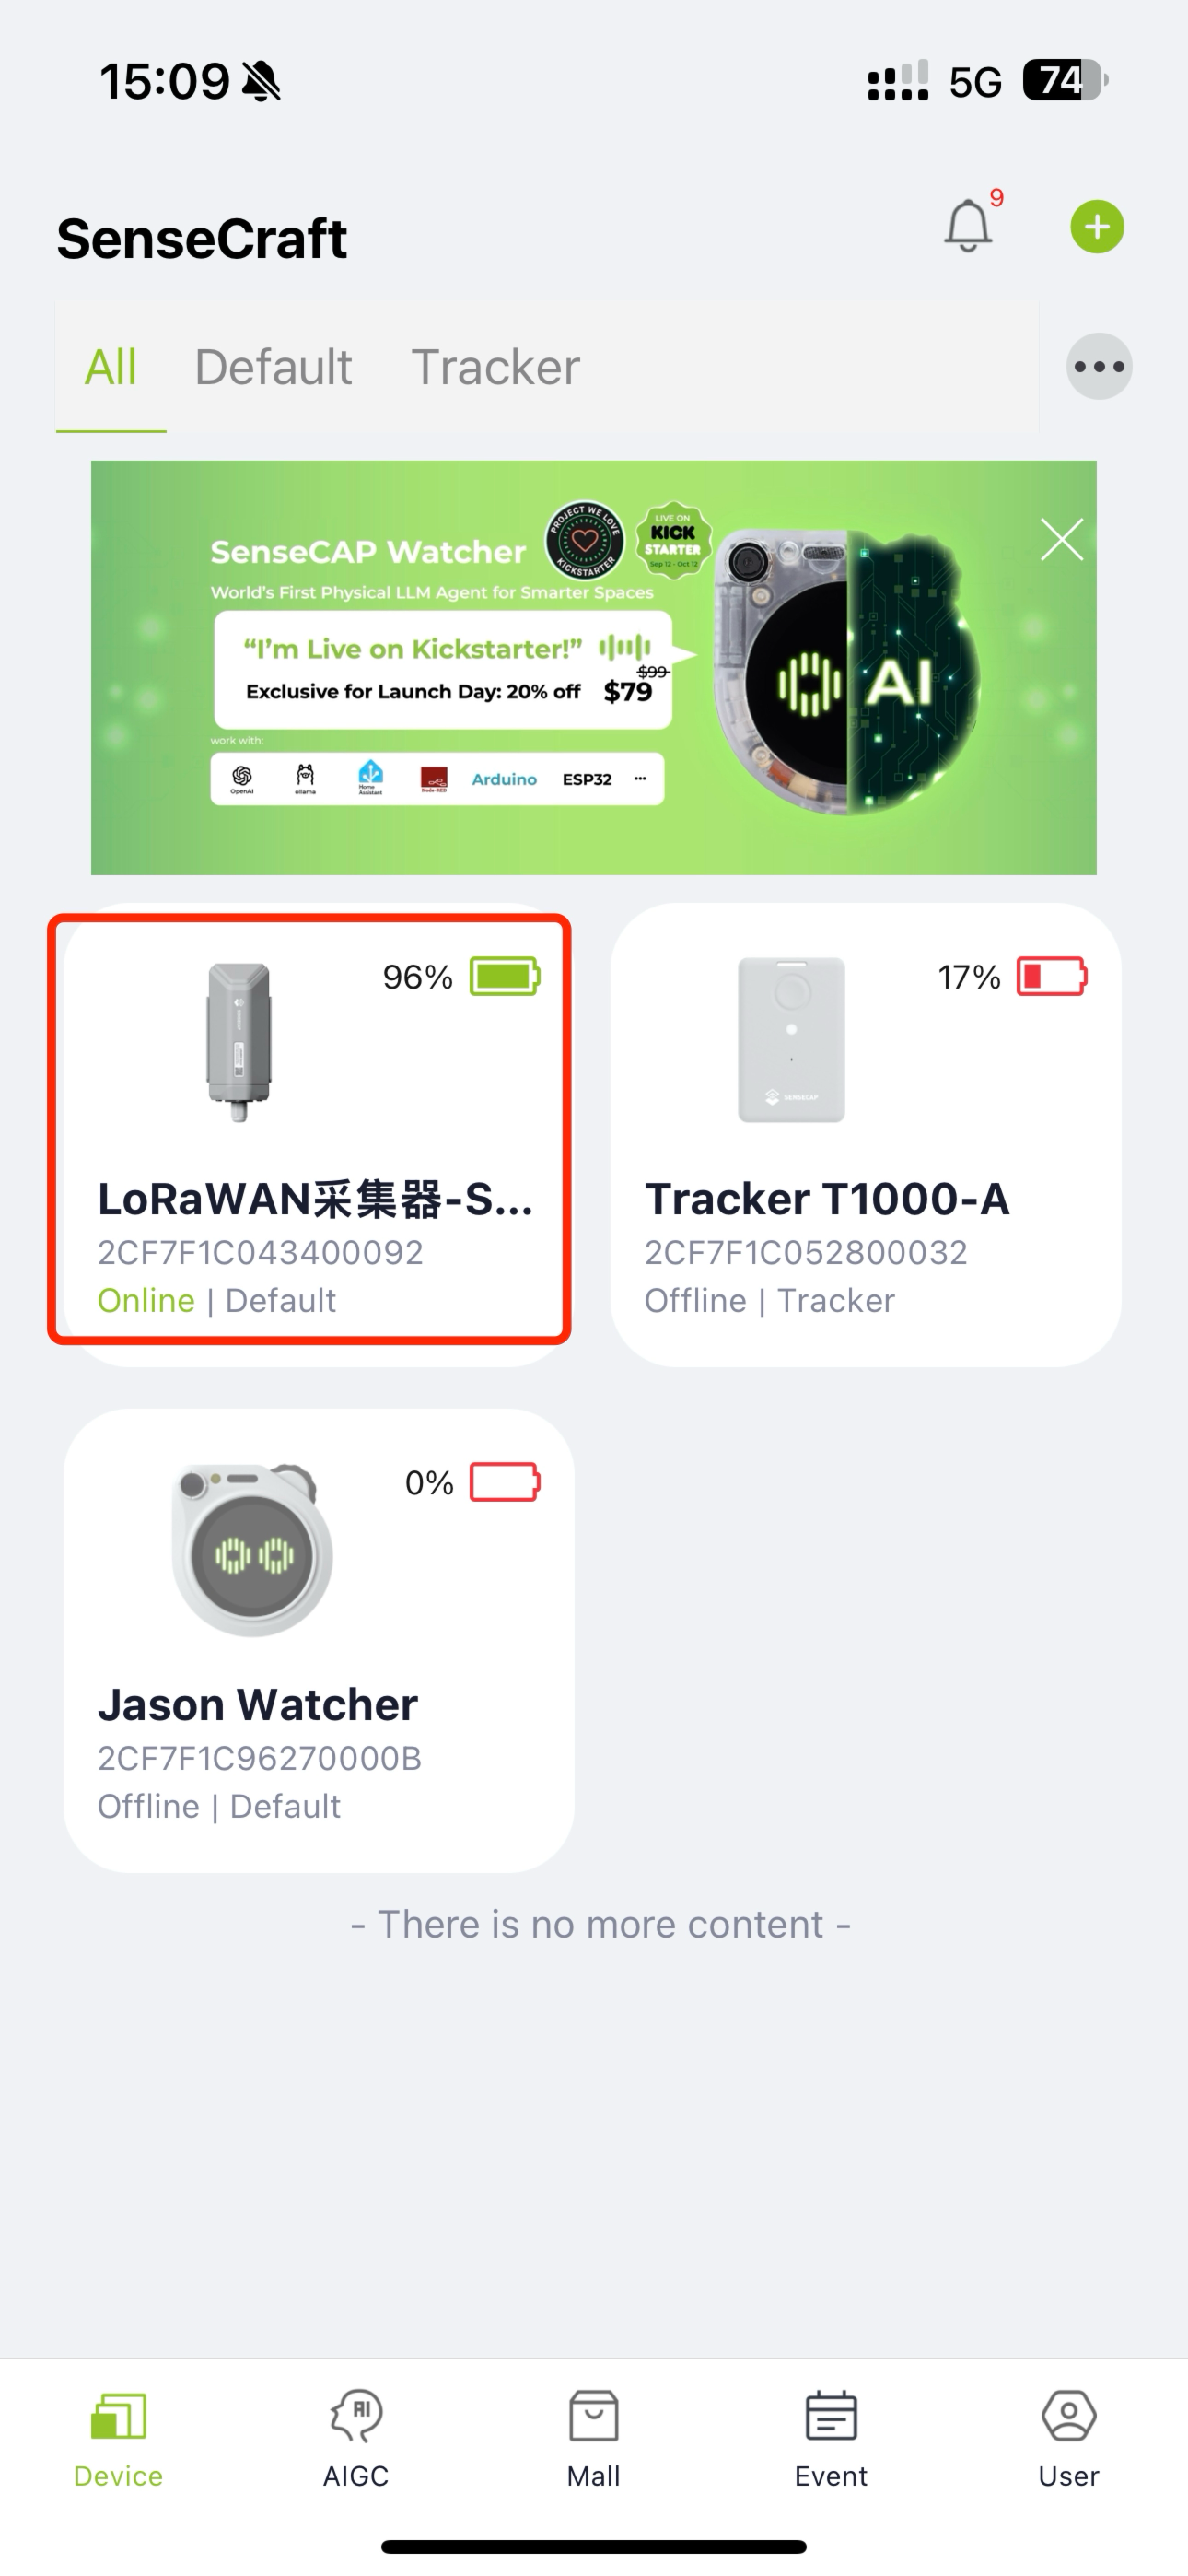
Return to the app's homepage to check the device information of the A1102, such as model status, connectivity.
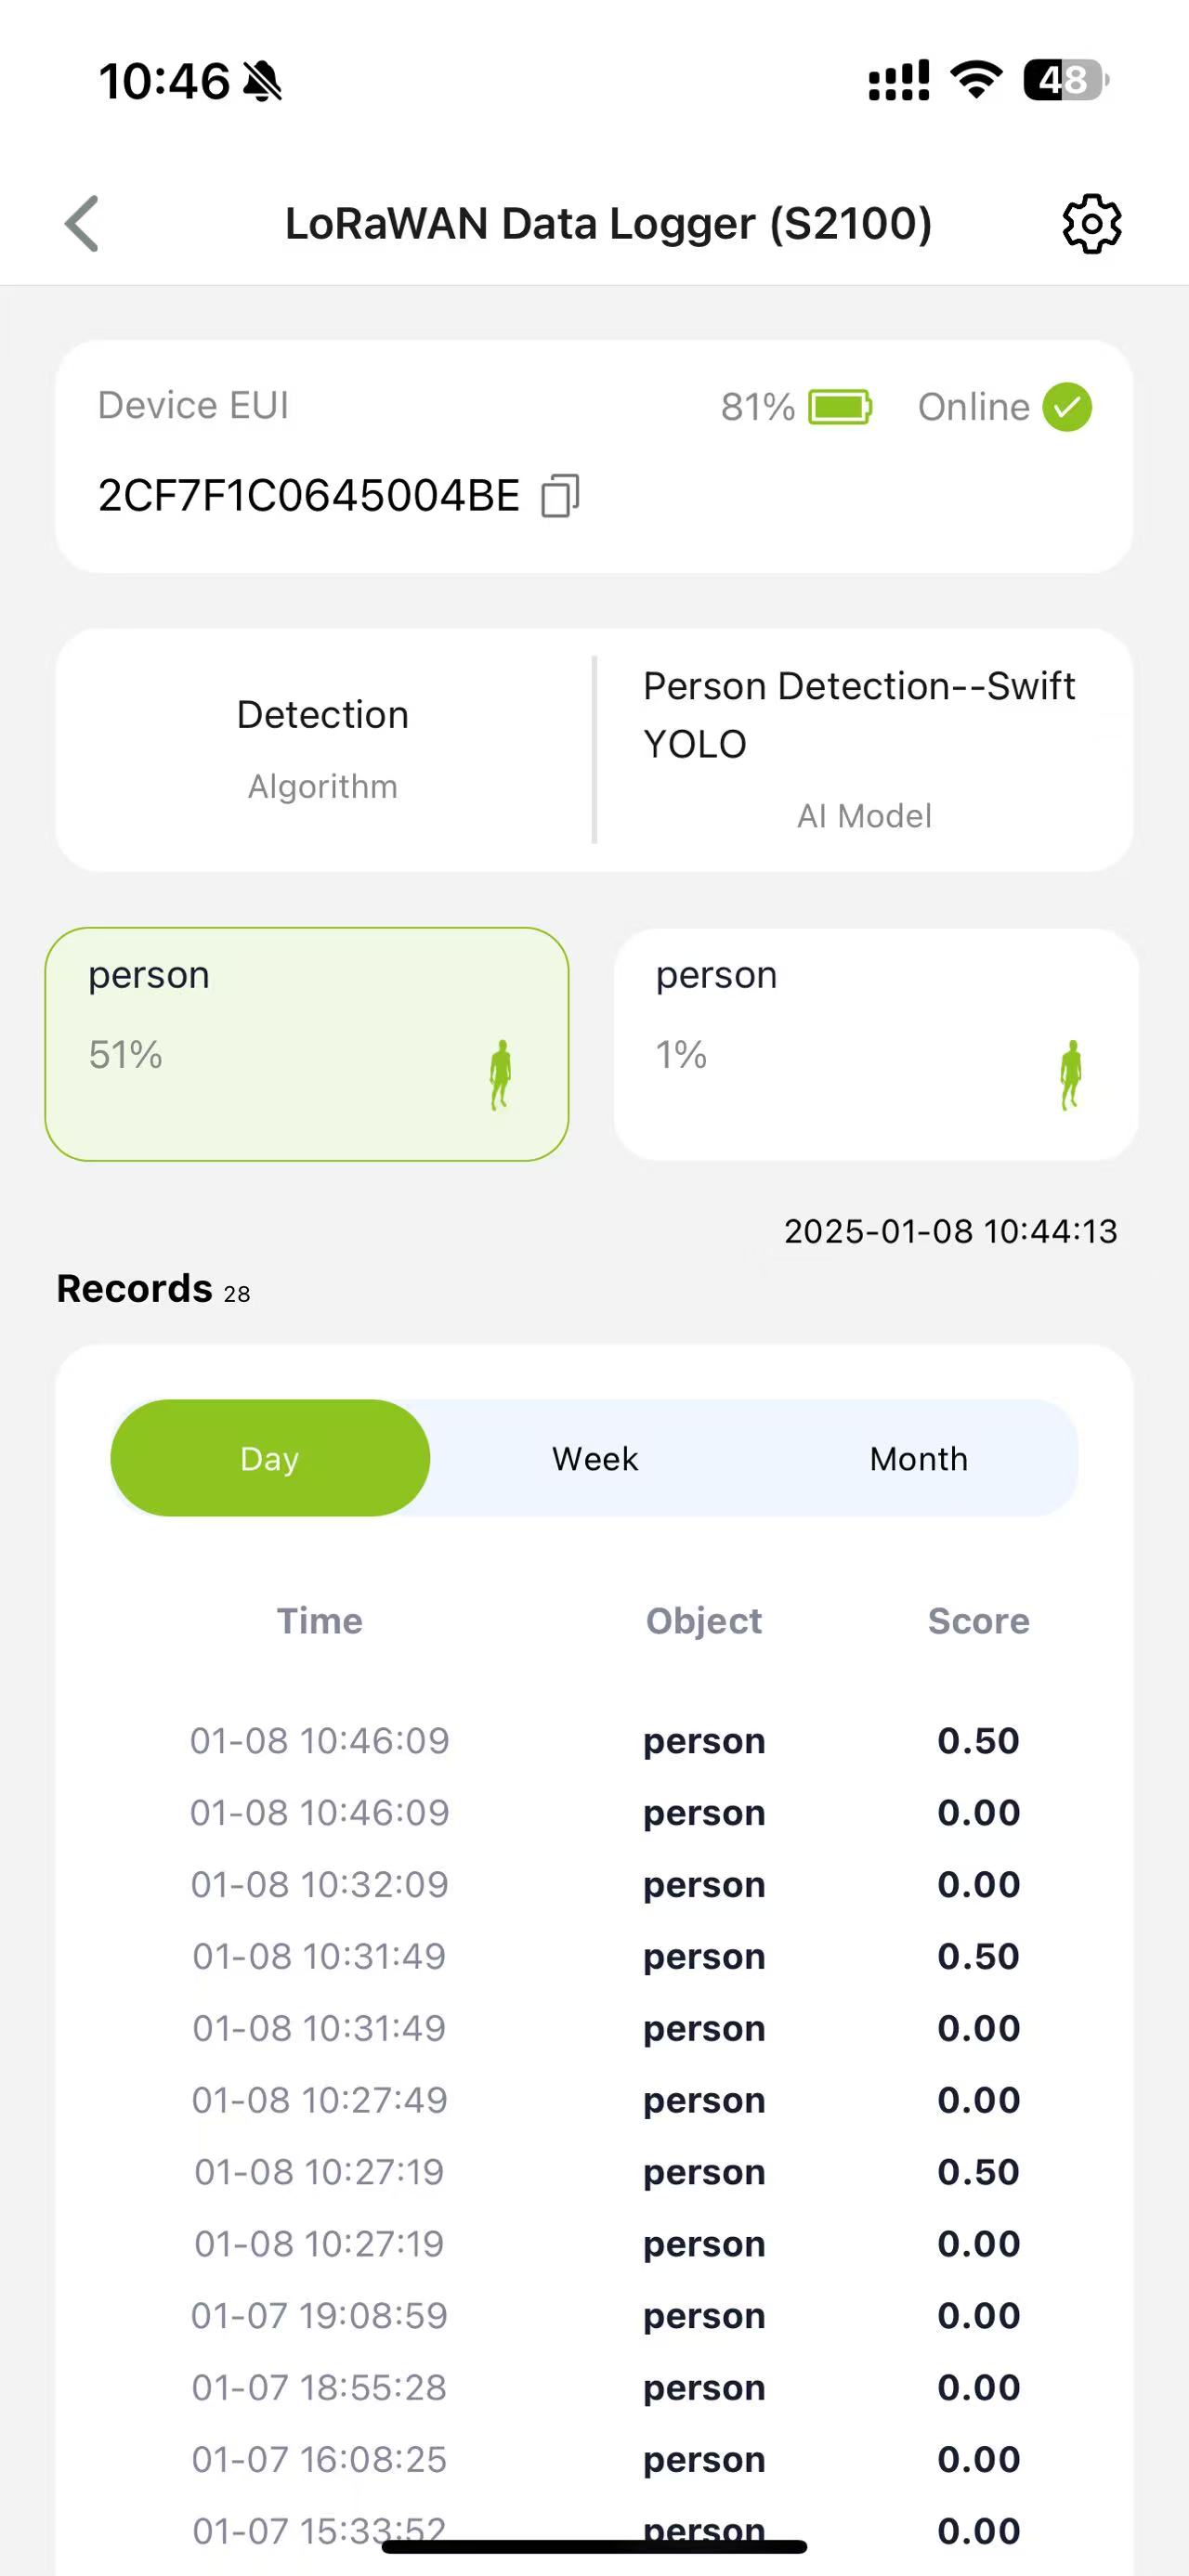
Review Recognition Results
View the recognition data and logs. For example, set a reporting interval (e.g., every 5 minutes) to track recognized objects.
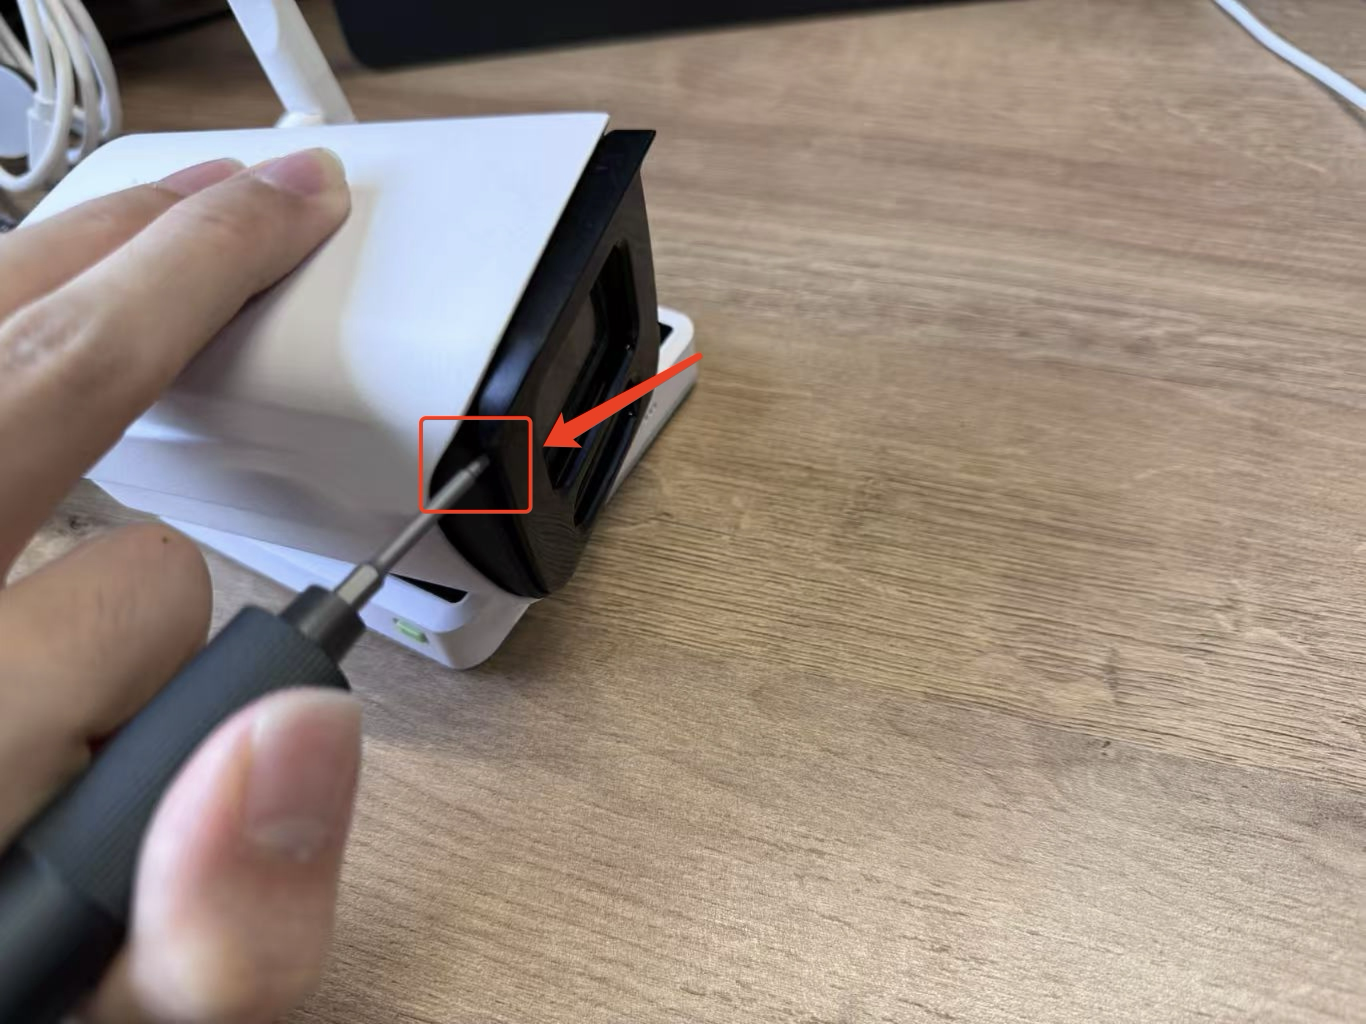
Accessing the SD Card
Locate the gap in the A1102 unit and gently insert a screwdriver. Apply a little force to pry it open.
Locate the four screw holes and rotate the knobs to open them. Make sure to apply consistent pressure while turning to ensure they come loose.
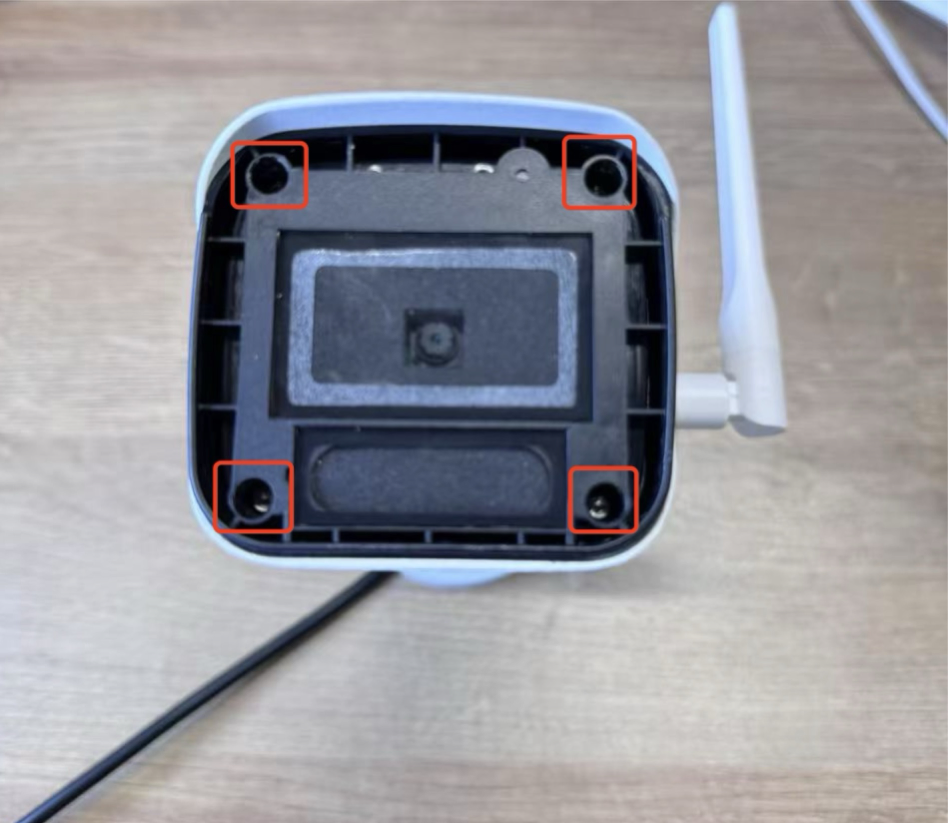
Once the screws are loosened, remove the cover to access the SD card slot. You can then take out the SD card to read the information stored inside.
Automatic Image Saving
With 8GB of internal memory, the A1102 can automatically save recognized images to a memory card. Access and retrieve these images later for analysis or reporting.
Equipped with 8GB of memory, the A1102 is able to automatically save images to the memory card when a target is recognized. When we need to access this image information, we can extract and access the required image data directly from the memory card.
Trouble Shooting
Common Issues
- Two methods to configure AI models
- Using the SenseCraft APP to configure the AI camera’s built-in models
- Connect to the bottom ESP32 port, which is used to provide power to the device.
- Using the SenseCraft AI website to configure AI models that are not factory-preloaded
- Connect to the top Himax port, which is used to flash the model to the Himax chip.
- The AI camera is connected but the app shows that it is not
- check the status of the datalogger and make sure to configure it first in Settings before returning to Information.
- explanation: To save power, the datalogger only supplies power to the AI camera when entering the Settings page.
- Breathing light vs. blinking light
- A breathing light effect indicates the device is searching for a network.
- A blinking light indicates the device has entered Bluetooth configuration mode.
- If the device is in breathing-light mode, press the button once to switch to the red light, then long-press the button to enter Bluetooth configuration mode (blinking light).
- The AI camera powers on successfully, but cannot be found via APP Bluetooth configuration
- When the AI camera is powered on, but:
- The SenseCraft APP can't search the device.
- Try searching for Vision AI V2, and still not detect the device.
- This indicates that the ESP32 firmware may not be functioning correctly (the ESP32 is responsible for Bluetooth broadcasting).
- Solution:
- Connect the cable to the ESP32 port and open a serial monitor to check whether the ESP32 is running normally.
- If abnormal logs or boot errors appear, contact technical support for instructions on re-flashing the ESP32 firmware.
Tech Support & Product Discussion
Thank you for choosing our products! We are here to provide you with different support to ensure that your experience with our products is as smooth as possible. We offer several communication channels to cater to different preferences and needs.