SO-ARM101 Data Collection with Isaac Sim 6.1
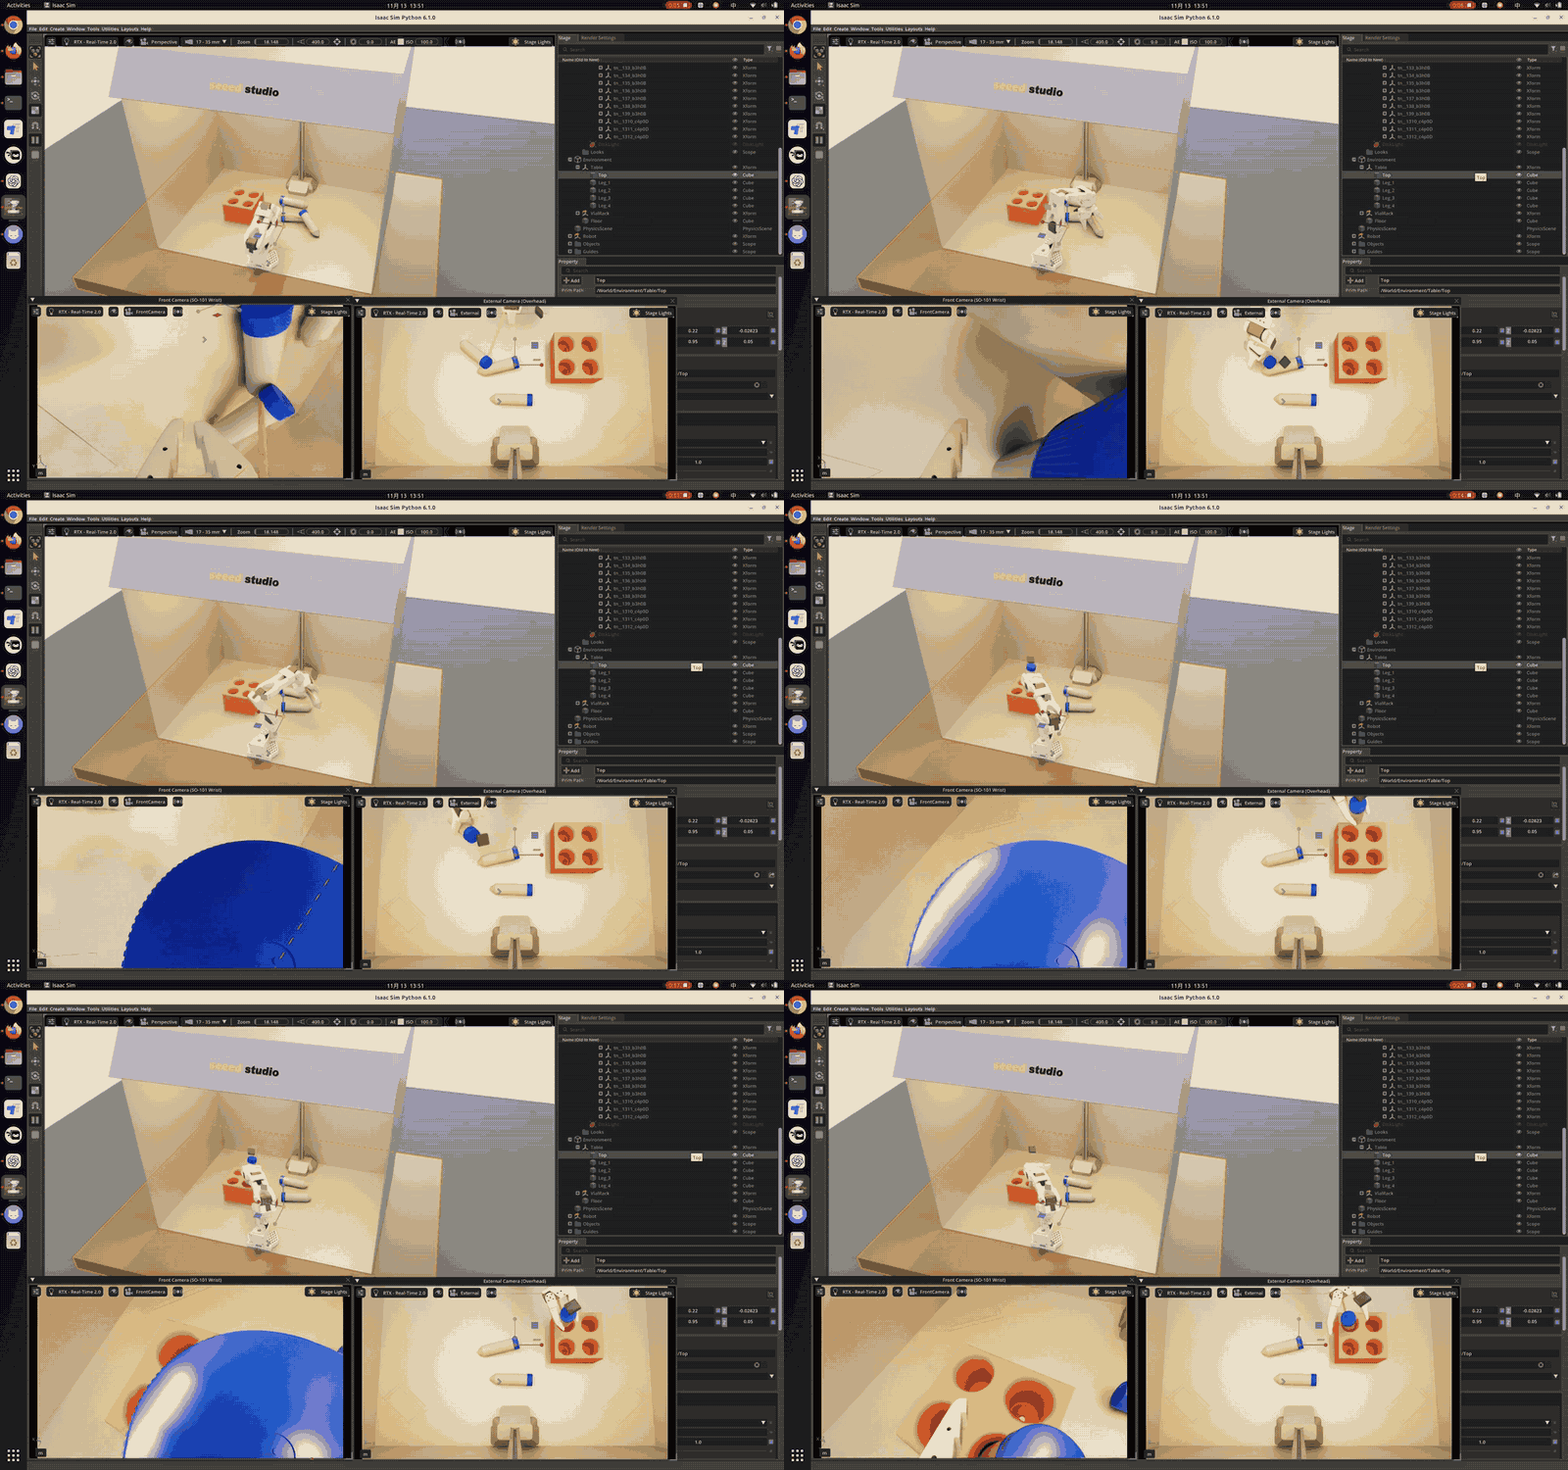
1. Requirements
⚠️ GPU requirement. Use an NVIDIA RTX GPU with at least 12 GB of VRAM, such as the RTX 3080 12 GB or RTX 4070 Ti SUPER 16 GB, and a recent driver. The robot, three camera views, and physics simulation run together. With 8 GB of VRAM, the default renderer can overwhelm the desktop compositor within minutes. The display can freeze and stop responding to the mouse and keyboard, requiring a forced restart. Isaac Sim itself may still be running and writing logs. During development, an 8 GB laptop froze twice even with the built-in mitigations and
--single-viewportenabled. Use a GPU with at least 12 GB of VRAM for reliable operation. If your GPU has 8 GB of VRAM, see section 10 for ways to reduce rendering load. The system may still freeze.
- Ubuntu 22.04. Isaac Sim 6.1 also supports Ubuntu 24.04.
- NVIDIA RTX GPU with at least 12 GB of VRAM.
- A recent NVIDIA driver.
- The Isaac Sim 6.1 standalone package.
- An SO-ARM101 leader arm connected over USB for physical teleoperation. Connect an SO-ARM101 follower arm as well to link a physical follower with the simulation.
Use the following directory layout.
~
├── isaacsim/                 # Isaac Sim 6.1 installation directory
└── rebot_lerobot/
    └── .venv/bin/python      # LeRobot virtual environment
2. Install Isaac Sim 6.1
Download isaac-sim-standalone-6.1.0-linux-x86_64.zip (about 12.4 GB) from NVIDIA. Extract it to ~/isaacsim and run the post-install script.
unzip isaac-sim-standalone-6.1.0-linux-x86_64.zip -d ~/isaacsim
cd ~/isaacsim
./post_install.sh
Run the compatibility checker to confirm that your system meets the requirements.
./isaac-sim.compatibility_check.sh # Expected output: System checking result: PASSED
- On the first launch with
./isaac-sim.sh, shader compilation may take several minutes. - If you installed Isaac Sim elsewhere, set
ISAACSIM_ROOTto the installation directory before launching the simulation. See section 6. - IOMMU, DLSS-RR, and PCIe link width warnings in the startup log do not prevent the tutorial from running.
3. Get the Code (Git LFS Required)
⚠️ The robot, camera mount, workbench, vials, and vial rack use USD assets stored in Git LFS. Install
git-lfsbefore cloning so Isaac Sim can load the full assets.
sudo apt update
sudo apt install -y git-lfs

cd ~
git clone https://github.com/Seeed-Projects/rebot-arm-dli-isaacsim.git
cd rebot-arm-dli-isaacsim
git lfs install
git lfs pull
Check that the assets downloaded correctly.
du -sh assets/
# Expected size: about 157 MB

head -c 8 assets/so101/SO-ARM101-USD-NO-CAMERA.usd
# Expected output: PXR-USDC. If you see version, run git lfs pull again.
4. Set Up the LeRobot Environment
mkdir ~/rebot_lerobot
cd ~/rebot_lerobot
sudo apt update
sudo apt install -y ffmpeg

# Clone the repository
git clone https://github.com/Seeed-Projects/lerobot.git

# Create a virtual environment with Python 3.12
uv venv --python 3.12 .venv
source .venv/bin/activate

# Install LeRobot with the dataset and visualization extras
uv pip install -e "./lerobot[dataset,viz]"

# Install the SO-ARM101 servo dependency
uv pip install feetech-servo-sdk
The
[dataset,viz]extras install dependencies includingdatasets,Pillow,av, andrerun. If these dependencies are missing, episode conversion fails and the terminal displays[dataset-error].
5. Connect and Calibrate the SO-ARM101
Connect the physical leader arm to power and plug in its USB data cable. Run lerobot-find-port to identify the ports for the leader and follower. The examples use /dev/ttyACM1 for the leader and /dev/ttyACM0 for the follower. Substitute your actual port paths. Save the calibration under so101_leader and so101_follower to match the project's default device IDs.
Calibrate the Leader Arm
source ~/rebot_lerobot/.venv/bin/activate

lerobot-calibrate \
  --teleop.type=so101_leader \
  --teleop.port=/dev/ttyACM1 \
  --teleop.id=so101_leader
When prompted, move each joint to the midpoint of its range and press Enter. Then move each joint through its full range of motion and press Enter again to save. See the LeRobot SO-101 calibration demonstration.
Calibrate the Follower Arm
Calibrate the follower before linking it with the simulation. Use the same midpoint and full-range procedure and wait for the command to save the calibration and exit.
source ~/rebot_lerobot/.venv/bin/activate

lerobot-calibrate \
  --robot.type=so101_follower \
  --robot.port=/dev/ttyACM0 \
  --robot.id=so101_follower
6. Start Teleoperation and Collect Data
Open the project directory. If Isaac Sim is installed elsewhere, run export ISAACSIM_ROOT=/path/to/isaacsim in the current terminal.
cd ~/rebot-arm-dli-isaacsim
Choose a Teleoperation Mode
Use the physical leader to control the simulated arm. The src=LEADER status indicates that the simulation is following the leader.
./run_so101.sh --leader-port /dev/ttyACM1 --no-follower
To link the physical follower, first place both physical arms in similar poses, then run the following command. The src=FOLLOWER status indicates that the simulation is following the follower's measured joint positions.
./run_so101.sh --leader-port /dev/ttyACM1 --follower-port /dev/ttyACM0
To control the simulated arm without a physical leader, start the simulation, click the 3D viewport, and press Y to enter keyboard mode.
./run_so101.sh --no-start-bridge
| Key | Action in keyboard mode |
|---|---|
W / S / A / D | Move the end effector forward, back, left, or right |
↑ / ↓ | Raise or lower the end effector |
Q / E | Rotate the wrist |
Z / C | Adjust the end effector pitch |
G | Toggle the gripper |
B | Switch between 5 mm and 15 mm steps |
Record the Vial-Sorting Task
- Click the simulation viewport and press
Rto reset the three vials and randomize the scene again. - Press
Sin leader mode orTin keyboard mode to start recording. - Place the three vials upright in the rack, one at a time. As the gripper approaches a vial, the guide line helps you judge the grasping distance. The terminal reports
[GRASP]and[RELEASE]. - Press the record key again to save the episode. In leader mode, you can also press
Cto discard it.
The dataset is written to ~/rebot-arm-dli-isaacsim/datasets/so101_vials_front_side with the ID local/so101_vials_front_side and the task text Put the three vials into the vial rack. Each recording contains SO-ARM101 joint and gripper data along with 30 FPS footage from the wrist and overhead cameras.
Camera Views
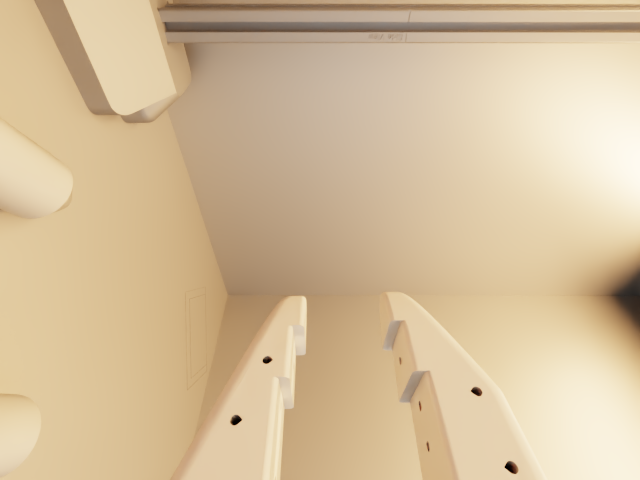 | 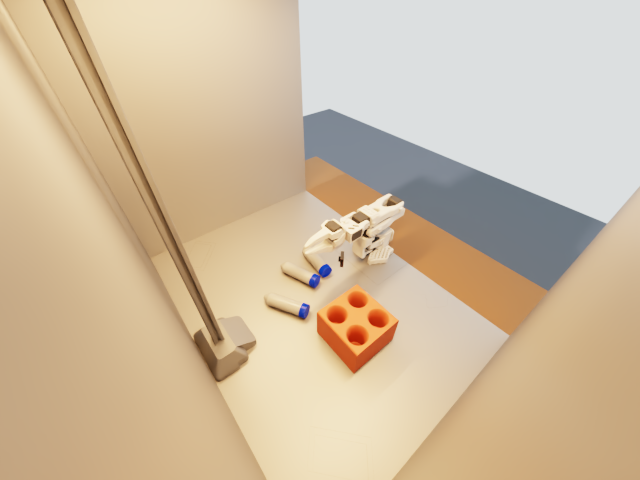 | 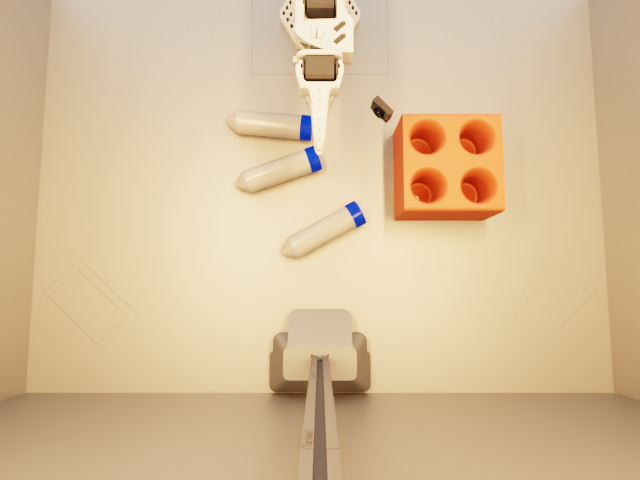 |
|---|---|---|
Wrist camera front (recorded) | Side camera side (for viewing) | Overhead camera external (recorded) |
7. Inspect, Visualize, and Replay the Dataset
Check Video and Action Synchronization
source ~/rebot_lerobot/.venv/bin/activate

lerobot-dataset-viz \
  --repo-id local/so101_vials_front_side \
  --root ~/rebot-arm-dli-isaacsim/datasets/so101_vials_front_side \
  --mode local \
  --episode-index 0
Check that both videos stay synchronized with the actions and states. Look for black frames, frozen frames, and objects that obscure the view.
Replay Actions in Isaac Sim
In the first terminal, start the simulation receiver.
cd ~/rebot-arm-dli-isaacsim
./run_so101.sh --no-start-bridge --no-recording --no-dr
In a second terminal, replay episode 0. Add --loop for continuous playback.
source ~/rebot_lerobot/.venv/bin/activate
cd ~/rebot-arm-dli-isaacsim
PYTHONPATH=scripts python scripts/replay_episode_so101.py --episode 0
8. Validate Without Hardware
The following commands use a simulated leader to check joint tracking. The second command also checks both cameras, H.264 encoding, and LeRobot dataset output.
cd ~/rebot-arm-dli-isaacsim
./run_so101.sh --headless --test
./run_so101.sh --headless --test --test-recording
To generate two simulated recordings, run the following command. The example writes validation data to a separate directory from your regular recordings.
./run_so101.sh --headless --auto-record 2 \
  --dataset-root datasets/so101_vials_smoke_test \
  --repo-id local/so101_vials_smoke_test
9. Train an ACT Policy
Run 60 steps of ACT training on data from the regular recording directory to verify the training workflow. The trained model and related files are saved in checkpoints/last/pretrained_model/ inside the output directory.
source ~/rebot_lerobot/.venv/bin/activate
lerobot-train \
  --policy.type=act \
  --policy.push_to_hub=false \
  --dataset.repo_id=local/so101_vials_front_side \
  --dataset.root=~/rebot-arm-dli-isaacsim/datasets/so101_vials_front_side \
  --output_dir=~/rebot_lerobot/outputs/train/act_so101 \
  --steps=60 --batch_size=4 --num_workers=2
10. Known Issues
The SO-ARM101 scene uses Path Tracing by default. If rendering load is too high, use --single-viewport to show only the main viewport while still recording both cameras. Use --realtime-renderer to switch to real-time rendering. Real-time footage may be noisier.
cd ~/rebot-arm-dli-isaacsim
./run_so101.sh --no-start-bridge --no-recording --single-viewport --realtime-renderer
11. Troubleshooting
- Cannot access the serial port. Check the device port and data cable. If your account lacks serial port permissions, run
sudo usermod -aG dialout "$USER", sign out and back in, and try again. - The simulated and physical arms have different poses. Verify the serial ports and calibration IDs for both arms. Recheck the calibration midpoint and the range of motion for each joint.
- Isaac Sim Python cannot be found. Check that the installation directory contains
python.shand setISAACSIM_ROOTto that directory. - Scene assets are missing. Run
git lfs pullfrom the project directory and check the assets as described in section 3. - Recording reports
[dataset-error]. Check the LeRobot virtual environment and the[dataset,viz]extras from section 4. - The terminal reports
[watchdog] Leader data timed out. Check the leader's USB connection and serial bridge process. The simulation holds its last target while communication is interrupted.
Upstream MIT License
MIT License
Copyright (c) 2026 reBot Arm DLI Isaac Sim contributors
Permission is hereby granted, free of charge, to any person obtaining a copy of this software and associated documentation files (the "Software"), to deal in the Software without restriction, including without limitation the rights to use, copy, modify, merge, publish, distribute, sublicense, and/or sell copies of the Software, and to permit persons to whom the Software is furnished to do so, subject to the following conditions:
The above copyright notice and this permission notice shall be included in all copies or substantial portions of the Software.
THE SOFTWARE IS PROVIDED "AS IS", WITHOUT WARRANTY OF ANY KIND, EXPRESS OR IMPLIED, INCLUDING BUT NOT LIMITED TO THE WARRANTIES OF MERCHANTABILITY, FITNESS FOR A PARTICULAR PURPOSE AND NONINFRINGEMENT. IN NO EVENT SHALL THE AUTHORS OR COPYRIGHT HOLDERS BE LIABLE FOR ANY CLAIM, DAMAGES OR OTHER LIABILITY, WHETHER IN AN ACTION OF CONTRACT, TORT OR OTHERWISE, ARISING FROM, OUT OF OR IN CONNECTION WITH THE SOFTWARE OR THE USE OR OTHER DEALINGS IN THE SOFTWARE.