Tutorial of AI Kit with Raspberry Pi 5 about YOLOv8n object detection
Introduction
YOLOv8 (You Only Look Once version 8) is the popular most YOLO series of real-time pose estimation and object detection models. It builds upon the strengths of its predecessors by introducing several advancements in speed, accuracy, and flexibility. The Raspberry-pi-AI-kit is used to accelerate inference speed, featuring a 13 TOPS neural network inference accelerator built around the Hailo-8L chip.
This wiki will guide you on how to use YOLOv8n for object detection with AI Kit on Raspberry Pi 5, from training to deployment.
Prepare Hardware
For Hailo8L 13 TOPS
| Raspberry Pi5 8GB | Raspberry Pi AI Kit |
|---|---|
 |  |
For Hailo8 26 TOPS
| reComputer R1125 | reComputer AI R2130 | reComputer AI Industrial R2145 |
|---|---|---|
 |  |  |
| reComputer Industrial R20xx | reComputer Industrial R21xx |
|---|---|
 |  |
Install Hardware
Please refer to this
On Host Computer
We will install hailo software, make sure you have a hailo account.
Install Ultralytics and train model
Install python3.11
sudo apt install python3.11
Create yolo_env as your virtual environment
python3.11 -m venv yolo_env
Activate the environment
source yolo_env/bin/activate
Install ultralytics
pip install ultralytics
Train YOLOv8n using the COCO dataset. If you want to train your own dataset, you can refer to this for instructions on how to do so.
mkdir yolomodel && cd yolomodel
yolo detect train data=coco128.yaml model=yolov8n.pt name=retrain_yolov8n epochs=100 batch=16
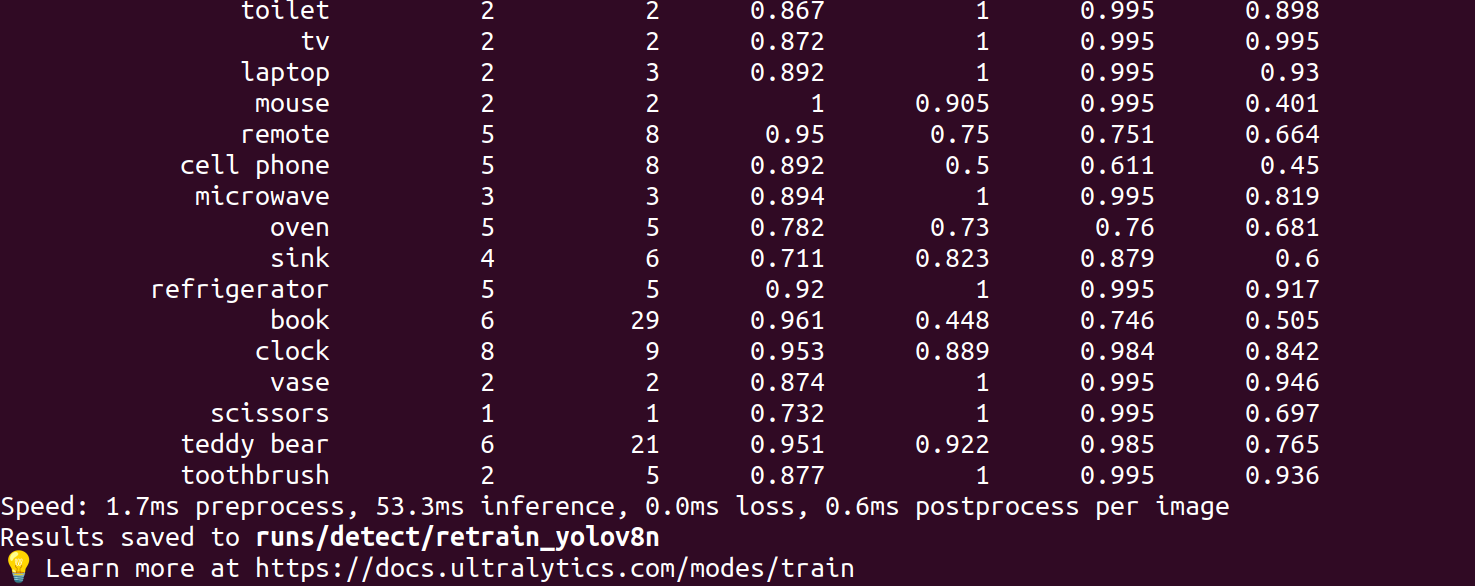
You will get the best.pt model after your training, as shown below:
cd ./runs/detect/retrain_yolov8n/weights/
ls

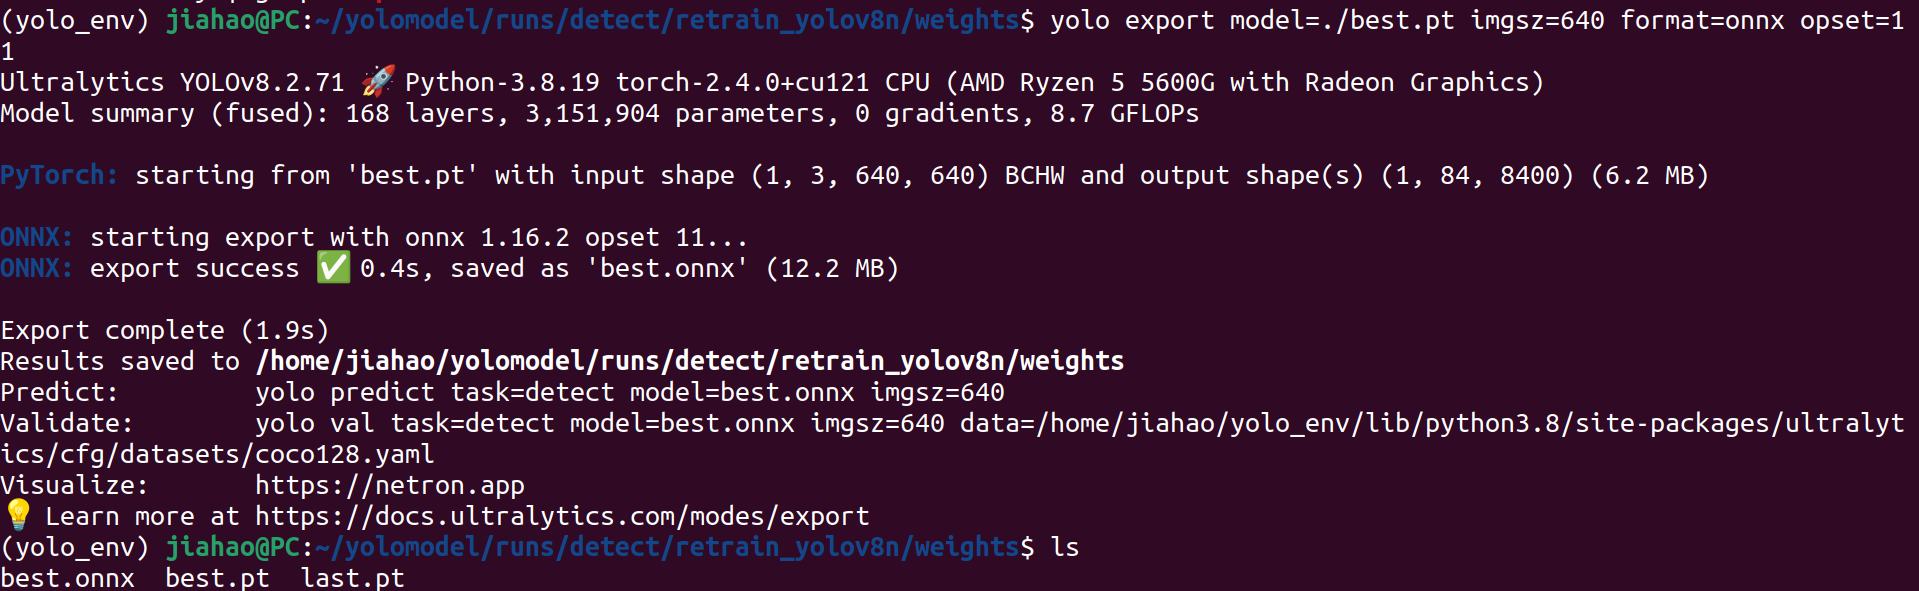
Convert the .pt model to .onnx.
yolo export model=./best.pt imgsz=640 format=onnx opset=11
Result like below:
Install hailo software
Install python 3.8
cd ~
sudo apt install python3.8
Create hailo_env as your virtual environment
python3.8 -m venv hailo_env
Activate the environment
source hailo_env/bin/activate
Install Hailo Dataflow Compiler 3.27, here you need to register Hailo and login, and download the software.
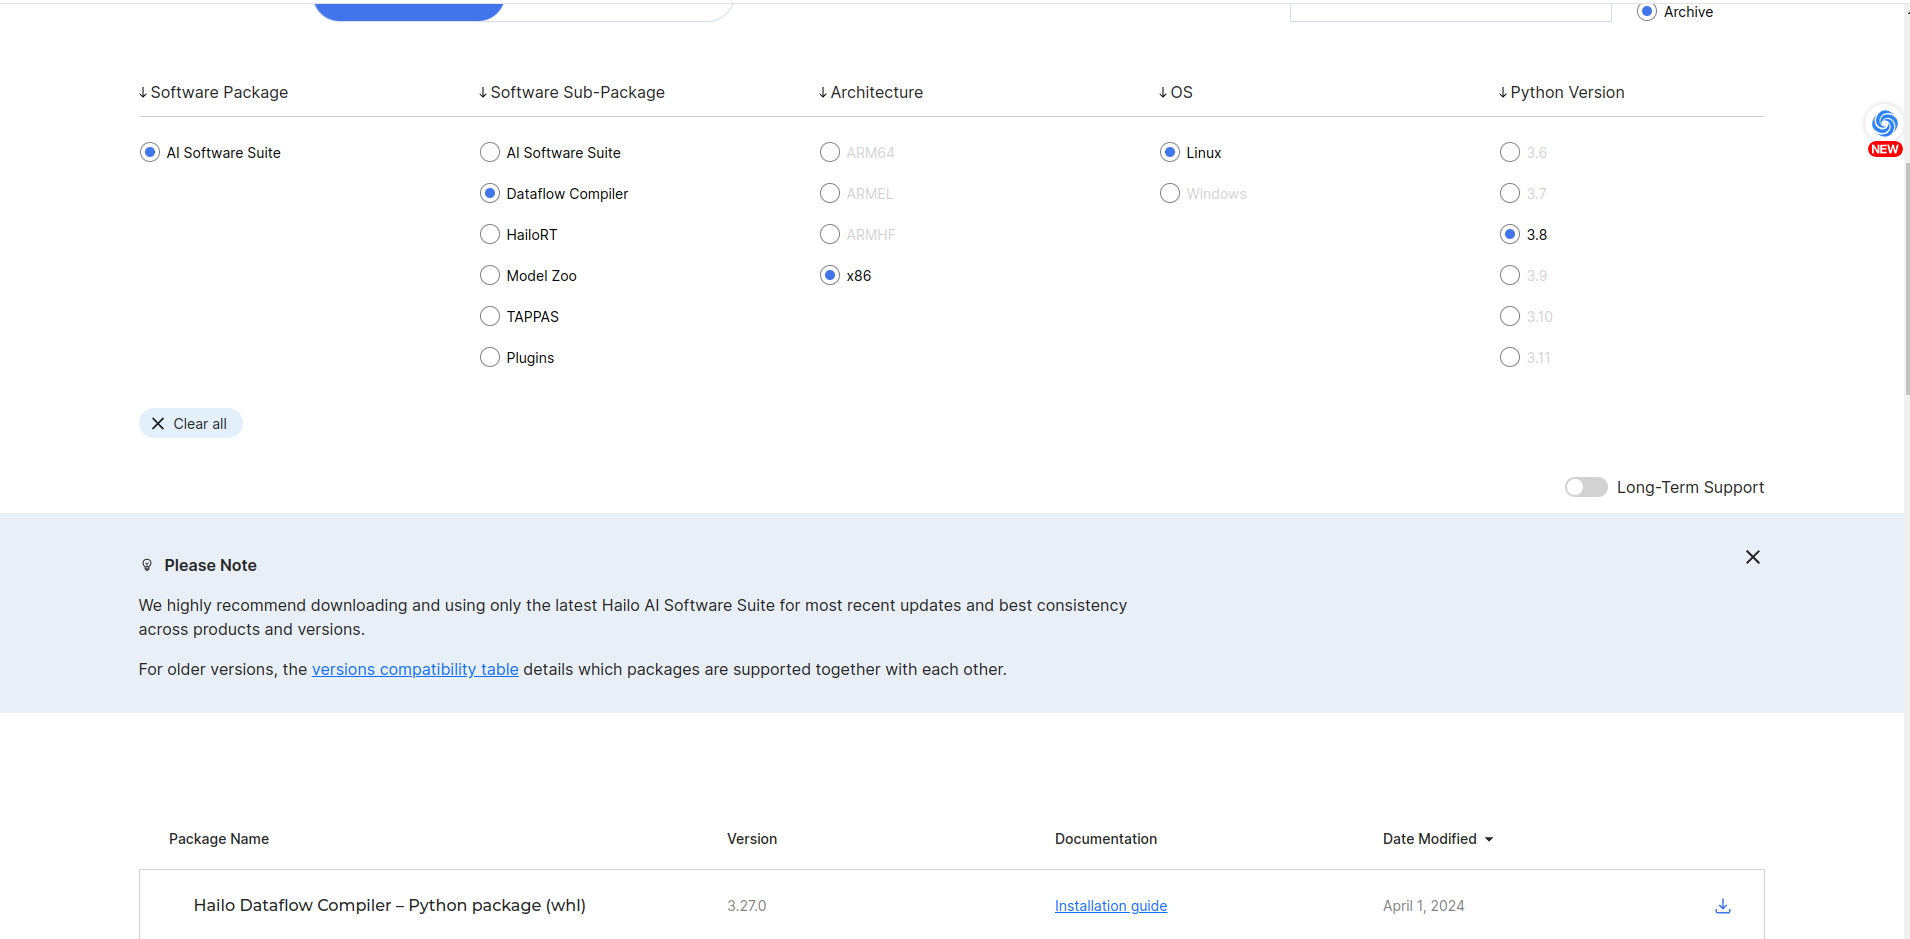
pip install hailo_dataflow_compiler-3.27.0-py3-none-linux_x86_64.whl
Install Model zoo, here you need to register Hailo and login, and download the software.
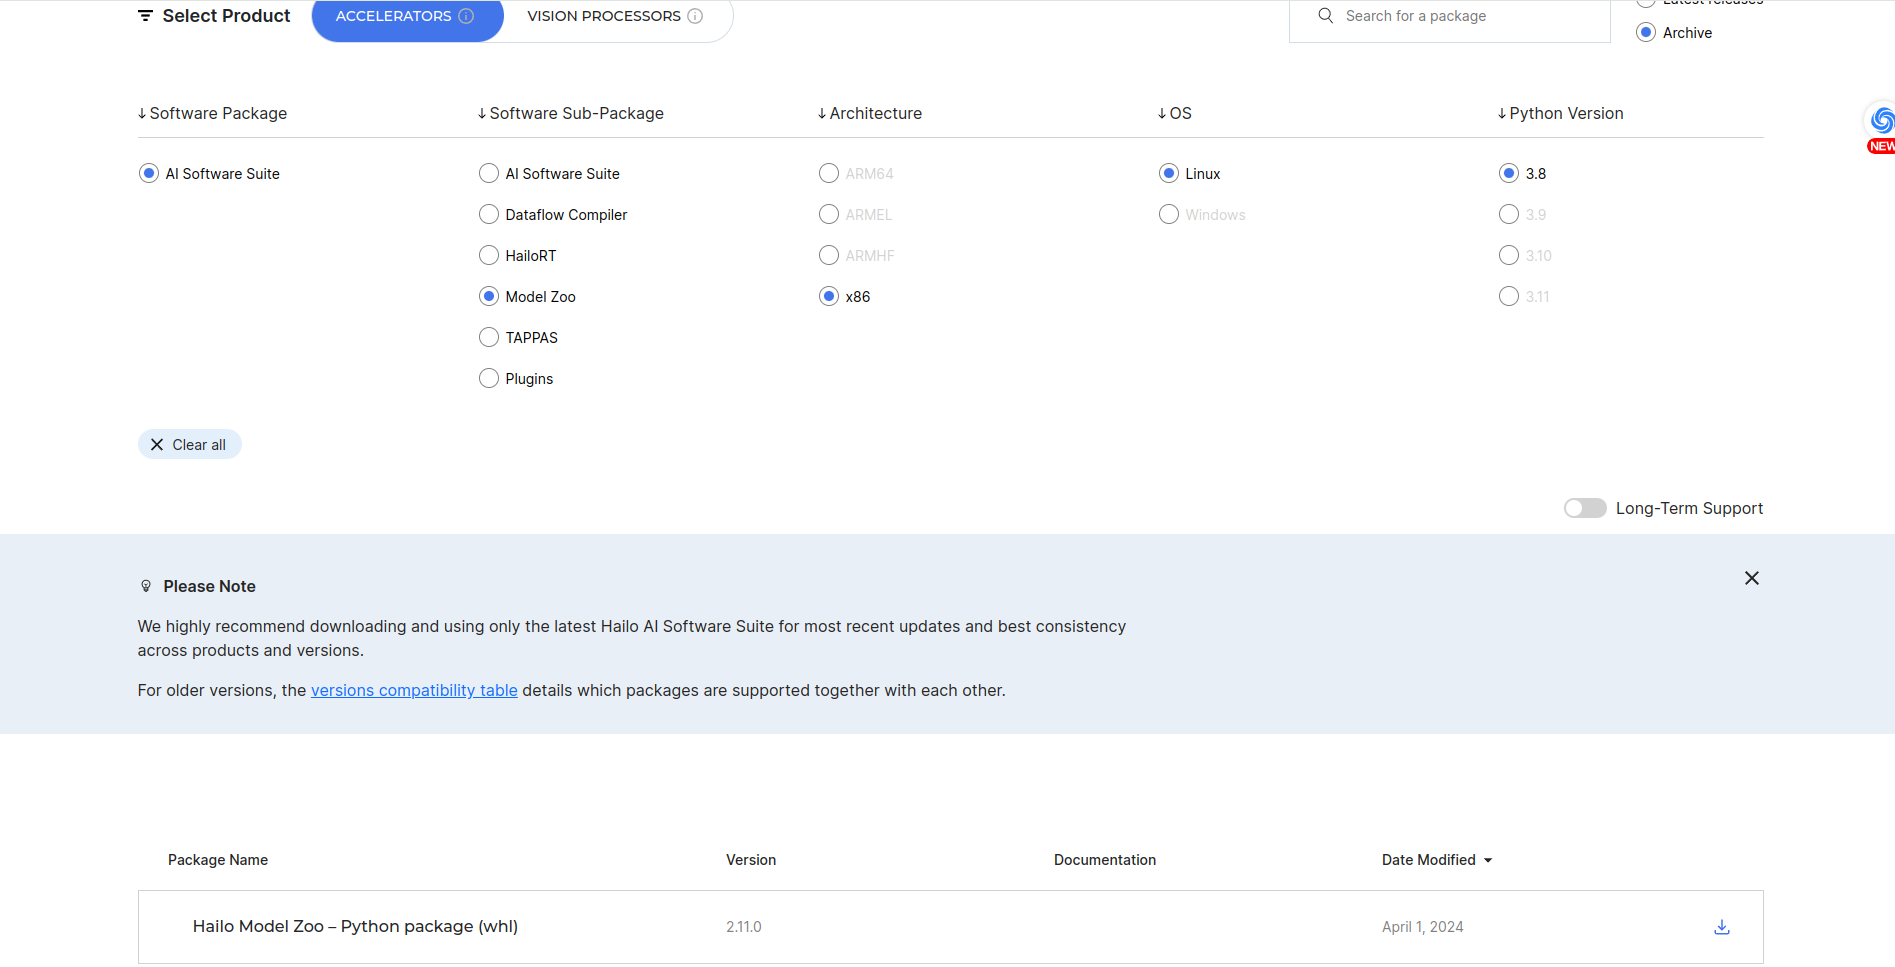
pip install hailo_model_zoo-2.11.0-py3-none-any.whl
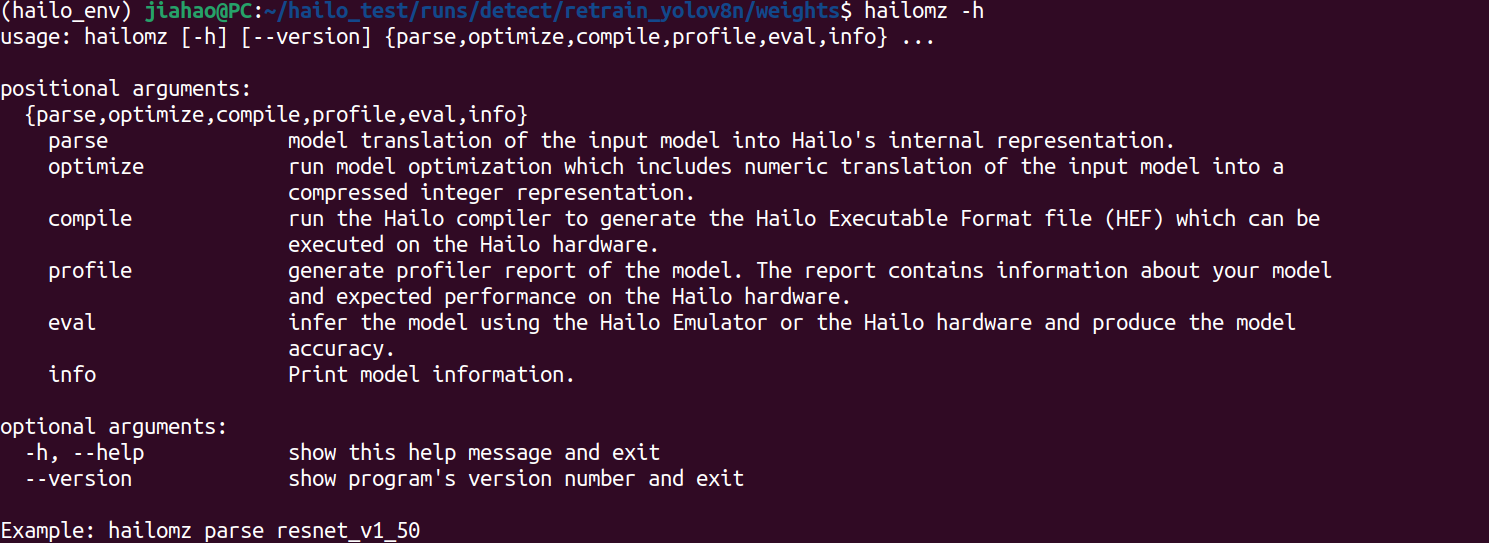
Test whether hailo_model_zoo is functioning correctly.
hailomz -h
Install hailo_model_zoo github file
cd yolomodel/runs/detect/retrain_yolov8n/weights

git clone https://github.com/hailo-ai/hailo_model_zoo.git
Install coco dataset for evaluate/optimize/compile the yolov8n model
python hailo_model_zoo/datasets/create_coco_tfrecord.py val2017
python hailo_model_zoo/datasets/create_coco_tfrecord.py calib2017
Use hailo_model_zoo to parse the model
hailomz parse --hw-arch hailo8l --ckpt ./best.onnx yolov8n

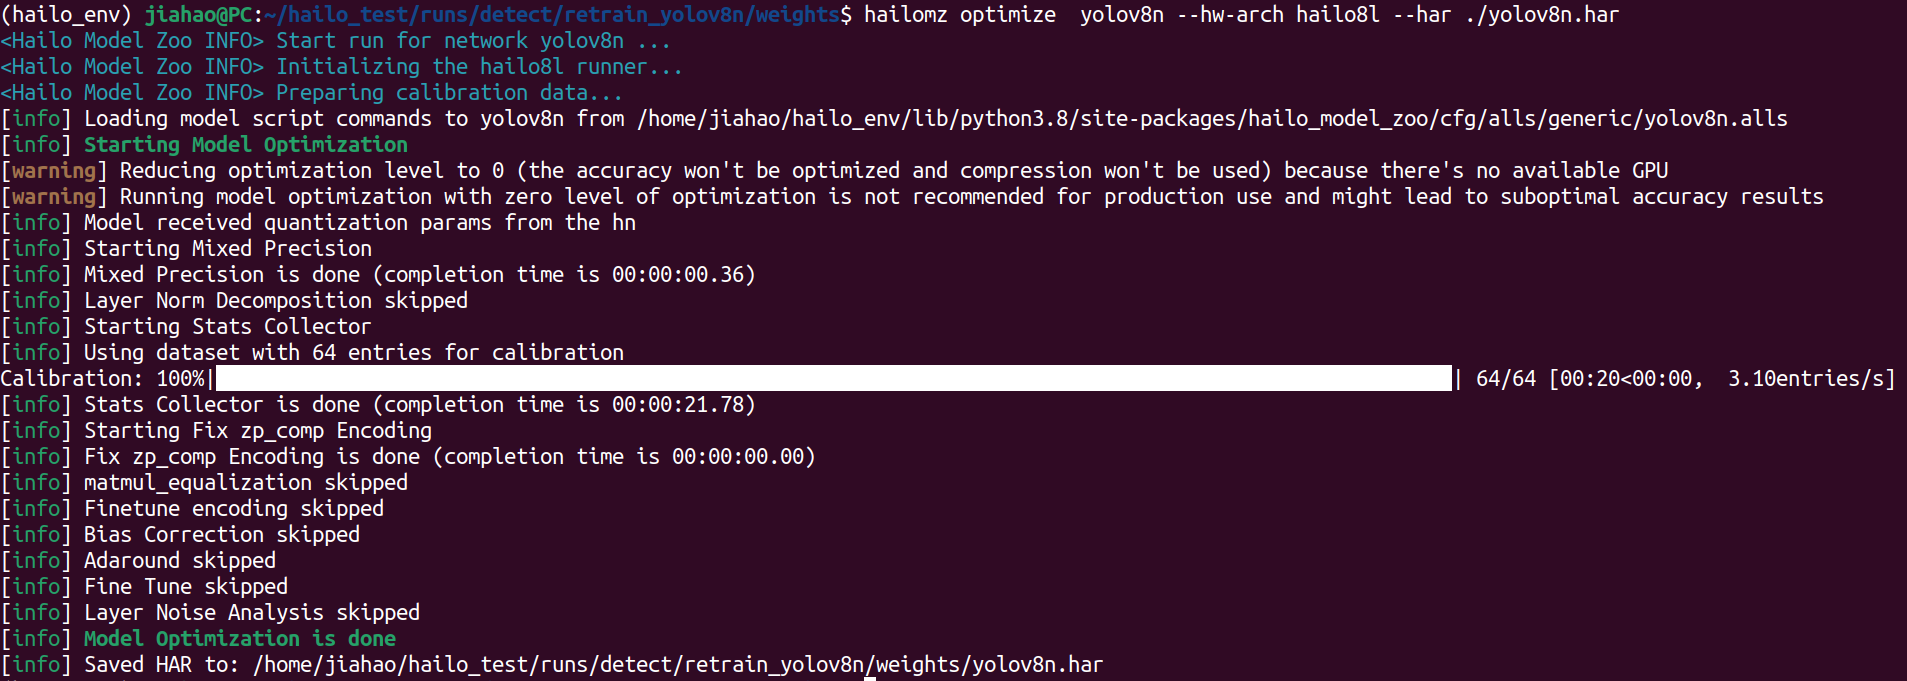
Use hailo_model_zoo to optimize the model
If you execute the following command, you may encounter some errors. However, you can copy ./hailo_model_zoo/hailo_model_zoo to your local library. If the error indicates that the dataset cannot be found, you can navigate to ~/.hailomz, locate the dataset, and copy it to your local dataset directory.
hailomz optimize --hw-arch hailo8l --har ./yolov8n.har yolov8n
Use hailo_model_zoo to compile the model
hailomz compile yolov8n --hw-arch hailo8l --har ./yolov8n.har
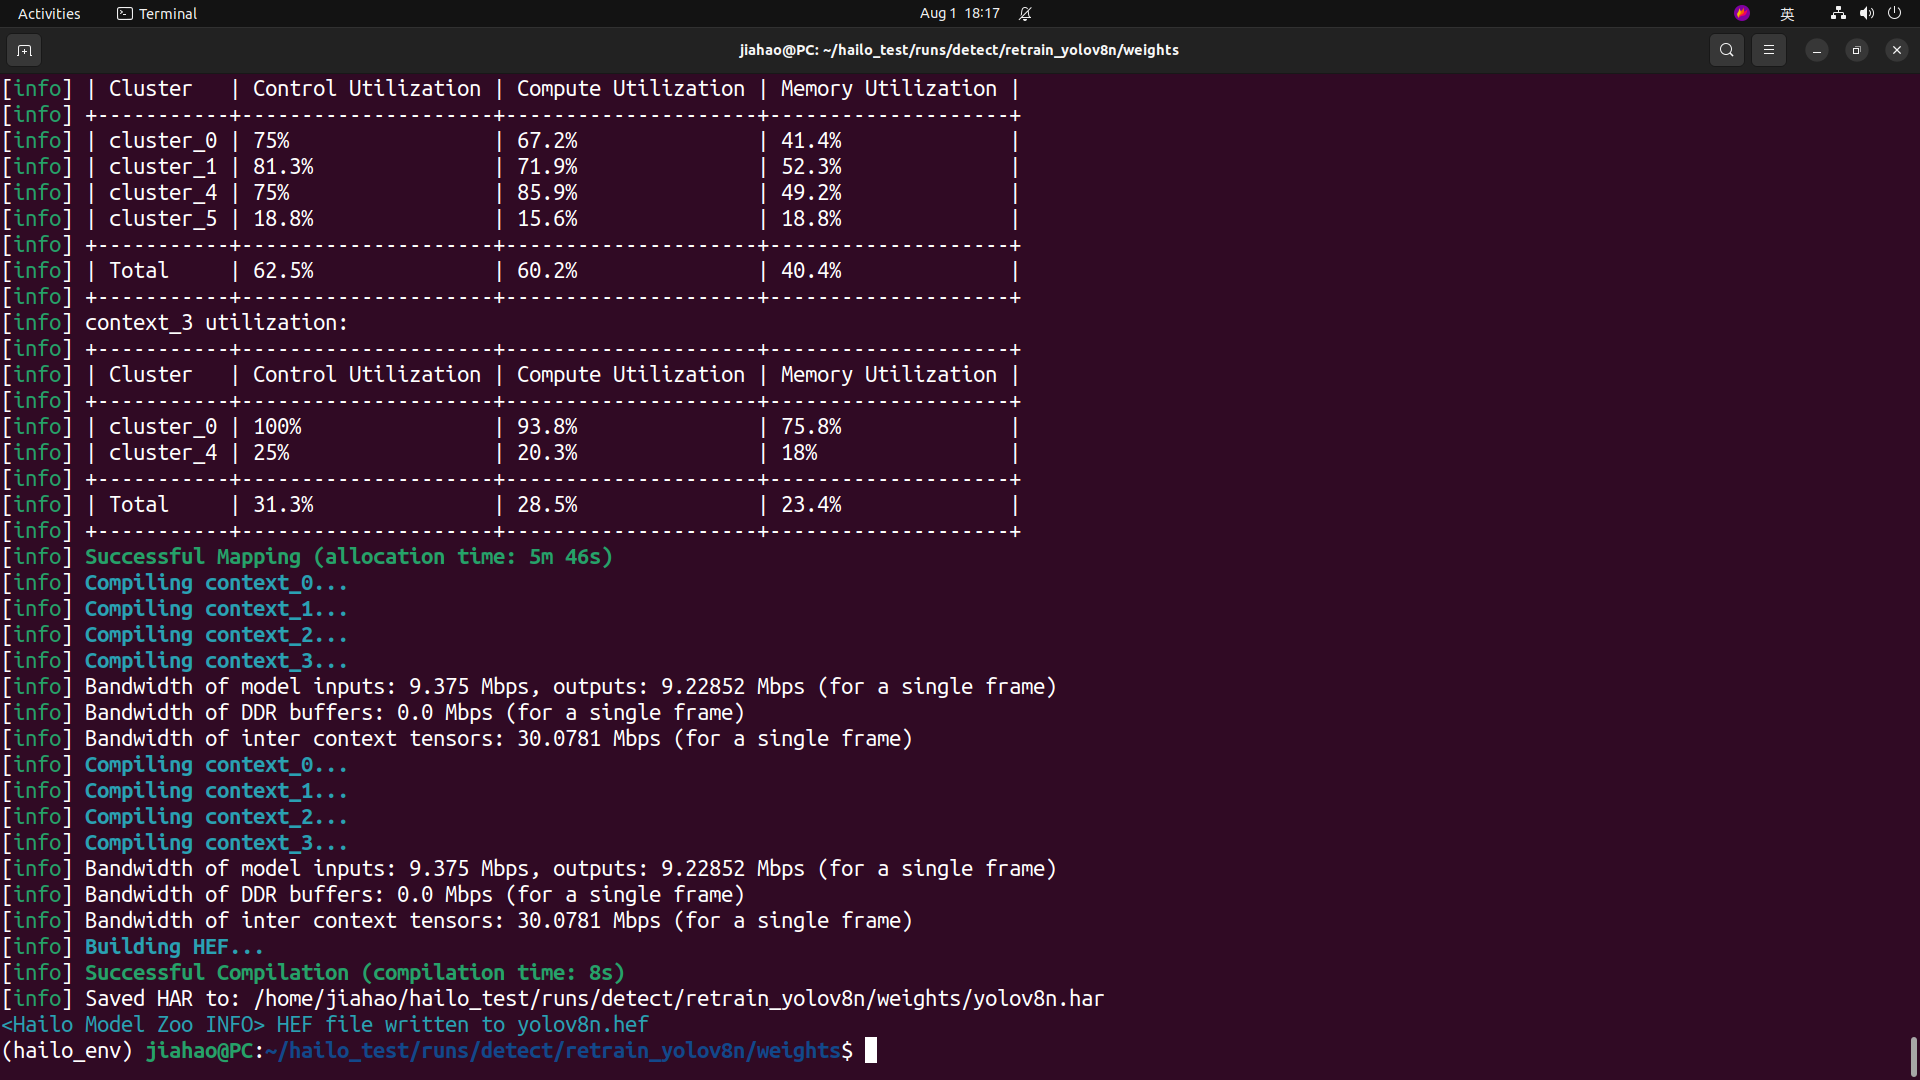
After all you will get a hef model, you can use it to deploy on raspberry pi5 with AI kit
ls

On Raspberry Pi5
update the system
sudo apt update
sudo apt full-upgrade
Set pcie to gen2/gen3(gen3 is faster than gen2)
Add following text to /boot/firmware/config.txt
#Enable the PCIe external connector

dtparam=pciex1

#Force Gen 3.0 speeds

dtparam=pciex1_gen=3
If you want to use gen2, please comment dtparam=pciex1_gen=3
Install hailo-all and reboot
Open the terminal on the Raspberry Pi 5 and enter the following command to install the Hailo software
sudo apt install hailo-all
sudo reboot
Check Software and Hardware
Open terminal on the Raspberry Pi5, and input command as follows to check if hailo-all have been installed.
hailortcli fw-control identify
The right result show as bellow:

Open terminal on the Raspberry Pi5, and input command as follows to check if hailo-8L have been connected.
lspci | grep Hailo
The right result show as bellow:

Clone the project
git clone https://github.com/Seeed-Projects/Benchmarking-YOLOv8-on-Raspberry-PI-reComputer-r1000-and-AIkit-Hailo-8L.git
cd Benchmarking-YOLOv8-on-Raspberry-PI-reComputer-r1000-and-AIkit-Hailo-8L
Copy your model to the raspberry pi5
Make a directory named hailomodel
mkdir hailomodel
The command below should be run on your host computer, not your Raspberry Pi 5. Ensure that both your host computer and Raspberry Pi 5 are connected to the same network.
scp -r ./yolomodel/runs/detect/retrain_yolov8n/weights/yolov8n.hef username@ip /home/pi/Benchmarking-YOLOv8-on-Raspberry-PI-reComputer-r1000-and-AIkit-Hailo-8L/hailomodel/
Change code
Find line 105 and 106 in object-detection-hailo.py, and change the code like below:
        elif args.network == "yolov8n":
            self.hef_path = os.path.join(self.current_path, './hailomodel/yolov8n.hef')
Find line 172 in object-detection-hailo.py, and change the code like below:
parser.add_argument("--network", default="yolov8n", choices=['yolov6n', 'yolov8s', 'yolox_s_leaky'], help="Which Network to use, defult is yolov6n")
Run the code
bash run.sh object-detection-hailo
Result
Here is the video in which we demonstrate the process of training the YOLOv8n model and deploying it on the Raspberry Pi 5. We set the batch size to 8, the input size to 640x640, and the input video frame rate to 240 fps. The inference speed achieved is 136.7 fps, which is exceptionally fast for most application scenarios.
Tech Support & Product Discussion
Thank you for choosing our products! We are here to provide you with different support to ensure that your experience with our products is as smooth as possible. We offer several communication channels to cater to different preferences and needs.