Viseron on reComputer
Introduction
Viseron is a self-hosted, local only NVR and AI Computer Vision software implemented in Python.The goal of Viseron is to be easy to setup and use, while still being powerful and flexible. It is designed to be run on a local network, with no external dependencies, and no cloud services required.
Prerequisites
Hardware Requirements
| reComputer AI R2130 | reComputer AI Industrial R2145 |
|---|---|
 |  |
Software Requirements
Update system
Please use the following command to run.
sudo apt update
sudo apt upgrade -y
Download docker and docker compose
Please use the following command to install docker.
wget https://get.docker.com -O get-docker.sh
chmod +x
sudo sh get-docker.sh
sudo systemctl start docker
sudo systemctl enable docker
docker --version
The result is shown as below:

Please use the following command to install docker compose.
sudo curl -L "https://github.com/docker/compose/releases/download/$(curl -s https://api.github.com/repos/docker/compose/releases/latest | jq -r .tag_name)/docker-compose-$(uname -s)-$(uname -m)" -o /usr/local/bin/docker-compose
sudo chmod +x /usr/local/bin/docker-compose
docker-compose --version
The result is shown as below:

Download Viseron
Create folders
Please use the following command to create folders
cd ~
mkdir -p viseron_data/{timelapse,thumbnails,snapshots,segments,models,event_clips,config}
Download Model
Please use the following command to download the hef model for hailo8 device.
cd ~/viseron_data/models
wget https://hailo-model-zoo.s3.eu-west-2.amazonaws.com/ModelZoo/Compiled/v2.16.0/hailo8/yolov8n.hef
Create docker-compose.yaml
Please use the following command to create docker-compose.yaml.
cd ~ && nano docker-compose.yaml
services:
  viseron:
    image: roflcoopter/viseron:latest
    container_name: viseron
    shm_size: "1024mb"
    volumes:
      - /home/ain/viseron_data/segments:/segments
      - /home/ain/viseron_data/snapshots:/snapshots
      - /home/ain/viseron_data/thumbnails:/thumbnails
      - /home/ain/viseron_data/event_clips:/event_clips
      - /home/ain/viseron_data/timelapse:/timelapse
      - /home/ain/viseron_data/config:/config
      - /etc/localtime:/etc/localtime:ro
      - /home/ain/viseron_data/models:/models
    ports:
      - 8888:8888
    devices:
      - /dev/hailo0
Configure Viseron
Run Viseron
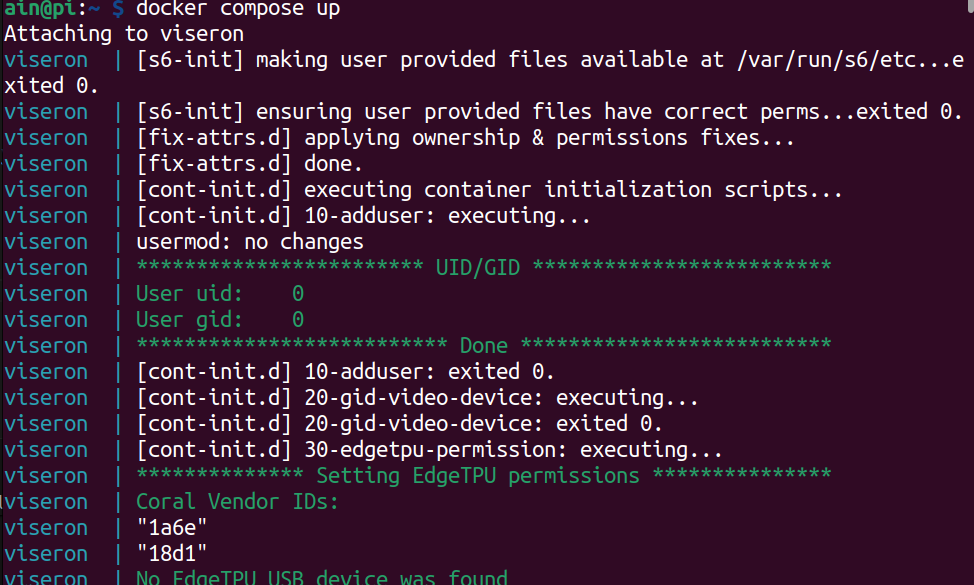
Please use the following command to run the viseron
cd ~
docker compose up
Open port
Please open port 8888, you will see result like below:
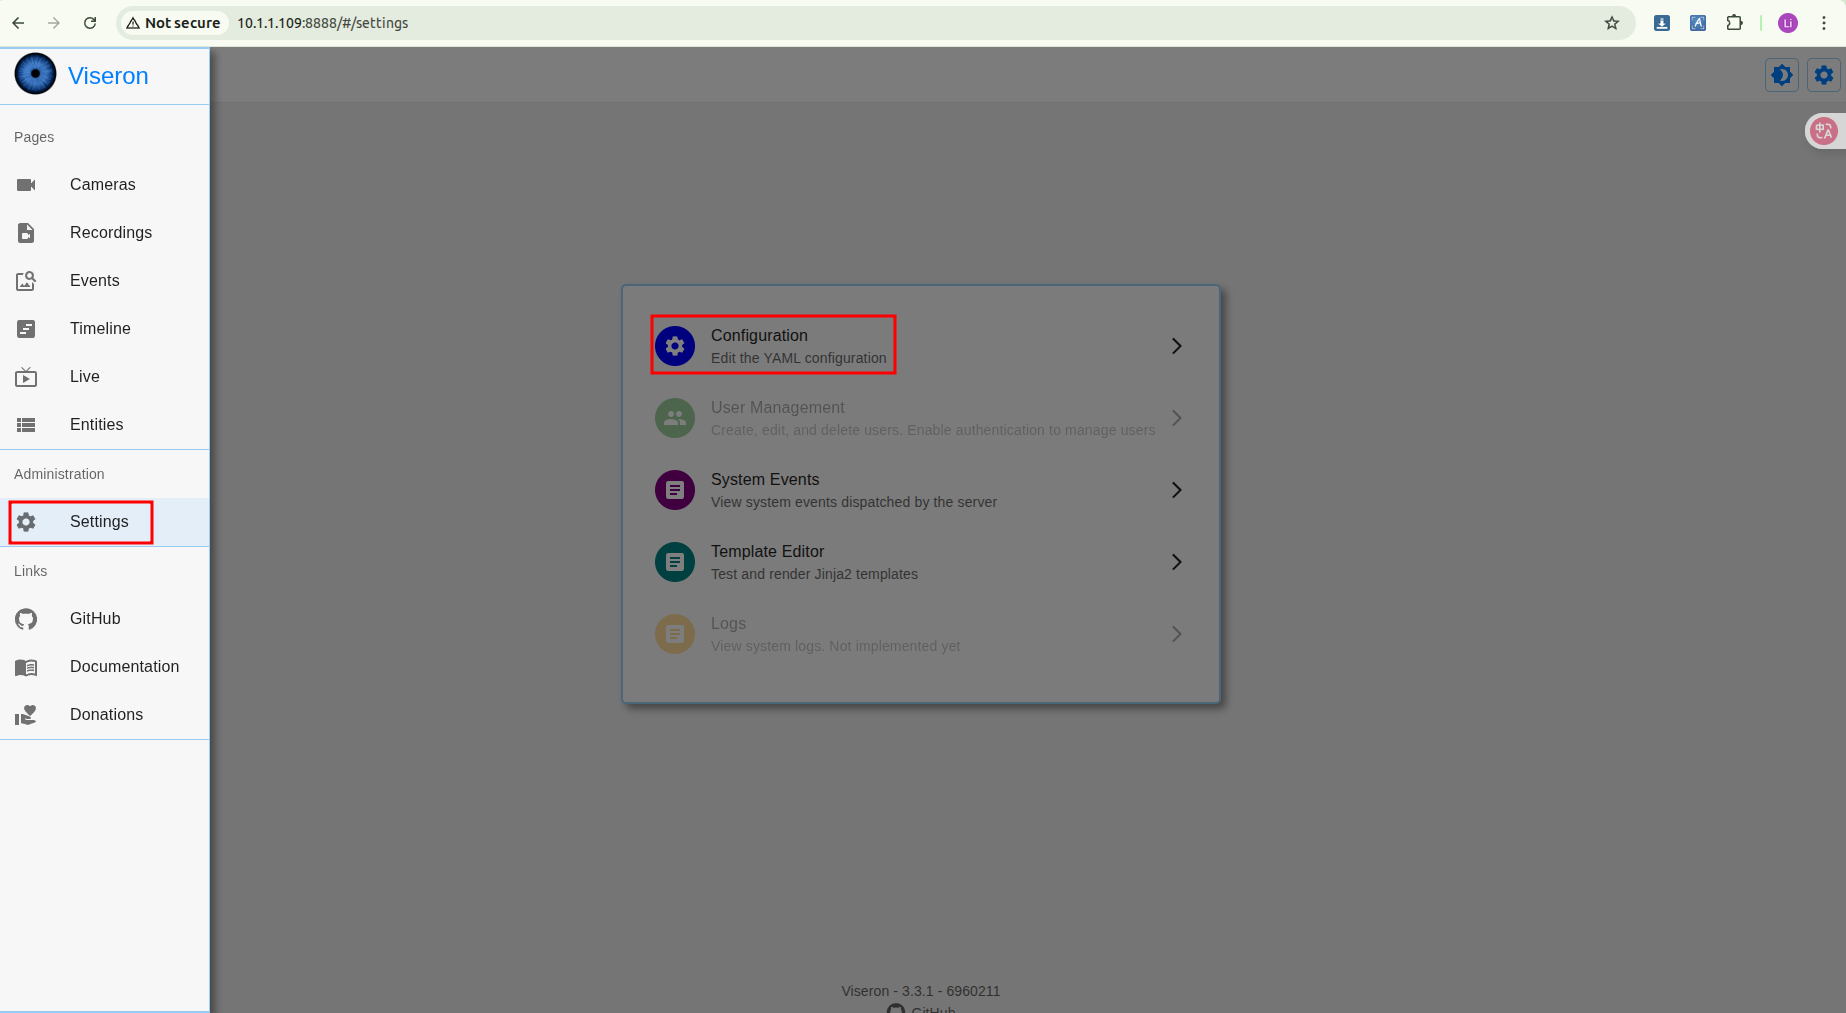
Configure
Please follow the steps below to configure Viseron, and replace the configuration information according to your camera's address.
# Viseron Configuration Example - Resolving Hailo component and camera identifier mismatch
# Core concept: All components use the same camera identifier "cam_front"

# 1. Camera Configuration (FFmpeg Component)
# This is the foundation for all detection features. Ensure the identifier here is correctly referenced by other components.
ffmpeg:
  camera:
    cam_front:  # 🔑 Key identifier: other components must reference this name
      name: "Front Door"  # Camera display name (customizable)
      host: 10.1.1.200  # IP address of the camera
      port: 554            # RTSP port (usually 554)
      path: /cam/realmonitor?channel=1&subtype=1  # RTSP stream path (replace with your camera's actual path)
      username: admin
      password: passw0rd
      fps: 6  # Set the video stream frame rate
      recorder:
        idle_timeout: 1    # Idle timeout setting
        codec: h264        # Recording codec

# 2. Hailo Object Detector Configuration
# This component uses Hailo-8 AI acceleration hardware for object detection and must point to a configured camera.
hailo:
  object_detector:
    model_path: /models/yolov8n.hef  # 🔑 Important: Replace with the path to your HEF model file
    # Add the following line based on your Hailo hardware version (e.g., hailo8 or hailo8l)
    # hailo_arch: hailo8
    cameras:
      cam_front:  # ⬅️ Must exactly match the identifier defined in the ffmpeg section above
        fps: 2  # Detection frame rate (higher consumes more resources)
        scan_on_motion_only: false  # Set to true to perform AI detection only when motion is detected
        labels:
          - label: person  # Detect the "person" class
            confidence: 0.7  # Confidence threshold
            trigger_event_recording: true  # Trigger event recording when detected
          - label: car  # You can add other classes to detect
            confidence: 0.7

# 3. Motion Detector Configuration (MOG2 Component)
# Can provide pre-triggering for Hailo AI detection to save computational resources.
mog2:
  motion_detector:
    cameras:
      cam_front:  # ⬅️ Use the same consistent identifier
        fps: 2  # Motion detection frame rate

# 4. NVR (Network Video Recorder) Configuration
# Binds all the above components together and manages recording.
nvr:
  cam_front:  # ⬅️ Use the same consistent identifier
    motion_detector:  # Enable motion detection
      enabled: true
    object_detector:   # Enable object detection
      enabled: true
      interval: 0.5    # Object detection trigger interval

# (Optional) Logger level adjustment, can be set to 'debug' for troubleshooting
logger:
  default_level: info
Run
Please follow the steps below to run the software.
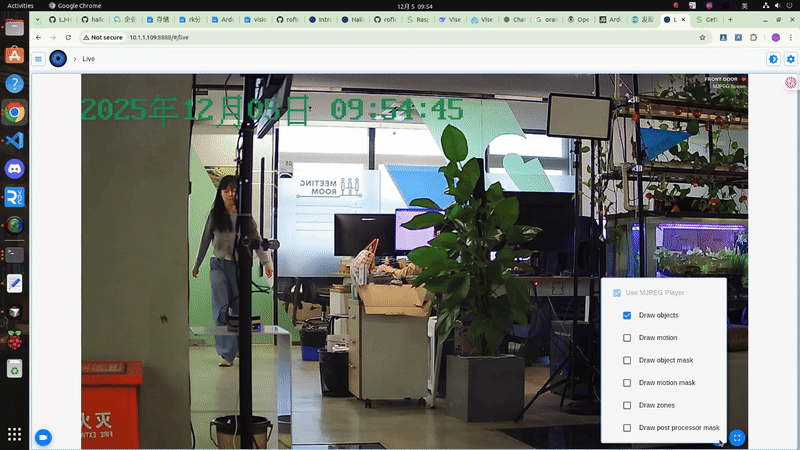
Result
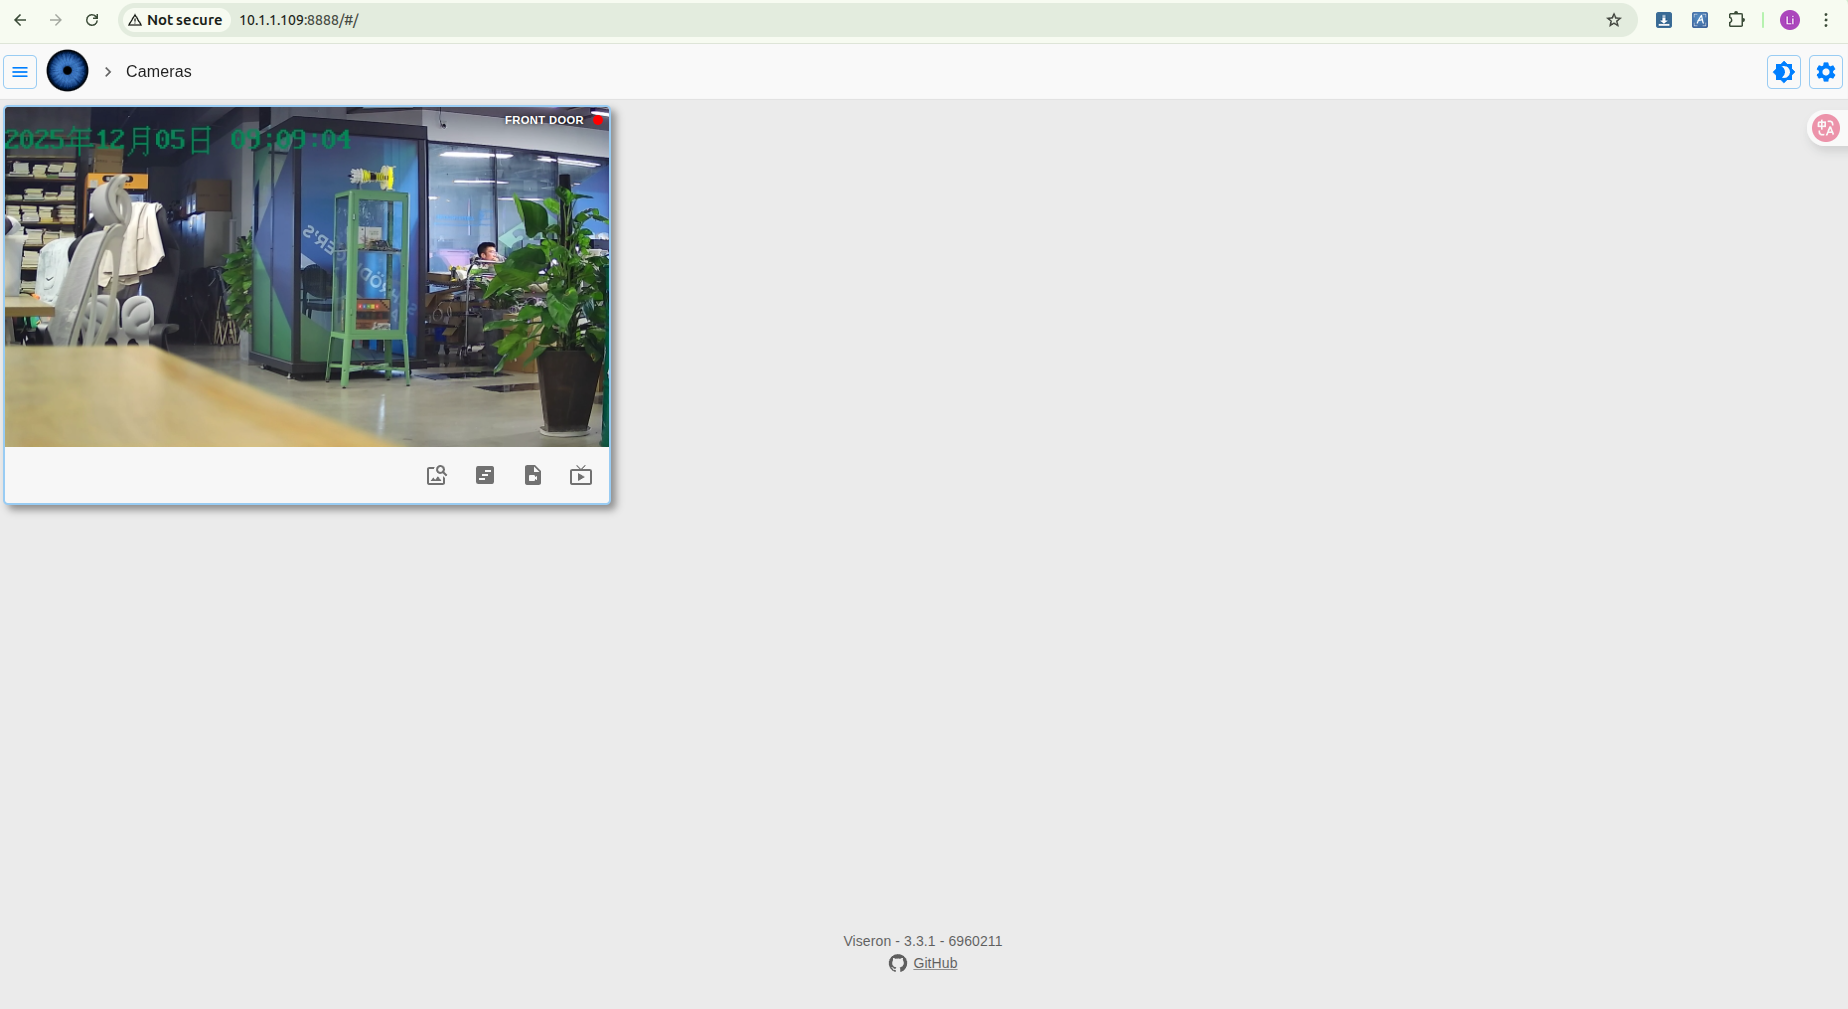
Once we have configured everything, we can view the live feed from the current camera.We have set the fps to 2, so the video may appear a bit choppy.
Tech Support & Product Discussion
Thank you for choosing our products! We are here to provide you with different support to ensure that your experience with our products is as smooth as possible. We offer several communication channels to cater to different preferences and needs.