Configuring XIAO ESP32S3 & Wio-SX1262 Kit as LoRaWAN Sensor Node
Introduction
This wiki provides a step-by-step guide on configuring the XIAO ESP32S3 & Wio-SX1262 Kit to act as a LoRaWAN sensor node, connecting a DHT20 temperature and humidity sensor, adding an M2 LoRaWAN gateway, and sending data to the The Things Network LNS platform. It also covers the configuration of a format decoder.

Prerequisites
- XIAO ESP32S3 & Wio-SX1262 Kit
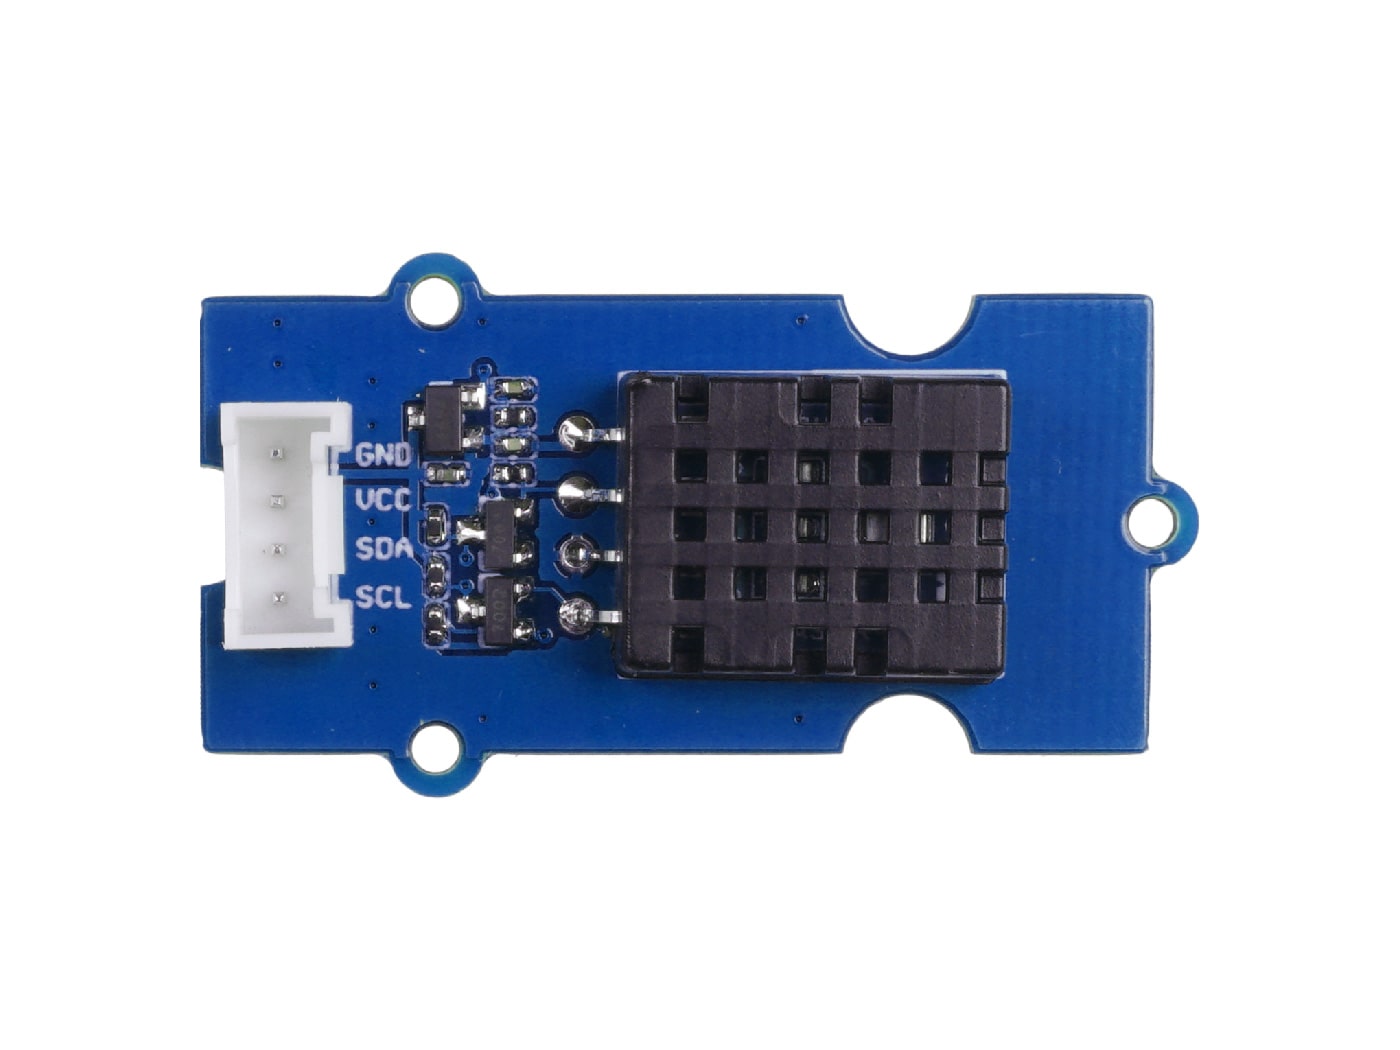
- DHT20 temperature and humidity sensor
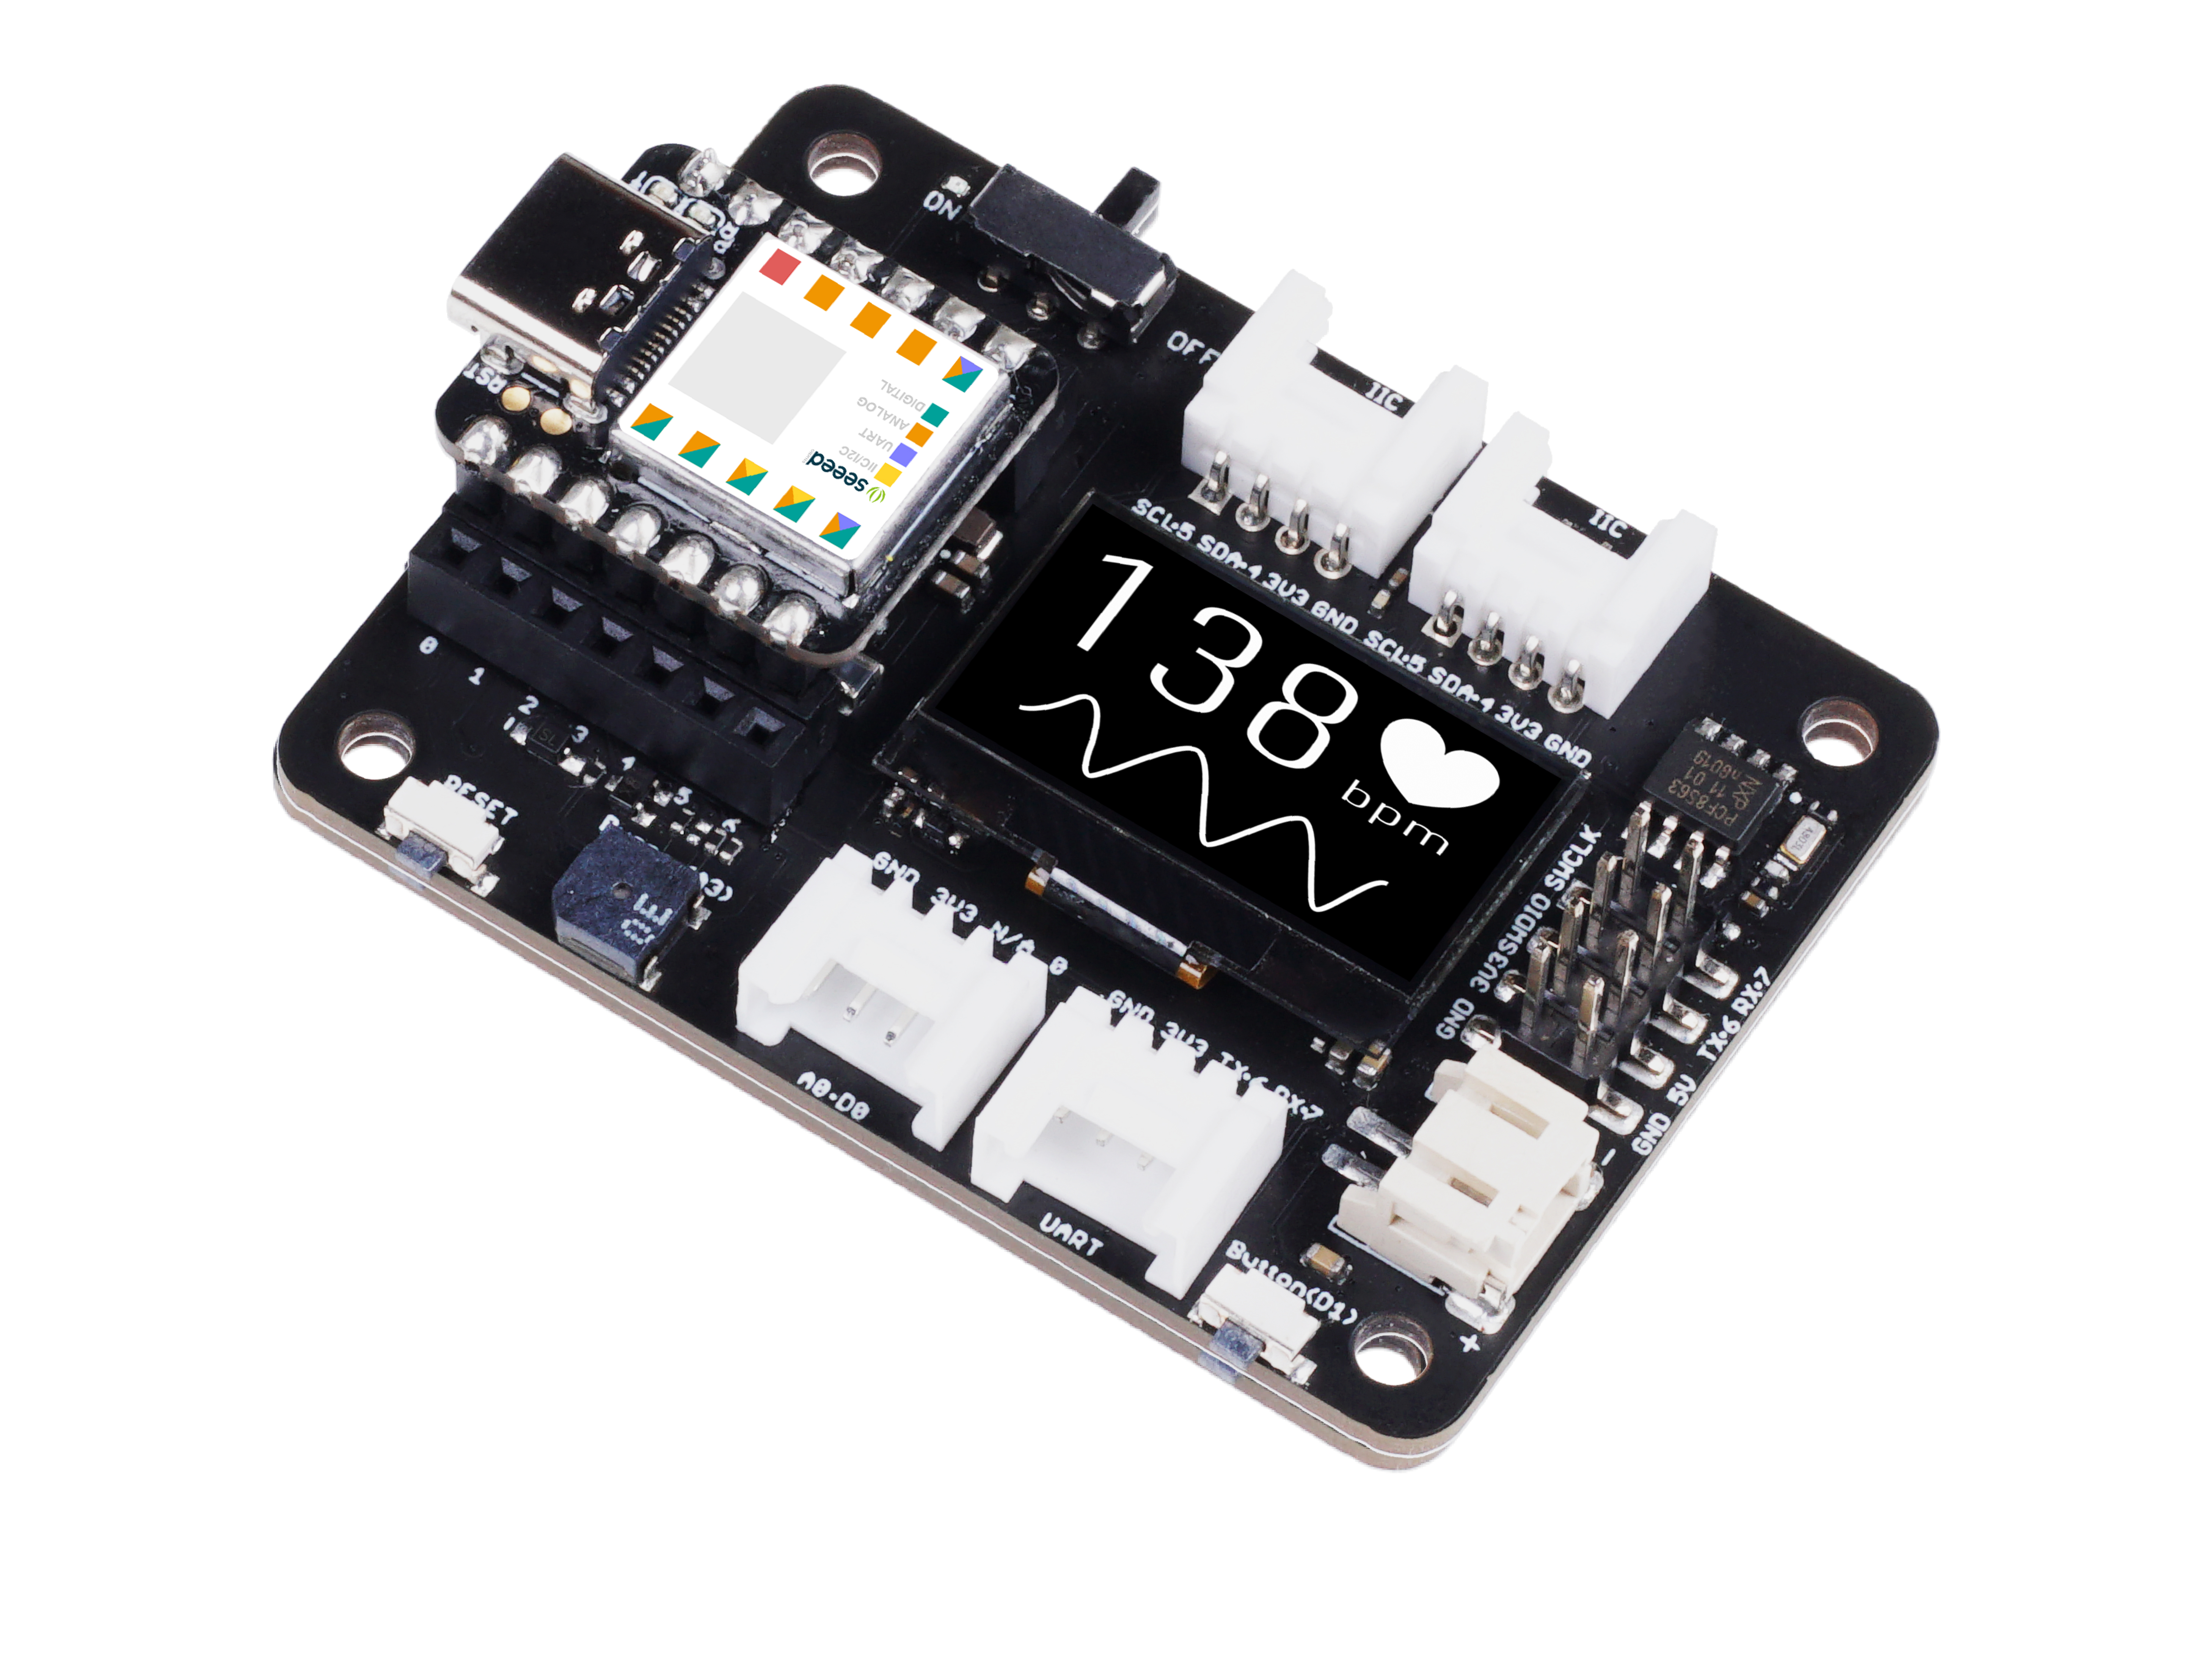
- XIAO Expansion Board
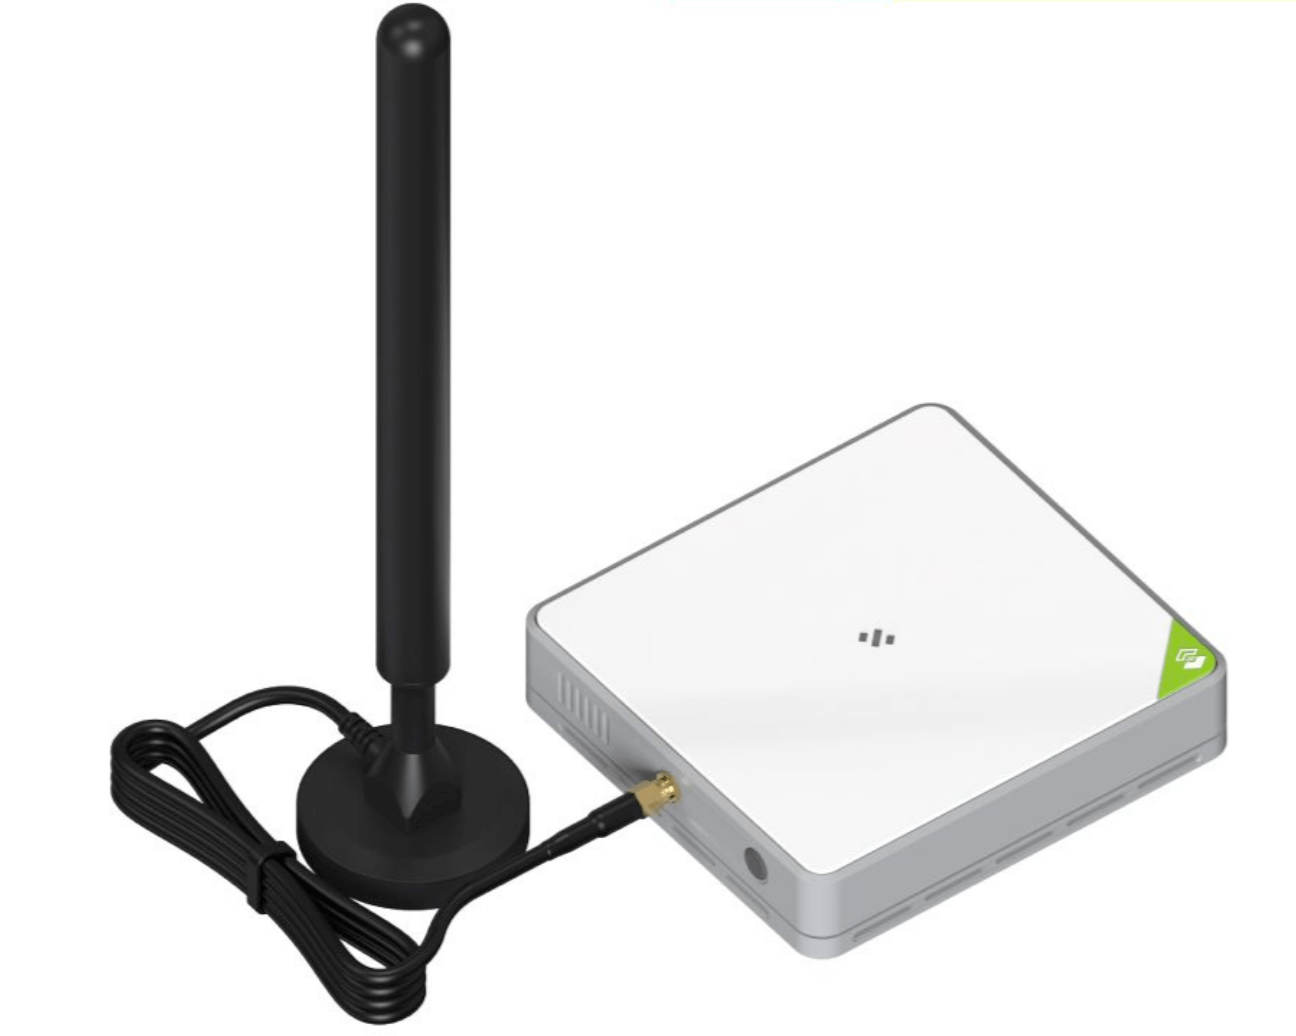
- M2 LoRaWAN Indoor gateway
- Access to The Things Network account
| XIAO ESP32S3 & Wio-SX1262 Kit | XIAO Expansion Board | DHT20 temperature & humidity sensor | M2 LoRaWAN Indoor gateway |
|---|---|---|---|
 |  |  |  |
Hardware Setup
- Connect the Wio-SX1262 module to the XIAO ESP32S3.
- Connect the DHT20 sensor(I2C grove connector) and XIAO ESP32S3 & Wio-SX1262 Kit to the XIAO Expansion board.
- Connect the kit to your PC.
- Connect M2 gateway to power and Ethernet port.
Video Instruction
Register & Setup on TTN
Go to https://www.thethingsnetwork.org/get-started and register - just like any other website. These instructions are for TTS Sandbox.
Go to the instruction of TTS Sandbox and register. Once you have confirmed your email address, you can log in to the console. If you have any doubts, you can ask on the things network forum. You log in with exactly the same details.
Register gateway on TTN
It is simpler to register your gateway first. I got SenseCAP M2 LoRaWAN Indoor Gateway(SX1302) as an example.
For your personal LoRaWAN Gateway, you can read up on key concepts and troubleshooting here.
Create a new application on TTN
An application is like a box to keep some devices in - normally doing the same thing - on larger deployments this may be 1,000's of similar devices. Starting out it is likely to be just a few so there is no need to get concerned about how to divide up your use just yet.
Once logged in to the console you can go in to Applications to create your first application. The ID must be all lower case or numbers, no spaces, dashes are OK and it has to be unique to the entire TTN community - so first-app will be rejected - you could use your-username-first-app as that's likely to be unique. The name and description are for your own use and are optional.
Register end device on TTN
Step 1. Go to the application you created in the previous step.
Step 2. Click to create new end device
On the right hand side about half way down on your application's summary is a big blue button + Register end device. Click this to create the settings for your first device.
Step 3. Enter end device specifics
You are making your own device using a third party LoRaWAN stack so there will not be an entry in the device repository so choose 'Enter end device specifics manually'.

Step 4. Enter device specifics
Choose the Frequency plan appropriate for your region. Consider that almost all countries have laws relating to what frequencies you use so don't get creative. For Europe please use the recommended option. For other regions use the entry marked 'used by TTN'. For this case, select 868 MHz.
Choose LoRaWAN 1.1.0 - the last one in the list - the latest specification. RadioLib uses RP001 Regional Parameters 1.1 revision A.

At this point you will be asked for your JoinEUI. As this is a DIY device and we are using RadioLib, you can use all zero's as recommended by The LoRa Alliance TR007 Technical Recommendations document. Once you've put in all zeros and clicked confirm you will be asked for a DevEUI, AppKey and NwkKey. It is preferable to have the console generate them so they are properly formatted.
Your End device ID can be changed to make the device more identifiable. Something related to your hardware helps - like test-device. The you can click the blue 'Register device'.

Step 5. Copy device details to config file on Arduino
You then need to copy over the device details in to the config file for RadioLib. There are buttons to copy items to the clipboard so you don't have to hand type them.

Configure XIAO ESP32S3 & Wio-SX1262 Kit as LoRaWAN Sensor Node
The code is written in Arduino and is designed to configure a Wio-SX1262 module along with an XIAO ESP32S3 board to act as a LoRaWAN sensor node. It connects a DHT20 sensor to read temperature and humidity data and sends this data via LoRaWAN to The Things Network.
Install the necessary libraries for XIAO ESP32S3 and DHT20 sensor
- Install Arduino Environnment for XIAO ESP32S3
Refer to https://wiki.seeedstudio.com/xiao_esp32s3_getting_started/#software-preparation.
- Install
DHT20sensor library package:
- Install
RadioLiblibrary Note. Install version 6.6.0, otherwise the code will not compile.
Setup
Step 1. Fill in LoRaWAN device authentication and network access parameters
RADIOLIB_LORAWAN_JOIN_EUI and RADIOLIB_LORAWAN_DEV_EUI are used for device identification when a device joins the LoRaWAN network. Just like in a large online community, these two parameters are the "identity card" of the device, letting the network know which device is requesting to join.
RADIOLIB_LORAWAN_APP_KEY and RADIOLIB_LORAWAN_NWK_KEY are used for security authentication and network access control. They are similar to the "password" for entering the network community, ensuring that only devices with the correct keys can communicate securely with the network. Moreover, they can restrict the operation of the device according to the permissions of the application (distinguished by APP_KEY) and the network (distinguished by NWK_KEY).
Just copy the parameter from TTN to the config file.
- Here, a macro named
RADIOLIB_LORAWAN_JOIN_EUIis defined. If this macro is not defined elsewhere, it will be set to a hexadecimalall-zerovalue.
#ifndef RADIOLIB_LORAWAN_JOIN_EUI
#define RADIOLIB_LORAWAN_JOIN_EUI  0x0000000000000000
#endif
- Similarly, the
RADIOLIB_LORAWAN_DEV_EUImacro is defined, representing theDevEUI(Device Unique Identifier), with a specific hexadecimal value set here, which is used for device identification when a device joins the LoRaWAN network.
#ifndef RADIOLIB_LORAWAN_DEV_EUI
#define RADIOLIB_LORAWAN_DEV_EUI   0x****************
#endif
- The
RADIOLIB_LORAWAN_APP_KEYandRADIOLIB_LORAWAN_NWK_KEYmacros are defined, representing the AppKey and NwkKey, respectively, used for security authentication and network access control.
#ifndef RADIOLIB_LORAWAN_APP_KEY
#define RADIOLIB_LORAWAN_APP_KEY   0x**, 0x**, 0x**, 0x**, 0x**, 0x**, 0x**, 0x**, 0x**, 0x**, 0x**, 0x**, 0x**, 0x**, 0x**, 0x**
#endif

#ifndef RADIOLIB_LORAWAN_NWK_KEY   // Put your Nwk Key here
#define RADIOLIB_LORAWAN_NWK_KEY   0x**, 0x**, 0x**, 0x**, 0x**, 0x**, 0x**, 0x**, 0x**, 0x**, 0x**, 0x**, 0x**, 0x**, 0x**, 0x**
#endif
- The following macros are defined, representing the
LoRaWAN uplink parameters. These parameters are used to configure the uplink payload sent to the LoRaWAN network.
#define LORAWAN_UPLINK_USER_PORT  2
#define LORAWAN_UPLINK_DATA_RATE  3

#define LORAWAN_UPLINK_PERIOD     10000 // ms

#define LORAWAN_UPLINK_DATA_MAX   115 // byte
Step 2. Select the LoRaWAN regional parameters
There are several regional choices available for LoRaWAN communication, including EU868 (European 868 MHz band), US915 (United States 915 MHz band), AU915 (Australian 915 MHz band), AS923 (Asian 923 MHz band), IN865 (Indian 865 MHz band), KR920 (South Korean 920 MHz band), CN780 (Chinese 780 MHz band), and CN500.
The line const LoRaWANBand_t Region = EU868; sets the region for the LoRaWAN communication to EU868. This means that the device will be configured to operate in the European 868 MHz frequency band.
For US915 and AU915 defines a sub-band variable. In this case, it is set to 0. The comment suggests that this sub-band variable is specifically for the US915 and AU915 regions, although it is not being used for the EU868 region in this code snippet.
const LoRaWANBand_t Region = EU868;
const uint8_t subBand = 0; // For US915 and AU915
Read sensor data and send LoRa uplink payload
Read and send sensor data via LoRa communication. The conversion to bytes with decimal precision allows for more accurate representation of the temperature and humidity values in the uplink payload.
  float temp_hum_val[2] = {0};
  if (!dht.readTempAndHumidity(temp_hum_val)) {
    uplinkPayloadLen = 0;
    memset(uplinkPayload, sizeof(uplinkPayload), 0);

    // Convert temperature and humidity to bytes with decimal precision
    uint16_t tempDecimal = (temp_hum_val[1] * 100);
    uint16_t humDecimal = (temp_hum_val[0] * 100);
    uplinkPayload[uplinkPayloadLen++] = (tempDecimal >> 8);
    uplinkPayload[uplinkPayloadLen++] = tempDecimal & 0xFF;
    uplinkPayload[uplinkPayloadLen++] = (humDecimal >> 8);
    uplinkPayload[uplinkPayloadLen++] = humDecimal & 0xFF;

    for (int i = 0; i < uplinkPayloadLen; i++) {
      Serial.print(uplinkPayload[i], HEX);
      Serial.print(" ");
    }
Flash Firmware
The completed firmware package here:
Please download and flash it to the XIAO ESP32S3. For the first use of XIAO ESP32S3, refer to the flashing tutorial here.
Setup Payload Formatter
The payload formatter is used to convert the raw data received from the sensor into a human-readable format. In this case, the payload formatter is used to convert the raw data received from the DHT20 sensor into a JSON format.
Formatter type: Custom Javascript formatter
function decodeUplink(input) {
  var bytes = input.bytes;
  var temperatureDecimal = (bytes[0] << 8) | bytes[1];
  var humidityDecimal = (bytes[2] << 8) | bytes[3];

  var temperature = temperatureDecimal / 100;
  var humidity = humidityDecimal / 100;

  return {
    data: {
      temperature: temperature,
      humidity: humidity
    }
  };
}
Monitor LoRaWAN data
For specific device activity, click the device in the middle list. A device's main menu has options like Device Overview, Live Data, etc. Click Live Data or the link above the activity box.


Resource
Tech Support & Product Discussion
Thank you for choosing our products! We are here to provide you with different support to ensure that your experience with our products is as smooth as possible. We offer several communication channels to cater to different preferences and needs.