Guide to Embedded Swift with Seeed Studio XIAO-C6
Introduction
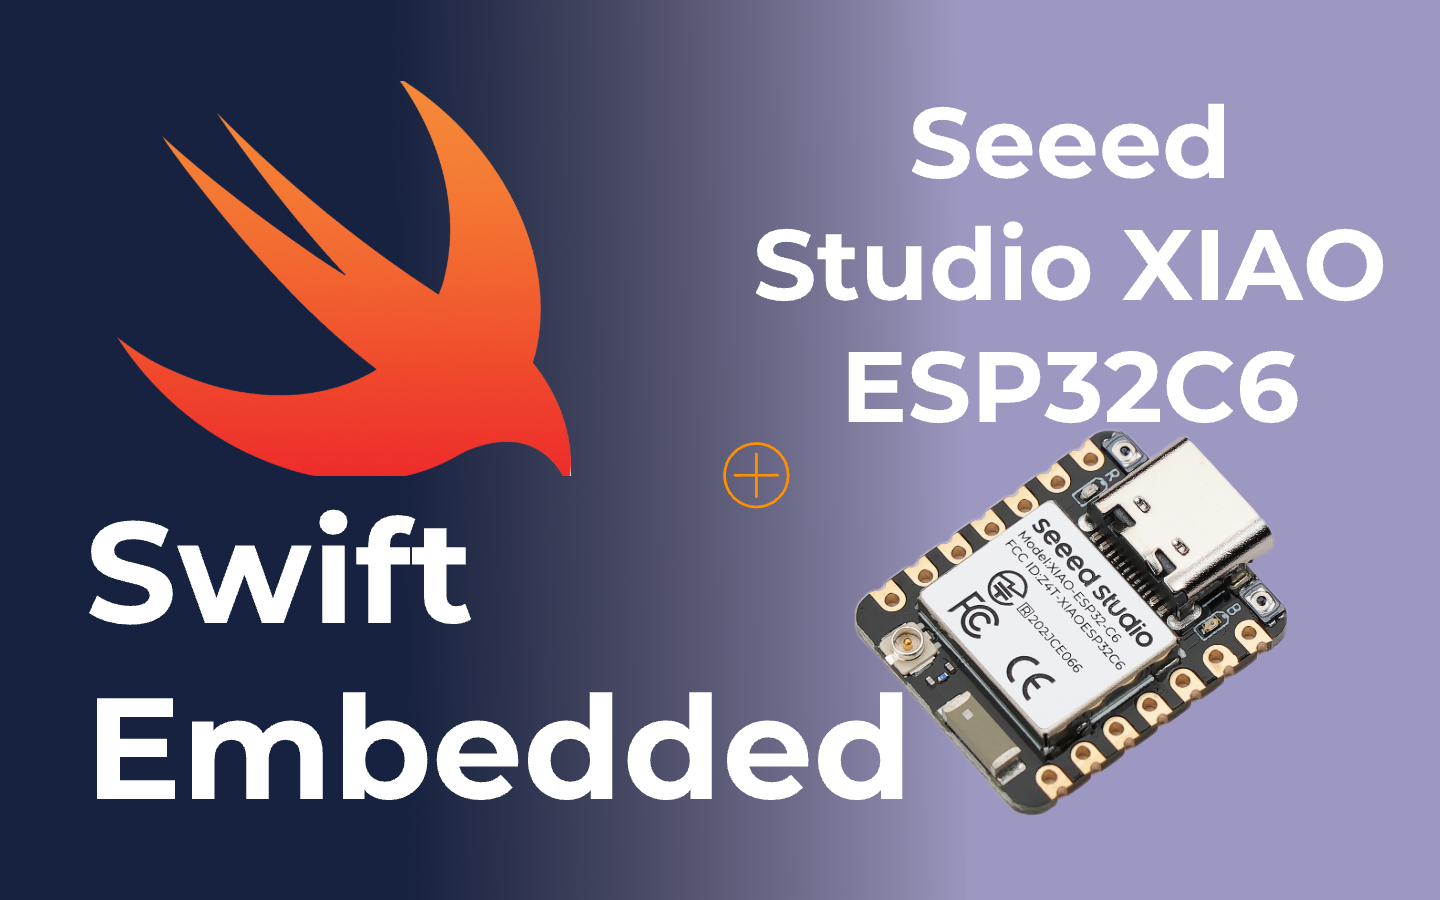
The Seeed Studio XIAO ESP32C6 is a powerful and versatile development board built around the ESP32-C6 SoC, featuring dual 32-bit RISC-V processors. The high-performance processor operates up to 160 MHz, while the low-power processor runs up to 20 MHz. With 512KB SRAM and 4MB Flash, the XIAO ESP32C6 offers significant programming space, making it ideal for various IoT applications. This board excels in wireless connectivity, supporting 2.4 GHz Wi-Fi 6, Bluetooth® 5.3, Zigbee, and Thread (802.15.4), and is Matter-native, which is crucial for smart-home interoperability.
| Seeed Studio XIAO ESP32C6 |
|---|
 |
Swift is a powerful and intuitive programming language developed by Apple Inc. for developing software for iOS, macOS, watchOS, tvOS, and beyond. At WWDC2024, Apple announced Embedded Swift, an open source project that aims to bring Swift to the world of embedded systems and IoT. It enables using Swift on microcontrollers with no operating system and with minimal resources available. Currently, the official swift-embedded-examples supports hardware platforms of STM32, Raspberry Pi Pico, Nordic Semiconductor, and even RISC-V ESP32 (ESP32C6).

Embedded Swift provides several advantages:
- Performance and Ease of Use: It offers C/C++-level performance while maintaining the user-friendly syntax and features of Swift (Swift Forums).
- Library and Framework Integration: Swift’s ability to link directly with C/C++ libraries allows developers to utilize existing frameworks seamlessly (GitHub).
- Developer Familiarity: Developers already proficient in Swift can quickly adopt Embedded Swift for their projects, leveraging familiar APIs and tools (Swift.org).
In this page, we are going to cover the following:
- How to set up the necessary development environment.
- Running a GPIO-based Blink example.
Prerequisites
To get started with Embedded Swift on the Seeed Studio XIAO-C6, you'll need the following skills and setup:
- Seeed Studio XIAO-C6: The core hardware for this guide.
- USB-C cable: To connect the XIAO-C6 to your computer.
- A computer: which running Linux, macOS, , or Windows (using WSL2).
- ESP-IDF: Version 5.2(recommend) is required for developing with ESP32-C6. You can download and install it from the Espressif website.
- Swift Toolchain: Ensure Swift 6.0 is installed on your computer. This can be obtained from the official Swift website or through your operating system's package manager.
ESP-IDF Installation:
- Follow the Linux and macOS page to install ESP-IDF
- Follow the Developed on XIAO using Espressif ESP-IDF guide for detailed steps.
Swift Toolchain Installation:
- Install Swift
release/6.0toolchain from the official site.
If you prefer docker solution, please refer to Dockerfile from apple/swift-matter-examples/
Before proceeding, ensure you have all necessary prerequisites for a smooth setup and development process.
In this page, we'll be going through the setup and usage of Embedded Swift on Ubuntu 22.04 Jammy Linux (WSL2).
Install ESP-IDF
#!/bin/bash
# Update and install required packages
sudo apt-get update
sudo apt-get install -y git wget flex bison gperf python3 python3-pip python3-venv python3.10-venv cmake ninja-build ccache libffi-dev libssl-dev dfu-util libusb-1.0-0

# Clone the ESP-IDF repository
cd ~
git clone --recursive https://github.com/espressif/esp-idf.git --jobs 10
cd esp-idf
git checkout v5.2.1; git submodule update --init --recursive

# Run the install script for ESP-IDF
cd ~/esp-idf && ./install.sh

# Set up alias for ESP-IDF environment
echo 'alias get_idf=". ~/esp-idf/export.sh"' >> ~/.bashrc
source ~/.bashrc

echo "Installation complete. Use 'get_idf' to set up the ESP-IDF environment."
Install Swift 6.0
you could directly running this script to have swift 6.0 to be installed.
#!/bin/bash
# Download the Swift 6.0 Snapshot
wget https://download.swift.org/swift-6.0-branch/ubuntu2204/swift-6.0-DEVELOPMENT-SNAPSHOT-2024-07-03-a/swift-6.0-DEVELOPMENT-SNAPSHOT-2024-07-03-a-ubuntu22.04.tar.gz

# Extract the Tarball
tar -xvzf swift-6.0-DEVELOPMENT-SNAPSHOT-2024-07-03-a-ubuntu22.04.tar.gz

sudo mv swift-6.0-DEVELOPMENT-SNAPSHOT-2024-07-03-a-ubuntu22.04 $HOME/swift-6.0

# Update PATH
echo 'export PATH=$HOME/swift-6.0/usr/bin:$PATH' >> ~/.bashrc
source ~/.bashrc

# Verify Installation
swift --version

echo "Swift 6.0 installation complete."
Run your first Blink program with Swift
Step 1. Get the example
get_idf #get idf enviorment
cd ~ && git clone https://github.com/apple/swift-embedded-examples.git #get GitHub repo
cd ~/swift-embedded-examples/esp32-led-blink-sdk
Step 2. Build the example
As the user led is connected to GPIO15, you'll need to modify the code to let led = Led(gpioPin: 15):
@_cdecl("app_main")
func app_main() {
    print("Hello from Swift on ESP32-C6!")

    var ledValue: Bool = false
    let blinkDelayMs: UInt32 = 500
    let led = Led(gpioPin: 15)

    while true {
        led.setLed(value: ledValue)
        ledValue.toggle() // Toggle the boolean value
        vTaskDelay(blinkDelayMs / (1000 / UInt32(configTICK_RATE_HZ)))
    }
}
Then you could build the firmware:
idf.py set-target esp32c6
idf.py build
If you encounter the problem /bin/sh: 1: -target: not found, you can resolve it by editing the build.ninja file located in the build folder.
Find the keyword -target and add the swiftc keyword before it, so it reads swiftc -target .... This adjustment should help address the issue.
Now we can have the firmware into out XIAO C6, once you got prompt Project build complete.
Step 3. Flash the firmware
usbipd is nedded if using WSL2
If you are working with WSL2, you'll need to have usbipd installed.
To install, use the Windows Package Manager with the command:
winget install usbipd
After installation, share the USB device using:
usbipd list #Check BUSID
usbipd bind -b '<BUSID>'
To attach the device from within WSL2:
usbipd attach --wsl --busid=<BUSID>
To see which port is shared:
dmesg | tail
# dmesg | tail -n 100 | sed -n 's/.*\(ttyACM[0-9]*\).*/\1/p'
Assuming you have ttyACM0 detacted, the command would be:
idf.py -p /dev/ttyACM0 flash monitor
This command will:
- Flash the firmware to the device connected to ttyACM0.
- Start monitoring the serial output from the device, displaying any print statements or logs.
Demostration
Reference
- Embedded Swift Blog
- A Vision for Embedded Swift
- swift-embedded-examples
- esp32-led-blink-sdk - GitHub
Resource
- WWDC24: Go small with Embedded Swift - Apple YouTube
- Add support for Matter in your smart home app
- Embedde Swift - Apple Forum
- Use C, C++ and Objective C Libraries in a Swift Project - Cecilia Humlelu - YouTube
- Mixing Swift and C++
- awesome-embedded-swift
Tech Support & Product Discussion
Thank you for choosing our products! We are here to provide you with different support to ensure that your experience with our products is as smooth as possible. We offer several communication channels to cater to different preferences and needs.