Arduino Cookbook: XIAO 7.5" ePaper Panel
This page is the XIAO 7.5" Panel-specific cookbook. The shared boilerplate — Arduino IDE setup, ESP32 board package, installing Seeed_GFX, generating driver.h from the Configuration Tool — lives in Work with Arduino. Skim that first if you're new to Arduino on Seeed ePaper; this page focuses on what's different for the XIAO ESP32-C3-based panel.
Overview
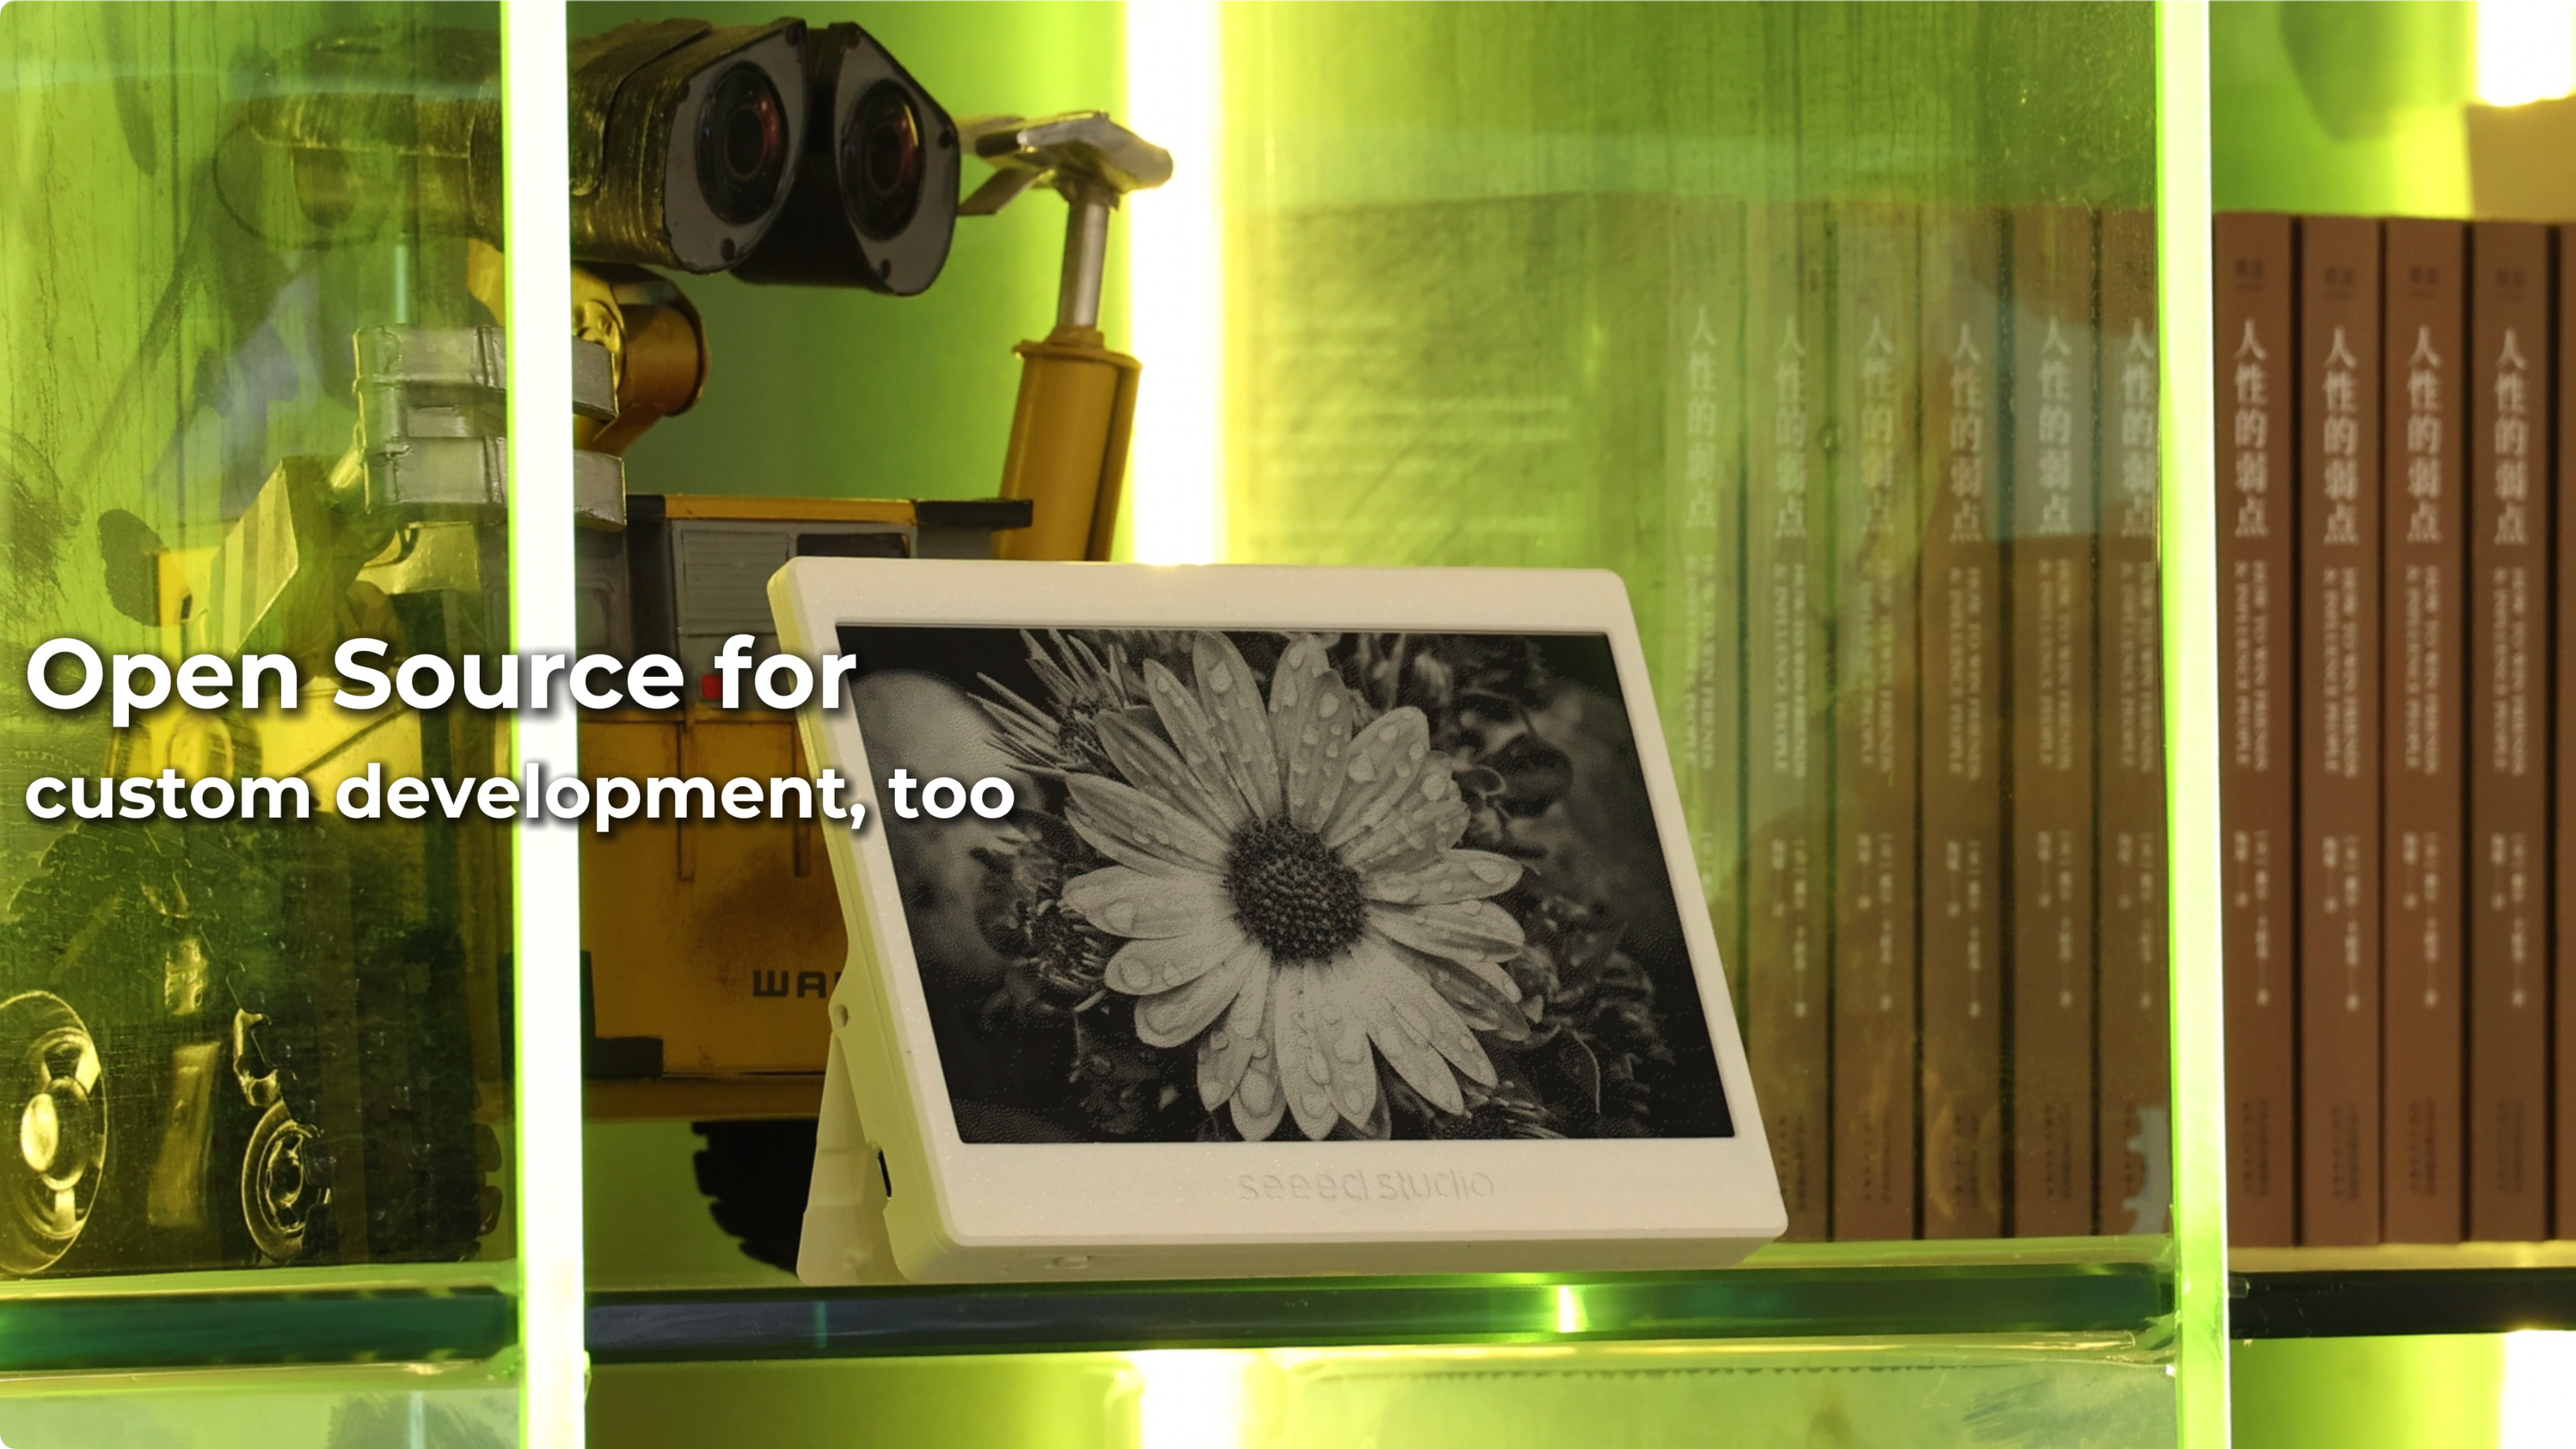
The XIAO 7.5" ePaper Panel can be programmed using the Arduino IDE, making it accessible for makers and developers familiar with the Arduino ecosystem. This guide will walk you through setting up the Arduino development environment and getting started with basic examples.
The ePaper Panel features:
- 7.5" monochrome ePaper display with 800x480 resolution
- XIAO ESP32-C3 microcontroller for wireless connectivity
- Built-in 2000mAh battery for portable use
- USB Type-C interface for programming and power
- Compact design with integrated stand
Through Arduino programming, you can:
- Display text and graphics
- Create custom user interfaces
- Show real-time data and sensor readings
- Build interactive applications
- Implement low-power applications leveraging ePaper's zero power retention
This guide covers the initial setup process and provides example code to help you start developing your own Arduino applications for the ePaper Panel.
Getting Started
Step 1. Download Arduino IDE
First, if you don't have Arduino IDE yet, please go to Arduino IDE and download the latest version.
If this is your first time using Arduino, we highly recommend you to refer to Getting Started with Arduino.
Step 2. Install ESP32 Board Support
Go to File -> Preferences and add the following URL to Additional Boards Manager URLs, click here to see detail steps.
https://raw.githubusercontent.com/espressif/arduino-esp32/gh-pages/package_esp32_index.json
Step 3. Install Seeed GFX Library
This library has same function as TFT library and no compatible with it. If you have installed TFT library or other similary display libraries, please uninstall it first.
Download and install the Seeed GFX library from GitHub.

Scroll down and open this link.

Select your device type and it will generate some code. Copy those code and we will use them later.
If you make the wrong choice, the screen will display nothing.
So please make sure your devices or components type.

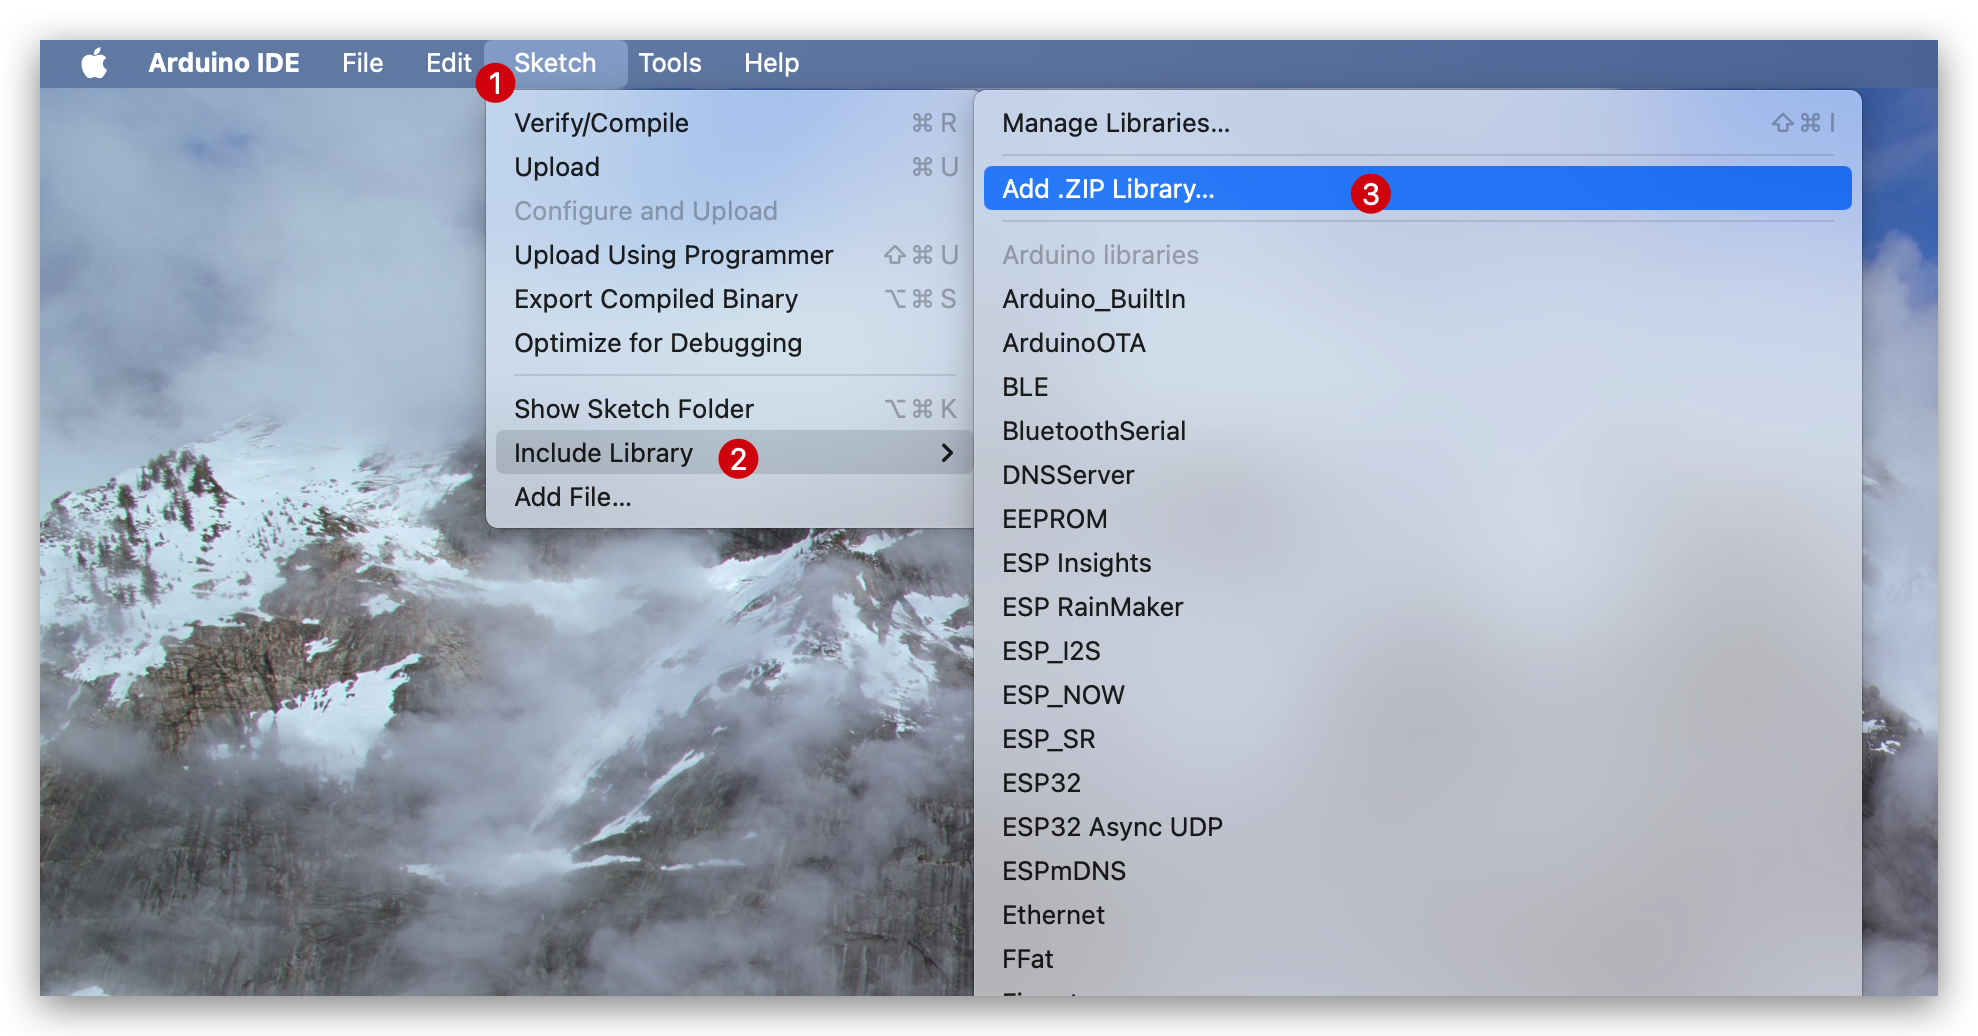
After downloading the library, go to Sketch -> Include Library -> Add .ZIP Library and select the downloaded library.
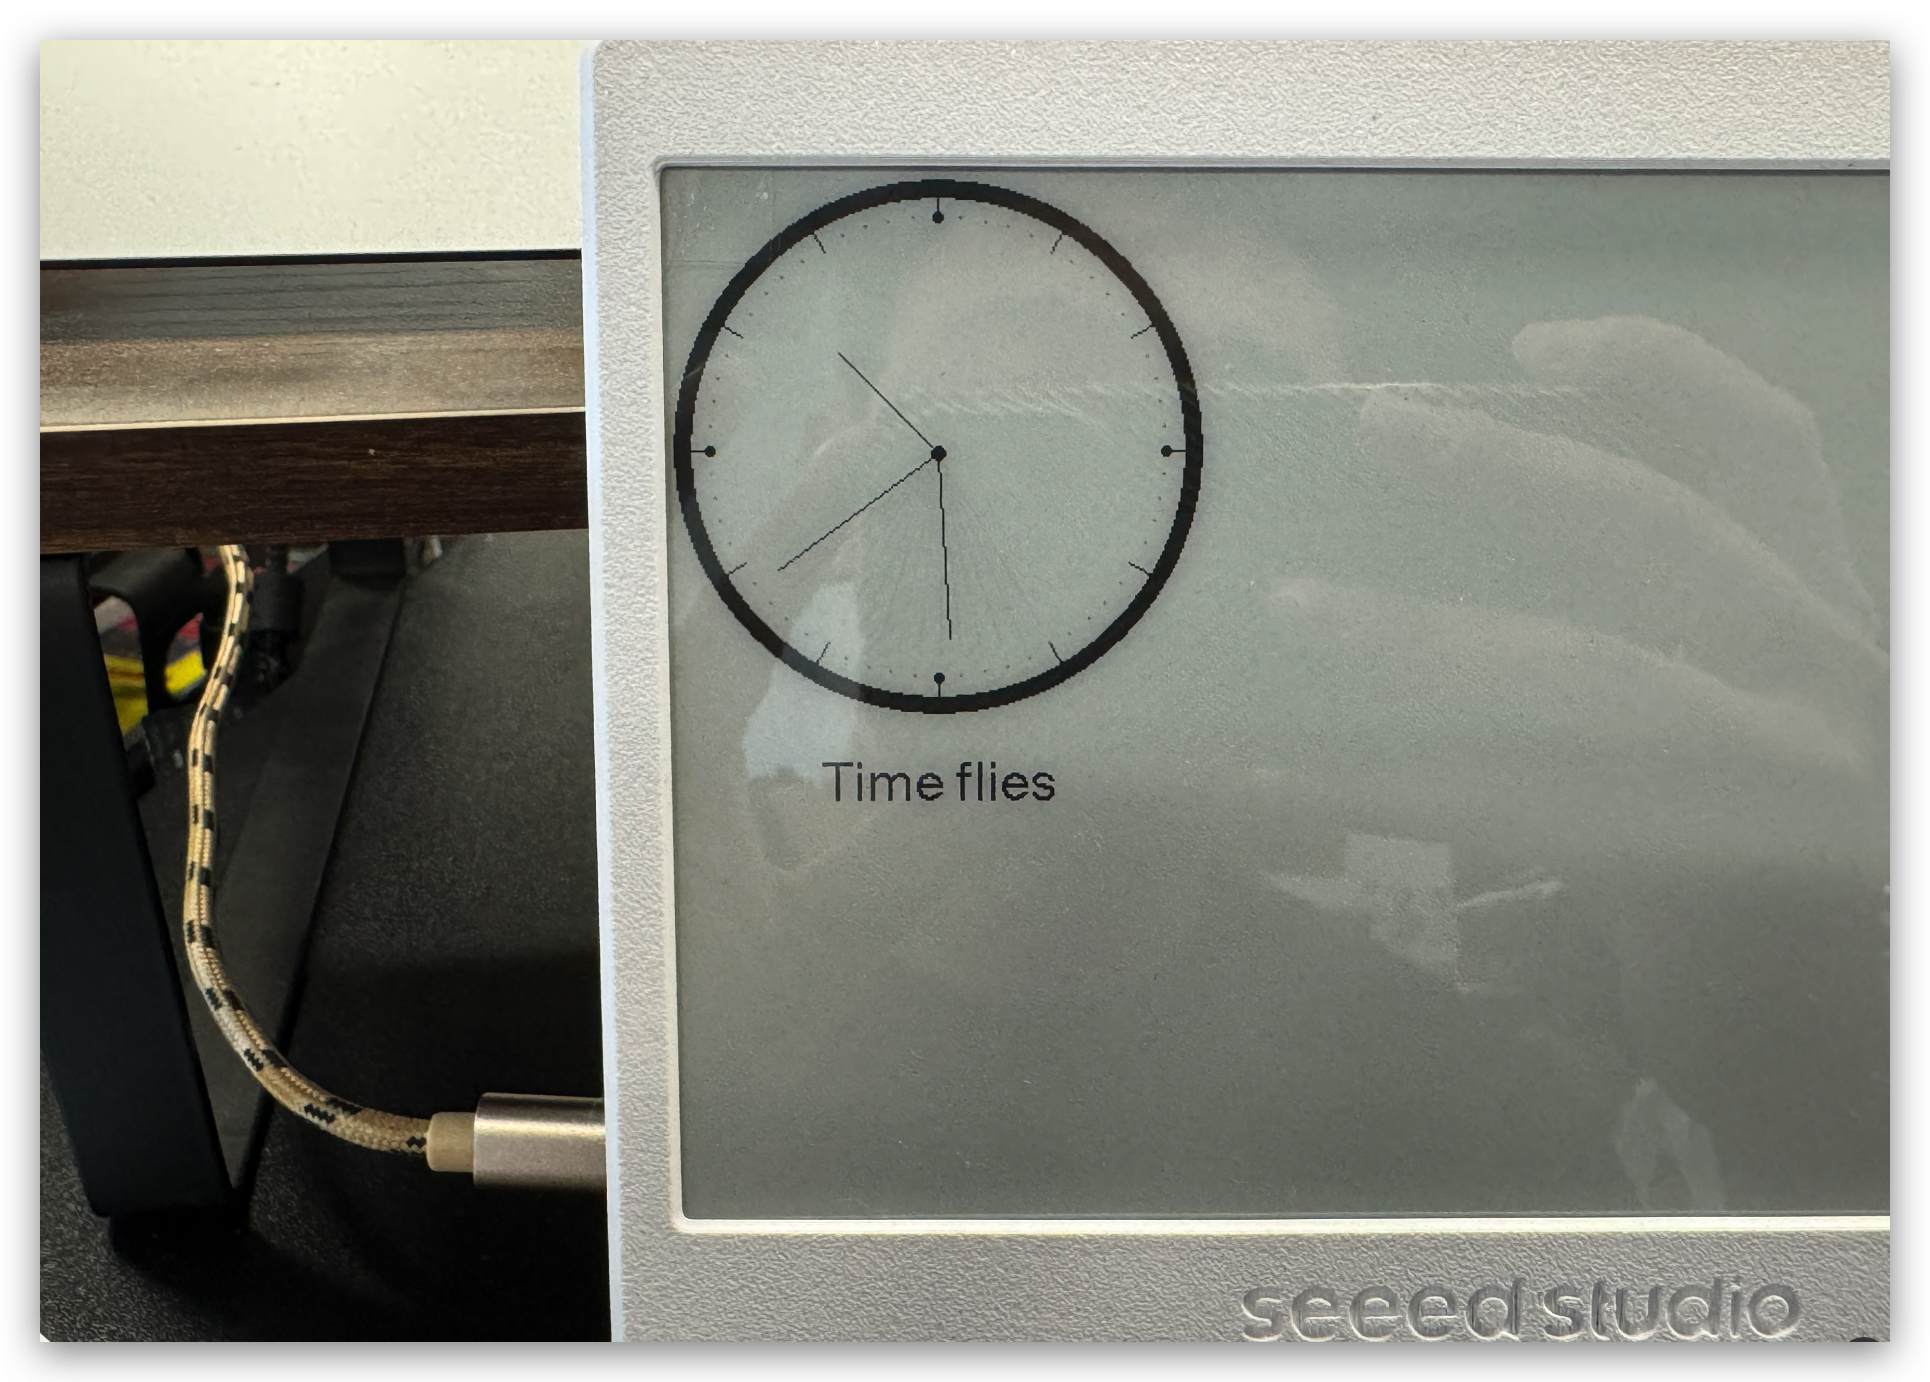
There are 4 basic examples, open a basic example you like:
- Bitmap: Display a bitmap image.
- Clock: Display a clock.
- Clock_digital: Display a digital clock.
- Shape: Display different sizes of words and shape randomly.

Step 4. Upload the Code
Create a new "driver.h" file and paste those code into it. The code should be like:
#define BOARD_SCREEN_COMBO 502 // 7.5 inch monochrome ePaper Screen (UC8179)
#define USE_XIAO_EPAPER_DRIVER_BOARD
After that, go to Tools -> Board -> XIAO ESP32C3 and Tools -> Port -> Select the port your board is connected to. Then click Upload to upload the code.

Now you will see the feedback in your epaper screen! Following are the results of Bitmap and Clock examples.
Resources
- [STP]: 3D Model enclosure
- [PDF]: ePaper Driver Board SCH PDF
Tech Support & Product Discussion
Thank you for choosing our products! We are here to provide you with different support to ensure that your experience with our products is as smooth as possible. We offer several communication channels to cater to different preferences and needs.