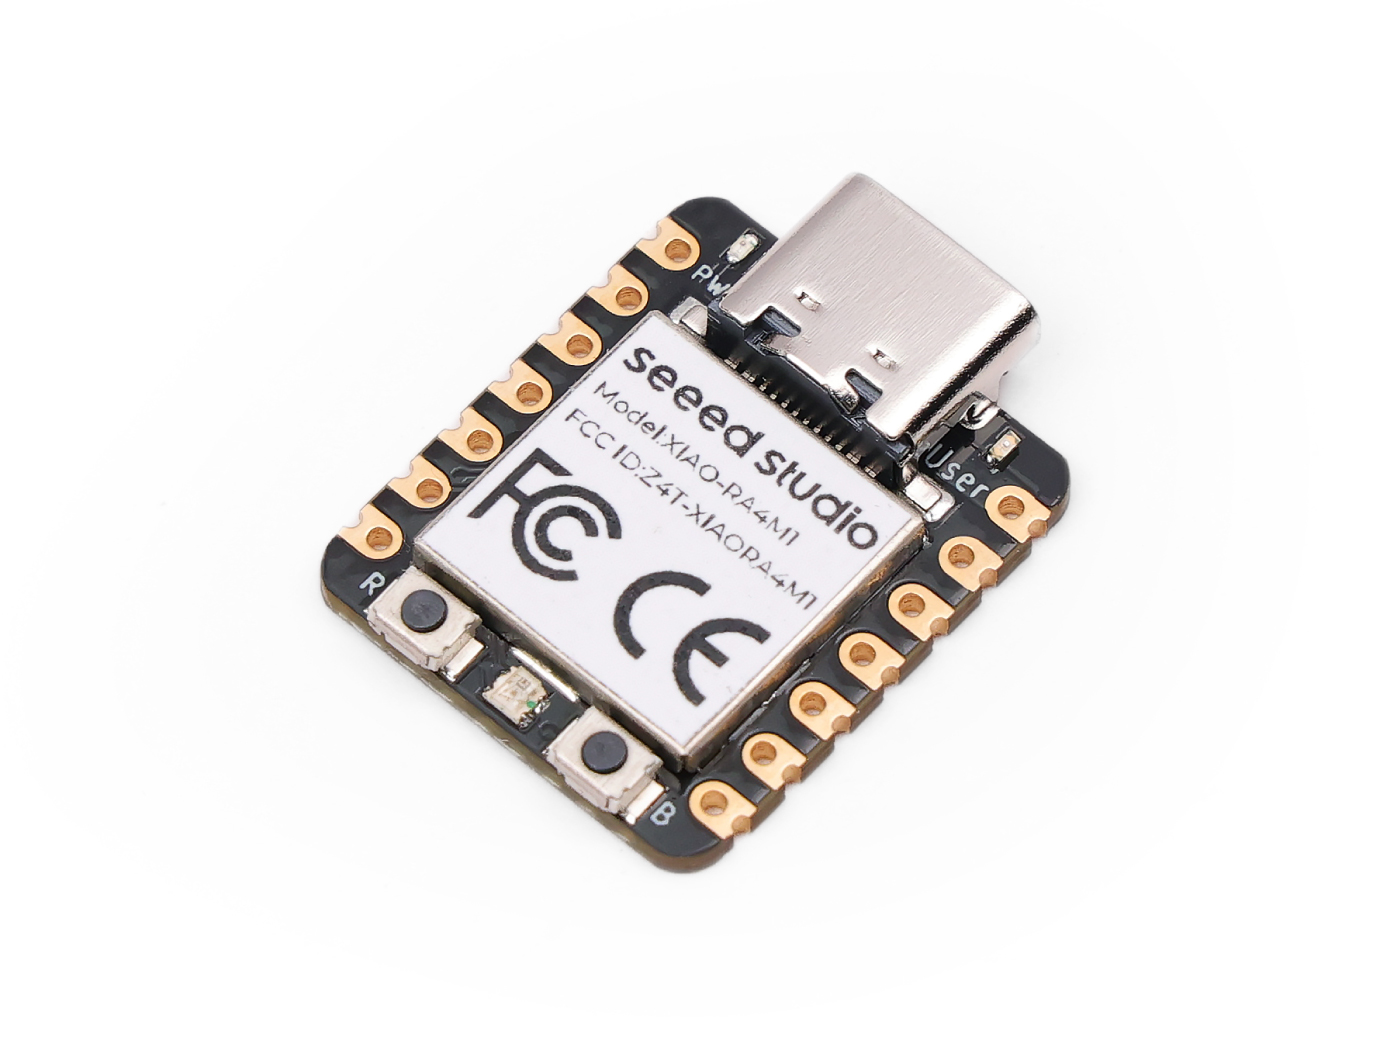
Hollow Clock Powered by Seeed Studio XIAO RA4M1
Inspiration arises
Hollow Clock gained significant popularity on YouTube some time ago, with the original design by sh1ura,cool demo video and the 3D design available on Thingsverse. A big shout-out to sh1ura for this great inspiration. Standing on the giants' shoulders, we now have remixed a version using the thumb-sized XIAO RA4M1 and a custom smaller motor driver board!
Hadware Overview
MCU
| Seeed Studio XIAO RA4M1 |
|---|
 |
Circuit Board
With the same volume as XIAO, simply weld the mother seat and insert XIAO and the motor into it to operate.

Specific information is in the resource at the end.
Both motors and components need to be purchased by oneself.
Software Overview
// This code controls a stepper motor for a clock project,
// allowing the minute hand to rotate accurately based on time.

// Please tune the following value if the clock gains or loses time.
// Theoretically, the standard value is 60000 milliseconds per minute.
#define MILLIS_PER_MIN 60000 // milliseconds per a minute

// Motor and clock parameters
// Total steps for a full turn of the minute rotor
// Calculated as 4096 steps per revolution * 90 degrees / 12 hours
#define STEPS_PER_ROTATION 30720 // steps for a full turn of minute rotor

// Wait time for a single step of the stepper motor
int delaytime = 2;

// Ports used to control the stepper motor
// If your motor rotates in the opposite direction,
// change the order of the port numbers as needed.
int port[4] = {0, 1, 2, 3};

// Sequence of stepper motor control
// This array defines the control sequence for the motor phases.
int seq[8][4] = {
  {  LOW, HIGH, HIGH,  LOW},
  {  LOW,  LOW, HIGH,  LOW},
  {  LOW,  LOW, HIGH, HIGH},
  {  LOW,  LOW,  LOW, HIGH},
  { HIGH,  LOW,  LOW, HIGH},
  { HIGH,  LOW,  LOW,  LOW},
  { HIGH, HIGH,  LOW,  LOW},
  {  LOW, HIGH,  LOW,  LOW}
};

// Function to rotate the stepper motor based on the specified number of steps
void rotate(int step) {
  static int phase = 0;
  int i, j;
  int delta = (step > 0) ? 1 : 7; // Determine direction of rotation
  int dt = 20; // Initial delay time

  step = (step > 0) ? step : -step; // Convert to positive step count
  for(j = 0; j < step; j++) {
    phase = (phase + delta) % 8; // Update phase
    for(i = 0; i < 4; i++) {
      digitalWrite(port[i], seq[phase][i]); // Control the motor
    }
    delay(dt); // Wait for the specified delay
    if(dt > delaytime) dt--; // Gradually decrease delay
  }
  // Power cut: stop the motor
  for(i = 0; i < 4; i++) {
    digitalWrite(port[i], LOW);
  }
}

// Setup function, runs once at startup
void setup() {
  // Initialize motor control ports as outputs
  pinMode(port[0], OUTPUT);
  pinMode(port[1], OUTPUT);
  pinMode(port[2], OUTPUT);
  pinMode(port[3], OUTPUT);

  // Perform initial approach runs to position the minute hand
  rotate(-20); // Approach run in one direction
  rotate(20);  // Approach run in the opposite direction
  rotate(STEPS_PER_ROTATION / 60); // Position the minute hand
}

// Main loop, runs continuously
void loop() {
  static long prev_min = 0, prev_pos = 0; // Track previous minute and position
  long min;
  static long pos;

  min = millis() / MILLIS_PER_MIN; // Get the current minute
  if(prev_min == min) {
    return; // Exit if the minute hasn't changed
  }
  prev_min = min; // Update previous minute
  pos = (STEPS_PER_ROTATION * min) / 60; // Calculate target position
  rotate(-20); // Approach run in one direction
  rotate(20);  // Approach run in the opposite direction
  if(pos - prev_pos > 0) {
    rotate(pos - prev_pos); // Rotate to the new position if needed
  }
  prev_pos = pos; // Update previous position
}
-
Ensure Stepper Motor Connections: Connect the four control wires of the stepper motor to the ports specified in the port array (0, 1, 2, 3).
-
Adjust Time Settings: Adjust the MILLIS_PER_MIN value according to actual conditions to ensure the clock is accurate. If the clock is running fast or slow, adjust this value accordingly.
-
Confirm Step Calculation: Ensure the STEPS_PER_ROTATION value is correctly calculated based on the actual step count of your motor and the system design.
-
Adjust Delay Time: The delaytime controls the delay between each step. Fine-tune this parameter based on motor performance and requirements to optimize motor operation.
-
Control Sequence Settings: The seq array defines the control sequence for the stepper motor. If the motor rotates in the wrong direction, you can adjust the values in this array.
-
Function Descriptions: rotate(int step): Controls the motor to rotate a specified number of steps. You can pass positive or negative values to control the direction. The motor will gradually decrease the delay after each rotation to increase speed.
-
setup(): Runs once at startup to initialize the control ports and perform initial positioning. This is a necessary step for setting up the motor.
-
loop(): The main loop that runs continuously to calculate the current minute and update the position of the minute hand. This function will call the rotate() function to rotate the hand at each minute update.
-
Ensure the power supply is suitable for your stepper motor and check that all connections are correct.
-
During testing, monitor the operation of the motor to ensure it functions as expected and make adjustments as needed.
If you have more ideas and modifications, feel free to showcase them using the XIAO series!
Resouce
- 📄 [SCH] Motor Driver Board
- 📄 [PCB] Motor Driver Board
- 📄 [3D] Clock 3D Modeling
Tech Support & Product Discussion
Thank you for choosing our products! We are here to provide you with different support to ensure that your experience with our products is as smooth as possible. We offer several communication channels to cater to different preferences and needs.