XIAO RA4M1 Mouse
Materials Required
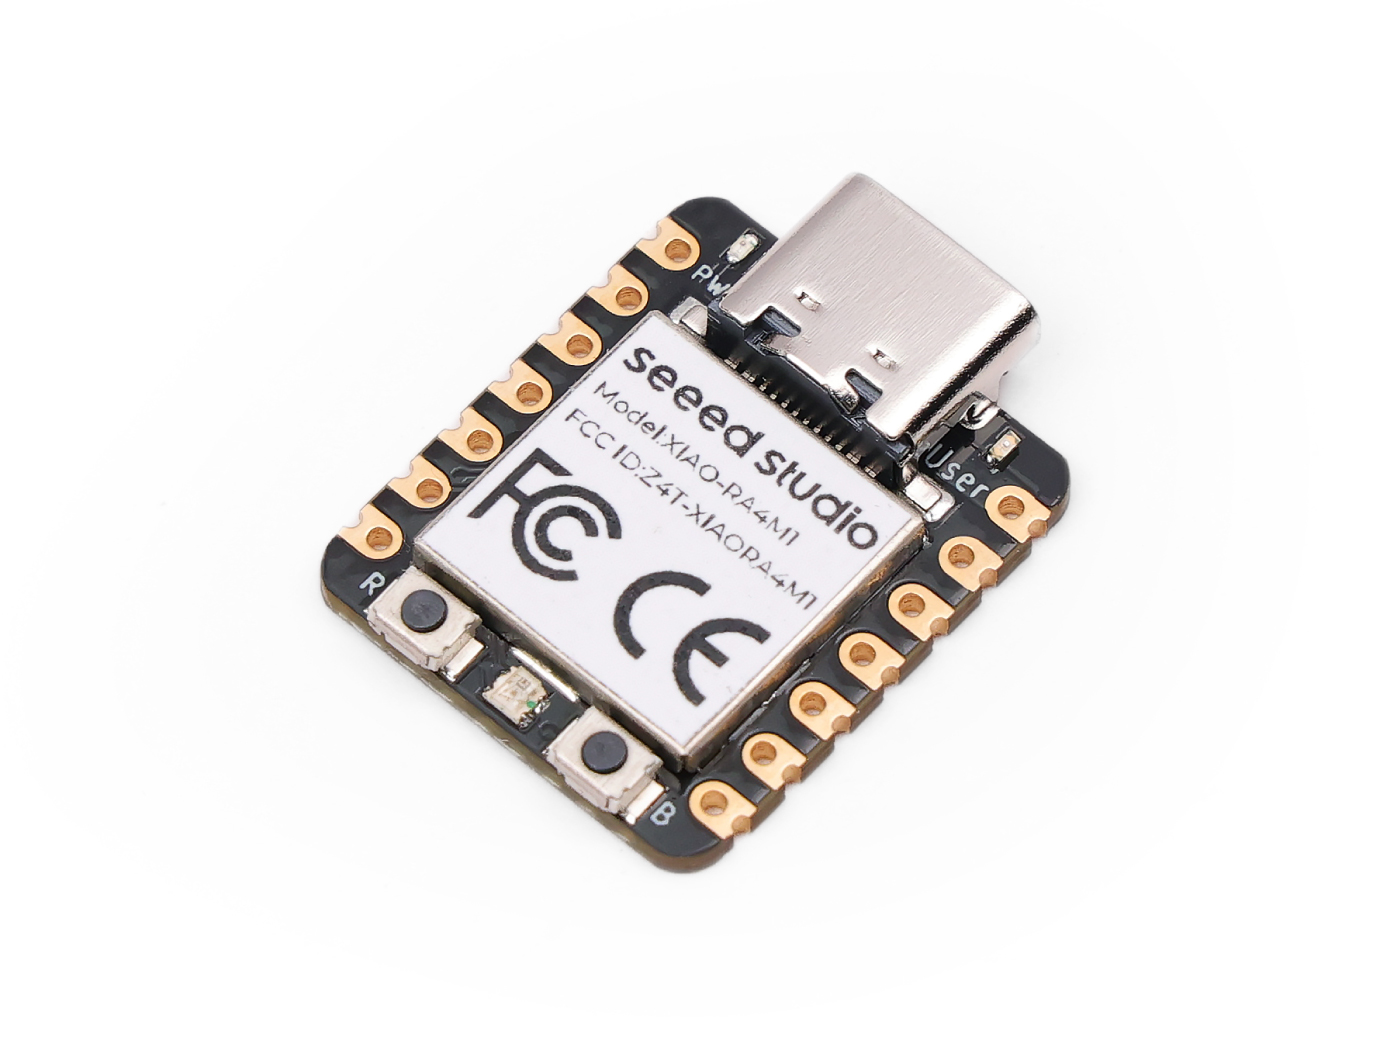
| Seeed Studio XIAO RA4M1 | Grove Thumb Joystick | Grove Cable |
|---|---|---|
 |  |  |
Preliminary Preparation
light the Built-in LED of XIAO RA4M1
If you have never use XIAO RA4M1 before, please click here to learn how to light the built-in LED, which make sure that your development enviroment is good.
Read X and Y axis data of Grove Joystick
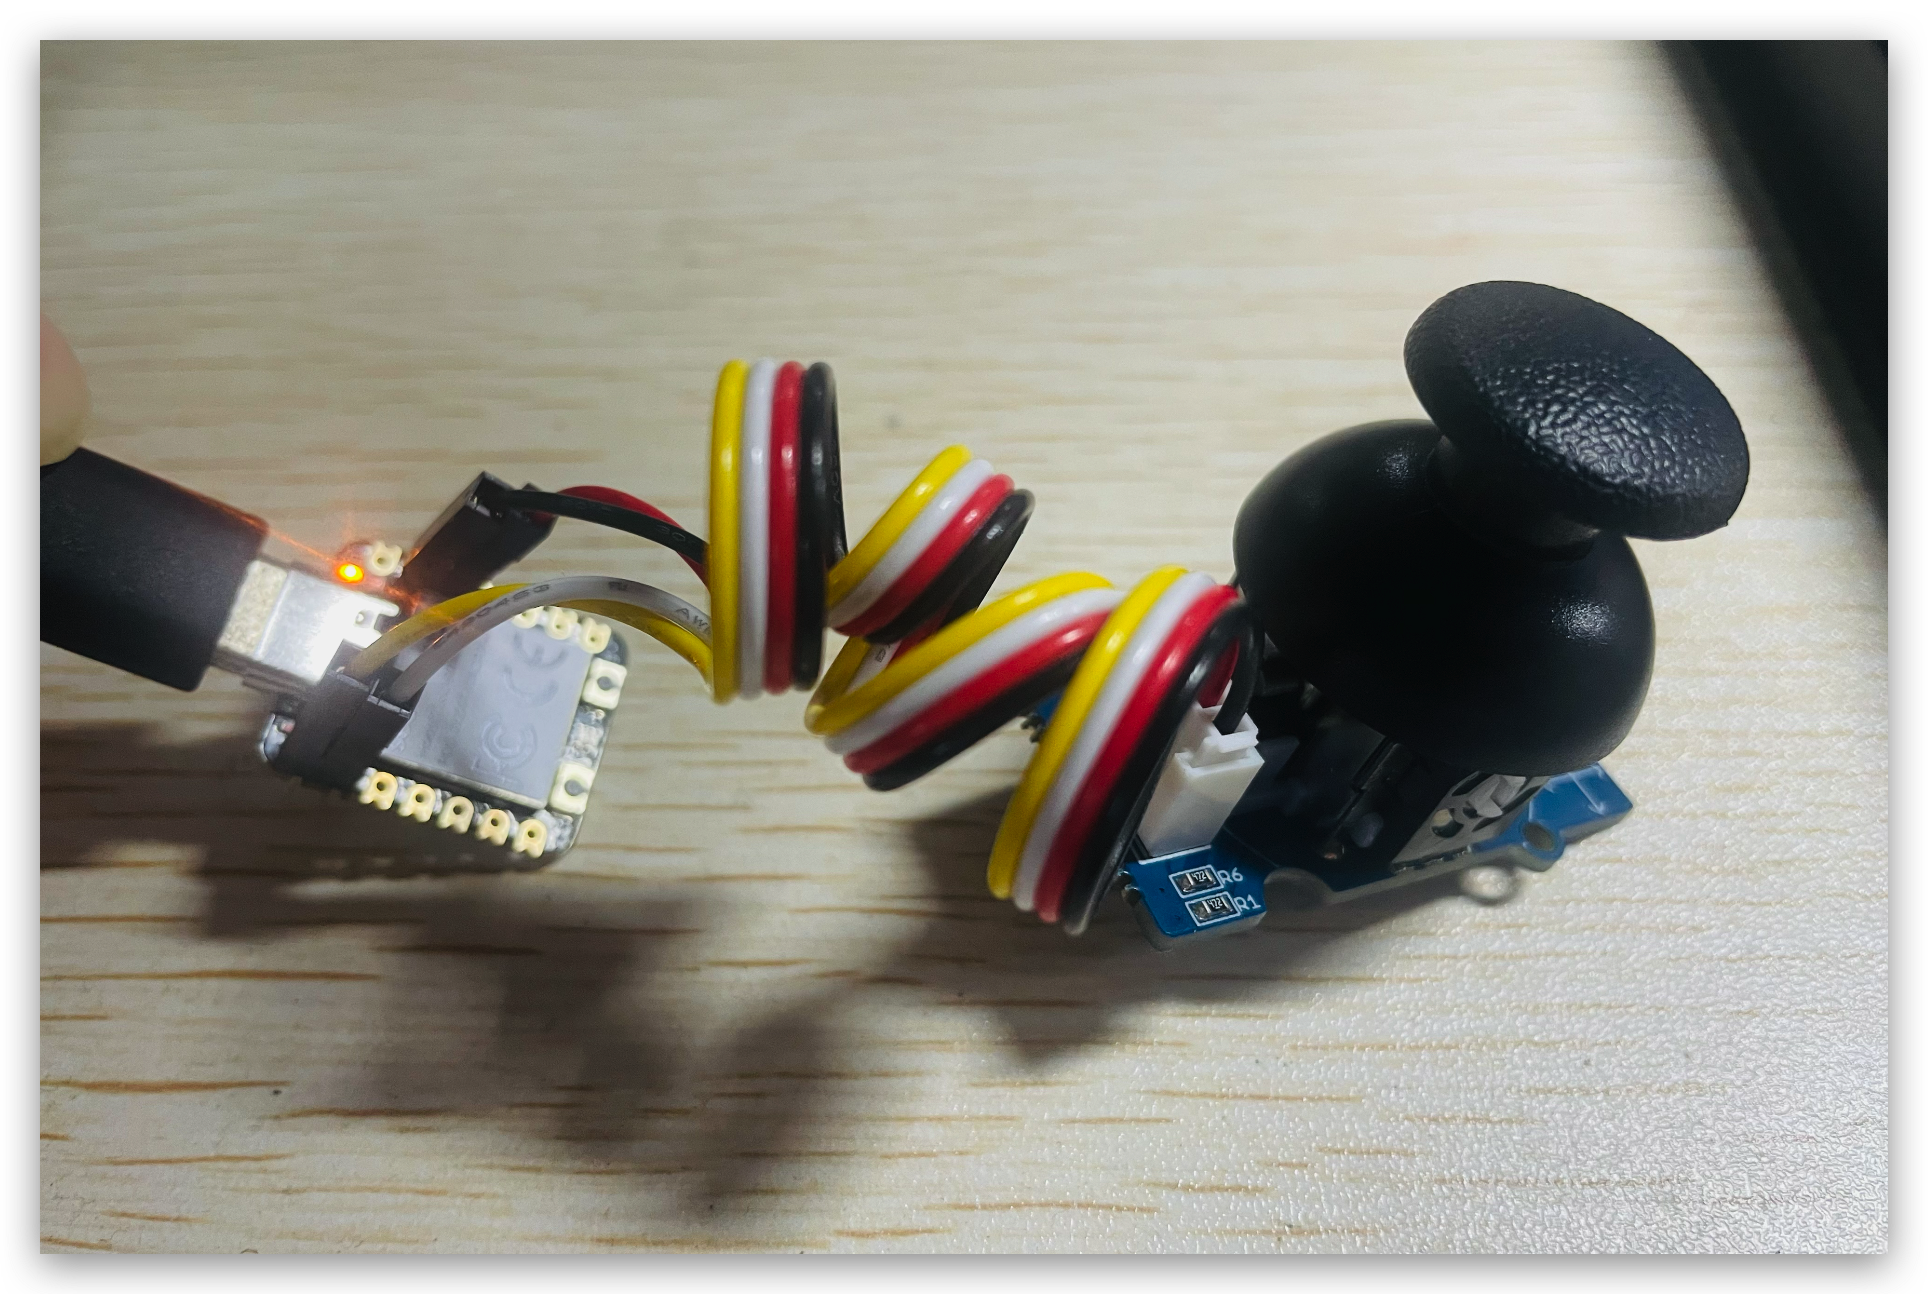
Step 1.Connect device
First of all, you need to connect XIAO RA4M1 and Joystick together via pin as following table.
| XIAO RA4M1 | Grove - Thumb Joystick |
|---|---|
| 3.3V | Red |
| GND | Black |
| A0 | White |
| A1 | Yellow |
Now use Grove cable connect them as following image.
Step 2.Upload test program
Copy the follwing code, past to Arduino IDE and then upload to XIAO RA4M1
void setup()
{
    Serial.begin(9600);
}

void loop()
{
    int sensorValue1 = analogRead(A0);
    int sensorValue2 = analogRead(A1);

    Serial.print("The X and Y coordinate is:");
    Serial.print(sensorValue1, DEC);
    Serial.print(",");
    Serial.println(sensorValue2, DEC);
    Serial.println(" ");
    delay(200);
}
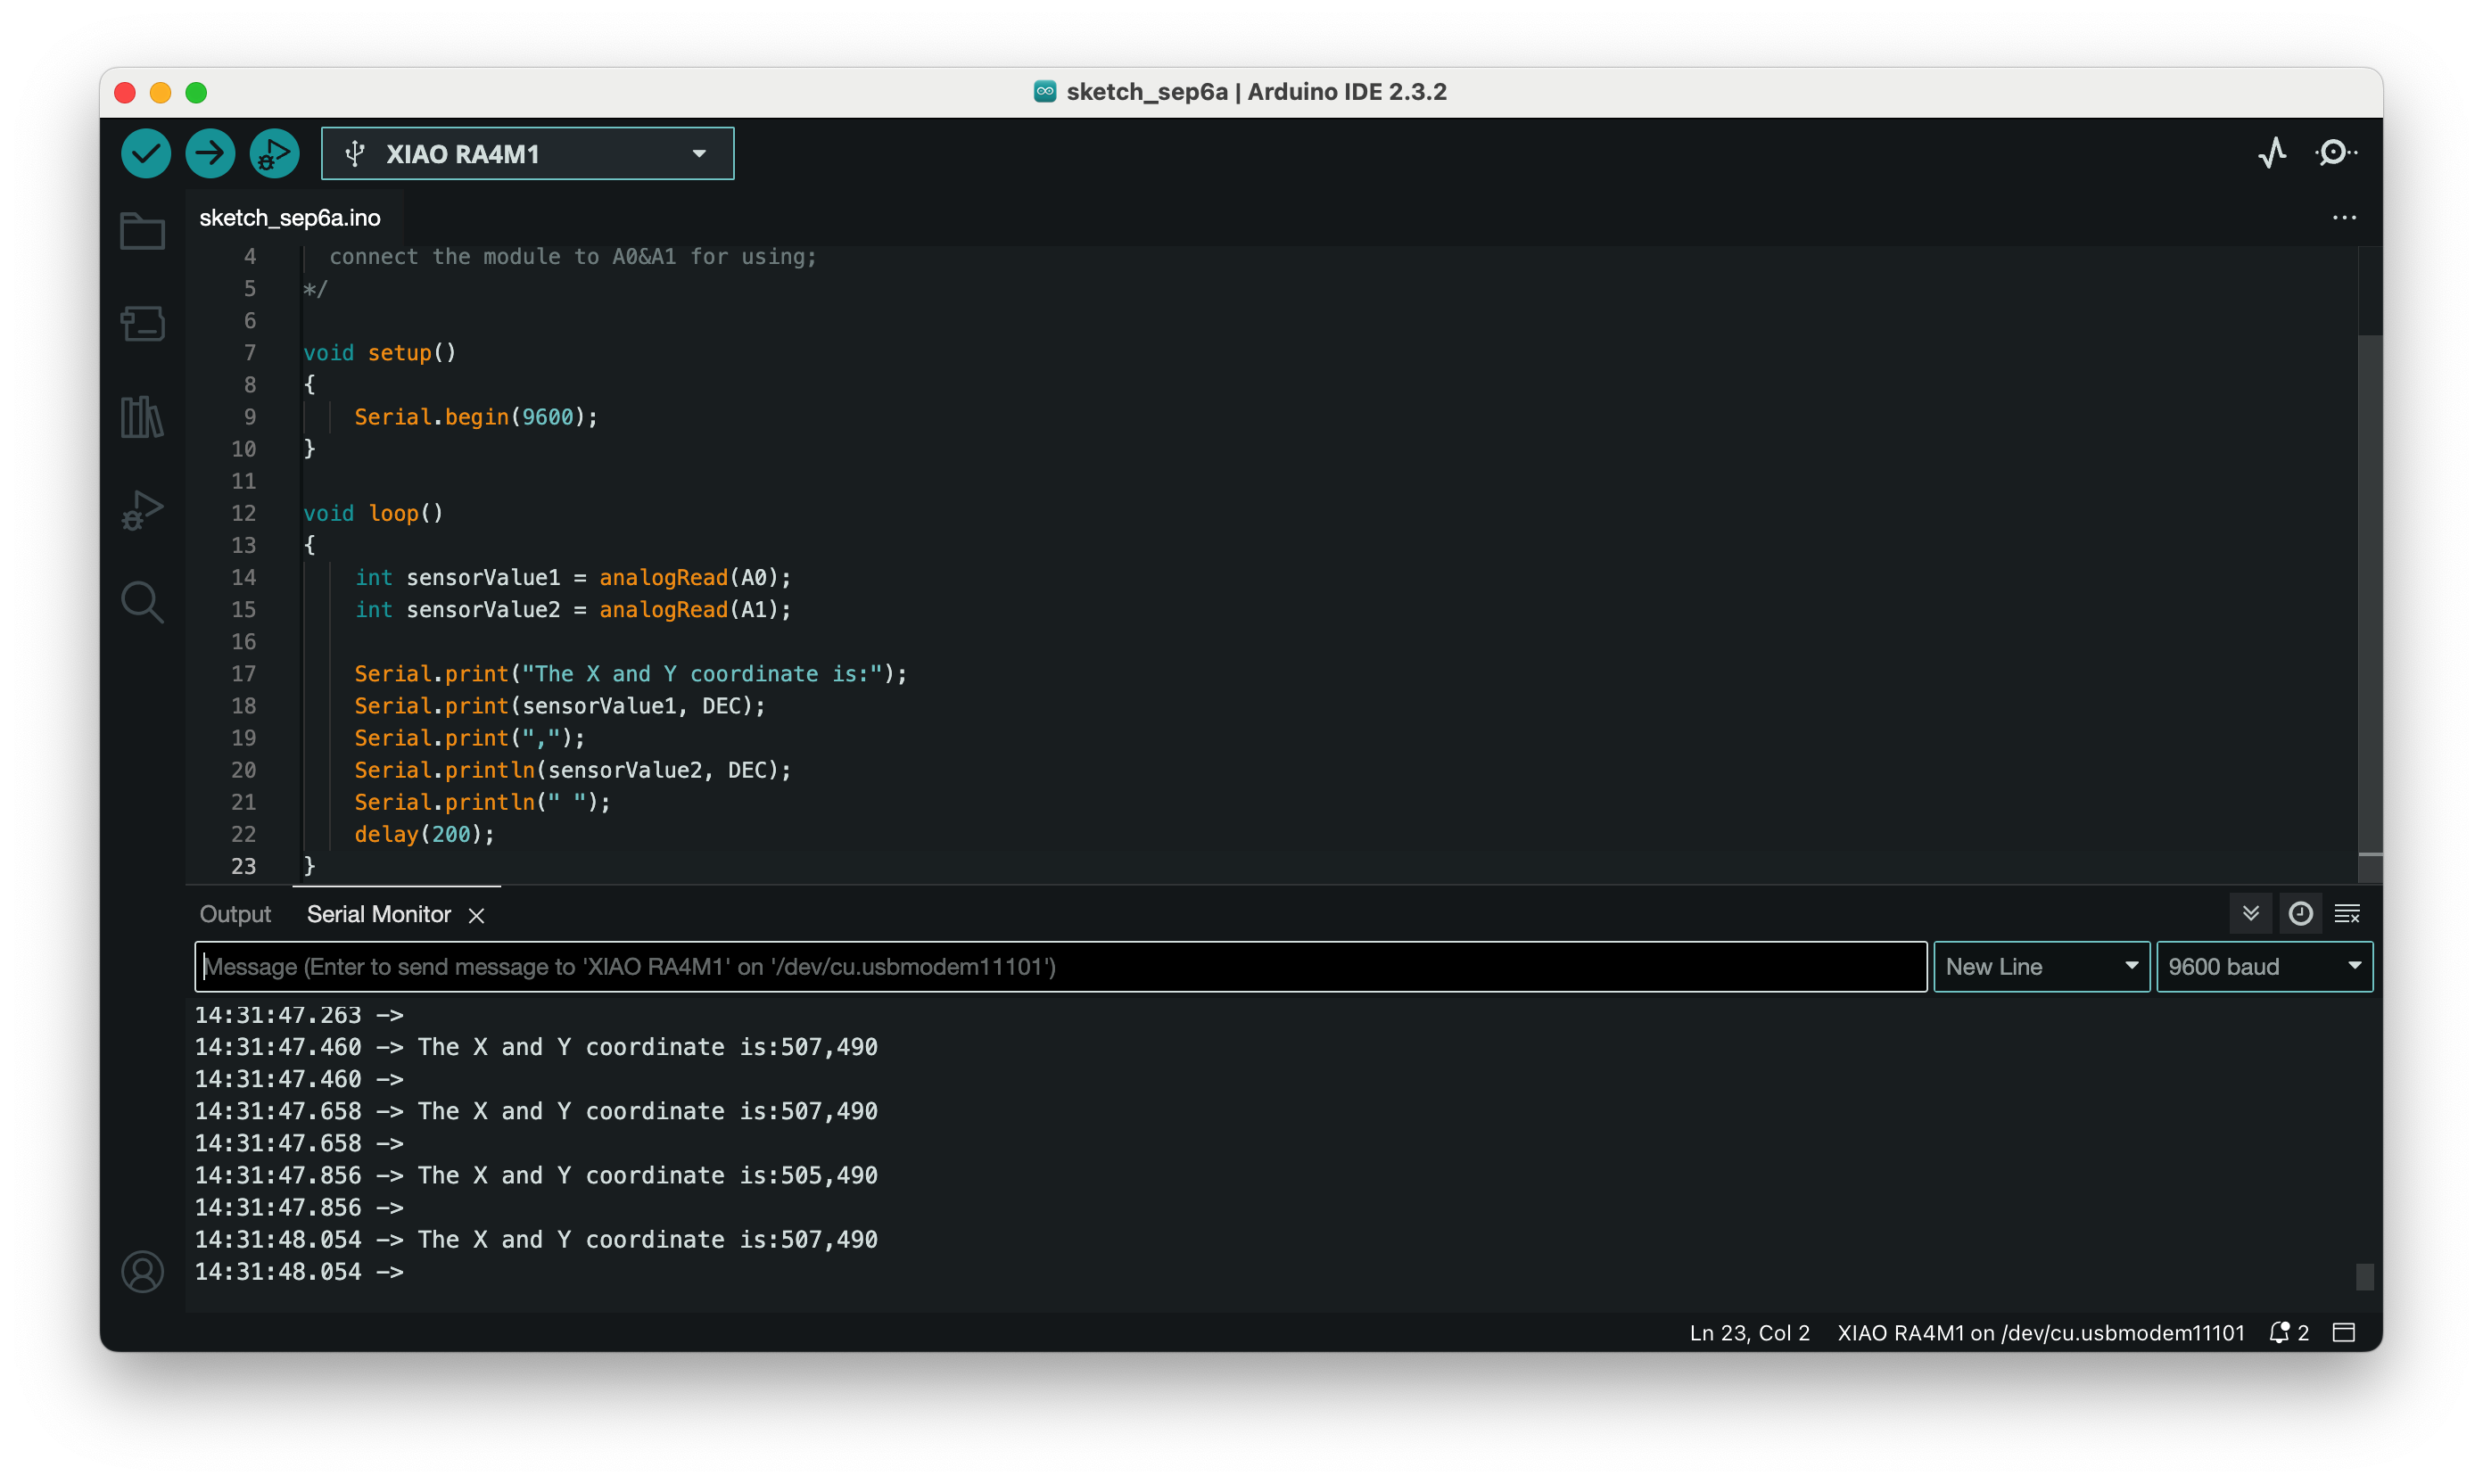
Now you move the Joystick, the axis data will change as the same time. It means XIAO RA4M1 and Joystick work perfectly.
Build mouse with XIAO RA4M1
Step 3.Upload mouse controller program
#include <Mouse.h>

const int xaxis = A0;
const int yaxis = A1;
const int sensitivity = 5;//adjust the mouse sensetive

void setup()
{
    Mouse.begin();
    delay(1000);//at least 1000ms to initilize
    Serial.begin(9600);
}

void loop()
{
  int xValue = analogRead(xaxis);
  int yValue = analogRead(yaxis);

  /*
  when you click the central button of Grove joystick, xValue will equal to 1023,
  so when xValue < 1000, we move the mouse; when xValue>1000, we click the mouse
  */
  if(xValue<1000){

    //define mouse move distance
    int xDistance;
    int yDistance;

    /*
    The joystick reads the x and y values with 500 as the center of the coordinate axis,
    so we need to process the data by subtracting 500, while also eliminating some minor vibrations.
    */
    //Eliminate X minor vibrations.
    if(abs(xValue-500)<10){
      xDistance = 0;
    }else{
      xDistance = (xValue - 500);
    }
    //Eliminate X minor vibrations.
    if(abs(yValue-500)<10){
      yDistance = 0;
    }else{
      yDistance = (yValue - 500);
    }
    //read value from joystick
    Serial.print("value: ");
    Serial.print(xValue);
    Serial.print(",");
    Serial.println(yValue);
    Serial.println(" ");
    //read distance the mouse will move
    Serial.print("distance: ");
    Serial.print(xDistance);
    Serial.print(",");
    Serial.println(yDistance);
    Serial.println(" ");

    //make the mouse not so sensetive
    Mouse.move(xDistance/sensitivity,-yDistance/sensitivity,0);
  }else{
    //when xValue>1000, mouse click
    Mouse.click();
  }
    delay(100);
}
Now you will see the cursor is moving when you control the Joystick ~
Congratulations! You build this little simple mouse successfully. There are more instresting HID(Human Interface Device) functions waiting for you to explore via XIAO RA4M1. Want to learn more? Please click here to jump~
Tech Support & Product Discussion
Thank you for choosing our products! We are here to provide you with different support to ensure that your experience with our products is as smooth as possible. We offer several communication channels to cater to different preferences and needs.