Use ZED X-Series GMSL Cameras with reComputer Robotics
ZED X depth vision, ready for reComputer Robotics
Bring robust, long-range GMSL2 stereo vision to compact robots, autonomous machines, and physical AI systems. Seeed Studio's reComputer Robotics platforms combine NVIDIA Jetson compute, robotics-ready I/O, and scalable GMSL connectivity in deployment-friendly hardware.
This guide explains how to use Stereolabs ZED X-series GMSL2 cameras with Seeed Studio robotics hardware. Four platforms have been adapted for the ZED X camera family. The complete walkthrough is currently available for reComputer Robotics J50 Mini; the other device-specific walkthroughs will be added soon.
Select Your Platform
Choose a platform below. The two tab groups on this page are synchronized, so your selection carries into the corresponding device guide.
- J50 Mini
- J50
- J40
- J601
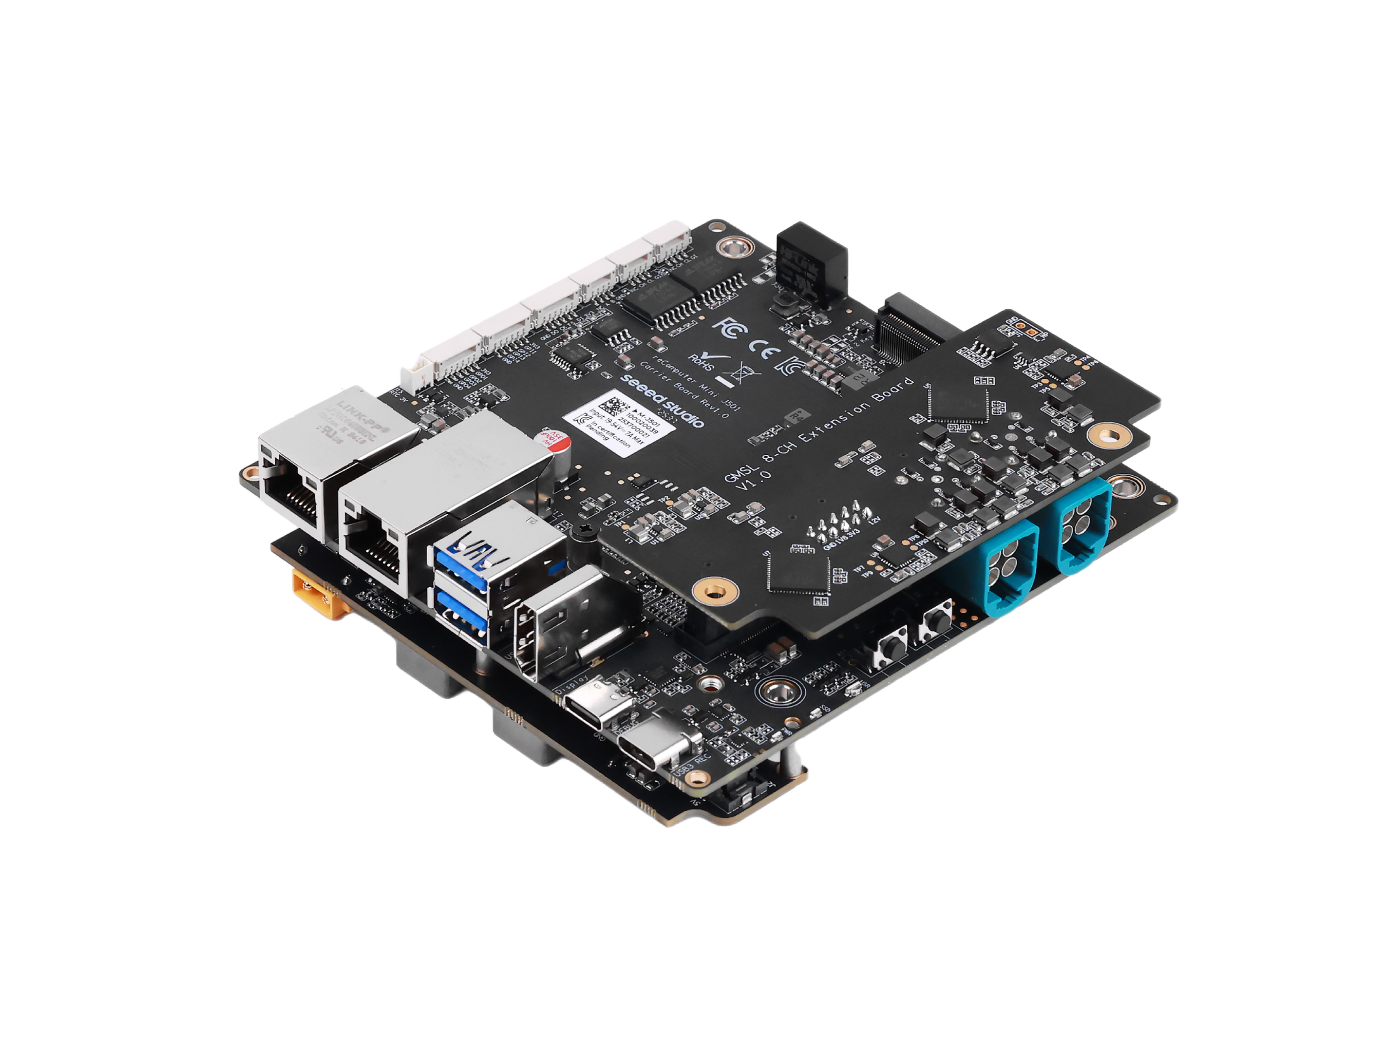
reComputer Robotics J50 Mini
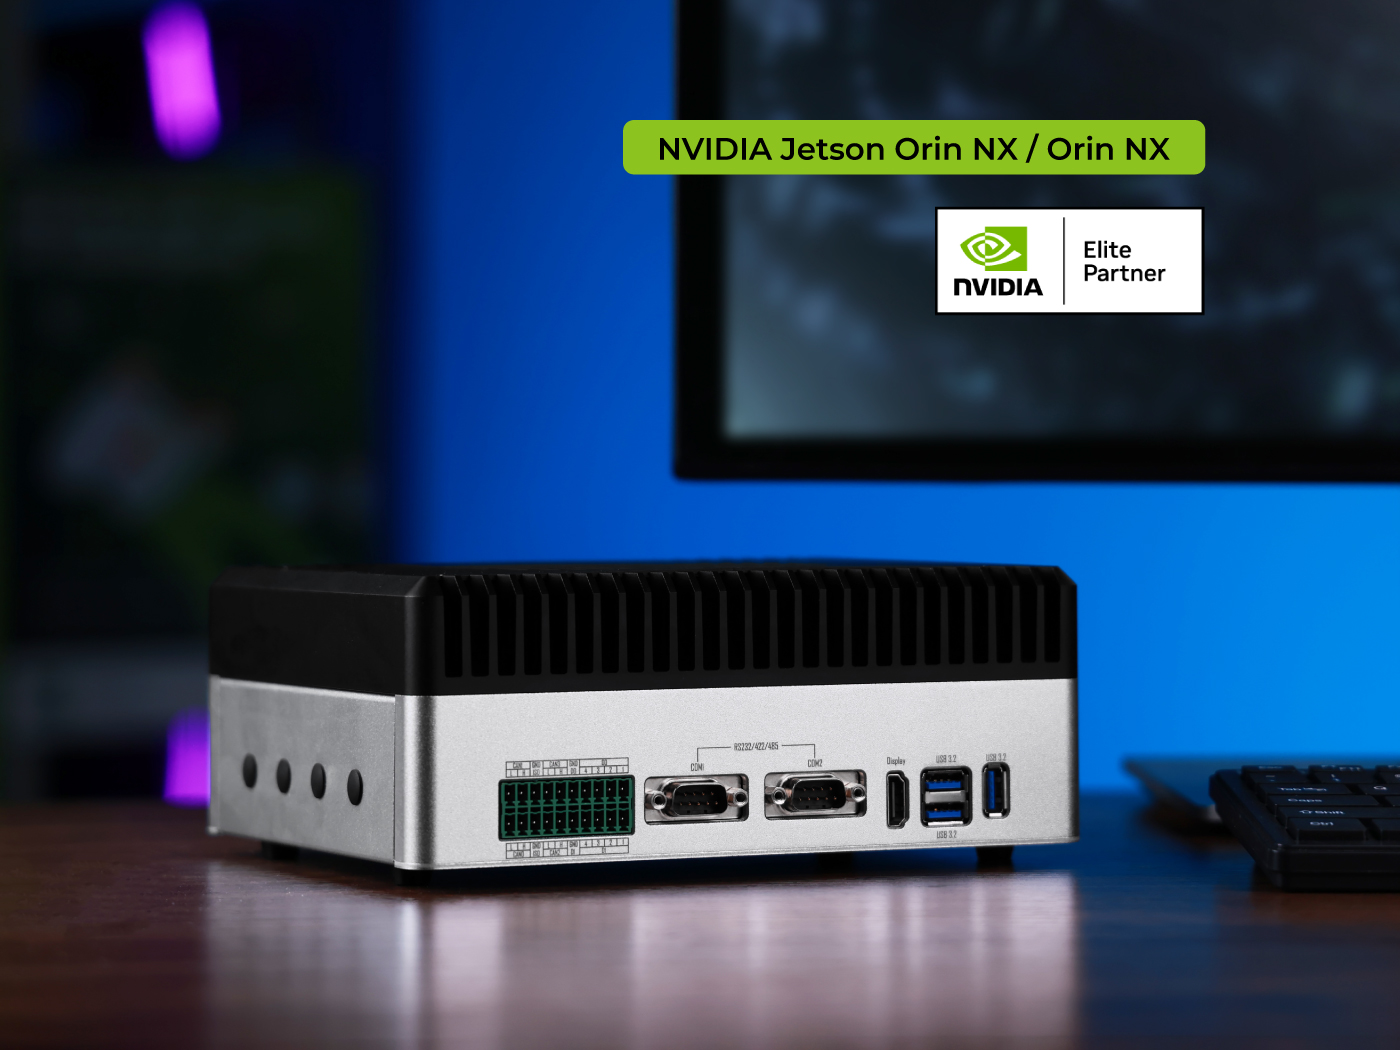
reComputer Robotics J50

reComputer Robotics J40
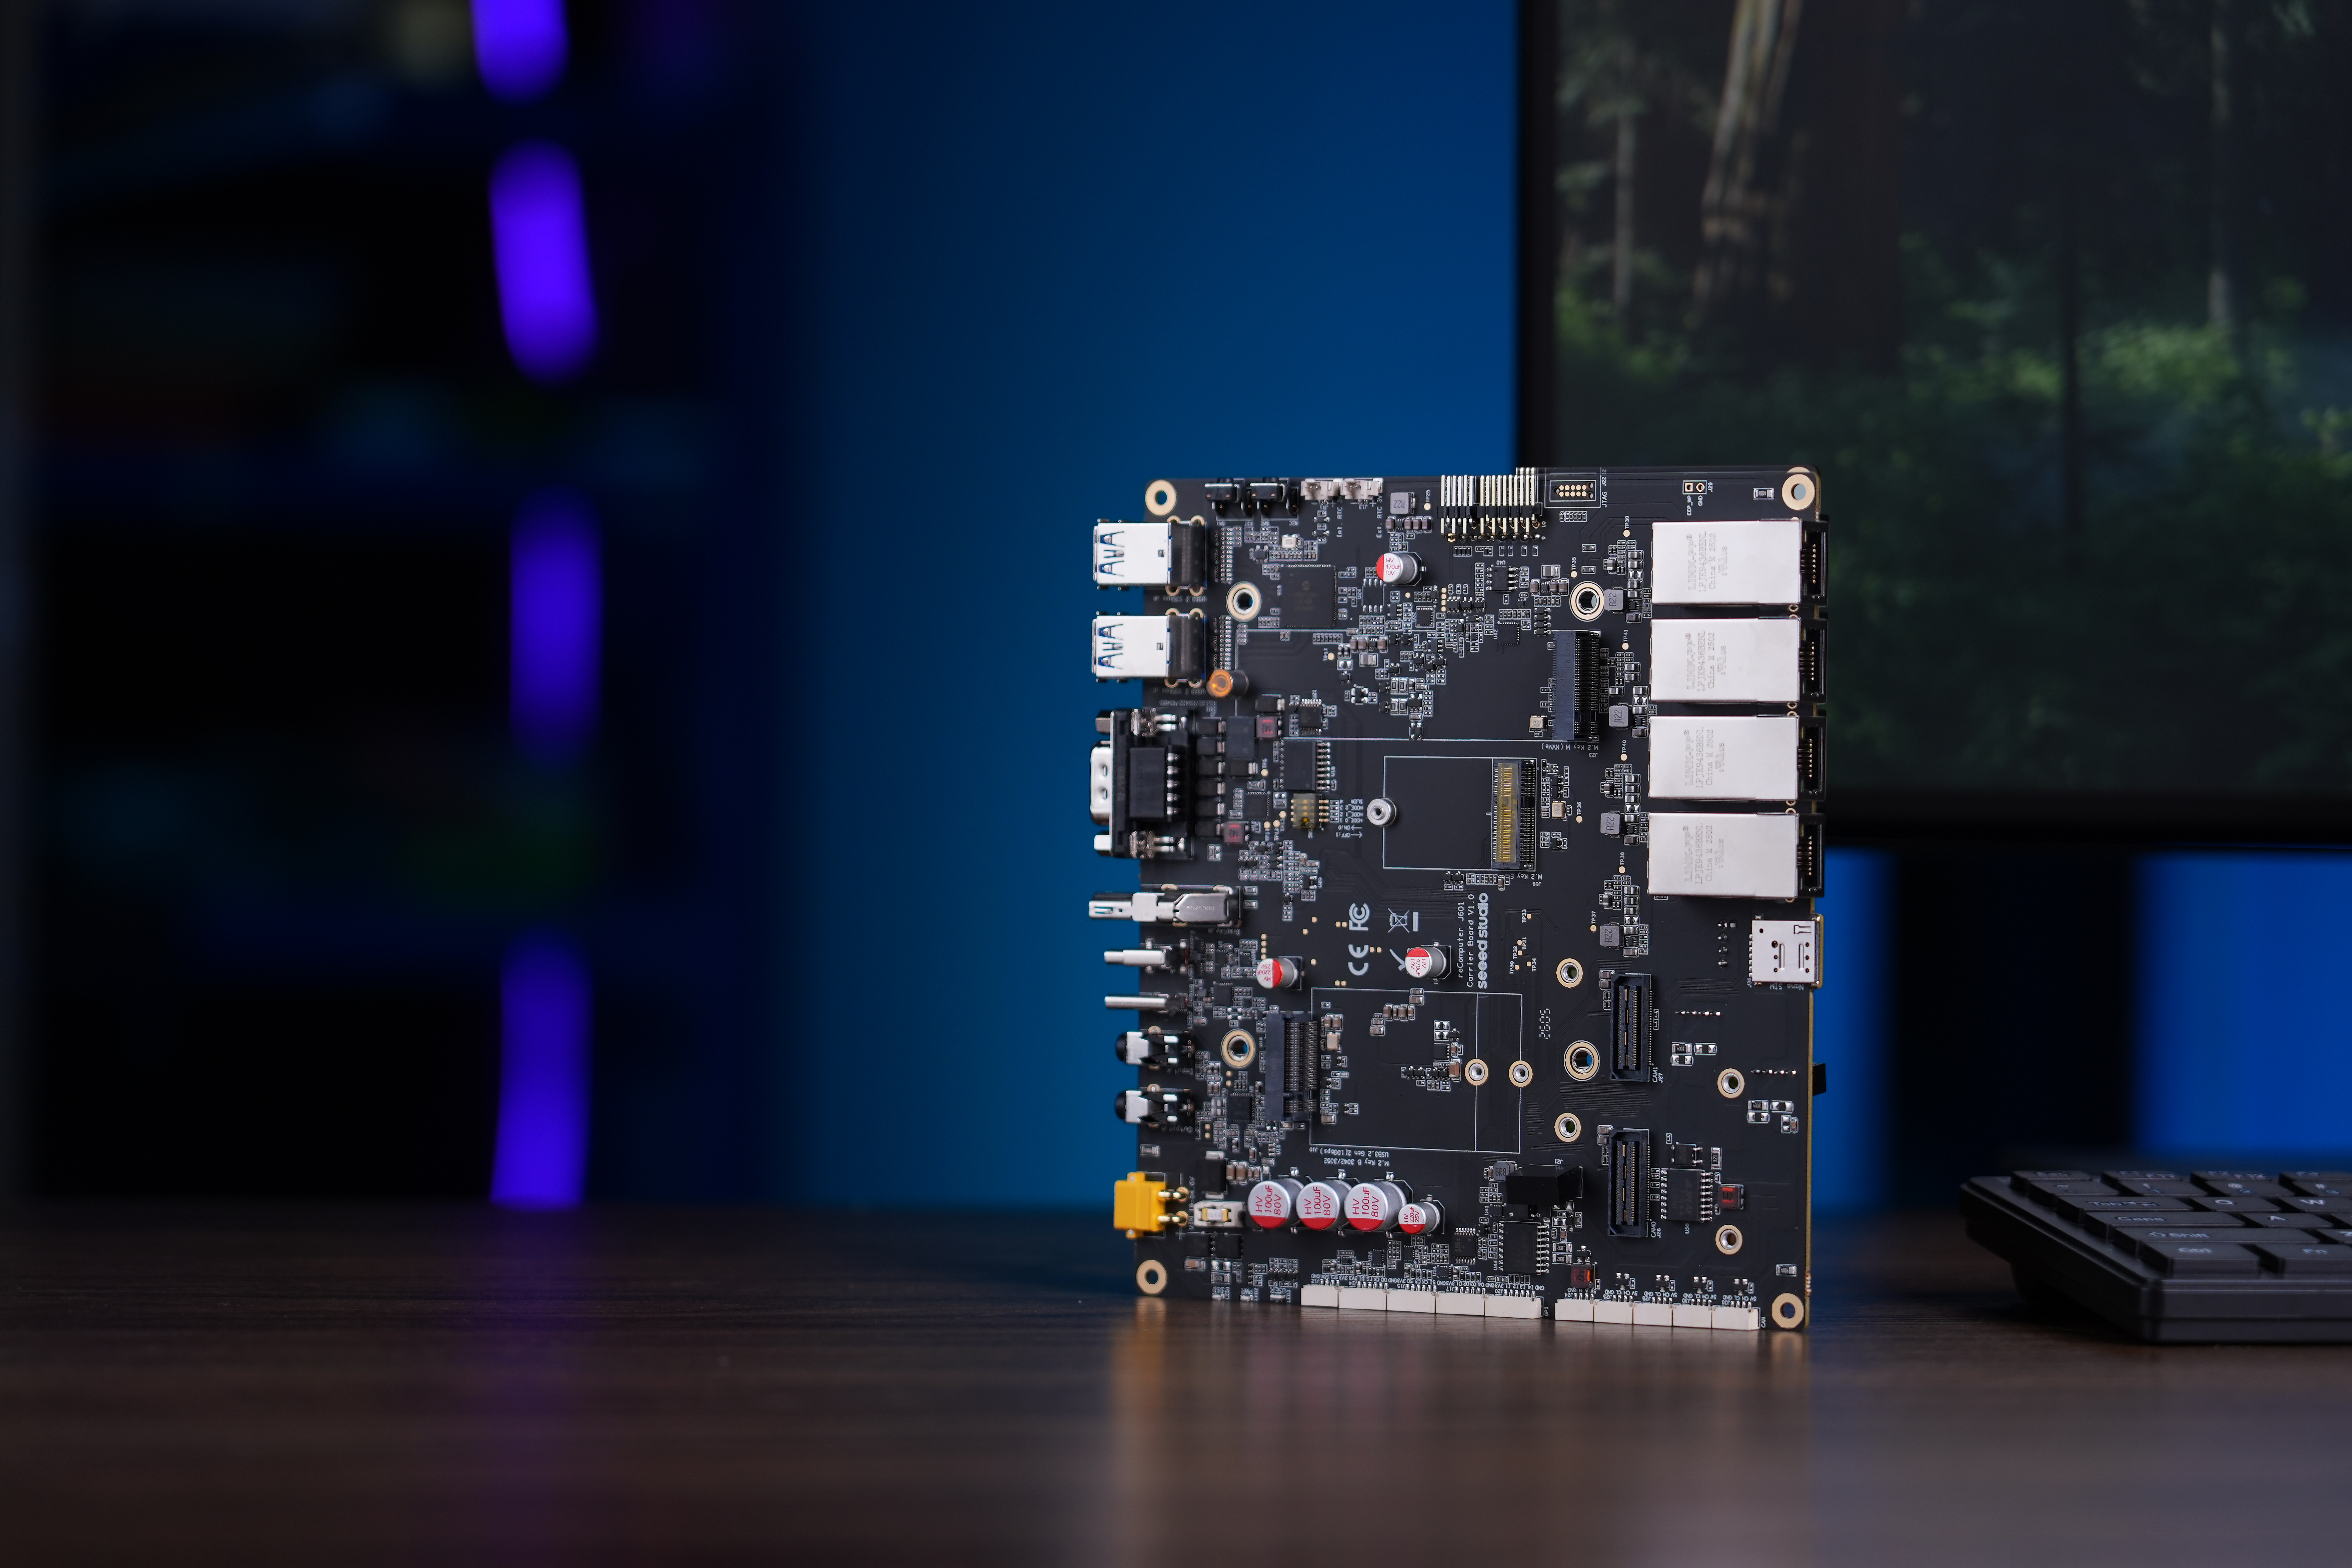
Robotics J601 Carrier Board
Device-Specific Setup
- J50 Mini
- J50
- J40
- J601
reComputer Robotics J50 Mini
What You Need
- reComputer Robotics J50 Mini with the GMSL extension board
- A supported ZED X-series GMSL2 camera
- A compatible GMSL2 Fakra/Mini-Fakra cable or harness
- JetPack 6.2.x or JetPack 7.2
- Internet access, a display, keyboard, and mouse for ZED Studio
This guide covers the Seeed platform driver and ZED SDK setup. Camera model support can depend on the installed ZED SDK version. Use the latest ZED SDK compatible with your JetPack/L4T release.
1. Connect the Camera
- Shut down the reComputer completely.
- Disconnect the DC power input.
- Connect the ZED X camera to a GMSL2 port using the compatible cable or harness. Make sure the connector is fully seated and locked.
- Reconnect power and boot the device.
Do not hot-plug the GMSL camera. Always remove power before connecting or disconnecting the camera or GMSL harness.
2. Enable ZED X GMSL Support
Choose one of the following paths. Flashing the latest BSP is recommended for a clean deployment; installing the DEB is faster when you want to keep an existing system.
- Option 1 · Flash latest BSP
- Option 2 · Install DEB
Check the BSP build information already installed on the device:
cat /etc/nv_tegra_release
Look for the DATE field. If the BSP was built on September 24, 2026 or later, ZED X GMSL support is already included and you can continue to the ZED SDK installation.
If the build is older, flash the latest JetPack 7.2 / L4T 39.2.0 image dated September 24, 2026 by following the steps below. The two module variants use different images, so select the tab that matches the Jetson module installed in your J50 Mini.
Flashing rewrites the target storage. Back up application data, configuration files, and credentials before you begin.
Prepare the Host and Download the Image
Prepare a physical Ubuntu 20.04, 22.04, or 24.04 host computer, a USB Type-C data cable, and the J50 Mini with its NVMe SSD installed. Download the image that matches your module directly to the Ubuntu host:
- AGX Orin 64GB
- AGX Orin 32GB
If you want to keep an existing JetPack 6.2.x installation, use Option 2 · Install DEB instead of flashing this JetPack 7.2 image.
Enter Force Recovery Mode
- Shut down the J50 Mini and disconnect its power.
- Press and hold the REC button.
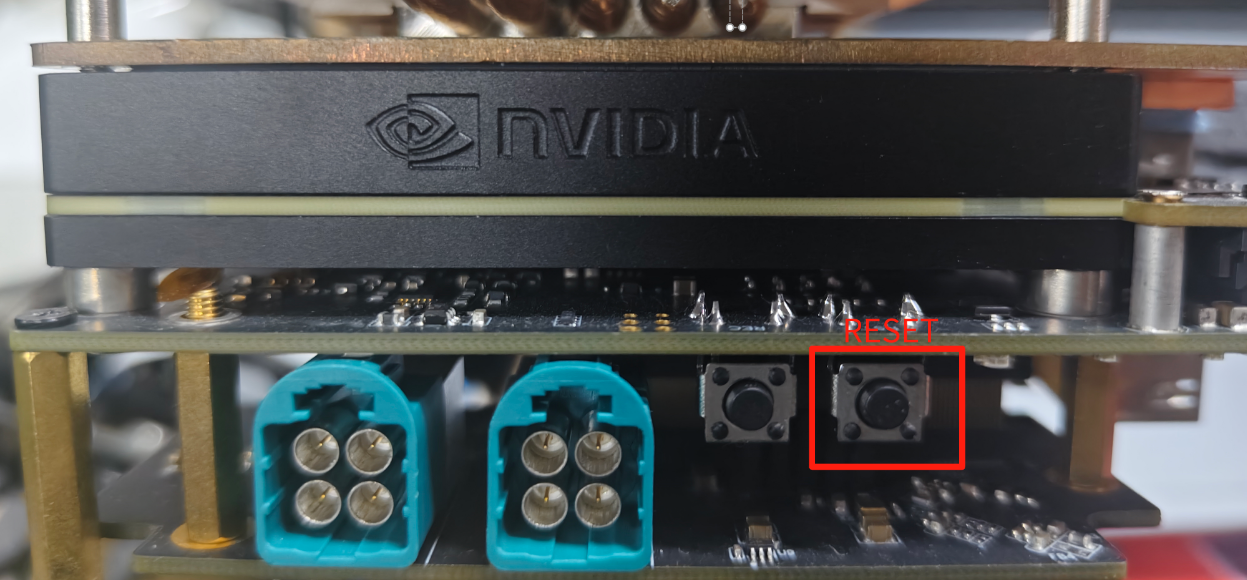
- Connect the power cable, then release the REC button.
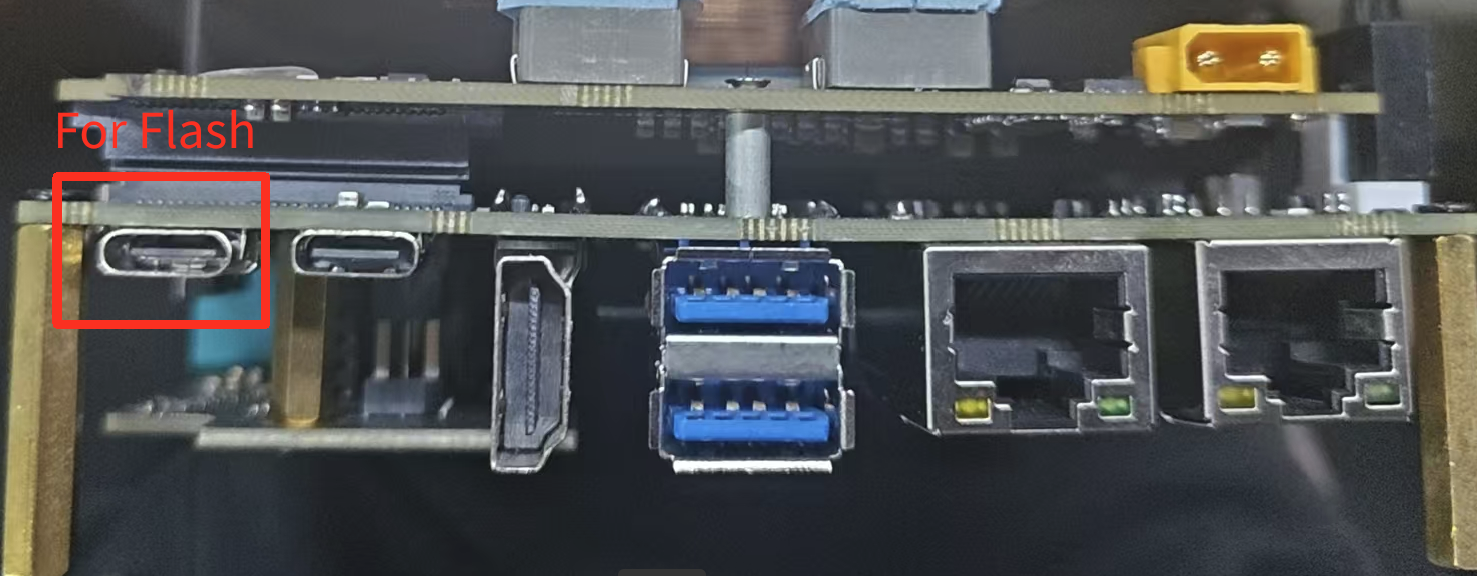
- Connect the J50 Mini to the Ubuntu host with a USB Type-C data cable through the flashing port shown below.
- On the Ubuntu host, verify recovery mode:
lsusb
The output should include the USB ID for your module:
| Jetson module | Expected output |
|---|---|
| AGX Orin 64GB | 0955:7023 NVidia Corp. |
| AGX Orin 32GB | 0955:7223 NVidia Corp. |

Extract and Flash the Image
Run the commands for the module you selected. If your browser saved the file elsewhere, replace ~/Downloads with the actual download directory.
- AGX Orin 64GB
- AGX Orin 32GB
cd ~/Downloads
sudo tar xpf mfi_recomputer-mini-agx-orin-64g-j501-7.2.0-39.2.0-2026-09-24.tar.gz
cd mfi_recomputer-mini-agx-orin-64g-j501-7.2.0-39.2.0-2026-09-24
sudo ./tools/kernel_flash/l4t_initrd_flash.sh \
  --flash-only --massflash 1 --network usb0 --showlogs
cd ~/Downloads
sudo tar xpf mfi_recomputer-mini-agx-orin-32g-j501-7.2.0-39.2.0-2026-09-24.tar.gz
cd mfi_recomputer-mini-agx-orin-32g-j501-7.2.0-39.2.0-2026-09-24
sudo ./tools/kernel_flash/l4t_initrd_flash.sh \
  --flash-only --massflash 1 --network usb0 --showlogs
The flashing process normally takes several minutes. The following message indicates that it completed successfully:

After flashing, disconnect the USB cable, power-cycle the J50 Mini, and complete the Ubuntu initial setup. ZED X GMSL support is already included in this BSP, so continue directly to 3. Install the ZED SDK.
First, identify the installed Jetson Linux release:
cat /etc/nv_tegra_release
Use only the package that matches the reported L4T release. Do not install both packages.
- JetPack 6.2.x
- JetPack 7.2
For JetPack 6.2.1 / L4T 36.4.4, download the package below:
Install it with APT, then reboot:
cd ~/Downloads
sudo apt update
sudo apt install ./stereolabs-zedx-j501-mini_1.4.3.6-L4T36.4.4-SDK-VERIFIED_arm64.deb
sudo reboot
For JetPack 7.2 / L4T 39.2.0, download the package below:
Install it with APT, then reboot:
cd ~/Downloads
sudo apt update
sudo apt install ./stereolabs-zedx-j501-mini_1.4.3.7-L4T39.2.0_arm64.deb
sudo reboot
After rebooting, confirm that the package is installed:
dpkg -l | grep stereolabs-zedx
3. Install the ZED SDK
Go to the Stereolabs ZED SDK download page and select the NVIDIA Jetson installer that matches the release reported by cat /etc/nv_tegra_release:
| Installed system | Select on the ZED SDK page |
|---|---|
| JetPack 6.2.x / L4T 36.4.x | ZED SDK for JetPack 6.1 and 6.2 (L4T 36.4) |
| JetPack 7.2 / L4T 39.2 | ZED SDK for JetPack 7.2 (L4T 39.2) |
Install zstd, make the downloaded installer executable, and run it. Replace the placeholder below with the actual downloaded filename.
sudo apt update
sudo apt install -y zstd
cd ~/Downloads
chmod +x ZED_SDK_Tegra_L4T<release>_v<version>.zstd.run
./ZED_SDK_Tegra_L4T<release>_v<version>.zstd.run
Follow the installer prompts and keep the ZED tools selected. Reboot after the installation finishes:
sudo reboot
The L4T version in the ZED SDK installer name must match the L4T release on the reComputer. A mismatched SDK or camera DEB can prevent the camera from being detected.
4. Validate with ZED Studio
Launch ZED Studio from a terminal:
ZED_Studio
You can also start it directly from the SDK installation directory:
/usr/local/zed/tools/ZED_Studio
ZED Studio should detect the connected camera. Open the live view and enable Depth to confirm that both the image stream and depth pipeline are working.
- JetPack 7.2
- JetPack 6.2
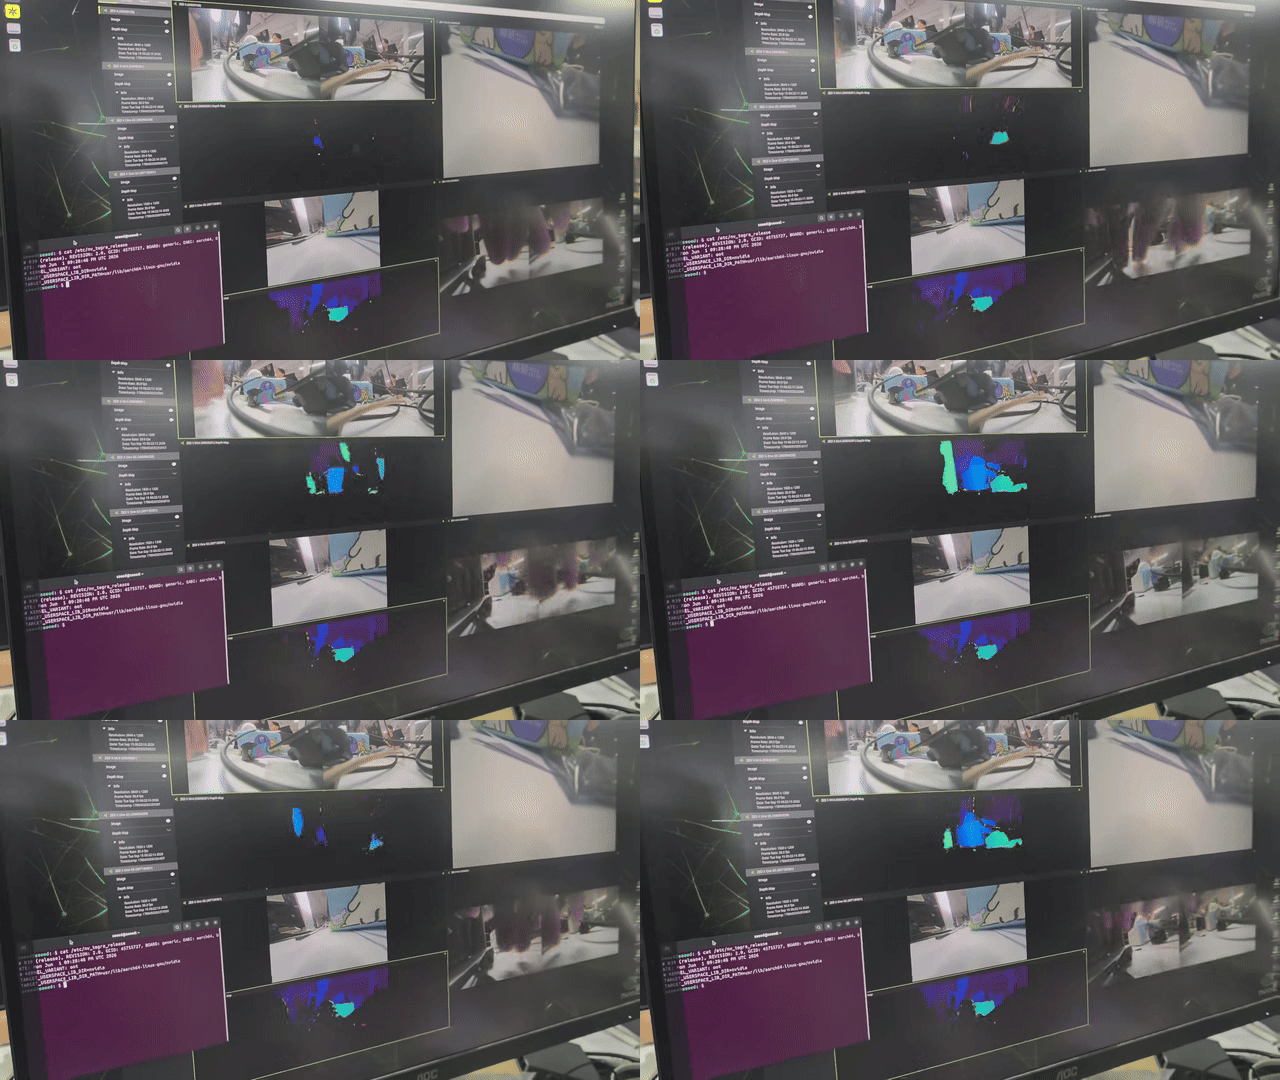
ZED X GMSL camera preview and depth visualization on JetPack 7.2
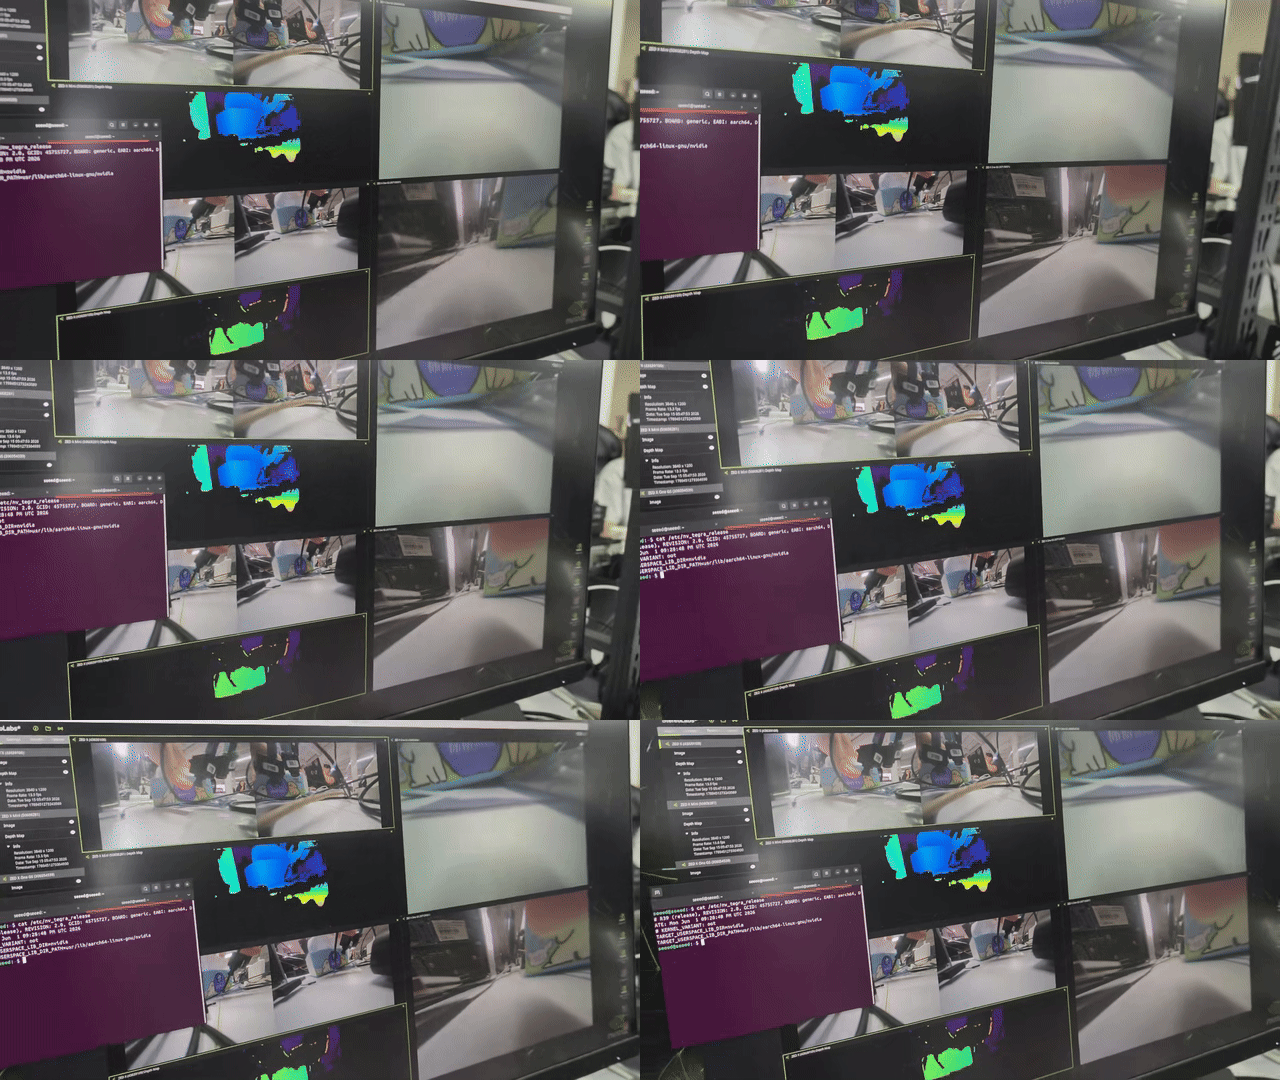
ZED X GMSL camera preview and depth visualization on JetPack 6.2
The camera appears in ZED Studio, the live image is stable, and the depth view updates in real time. Your reComputer Robotics J50 Mini is now ready for ZED SDK applications, ROS integration, recording, and downstream perception workloads.
reComputer Robotics J50 guide is coming soon
The platform integration is available. A device-specific connection, driver installation, and validation walkthrough will be published here.
Explore the J50 platformreComputer Robotics J40 guide is coming soon
The platform integration is available. A device-specific connection, driver installation, and validation walkthrough will be published here.
Explore the J40 platformRobotics J601 guide is coming soon
The carrier-board integration is available. A device-specific connection, driver installation, and validation walkthrough will be published here.
Explore the J601 carrier boardTroubleshooting
- Camera not detected: Confirm that the DEB, BSP, and ZED SDK all match the installed L4T release. Then power off and reseat the camera cable.
- APT reports a package mismatch: Do not force the installation. Download the package for the L4T version shown by
cat /etc/nv_tegra_release. - ZED Studio does not open: Confirm that the graphical desktop is running and start
/usr/local/zed/tools/ZED_Studiofrom a terminal to see the error output. - Image appears but depth is unavailable: Confirm that you installed the complete ZED SDK with tools and that the selected camera model is supported by that SDK release.
- Intermittent video: Power down and verify the Fakra/Mini-Fakra cable, locking position, and supported cable length before testing again.
Resources
- Robotics J501 Mini carrier board hardware and getting started
- Stereolabs ZED SDK downloads
- Stereolabs ZED SDK documentation
- Stereolabs ZED Studio documentation
Tech Support & Product Discussion
Thank you for choosing Seeed Studio products! If you encounter an issue while integrating a ZED X camera, include your reComputer model, the full output of cat /etc/nv_tegra_release, the installed DEB filename, and the ZED SDK version when requesting support.