Grove - Temperature&Humidity Sensor (HDC1000)
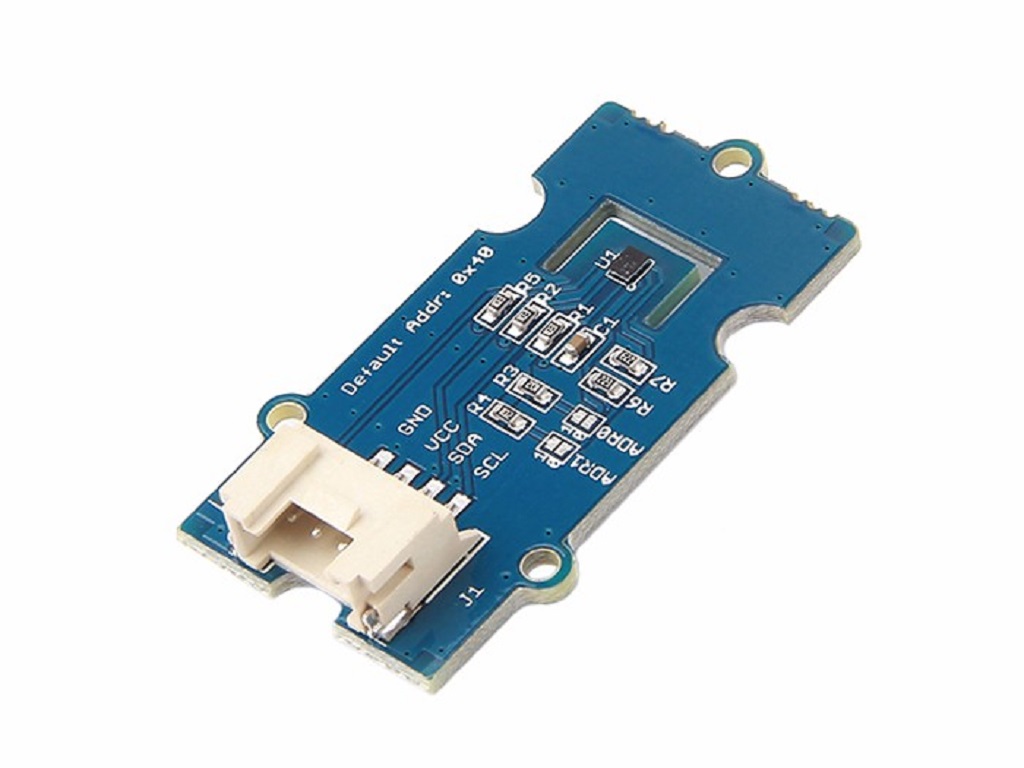
Grove - Temperature&Humidity Sensor (HDC1000) utilizes a HDC1000 sensor.HDC1000 was designed by Texas Instruments.It is a digital humidity sensor with integrated temperature sensor that provides excellent measurement accuracy at very low power.The device measures humidity based on a novel capacitive sensor.The humidity and temperature sensors are factory calibrated.The innovative WLCSP (Wafer Level Chip Scale Package) simplifies board design with the use of an ultra-compact package. The sensing element of the HDC1000 is placed on the bottom part of the device, which makes the HDC1000 more robust against dirt, dust, and other environmental contaminants. The HDC1000 is functional within the full –40°C to +125°C temperature range,and 0-100% RH range.

Features
- Grove connector compatible
- IIC Interface
- Low Power
- Wide operating voltage range
- I2C Serial Bus Address Configuration
More details about Grove modules please refer to Grove System
Specifications
Item | Min | Typical | Max | Unit |
|---|---|---|---|---|
Supply Voltage | 3 | / | 5 | VDC |
Working Current | 0.12 | / | 90 | uA |
Relative Humidity Accuracy (Typ) | / | ±3 | %RH | |
Relative Humidity Operating Range (Typ) | 0 | / | 100 | %RH |
Temperature Accuracy | / | ±0.2 | / | ℃ |
Temperature Range | -40 | / | 125 | ℃ |
Operating Temperature Range | -20 | / | 85 | ℃ |
Dimension | 40*20 | mm | ||
Platforms Supported
| Arduino | Raspberry Pi | |||
|---|---|---|---|---|
The platforms mentioned above as supported is/are an indication of the module's software or theoritical compatibility. We only provide software library or code examples for Arduino platform in most cases. It is not possible to provide software library / demo code for all possible MCU platforms. Hence, users have to write their own software library.
Hardware Overview

- Grove connector.
- Ready:Ready for a conversion.
- Default address: 0x40.
- ADDR0, ADDR1: I2C Serial Bus Address Configuration(0x40,0x41,0x42,0x43)
Getting Started
Play With Arduino
Here is how to use Grove - Temperature&Humidity Sensor (HDC1000) with Seeeduino v4.2.
Materials required
| Seeeduino V4.2 | Base Shield | Grove - Temperature&Humidity Sensor(HDC1000) |
|---|---|---|
 |  |  |
| Get One Now | Get One Now | Get One Now |
1 Please plug the USB cable gently, otherwise you may damage the port. Please use the USB cable with 4 wires inside, the 2 wires cable can't transfer data. If you are not sure about the wire you have, you can click here to buy
2 Each Grove module comes with a Grove cable when you buy. In case you lose the Grove cable, you can click here to buy
Hardwave
-
Step 1. Connect Grove - Temperature&Humidity Sensor(HDC1000) to port I2C of Grove-Base Shield.
-
Step 2. Plug Grove - Base Shield into Seeeduino.
-
Step 3. Connect Seeeduino to PC via a USB cable.
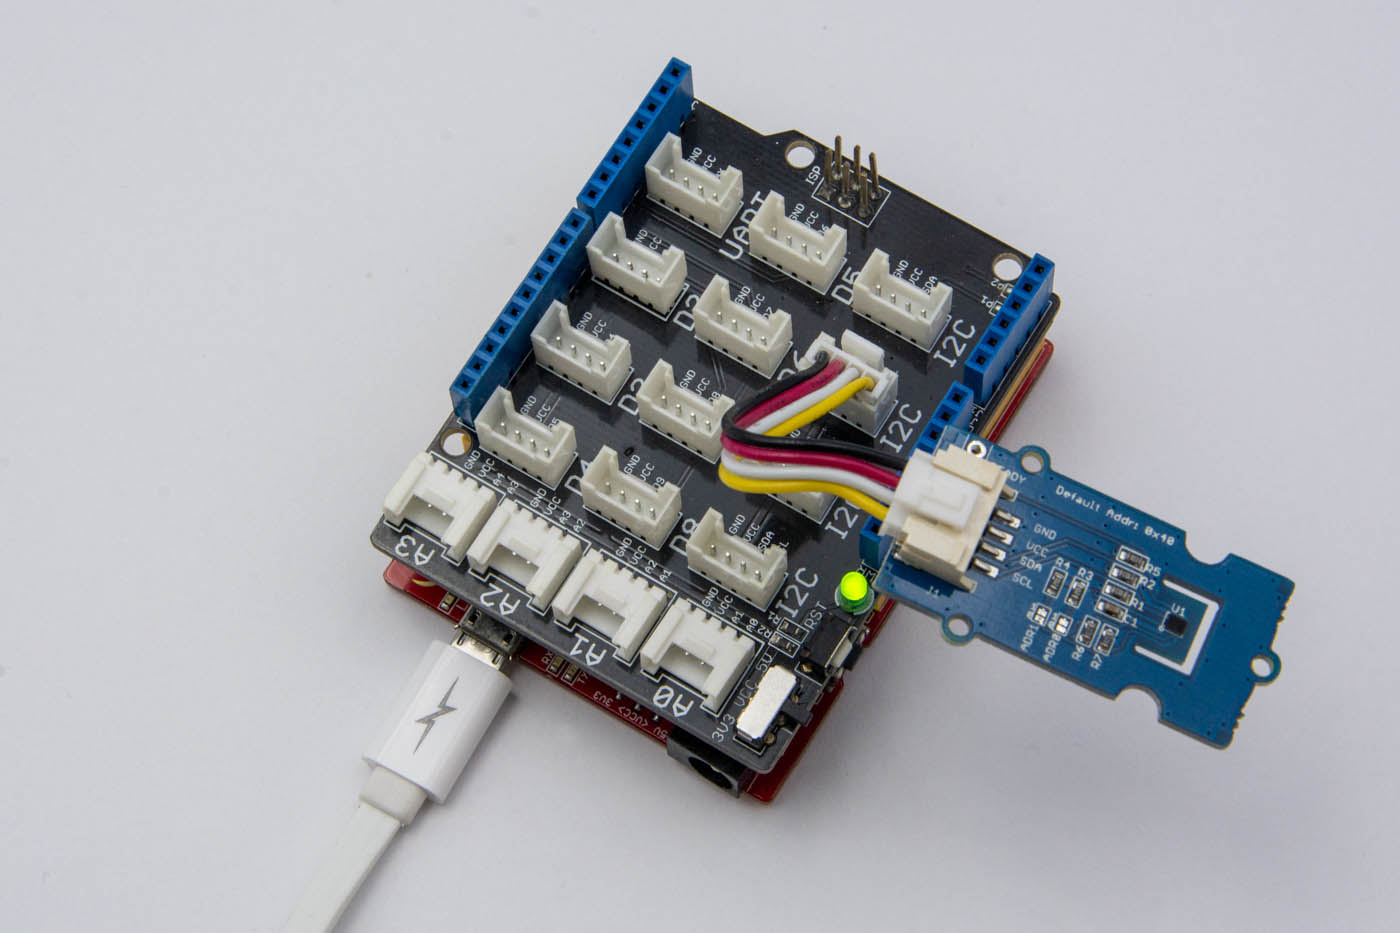
If we don't have Grove Base Shield, We also can directly connect Grove - Temperature&Humidity Sensor(HDC1000) to Seeeduino as below.
| Seeeduino | Grove - Temperature&Humidity Sensor(HDC1000) |
|---|---|
| 5V | Red |
| GND | Black |
| SDA | White |
| SCL | Yellow |
Software
-
Step 1. Download the Seeed DHT library from Github.
-
Step 2. Refer to How to install library to install library for Arduino.
-
Step 3. Restart the Arduino IDE. Open a new sketch, and copy the following code into the new sketch.
/*
 * HDC1000.h
 * A library for HDC1000 1.0
 *
 * Copyright (c) 2015 seeed technology inc.
 * Author     : Pillar Zuo ([email protected])
 * Create Time: April 2015
 * Change Log :
 *
 * The MIT License (MIT)
 *
 * Permission is hereby granted, free of charge, to any person obtaining a copy
 * of this software and associated documentation files (the "Software"), to deal
 * in the Software without restriction, including without limitation the rights
 * to use, copy, modify, merge, publish, distribute, sublicense, and/or sell
 * copies of the Software, and to permit persons to whom the Software is
 * furnished to do so, subject to the following conditions:
 *
 * The above copyright notice and this permission notice shall be included in
 * all copies or substantial portions of the Software.
 *
 * THE SOFTWARE IS PROVIDED "AS IS", WITHOUT WARRANTY OF ANY KIND, EXPRESS OR
 * IMPLIED, INCLUDING BUT NOT LIMITED TO THE WARRANTIES OF MERCHANTABILITY,
 * FITNESS FOR A PARTICULAR PURPOSE AND NONINFRINGEMENT. IN NO EVENT SHALL THE
 * AUTHORS OR COPYRIGHT HOLDERS BE LIABLE FOR ANY CLAIM, DAMAGES OR OTHER
 * LIABILITY, WHETHER IN AN ACTION OF CONTRACT, TORT OR OTHERWISE, ARISING FROM,
 * OUT OF OR IN CONNECTION WITH THE SOFTWARE OR THE USE OR OTHER DEALINGS IN
 * THE SOFTWARE.
 */

#include <Wire.h>
#include <HDC1000.h>

HDC1000 mySensor;
//HDC1000 mySensor(0x41, 2) <-- DRDYn enabled and connected to Arduino pin 2 (allows for faster measurements).

void setup(){
 Serial.begin(9600);
 mySensor.begin();
}

void loop(){
 Serial.print("Temperature: ");
 Serial.print(mySensor.getTemp());
 Serial.print("C, Humidity: ");
 Serial.print(mySensor.getHumi());
 Serial.println("%");
 delay(1000);
}
-
Step 4. Upload the demo. If you do not know how to upload the code, please check How to upload code.
-
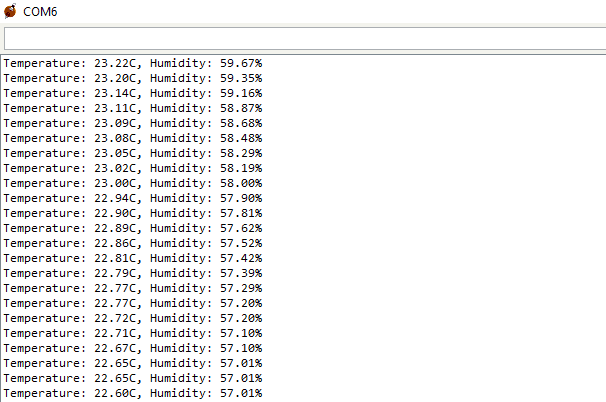
Step 5. Open the Serial Monitor of Arduino IDE by click Tool-> Serial Monitor. Or tap the ++ctrl+shift+m++ key at the same time. Set the baud rate to 9600. If every thing goes well, you will get the results.
The result should be like:
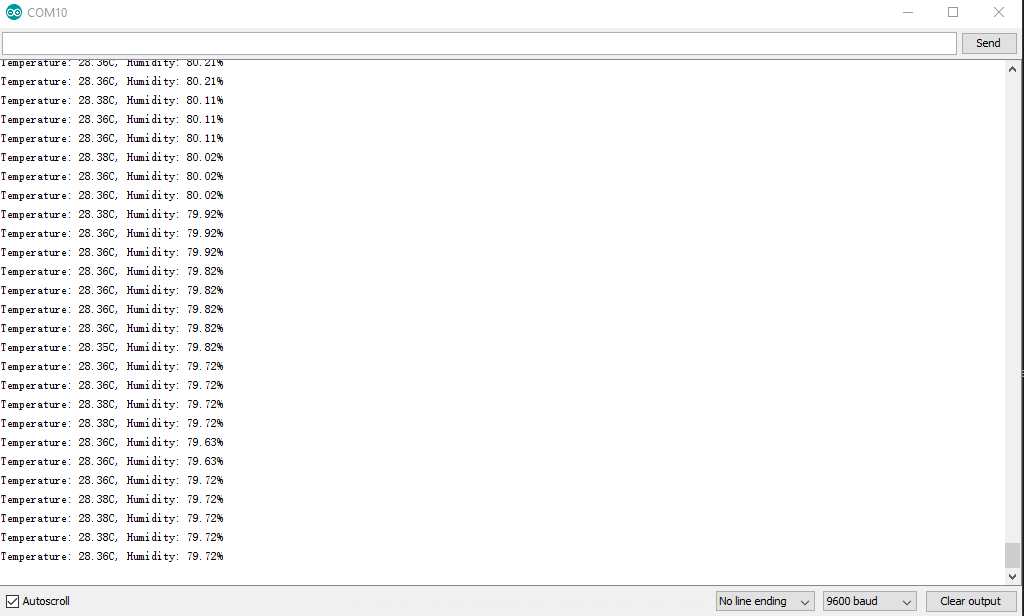
It may need a period time before the result become stable.
Play With Raspberry Pi
Hardware
Materials required
| Raspberry pi | GrovePi_Plus | Temperature&Humidity Sensor Pro |
|---|---|---|
 |  | |
| Get One Now | Get One Now | Get One Now |
-
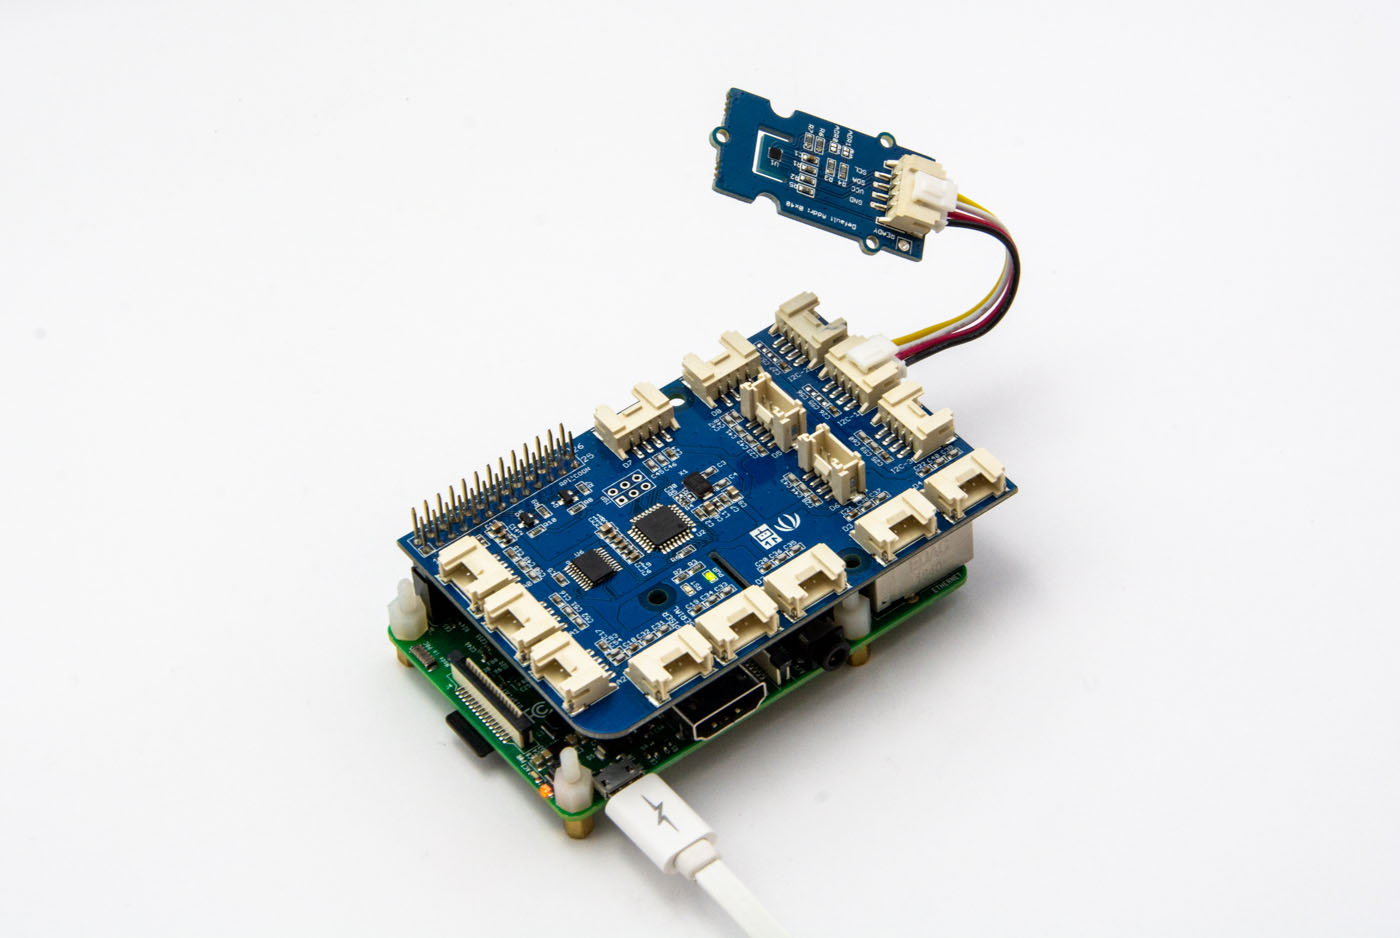
Step 1. Plug the GrovePi_Plus into Raspberry.
-
Step 2. Connect this sensor to I2C port of GrovePi_Plus.
-
Step 3. Connect the Raspberry to PC via USB cable.
Software
-
Step 1. Follow Setting Software to configure the development environment.
-
Step 2. Follow Updating the Firmware to update the newest firmware of GrovePi.
In this wiki we use the path ~/GrovePi/ instead of /home/pi/Desktop/GrovePi, you need to make sure Step 2 and Step 3 use the same path.
We firmly suggest you to update the firmware, or for some sensors you may get errors.
If you are using Raspberry Pi with Raspberrypi OS >= Bullseye, you have to use this command line only with Python3.
- Step 3. Git clone the Github repository.
cd ~
git clone https://github.com/DexterInd/GrovePi.git
- Step 4. Excute below commands to get the value.
cd ~/GrovePi/Software/Python/grove_i2c_temp_hum_hdc1000
sudo python3 grove_hdc_1000_example.py
The result should be like:
pi@raspberrypi:~/GrovePi/Software/Python/grove_i2c_temp_hum_hdc1000$ sudo python3 grove_hdc_1000_example.py
Temp    : 27.94 C
Humidity: 79.61 %
-----------------
Temp    : 29.23 C
Humidity: 79.61 %
-----------------
Temp    : 29.23 C
Humidity: 79.61 %
-----------------
Temp    : 29.23 C
Humidity: 79.21 %
-----------------
Temp    : 29.23 C
Humidity: 78.82 %
-----------------
Temp    : 29.23 C
Humidity: 78.82 %
-----------------
Temp    : 29.23 C
Humidity: 78.43 %
-----------------
Temp    : 29.23 C
Humidity: 78.04 %
-----------------
Temp    : 29.23 C
Humidity: 77.65 %
-----------------
Temp    : 29.23 C
Humidity: 77.65 %
-----------------
If you want to check the code, you can use the following command:
sudo nano grove_hdc_1000_example.py
With Launchpad
Material required
- TI MSP430FR4133 LaunchPad] × 1
- USB cable(type A to mini type-b) × 1
- Grove - 4 pin Female Jumper to Grove 4 pin Conversion Cable × 1
- Grove - Temperature&Humidity Sensor (HDC1000) × 1
Hardware connections

Download code and flash it to Launchpad
- Download the demo code.
Note
You have to copy the file readTempHumi.ino (in the folder examples) into the same folder as HDC1000.h.-
Flash the code into Launchpad.
-
Open Serial Monitor (Tool->Serial Monitor) to view data detected.
Schematic Online Viewer
Resources
- [Zip] Grove - Temperature&Humidity Sensor(HDC1000) v1.0 sch pcb.zip
- [Pdf] Grove - Temperature&Humidity Sensor(HDC1000) v1.0 sch.pdf
- [Library] Demo code
- [Datasheet] HDC1000_DataSheet.pdf
Tech Support & Product Discussion
Thank you for choosing our products! We are here to provide you with different support to ensure that your experience with our products is as smooth as possible. We offer several communication channels to cater to different preferences and needs.