Grove-Mech keycap

The Grove-Mech keycap is a mechanical switch with a build-in LED. The 255 full color RGB LED makes it simple and easy to show the statues of your switch. This keycap is very reliable with 20,000,000 times press operating life.
You will find that this is an interesting and stable module to make some really fun project or product. Actually, you even can make a mechanical keyboard using several Grove-Mech keycaps.
20,000,000 cycles of operation shall be performed continuously at a rate of 300 cycles per minute without load.

Features
- Programmable LED
- Reliable mechanical structure
- Extremely long operating Life
Specification
| Item | Value |
|---|---|
| Working Voltage | 3v-5v |
| Insulation Resistance | 100MΩ Min. |
| Contract Resistance | 200 mΩ Max. |
| Operating Life without Load | 20,000,000 |
Applications
- automotive devices
- visual devices
- home electrical appliances
- information devices
Hardware
Pin Map

Schematic

The K1 is attached to the button, when the key is opened, the SIG1 will be pulled-down by R2, then the output of SIG1 should be low. Once the button is pushed, the K1 will be closed and the SIG1 will connected to VCC, then the output of SIG1 becomes high.
In this section we only show you part of the schematic, for the full document please refer to the Resources
Platforms Supported
| Arduino | Raspberry Pi | |||
|---|---|---|---|---|
The platforms mentioned above as supported is/are an indication of the module's software or theoritical compatibility. We only provide software library or code examples for Arduino platform in most cases. It is not possible to provide software library / demo code for all possible MCU platforms. Hence, users have to write their own software library.
Getting Started
If this is the first time you work with Arduino, we strongly recommend you to see Getting Started with Arduino before the start.
Play With PlatformIO
Hardware
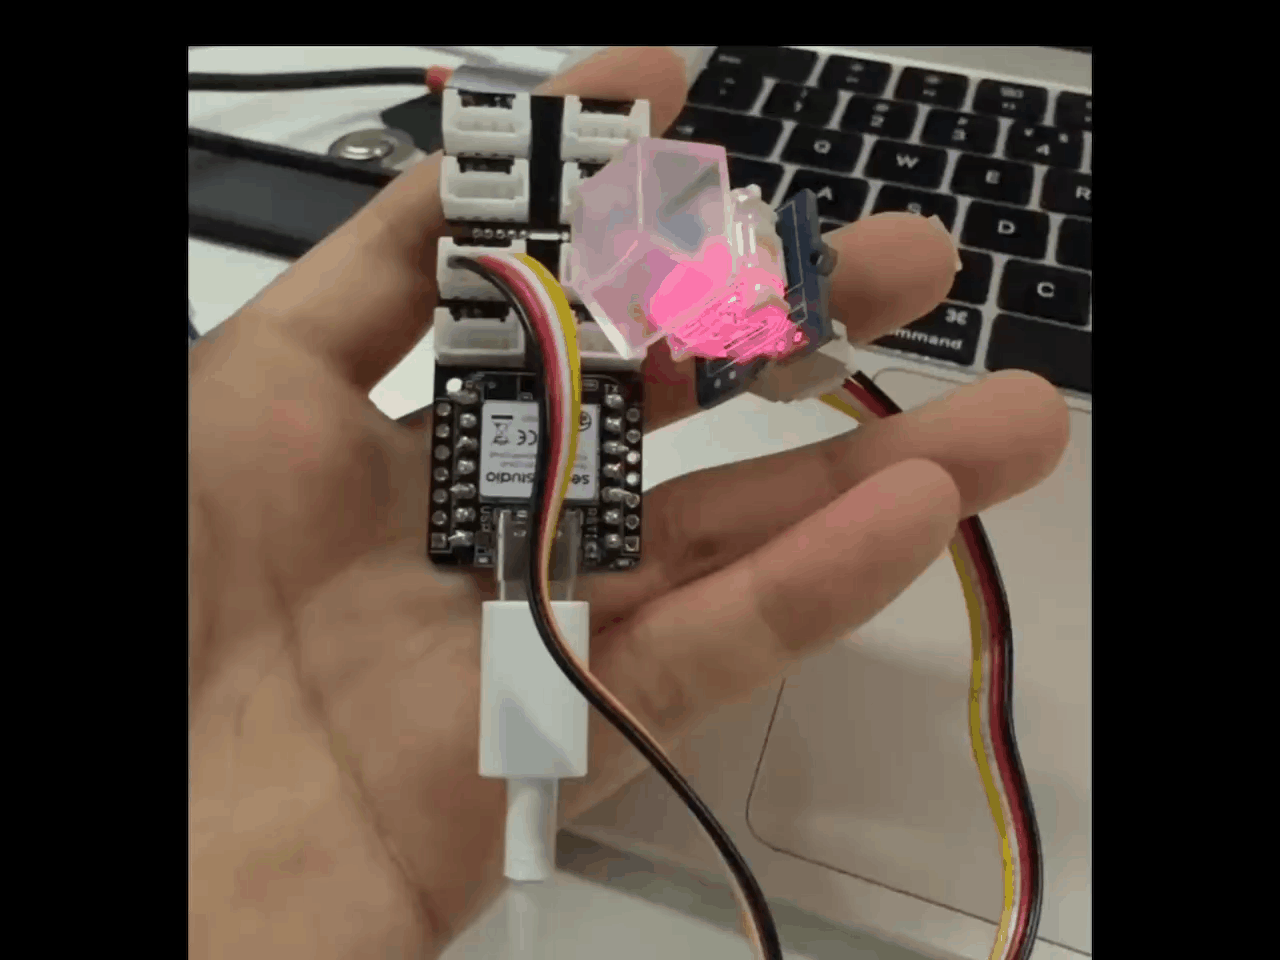
| XIAO nRF52840 Sense | Seeed Studio Grove Base for XIAO | Grove-Mech keycap |
|---|---|---|
 |  |  |
| Get One Now | Get One Now | Get One Now |
- Step 1. Connect Grove-Mech keycap signal pins:
S1->D1,S2->D2on the Seeed Studio Grove Base for XIAO. (VCC/GND as usual) - Step 2. Plug the Grove Base into the XIAO nRF52840 Sense.
- Step 3. Connect XIAO to your PC via USB.
Software
- Step 1. Install
Adafruit_NeoPixellibrary in PlatformIO . - Step 2. Create a new sketch / project and paste the code below.
- Step 3. Upload to XIAO and open Serial Monitor (baud 115200) to see status.
What it does
- Each single press of the Grove-Mech keycap cycles the embedded RGB LED through a list of colors.
Code
/*
  Grove-Mech Keycap demo for XIAO (nRF52840 Sense)
  Wiring: S1 -> D1 (button), S2 -> D2 (pixel data)
*/
#include <Adafruit_NeoPixel.h>

#define BUTTON_PIN 1   // D1
#define PIXEL_PIN  2   // D2
#define PIXEL_COUNT 1

Adafruit_NeoPixel strip(PIXEL_COUNT, PIXEL_PIN, NEO_GRB + NEO_KHZ800);

uint8_t colorPos = 0;
bool lastState = LOW;
unsigned long lastDebounce = 0;
const unsigned long debounceDelay = 50;

void setup() {
  pinMode(BUTTON_PIN, INPUT_PULLUP);
  strip.begin();
  strip.show();
  Serial.begin(115200);
  Serial.println("Grove-Mech Keycap: ready");
}

uint32_t Wheel(byte WheelPos) {
  WheelPos = 255 - WheelPos;
  if(WheelPos < 85) {
    return strip.Color(255 - WheelPos * 3, 0, WheelPos * 3);
  }
  if(WheelPos < 170) {
    WheelPos -= 85;
    return strip.Color(0, WheelPos * 3, 255 - WheelPos * 3);
  }
  WheelPos -= 170;
  return strip.Color(WheelPos * 3, 255 - WheelPos * 3, 0);
}

void cycleColor() {
  colorPos += 32; // step size
  strip.setPixelColor(0, Wheel(colorPos));
  strip.show();
  Serial.print("Color pos: "); Serial.println(colorPos);
}

void loop() {
  bool reading = digitalRead(BUTTON_PIN) == LOW ? true : false; // pressed = LOW for INPUT_PULLUP

  if (reading != lastState) {
    lastDebounce = millis();
  }

  if ((millis() - lastDebounce) > debounceDelay) {
    // stable state
    static bool pressed = false;
    if (reading && !pressed) {
      // button pressed (edge)
      cycleColor();
      pressed = true;
    } else if (!reading) {
      pressed = false;
    }
  }

  lastState = reading;
}
If your wiring or pin mapping differs, change BUTTON_PIN and PIXEL_PIN accordingly.
Play With Arduino
Hardware
Materials required
| Seeeduino V4.2 | Base Shield | Grove-Mech keycap |
|---|---|---|
 |  | |
| Get One Now | Get One Now | Get One Now |
1 Please plug the USB cable gently, otherwise you may damage the port. Please use the USB cable with 4 wires inside, the 2 wires cable can't transfer data. If you are not sure about the wire you have, you can click here to buy
2 Each Grove module comes with a Grove cable when you buy. In case you lose the Grove cable, you can click here to buy.
-
Step 1. Grove-Mech keycap to port D2 of Grove-Base Shield.
-
Step 2. Plug Grove - Base Shield into Seeeduino.
-
Step 3. Connect Seeeduino to PC via a USB cable.

If we don't have Grove Base Shield, We also can directly connect Grove-Mech keycap to Seeeduino as below.
| Seeeduino | Grove-Mech keycap |
|---|---|
| 5V | Red |
| GND | Black |
| D3 | White |
| D2 | Yellow |
Software
-
Step 1. Download the Adafruit_NeoPixel-master library from Github.
-
Step 2. Refer to How to install library to install library for Arduino.
-
Step 3. Open the Arduino IDE and create a new file, then copy the following code into the new file.
/**
 * This is an exmaple of the Grove - Mech Keycap.
 * Every press of the key will change the color the SK6805 RGB LED. The SK6805 is a NeoPixel compatible chip.
 *
 * Credit:
 * Adafruit_NeoPixel - https://github.com/adafruit/Adafruit_NeoPixel/blob/master/COPYING
 */

#include <Adafruit_NeoPixel.h>

#define BUTTON_PIN   2    // Digital IO pin connected to the button.  This will be
                          // driven with a pull-up resistor so the switch should
                          // pull the pin to ground momentarily.  On a high -> low
                          // transition the button press logic will execute.

#define PIXEL_PIN    3    // Digital IO pin connected to the NeoPixels.

#define PIXEL_COUNT 60

// Parameter 1 = number of pixels in strip,  neopixel stick has 8
// Parameter 2 = pin number (most are valid)
// Parameter 3 = pixel type flags, add together as needed:
//   NEO_RGB     Pixels are wired for RGB bitstream
//   NEO_GRB     Pixels are wired for GRB bitstream, correct for neopixel stick
//   NEO_KHZ400  400 KHz bitstream (e.g. FLORA pixels)
//   NEO_KHZ800  800 KHz bitstream (e.g. High Density LED strip), correct for neopixel stick
Adafruit_NeoPixel strip = Adafruit_NeoPixel(PIXEL_COUNT, PIXEL_PIN, NEO_GRB + NEO_KHZ800);

bool oldState = LOW;
uint8_t color_pos = 0;
int i=0;
int longpress=2000;
long timecheck;

void setup() {
  pinMode(BUTTON_PIN, INPUT_PULLUP);
  strip.begin();
  strip.clear();
  strip.show(); // Initialize all pixels to 'off'
  Serial.begin(9600);
}

void loop()
{

  // Get current button state.
  bool newState = digitalRead(BUTTON_PIN);

  // Check if state changed from low to high (button press).
  if (newState == HIGH && oldState == LOW) {
      timecheck = millis();
    // Short delay to debounce button.
    delay(20);
    // Check if button is still low after debounce.
    newState = digitalRead(BUTTON_PIN);
    if (newState == HIGH){
      color_pos+=8;
      strip.setPixelColor(0, Wheel(color_pos));
      strip.show();
    }
  }

 if( millis()-timecheck > 300)
 {
   if (digitalRead(BUTTON_PIN)==HIGH)
   {
 if(millis()-timecheck > longpress)
 {
  while(digitalRead(BUTTON_PIN) == HIGH)
  {
  strip.setPixelColor(0,Wheel(color_pos));
  strip.show();
  delay(300);

  strip.setPixelColor(0,0,0,0);
  strip.show();
  delay(300);
  bool newState = digitalRead(BUTTON_PIN);
  }
  strip.setPixelColor(0,0,0,0);
  strip.show();
   timecheck = millis();
 }
  }
   }

  // Set the last button state to the old state.
  oldState = newState;
}

// Input a value 0 to 255 to get a color value.
// The colours are a transition r - g - b - back to r.
uint32_t Wheel(byte WheelPos) {
  WheelPos = 255 - WheelPos;
  if(WheelPos < 85) {
    return strip.Color(255 - WheelPos * 3, 0, WheelPos * 3);
  }
  if(WheelPos < 170) {
    WheelPos -= 85;
    return strip.Color(0, WheelPos * 3, 255 - WheelPos * 3);
  }
  WheelPos -= 170;
  return strip.Color(WheelPos * 3, 255 - WheelPos * 3, 0);
}
-
Step 4. Upload the demo. If you do not know how to upload the code, please check How to upload code.
-
Step 5. Every time you press the Grove-Mech Keycap, you will see the LED color change. If you press and hold the button for about 2 sencond, you will see the breathing light effect.
Play With Raspberry Pi
Hardware
- Step 1. Things used in this project:
| Raspberry pi | Grove Base Hat for RasPi | Grove - Mech Keycap |
|---|---|---|
 |  | |
| Get ONE Now | Get ONE Now | Get ONE Now |
- Step 2. Plug the Grove Base Hat into Raspberry.
- Step 3. Connect the Grove - Mech Keycap to the PWM port(port 12) of the Base Hat.
pin could be one of below values in the pin column for PWM function and connect the device to the corresponding slot.
| Pin | Slot |
|---|---|
| 18 | D18 |
| 12 | PWM |
- Step 4. Connect the Raspberry Pi to PC through USB cable.

Software
- Step 1. Follow Setting Software to configure the development environment.
- Step 2. Download the source file by cloning the grove.py library.
cd ~
git clone https://github.com/Seeed-Studio/grove.py
- Step 3. Excute below commands to run the code.
cd grove.py/grove
sudo python grove_mech_keycap.py 12
Unix has a "security model". As a normal users you can do stuff, but you should not be able to access other people's files on the same computer. And as a user you should not be able to cause the computer to stop working. Now "/dev/mem" allows you much, much more "mischief" than just changing a GPIO. So that's why /dev/mem must be protected against normal users. Thus in order to run this code, you should type sudo python grove_mech_keycap.py in the command line
Following is the grove_mech_keycap.py code.
import time
from grove.button import Button
from grove.factory import Factory

class GroveKeycap(object):
    def __init__(self, pin):
        # High = pressed
        self.__btn = Factory.getButton("GPIO-HIGH", pin)
        # single WS2812 LED
        self.__led = Factory.getOneLed("WS2812-PWM", pin + 1)
        self.__on_event = None
        self.__btn.on_event(self, GroveKeycap.__handle_event)

    @property
    def on_event(self):
        return self.__on_event

    @on_event.setter
    def on_event(self, callback):
        if not callable(callback):
            return
        self.__on_event = callback

    def __handle_event(self, evt):
        # print("event index:{} event:{} pressed:{}".format(evt['index'], evt['code'], evt['presesed']))
        if callable(self.__on_event):
            self.__on_event(evt['index'], evt['code'], evt['time'])
            return

        self.__led.brightness = self.__led.MAX_BRIGHT
        event = evt['code']
        if event & Button.EV_SINGLE_CLICK:
            self.__led.light(True)
            print("turn on  LED")
        elif event & Button.EV_DOUBLE_CLICK:
            self.__led.blink()
            print("blink    LED")
        elif event & Button.EV_LONG_PRESS:
            self.__led.light(False)
            print("turn off LED")


Grove = GroveKeycap

def main():
    from grove.helper import SlotHelper
    sh = SlotHelper(SlotHelper.PWM)
    pin = sh.argv2pin()

    ledbtn = GroveKeycap(pin)

    # remove ''' pairs below to begin your experiment
    '''
    # define a customized event handle your self
    def cust_on_event(index, event, tm):
        print("event with code {}, time {}".format(event, tm))

    ledbtn.on_event = cust_on_event
    '''
    while True:
        time.sleep(1)


if __name__ == '__main__':
    main()
If everything goes well, you will be able to see the following result. If you single click the keycap, you will see "turn on LED", if you double-click the keycap, you will see "blink LED". Long press the keycap will give "turn off LED".
pi@raspberrypi:~/grove.py/grove $ sudo python grove_mech_keycap.py 12
Hat Name = 'Grove Base Hat RPi'
turn on  LED
turn on  LED
blink    LED
turn on  LED
turn off LED
^CTraceback (most recent call last):
  File "grove_mech_keycap.py", line 98, in <module>
    main()
  File "grove_mech_keycap.py", line 94, in main
    time.sleep(1)
KeyboardInterrupt
You can quit this program by simply press ++ctrl+c++.
Schematic Online Viewer
Resources
- [Zip] Grove-Mech Keycap eagle file
- [Zip] Adafruit_NeoPixel-master
- [PDF] Product brief of the swith
Project
This is the introduction Video of this product, simple demos, you can have a try.
Tech Support & Product Discussion
Thank you for choosing our products! We are here to provide you with different support to ensure that your experience with our products is as smooth as possible. We offer several communication channels to cater to different preferences and needs.