DS1307 RTC (Real Time Clock) for Raspberry Pi
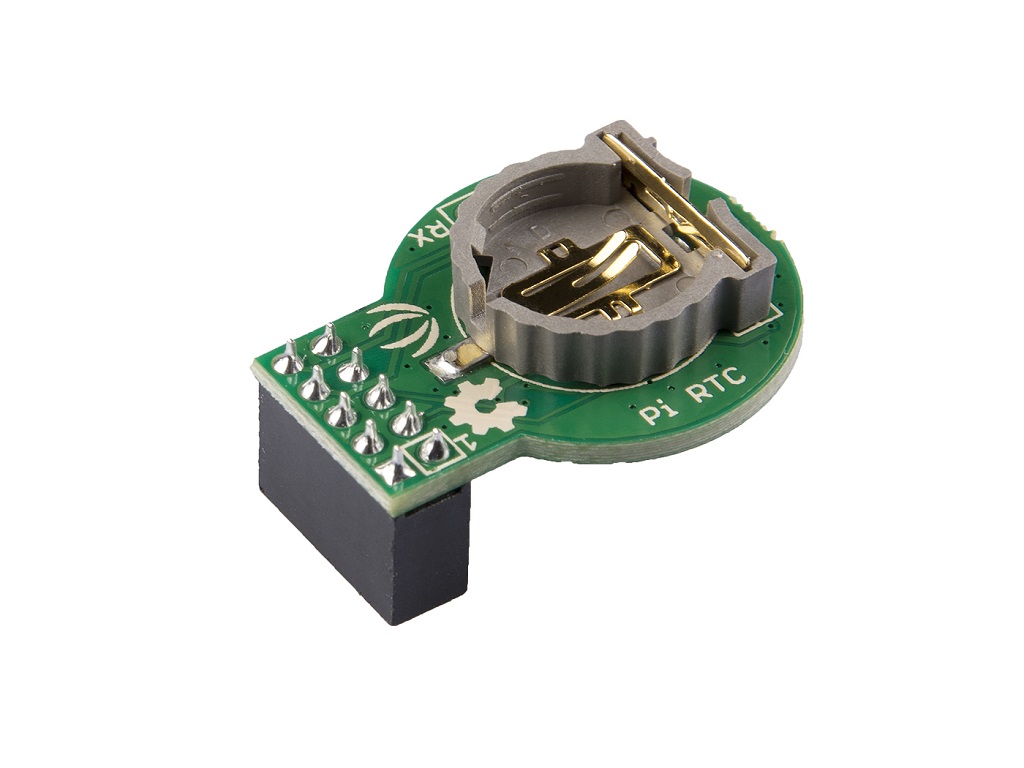
The Pi RTC is based on the clock chip DS1307, it can provide a real-time clock(RTC) for raspberry pi via the I2C interface. Real-time clock of this module counts seconds,minutes, hours, date of the month,month, day of the week, and year with leap-year compensation valid up to 2100. The clock operates in either the 24-hour or 12-hour format with AM/PM indicator. If you want to keep this module timing when the Raspberry Pi is powered off, you need to put a 3-Volt CR1225 lithium cell in the battery-holder.

The battery is not included.
Features
- Support Raspberry Pi 2/ 3 B/B+/4/Zero
- Suport seconds,minuutes,hours,day of week,month, year
- Support 24-hour or 12-hour format with AM/PM indicator
- 56-byte, battery-backed, nonvolatile (NV) RAM for data storage
- Two-wire serial interface
- Programmable squarewave output signal
- Automatic power-fail detect and switch circuitry
Specification
| Item | Value |
|---|---|
| Operating Voltage | 5V |
| Interface | I2C |
| I2C Address | 0x68 |
Typical applications
Any applications need Real Time on Raspberry.
Pin Out
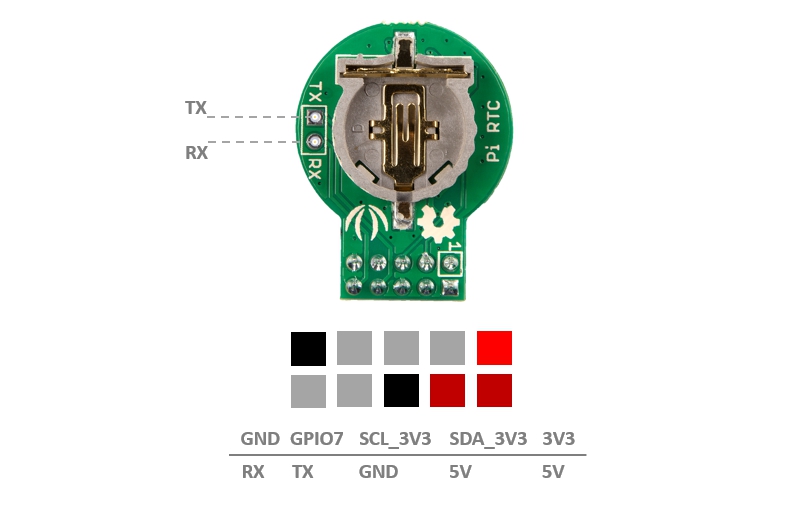
RX/TX is not used in this module, but the 5x2 header takes up the RX/TX pin of the Raspberry Pi, so we bring the RX/TX out and come with a 2pin header.
Schemaitc
Bi-directional level shifter circuit

This is a typical Bi-directional level shifter circuit to connect two different voltage section of an I^2^C bus. The I2C bus of Raspberry Pi uses 3.3V, however the chip DS1307 works at 5V, so this circuit will be needed. In the schematic above, Q1 and Q2 are N-Channel MOSFET 2N7002A, which act as a bidirectional switch. In order to better understand this part, you can refer to the AN10441
Platforms Supported
| Arduino | Raspberry Pi | |||
|---|---|---|---|---|
Getting Started
Materials required
| Raspberry Pi | Pi RTC(DS1307) |
|---|---|
 |  |
| Get One Now | Get One Now |
Please plug the USB cable gently, otherwise you may damage the port. Please use the USB cable with 4 wires inside, the 2 wires cable can't transfer data. If you are not sure about the wire you have, you can click here to buy
Install
The driver we provide only applied for Raspbian Jessie/Stretch.
If you do not know how to use a raspberry pi, please check here before start.
- Step 1. Driver Installation
Tap the following command in your terminal
git clone https://github.com/Seeed-Studio/pi-hats.git
When the download finish, tap the following command in your terminal
cd pi-hats
sudo ./install.sh -u rtc_ds1307
- Step 2. Power off Raspberry Pi
sudo shutdown -h now
- Step 3. Insert the HAT to Raspberry Pi

Please make sure plug the pin 1 of this hat into the pin 1 of raspberry GPIO, just like the picture above.
- Step 4. Power up Raspberry Pi
Usage
Now you can use the command to check whether the driver is installed successfully.
./install.sh -l
If you want uninstall the driver you can use the command below:
sudo ./install.sh -u
Now let's see what the RTC module can do:
Read hardware clock and print result
sudo hwclock -r
Set the system time from the hardware clock
sudo hwclock -s
Set the hardware clock from the current system time
sudo hwclock -w
More usage
hwclock --help
Schematic Online Viewer
Resources
[http] Seeed Pi RTC Library
[PDF] Datasheet DS1307
Project
This is the introduction Video of this product
Tech Support & Product Discussion
Thank you for choosing our products! We are here to provide you with different support to ensure that your experience with our products is as smooth as possible. We offer several communication channels to cater to different preferences and needs.