Using Grove Vision AI V2 with AT Commands
Introduction
| Grove Vision AI V2 |
|---|
 |
The Grove Vision AI V2 is a powerful AI camera module that allows users to deploy off-the-shelf models for vision applications. In addition to its AI capabilities, the Grove Vision AI V2 offers several hardware features and usage options to enhance its functionality and ease of use.
In this page, we will focus on guiding users on how to effectively utilize the Arduino library specifically designed for the Grove Vision AI V2. We will cover the installation process, key features, and provide practical examples demonstrating how to use the library functions to control and configure the module, enabling users to create innovative vision-based applications with ease.
Firmware and AT Command Set
The Grove Vision AI V2 comes with pre-installed firmware that supports an AT command set. This command set allows users to control and configure the module's functionality without the need for complex programming environments.
The AT command set specification can be found at SSCMA-Micro. It's important to note that the AT command set may evolve over time, and newer firmware versions may include additional commands. It is recommended to keep the firmware updated to access the latest features.
If you need to flash a new firmware or update the firmware, you can navigate to the SenseCraft AI website.

Arduino Library
To simplify the usage of the AT command set and provide a user-friendly interface, an Arduino library called Seeed_Arduino_SSCMA is available. This library wraps the AT commands into easy-to-use functions, allowing users to quickly integrate the Grove Vision AI V2 into their Arduino projects.
The Arduino library maintains compatibility with the latest AT command set, ensuring a consistent and unified approach to interacting with the module. By utilizing this library, users can focus on developing their applications without worrying about the low-level details of the AT commands.
| MCU | Board Version | Grove(I2C) | Pin(Uart) |
| SAMD21 | 1.8.5 | ✅ | ⚠️ |
| RP2040 | 3.9.1 | ✅ | ✅ |
| nRF52840 - nRF52 Boards | 1.1.8 | ✅ | ⚠️ |
| nRF52840 - mbed-enabled | 2.9.2 | ✅ | ⚠️ |
| ESP32C3 | 2.0.17 | ✅ | ✅ |
| ESP32S3 | 2.0.17 | ✅ | ✅ |
*⚠️: might not work well
Connect the Grove Vision AI V2
- Grove(I2C)
- XIAO-Compatible

Using a grove cable to connect the Grove Vision AI V2 to any mcu board.
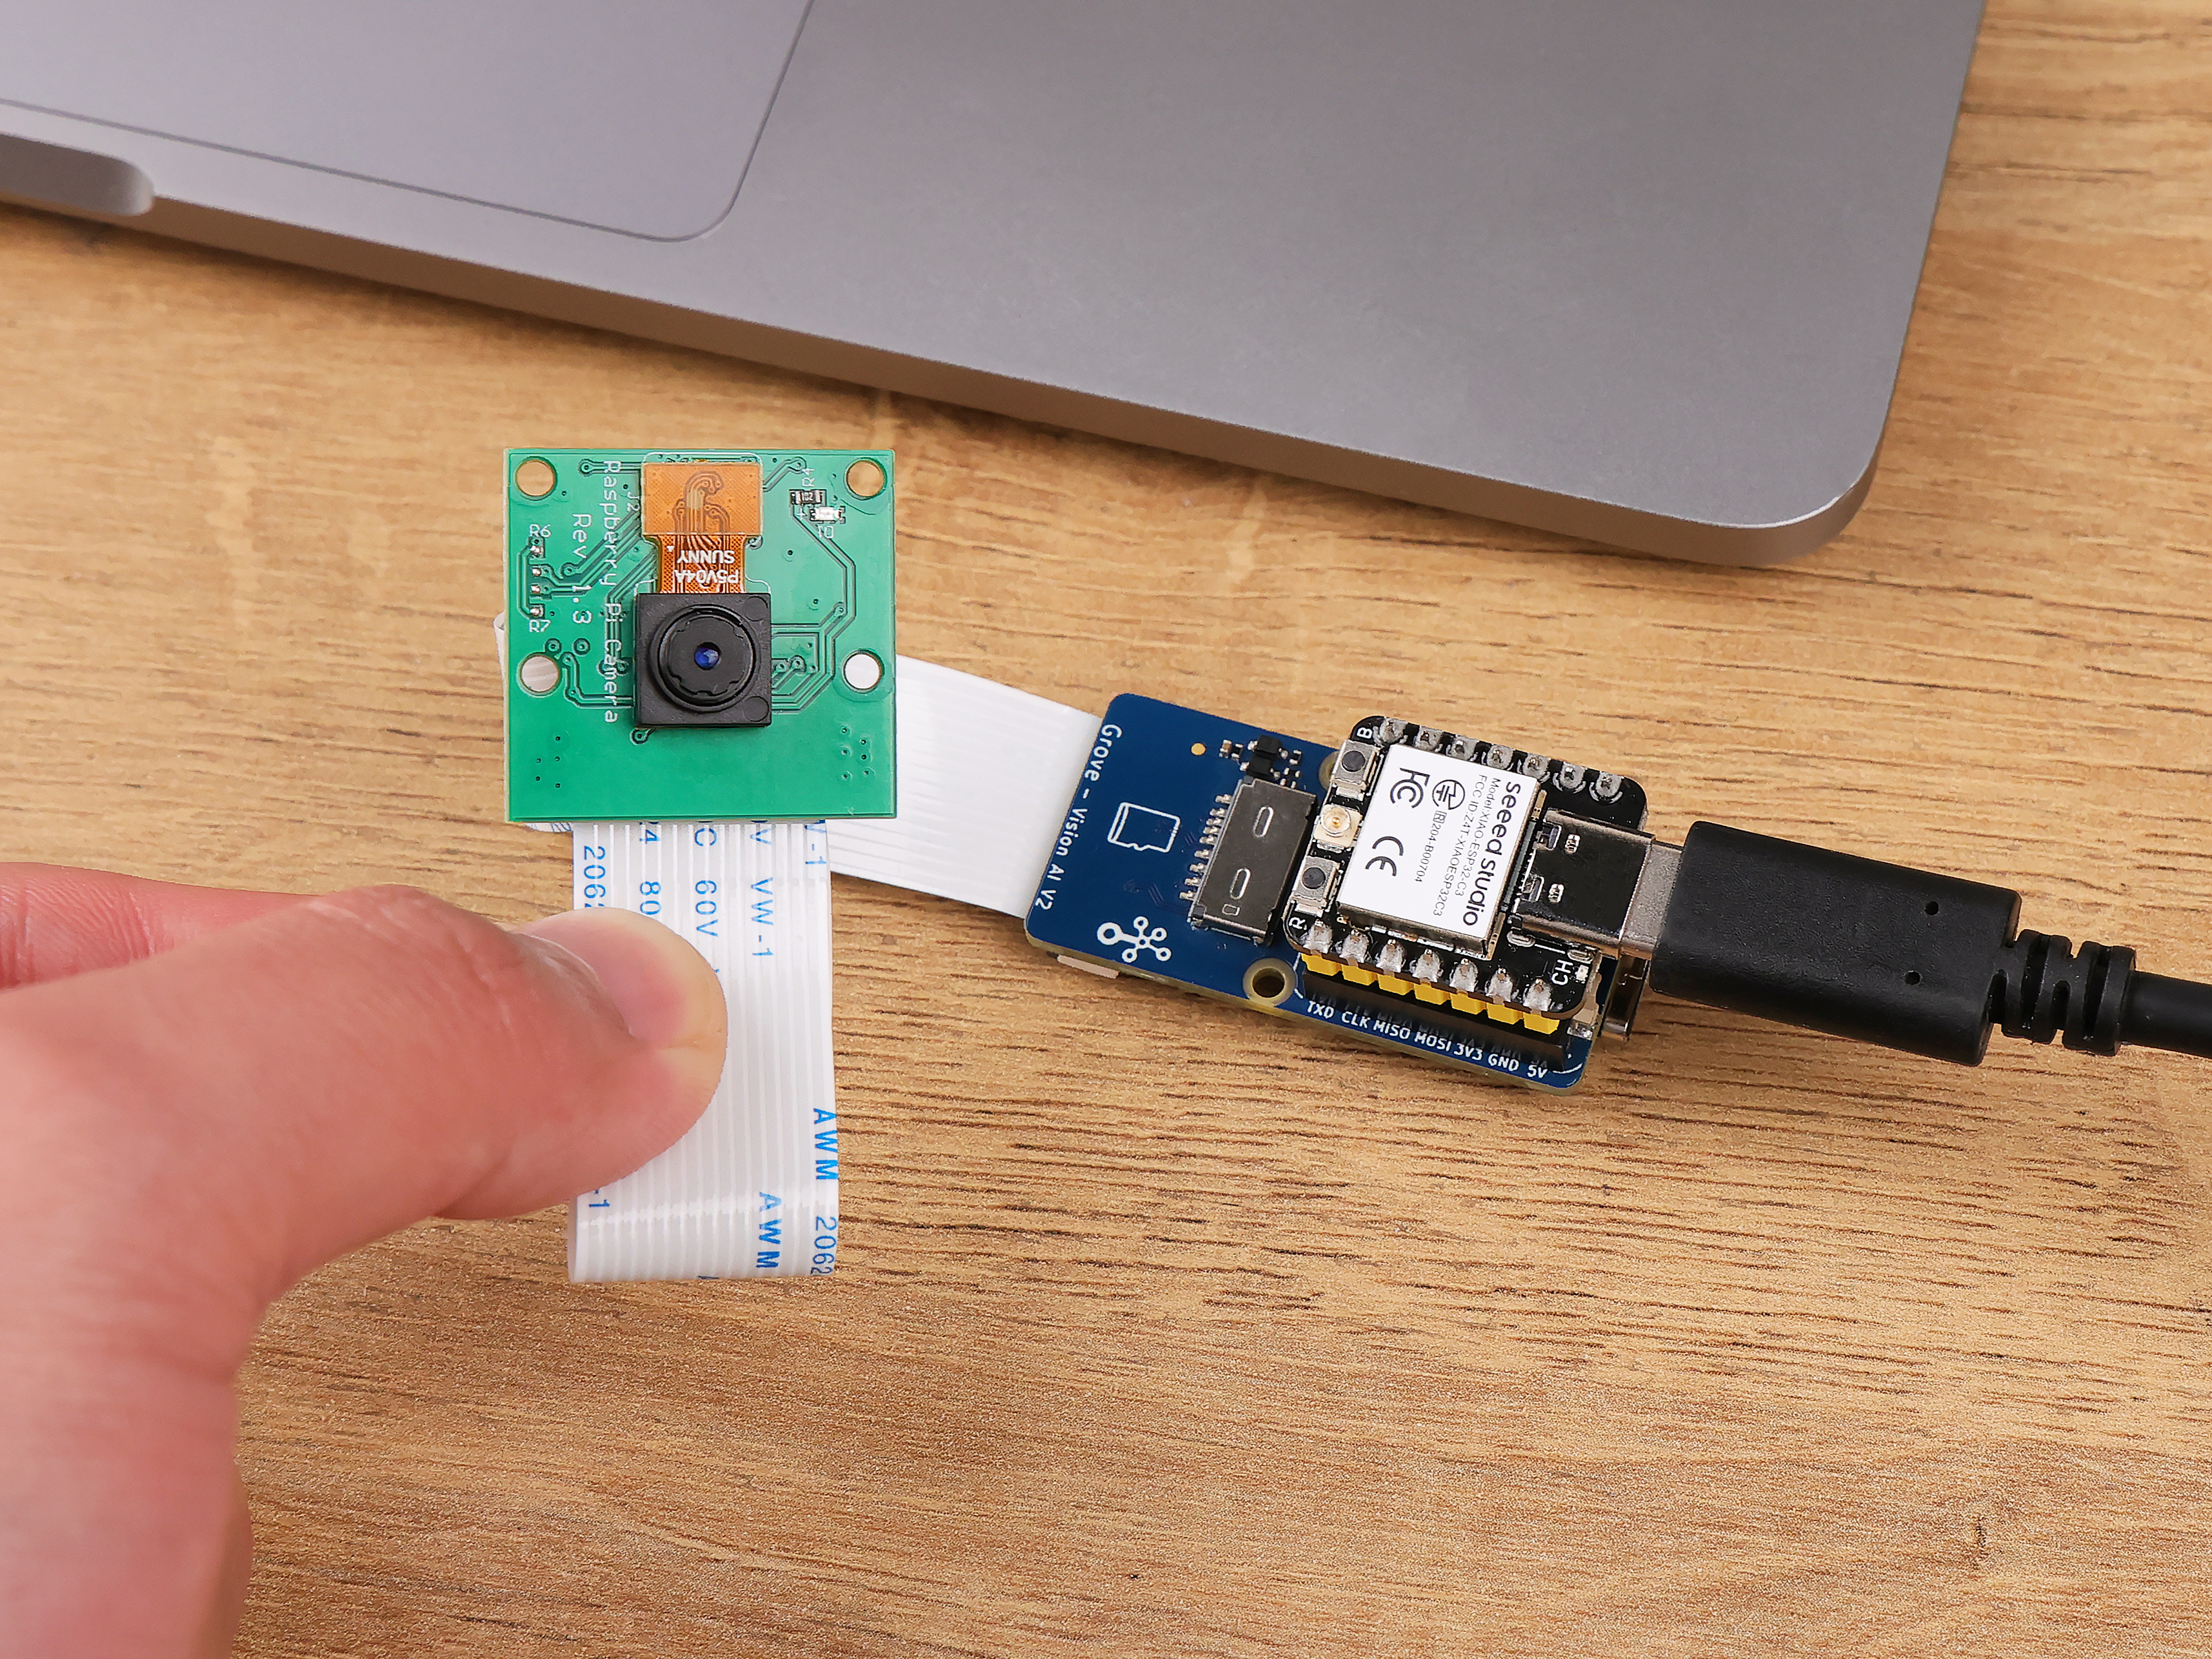
This way you can use not only UART but also I2C to establish a connection.
For high responsiveness, Grove vision v2's serial baud rate is 921600 by default.
So you'll need to use hardware serial instead of software serial to connect.
Example 1: Capture a image
Check out invoke - FAQ
// invoke once, no filter, contain image
if (!AI.invoke(1, false, true)){
   if (AI.last_image().length() > 0){
      Serial.print("Last image:");
      Serial.println(AI.last_image());
   }
}
AI.last_image() is a string, which contains the image data(JPEG) encoded by base64. 🖱️learn how to parse it?
Complete Code
- Grove(I2C)
- XIAO-Compatible (UART)
#include <Seeed_Arduino_SSCMA.h>
SSCMA AI;

void setup()
{
    AI.begin();
    Serial.begin(9600);
}

void loop()
{
    // invoke once, no filter, get image
    if (!AI.invoke(1, false, true)){
        if (AI.last_image().length() > 0){
            Serial.print("Last image:");
            Serial.println(AI.last_image());
        }
    }
}
#include <Seeed_Arduino_SSCMA.h>

#ifdef ESP32
#include <HardwareSerial.h>

// Define two Serial devices mapped to the two internal UARTs
HardwareSerial atSerial(0);

#else
#define atSerial Serial1
#endif

SSCMA AI;

void setup()
{
   AI.begin(&atSerial);
   Serial.begin(9600);
}

void loop()
{
    // invoke once, no filter, get image
    if (!AI.invoke(1, false, true)){
        if (AI.last_image().length() > 0){
            Serial.print("Last image:");
            Serial.println(AI.last_image());
        }
    }
}
| Connect devices | Upload firmware | Monitor |
|---|---|---|
 |  |  |
Example 2: Get inference result
Complete Code
- Grove(I2C)
- XIAO-Compatible (UART)
#include <Seeed_Arduino_SSCMA.h>

SSCMA AI;

void setup() {
  AI.begin();
  Serial.begin(9600);
}

void loop() {
  if (!AI.invoke(1, false, false)) { // invoke once, no filter, not contain image
    Serial.println("invoke success");
    Serial.print("perf: prepocess=");
    Serial.print(AI.perf().prepocess);
    Serial.print(", inference=");
    Serial.print(AI.perf().inference);
    Serial.print(", postpocess=");
    Serial.println(AI.perf().postprocess);

    for (int i = 0; i < AI.boxes().size(); i++) {
      Serial.print("Box[");
      Serial.print(i);
      Serial.print("] target=");
      Serial.print(AI.boxes()[i].target);
      Serial.print(", score=");
      Serial.print(AI.boxes()[i].score);
      Serial.print(", x=");
      Serial.print(AI.boxes()[i].x);
      Serial.print(", y=");
      Serial.print(AI.boxes()[i].y);
      Serial.print(", w=");
      Serial.print(AI.boxes()[i].w);
      Serial.print(", h=");
      Serial.println(AI.boxes()[i].h);
    }
    for (int i = 0; i < AI.classes().size(); i++) {
      Serial.print("Class[");
      Serial.print(i);
      Serial.print("] target=");
      Serial.print(AI.classes()[i].target);
      Serial.print(", score=");
      Serial.println(AI.classes()[i].score);
    }
    for (int i = 0; i < AI.points().size(); i++) {
      Serial.print("Point[");
      Serial.print(i);
      Serial.print("]: target=");
      Serial.print(AI.points()[i].target);
      Serial.print(", score=");
      Serial.print(AI.points()[i].score);
      Serial.print(", x=");
      Serial.print(AI.points()[i].x);
      Serial.print(", y=");
      Serial.println(AI.points()[i].y);
    }
    for (int i = 0; i < AI.keypoints().size(); i++) {
      Serial.print("keypoint[");
      Serial.print(i);
      Serial.print("] target=");
      Serial.print(AI.keypoints()[i].box.target);
      Serial.print(", score=");
      Serial.print(AI.keypoints()[i].box.score);
      Serial.print(", box:[x=");
      Serial.print(AI.keypoints()[i].box.x);
      Serial.print(", y=");
      Serial.print(AI.keypoints()[i].box.y);
      Serial.print(", w=");
      Serial.print(AI.keypoints()[i].box.w);
      Serial.print(", h=");
      Serial.print(AI.keypoints()[i].box.h);
      Serial.print("], points:[");
      for (int j = 0; j < AI.keypoints()[i].points.size(); j++) {
        Serial.print("[");
        Serial.print(AI.keypoints()[i].points[j].x);
        Serial.print(",");
        Serial.print(AI.keypoints()[i].points[j].y);
        Serial.print("],");
      }
      Serial.println("]");
    }
  }
}
#include <Seeed_Arduino_SSCMA.h>

#ifdef ESP32
#include <HardwareSerial.h>

// Define two Serial devices mapped to the two internal UARTs
HardwareSerial atSerial(0);

#else
#define atSerial Serial1
#endif

SSCMA AI;

void setup() {
  AI.begin( & atSerial);
  Serial.begin(9600);
}

void loop() {
  if (!AI.invoke(1, false, false)) { // invoke once, no filter, not contain image
    Serial.println("invoke success");
    Serial.print("perf: prepocess=");
    Serial.print(AI.perf().prepocess);
    Serial.print(", inference=");
    Serial.print(AI.perf().inference);
    Serial.print(", postpocess=");
    Serial.println(AI.perf().postprocess);

    for (int i = 0; i < AI.boxes().size(); i++) {
      Serial.print("Box[");
      Serial.print(i);
      Serial.print("] target=");
      Serial.print(AI.boxes()[i].target);
      Serial.print(", score=");
      Serial.print(AI.boxes()[i].score);
      Serial.print(", x=");
      Serial.print(AI.boxes()[i].x);
      Serial.print(", y=");
      Serial.print(AI.boxes()[i].y);
      Serial.print(", w=");
      Serial.print(AI.boxes()[i].w);
      Serial.print(", h=");
      Serial.println(AI.boxes()[i].h);
    }
    for (int i = 0; i < AI.classes().size(); i++) {
      Serial.print("Class[");
      Serial.print(i);
      Serial.print("] target=");
      Serial.print(AI.classes()[i].target);
      Serial.print(", score=");
      Serial.println(AI.classes()[i].score);
    }
    for (int i = 0; i < AI.points().size(); i++) {
      Serial.print("Point[");
      Serial.print(i);
      Serial.print("]: target=");
      Serial.print(AI.points()[i].target);
      Serial.print(", score=");
      Serial.print(AI.points()[i].score);
      Serial.print(", x=");
      Serial.print(AI.points()[i].x);
      Serial.print(", y=");
      Serial.println(AI.points()[i].y);
    }
    for (int i = 0; i < AI.keypoints().size(); i++) {
      Serial.print("keypoint[");
      Serial.print(i);
      Serial.print("] target=");
      Serial.print(AI.keypoints()[i].box.target);
      Serial.print(", score=");
      Serial.print(AI.keypoints()[i].box.score);
      Serial.print(", box:[x=");
      Serial.print(AI.keypoints()[i].box.x);
      Serial.print(", y=");
      Serial.print(AI.keypoints()[i].box.y);
      Serial.print(", w=");
      Serial.print(AI.keypoints()[i].box.w);
      Serial.print(", h=");
      Serial.print(AI.keypoints()[i].box.h);
      Serial.print("], points:[");
      for (int j = 0; j < AI.keypoints()[i].points.size(); j++) {
        Serial.print("[");
        Serial.print(AI.keypoints()[i].points[j].x);
        Serial.print(",");
        Serial.print(AI.keypoints()[i].points[j].y);
        Serial.print("],");
      }
      Serial.println("]");
    }
  }
}
| Connect devices | Upload firmware | Monitor |
|---|---|---|
|  |  |
Example 3: Saving JPEG Images to SD Card
More details in the Set action trigger - AT protocol section.
The Grove Vision AI V2 module allows saving JPEG images directly to an external SD card. To ensure compatibility, it is recommended to format the SD card as FAT32 with a cluster size of 8192 or use the exFAT file system. When saving images, the module automatically creates a default save path named Grove Vision AI (V2) Export if it doesn't already exist.
- Make sure the firmware version is greater than 4/18/2024.

Within this save path, a new folder is created for each boot session when the save action is triggered, and the folder name is an incremented number. The latest folder name is stored in a hidden file named .sscma in the save path, which should not be modified by the user to avoid potential errors.

To preview images like streams using Python
import os
import platform
import tkinter as tk
from PIL import Image, ImageTk
import time

class ImagePlayer:
    def __init__(self, parent_directory, switch_time=1):
        self.parent_directory = parent_directory
        self.image_files = []
        self.current_index = 0
        self.switch_time = switch_time
        self.root = tk.Tk()
        self.label = tk.Label(self.root)
        self.label.pack()
        self.load_image_files()

    def load_image_files(self):
        # Get all subdirectories in the parent directory
        directories = [os.path.join(self.parent_directory, folder) for folder in os.listdir(self.parent_directory) if os.path.isdir(os.path.join(self.parent_directory, folder))]

        # Traverse subdirectories and get image file paths
        for directory in directories:
            image_files = [os.path.join(directory, file) for file in sorted(os.listdir(directory)) if file.endswith(('.jpg', '.jpeg', '.png'))]
            self.image_files.extend(image_files)

    def play_images(self):
        if self.current_index < len(self.image_files):
            image_file = self.image_files[self.current_index]
            image = Image.open(image_file)
            self.display_image(image)
            self.current_index += 1
            self.root.after(int(self.switch_time * 1000), self.play_images)
        else:
            self.root.destroy()

    def display_image(self, image):
        # Adjust the image size to fit the window
        width, height = self.root.winfo_screenwidth(), self.root.winfo_screenheight()
        image.thumbnail((width, height))

        # Convert the image to a format usable by Tkinter
        photo = ImageTk.PhotoImage(image)

        # Display the image in the label
        self.label.config(image=photo)
        self.label.image = photo

    def start(self):
        self.root.geometry("240x240")  # Set the window size
        self.root.title("Image Player")  # Set the window title

        self.root.after(0, self.play_images)  # Start playing the images
        self.root.mainloop()

# Create an ImagePlayer object and provide the parent directory path
parent_directory = r"E:\Grove Vision AI (V2) Export"
player = ImagePlayer(parent_directory, switch_time=0.3)  # Customize the image switch time here (in seconds)

# Start the image player
player.start()
When you call save_jpeg(), it means you send a AT command AT+ACTION="save_jpeg()" to the Grove Vision AI V2 module.
And you should call it only once.
If you don't want to store the JPEG image anymore, you will have to clean the Action Sets, even if you restart your Grove Vision AI V2 module.
void setup()
{
   atSerial.println("AT+ACTION=\"\""); // Same as `AI.clean_actions()`
   AI.clean_actions();
}
Complete Code
- Grove(I2C)
- XIAO-Compatible (UART)
- Check AT actions
#include <Seeed_Arduino_SSCMA.h>

SSCMA AI;

void setup()
{
  Serial.begin(9600); // Initialize serial port
  AI.begin();
  AI.save_jpeg();
}

void loop()
{
  static int cnt = 0;
  // every invoke it will save jpeg
  if (!AI.invoke(1, false, false)){
    Serial.printf("Record image %d\n", ++cnt);
  }
}
#include <Seeed_Arduino_SSCMA.h>

#ifdef ESP32
#include <HardwareSerial.h>

// Define two Serial devices mapped to the two internal UARTs
HardwareSerial atSerial(0);

#else
#define atSerial Serial1
#endif

SSCMA AI;

void setup()
{
  Serial.begin(9600); // Initialize serial port
  AI.begin(&atSerial);
  AI.save_jpeg();
}

void loop()
{
  static int cnt = 0;
  // every invoke it will save jpeg
  if (!AI.invoke(1, false, true)){
    Serial.printf("Record image %d\n", ++cnt);
  }
}
#include <Seeed_Arduino_SSCMA.h>

#ifdef ESP32
#include <HardwareSerial.h>

// Define two Serial devices mapped to the two internal UARTs
HardwareSerial atSerial(0);

#else
#define atSerial Serial1
#endif

SSCMA AI;

void setup()
{
   Serial.begin(9600); // Initialize serial port
   AI.begin(&atSerial);
   AI.save_jpeg();
}

void loop()
{
  atSerial.println("AT+ACTION?"); // request to get action information

  String str_action = atSerial.readString(); // read the response
  if(str_action.indexOf("save_jpeg") > 0){ // check if the action exists
      Serial.println("save_jpeg exists");
      Serial.println("trigger action: clean_actions");
      AI.clean_actions(); // clean the action
  }else{ // if null, trigger action to save_jpeg again
      Serial.println("save_jpeg doesn't exist");
      Serial.println("trigger action: save_jpeg");
      AI.save_jpeg();
  }
  delay(5000);
}
if not working, plz check if the SD card is formatted and inserted correctly.
| Connect devices | Upload firmware | Monitor |
|---|---|---|
|  |  |
Base64 to JPEG Image
There are two ways to get the decoded image when you try to get the JPEG image in programming:
- ESP32
- Arduino
If your mcu is ESP32, you can use the following code to get the image:
#include <string.h>

#include "mbedtls/base64.h"

#include <Seeed_Arduino_SSCMA.h>

#define DECODED_IMAGE_MAX_SIZE(15 * 1024) // choose your own max size_t

static unsigned char jpegImage[DECODED_IMAGE_MAX_SIZE + 1];

size_t decode_base64_image(const unsigned char * p_data, unsigned char * decoded_str) {
  if (!p_data || !decoded_str)
    return 0;

  size_t str_len = strlen((const char * ) p_data);
  size_t output_len = 0;
  // Obtain the decoded length
  int decode_ret = mbedtls_base64_decode(NULL, 0, & output_len, p_data, str_len);
  if (decode_ret == MBEDTLS_ERR_BASE64_INVALID_CHARACTER) {
    Serial.println(TAG, "Invalid character in Base64 string");
    return 0;
  }

  // Check if the decoded length is reasonable
  if (output_len == 0 || output_len > DECODED_IMAGE_MAX_SIZE) {
    Serial.println("Base64 decode output size is too large or zero.");
    return 0;
  }

  // Actual decoding operation
  decode_ret = mbedtls_base64_decode(decoded_str, DECODED_IMAGE_MAX_SIZE, & output_len, p_data, str_len);
  if (decode_ret != 0) {
    Serial.println(TAG, "Failed to decode Base64 string, error: %d", decode_ret);
    return 0;
  }

  Serial.println("str_len: %d, output_len: %d", str_len, output_len);

  return output_len;
}

SSCMA AI;

void setup() {
  AI.begin();
  Serial.begin(115200);
}

void loop() {
  if (!AI.invoke(1, false, true)) {
    if (AI.last_image().length() > 0) {
      Serial.print("Last image:");
      Serial.println(AI.last_image());
      size_t jpegImageSize = decode_base64_image(AI.last_image().c_str(), jpegImage);
      if (jpegImageSize > 0) {
        // your function to display the jpeg image
        display_jpeg_image(jpegImage, jpegImageSize);
      }
    }
  }
}
#include <base64.h>

#include <Seeed_Arduino_SSCMA.h>

#define atSerial Serial1 /* Define your Serial interface */

SSCMA AI;

void setup() {
  AI.begin( & atSerial);
  Serial.begin(115200);
}

void loop() {
  // invoke once, no filter, get image
  if (!AI.invoke(1, false, true)) {
    if (AI.last_image().length() > 0) {
      String toEncode = AI.last_image();
      Serial.print("Image Code:");
      Serial.println(toEncode);
      String encoded_jpeg = base64::encode(toEncode);
      // your function to display the jpeg image
      func_display_jpeg(encoded_jpeg);
    }
  }
}
Base64 is a way of encoding binary data (like images) into a string of ASCII characters. This allows binary data to be included in formats that don't natively support binary, like JSON.
Base64 encoding is used to avoid transmitting binary data directly through text-based protocols (like HTTP, JSON, XML). It also prevents the need for additional parsing libraries, as most programming languages have built-in Base64 encoding/decoding functions. Base64 allows binary data to be safely transmitted as standard ASCII text and easily decoded back into its original binary form.
There are many online tools that make it easy to decode Base64 to an image, such as: Base64 Online Decoder Simply paste the Base64 string into the tool and it will display the decoded image.

Customization and SDK Development
For users who require more customization and advanced functionality, the Grove Vision AI V2 also supports SDK development. The module's Himax main controller chip can be programmed directly using the provided SDK, allowing for industrial-grade projects with highly personalized features.
Users interested in SDK development can refer to the existing examples, such as sdio_app, which demonstrates direct SDIO operations. These examples serve as a starting point for modifying and implementing custom projects.
By leveraging the power of the SDK, users can unlock the full potential of the Grove Vision AI V2 and create tailored solutions for their specific needs. Follow the previous wiki page to have more guidence.
FAQ & Trouble Shooting
What is the function of invoke?
Every time to get the data value from Grove Vision V2, it is supposed to call the invoke function:
/**
 * @brief Invoke the algorithm for a specified number of times
 *
 * This function invokes the algorithm for a specified number of times and waits for the response and event.
 * The result can be filtered based on the difference from the previous result, and the event reply can be
 * configured to contain only the result data or include the image data as well.
 *
 * @param times The number of times to invoke the algorithm
 * @param filter If true, the event reply will only be sent if the last result is different from the previous result
 *               (compared by geometry and score)
 * @param show If true, the event reply will also contain the image data; if false, the event reply will *only contain* the result data
 * @return int Returns CMD_OK if the invocation is successful and the response and event are received within the timeout;
 *             otherwise, returns CMD_ETIMEDOUT
 *
 * Pattern: AT+INVOKE=<N_TIMES,DIFFERED,RESULT_ONLY>\r
 * Request: AT+INVOKE=1,0,1\r
 */
int SSCMA::invoke(int times, bool filter, bool show);
What does AI.begin() do?
If you use SSCMA.begin(), it defaults to using I2C (Wire) for communication, as defined in the function header:
bool begin(TwoWire *wire = &Wire, int32_t rst = -1, uint16_t address = I2C_ADDRESS,
      uint32_t wait_delay = 2, uint32_t clock = SSCMA_IIC_CLOCK);
Resources
References
Contributing
We welcome contributions in any form! If you would like to contribute to this page, you can:
- Report bugs or suggest new features by opening an issue
- Submit page improvements or fixes by creating a pull request
- Improve documentation by suggesting edits or additions
- Help answer questions or provide support to other users
- Share the product with others who might find it useful
To get started, please read our Contributing Guidelines for more information on how to contribute and the process for submitting pull requests.
We appreciate all contributions and thank you for helping to make it better!
Tech Support & Product Discussion
Thank you for choosing our products! We are here to provide you with different support to ensure that your experience with our products is as smooth as possible. We offer several communication channels to cater to different preferences and needs.