Hard Hat Detection Powered by Edge Impulse
Introduction
In working environments such as industrial or construction sites, a hard hat is required and essential for people protecting their heads from injury due to falling objects, impact with other objects, debris, rain and electric shock. It improves safety but sometimes people underestimate its significance both individually and industrially. Thereby a video-based monitor to detect hard hats can be an optimized solution for this safety problem.
Hence, credit to Louis Moreau and Mihajlo Raljic, we provide this fundamental project that we are going to train an embedded Machine Learning model to detect hard hat and deploy it to the Jetson Nano. The Jetson NX and the Jetson AGX are both supported.

Getting started
Edge Impulse enables developers to create the next generation of intelligent device solutions with embedded Machine Learning. Machine Learning at the very edge will enable valuable use of the 99% of sensor data that is discarded today due to cost, bandwidth or power constraints. Here we are going to apply Edge Impulse to train an embedded Machine Learning model.
Hardware
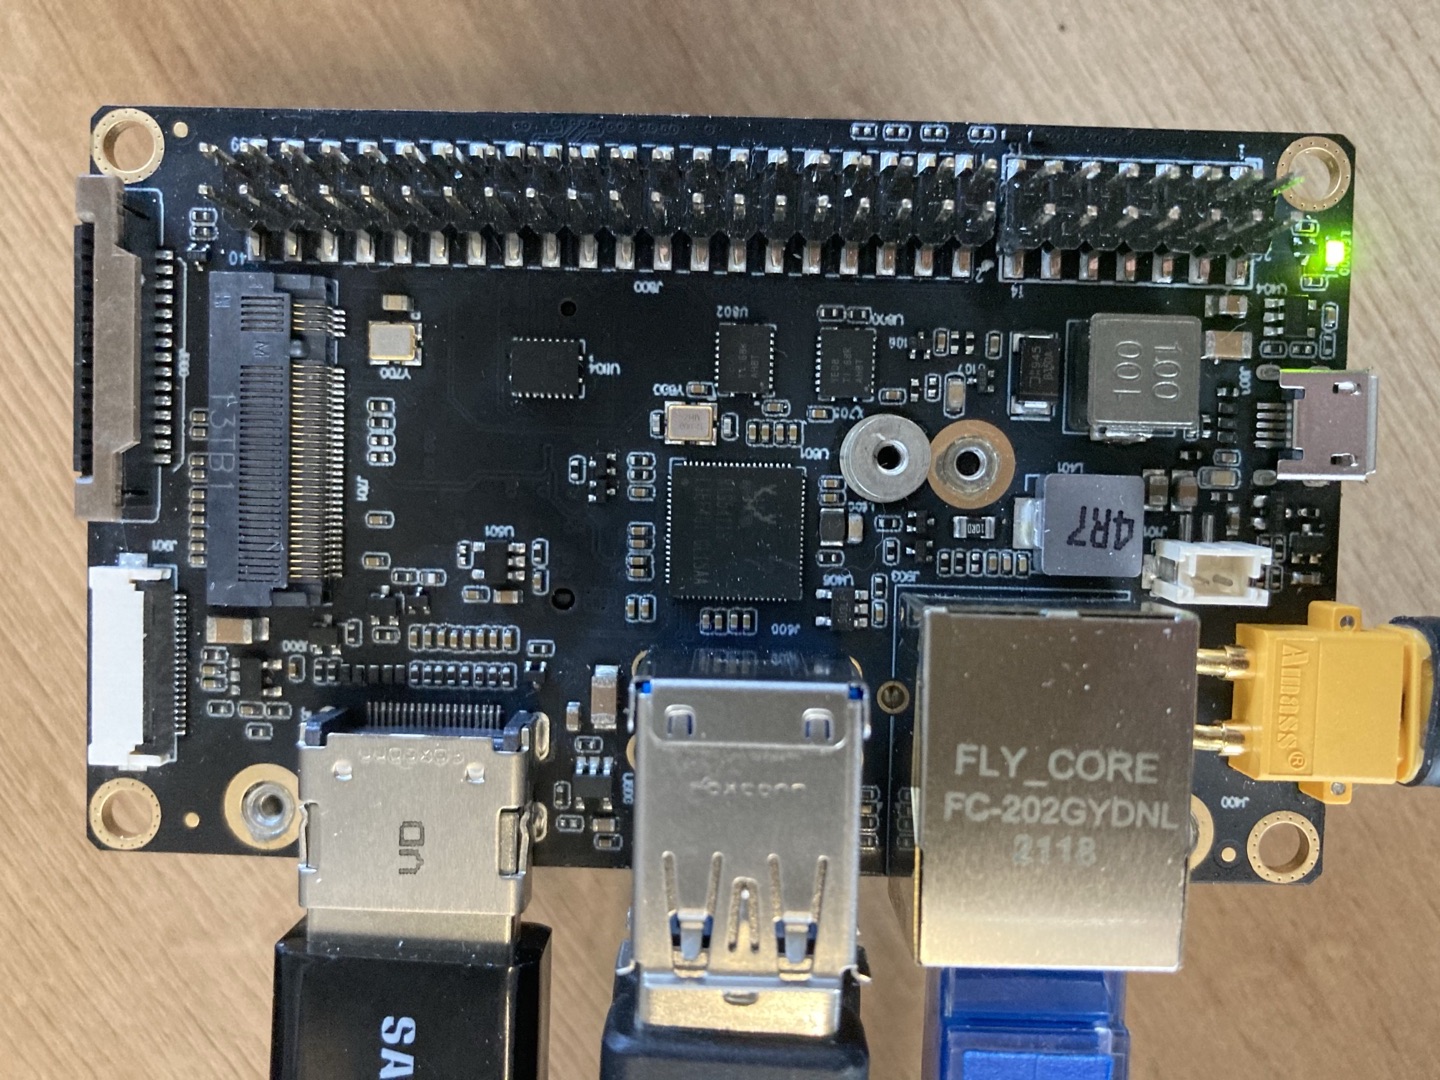
Hardware Required
In this project the required devices are shown as below:
- NVIDIA Jetson Nano or NVIDIA Xavier NX or NVIDIA Xavier AGX
- PC
- USB-cable camera
- HDMI-display screen
Hardware Setup
Both PC and NVIDIA Jetson Nano should be powered on and connected to the internet. The NVIDIA Jetson Nano is recommended to be set up as a PC.
Software
- Edge Impusle
- Ubuntu System for NVIDIA Jetson Nano
Here we are going to train an embedded Machine Learning model to detect hard hat. There are several ways to contribute it.
Preparation
Before we start our project, there are some prepration works that need to do first.
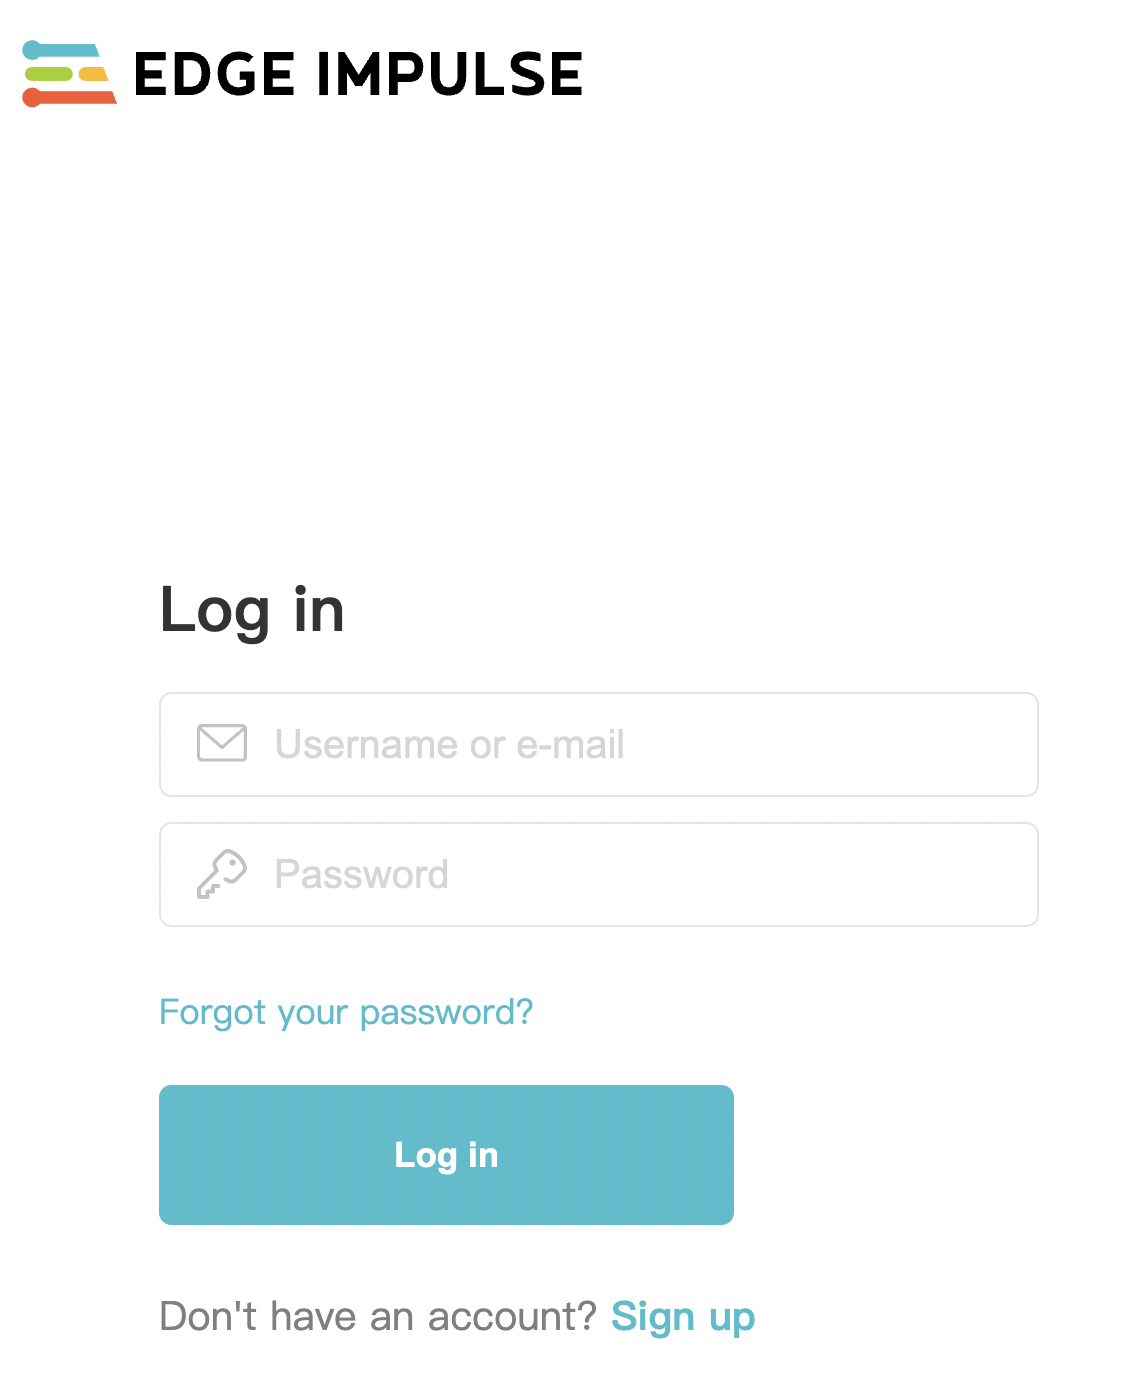
- Step 1. Open the Edge Impulse website, and register an account.
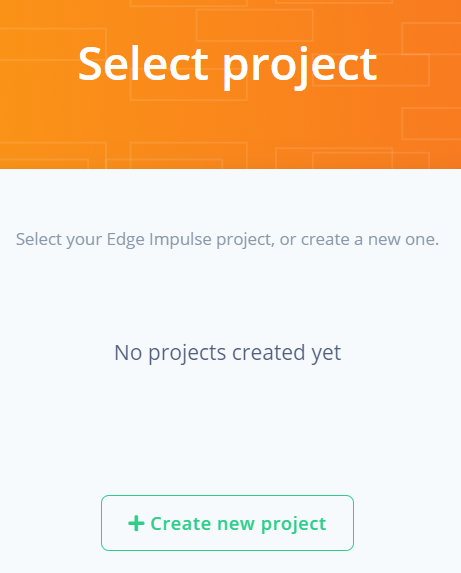
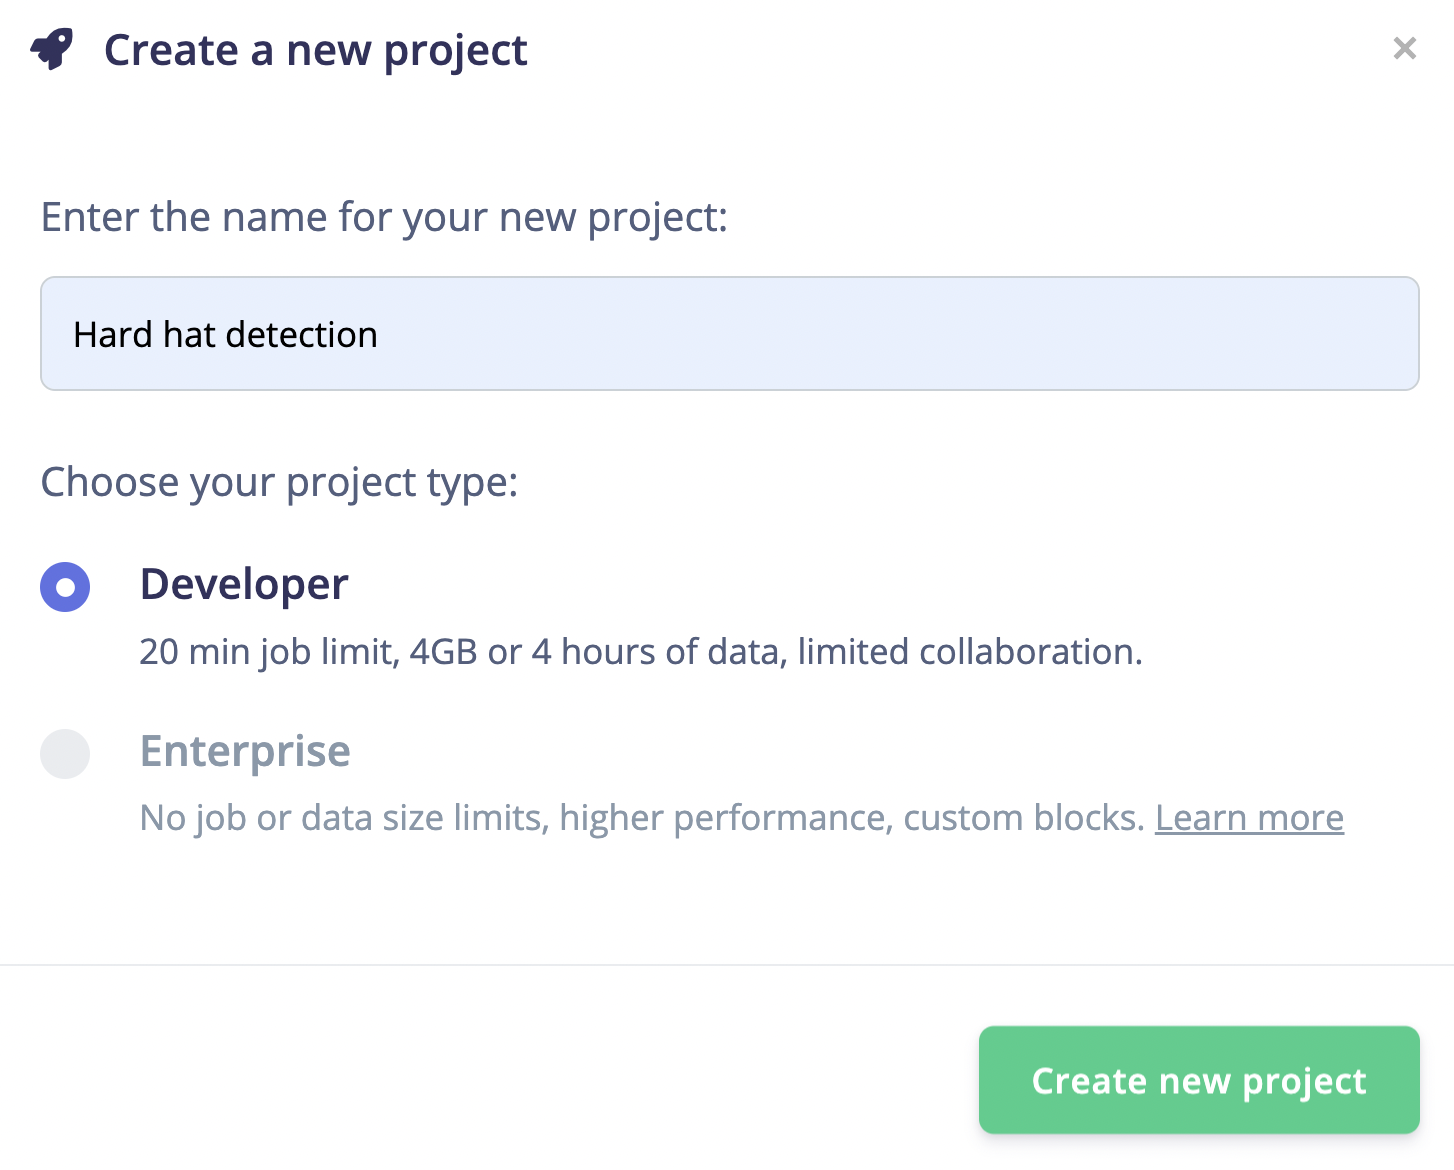
- Step 2. Click "Create new project" and type the name of the project.
Here we type "Hard hat detection".
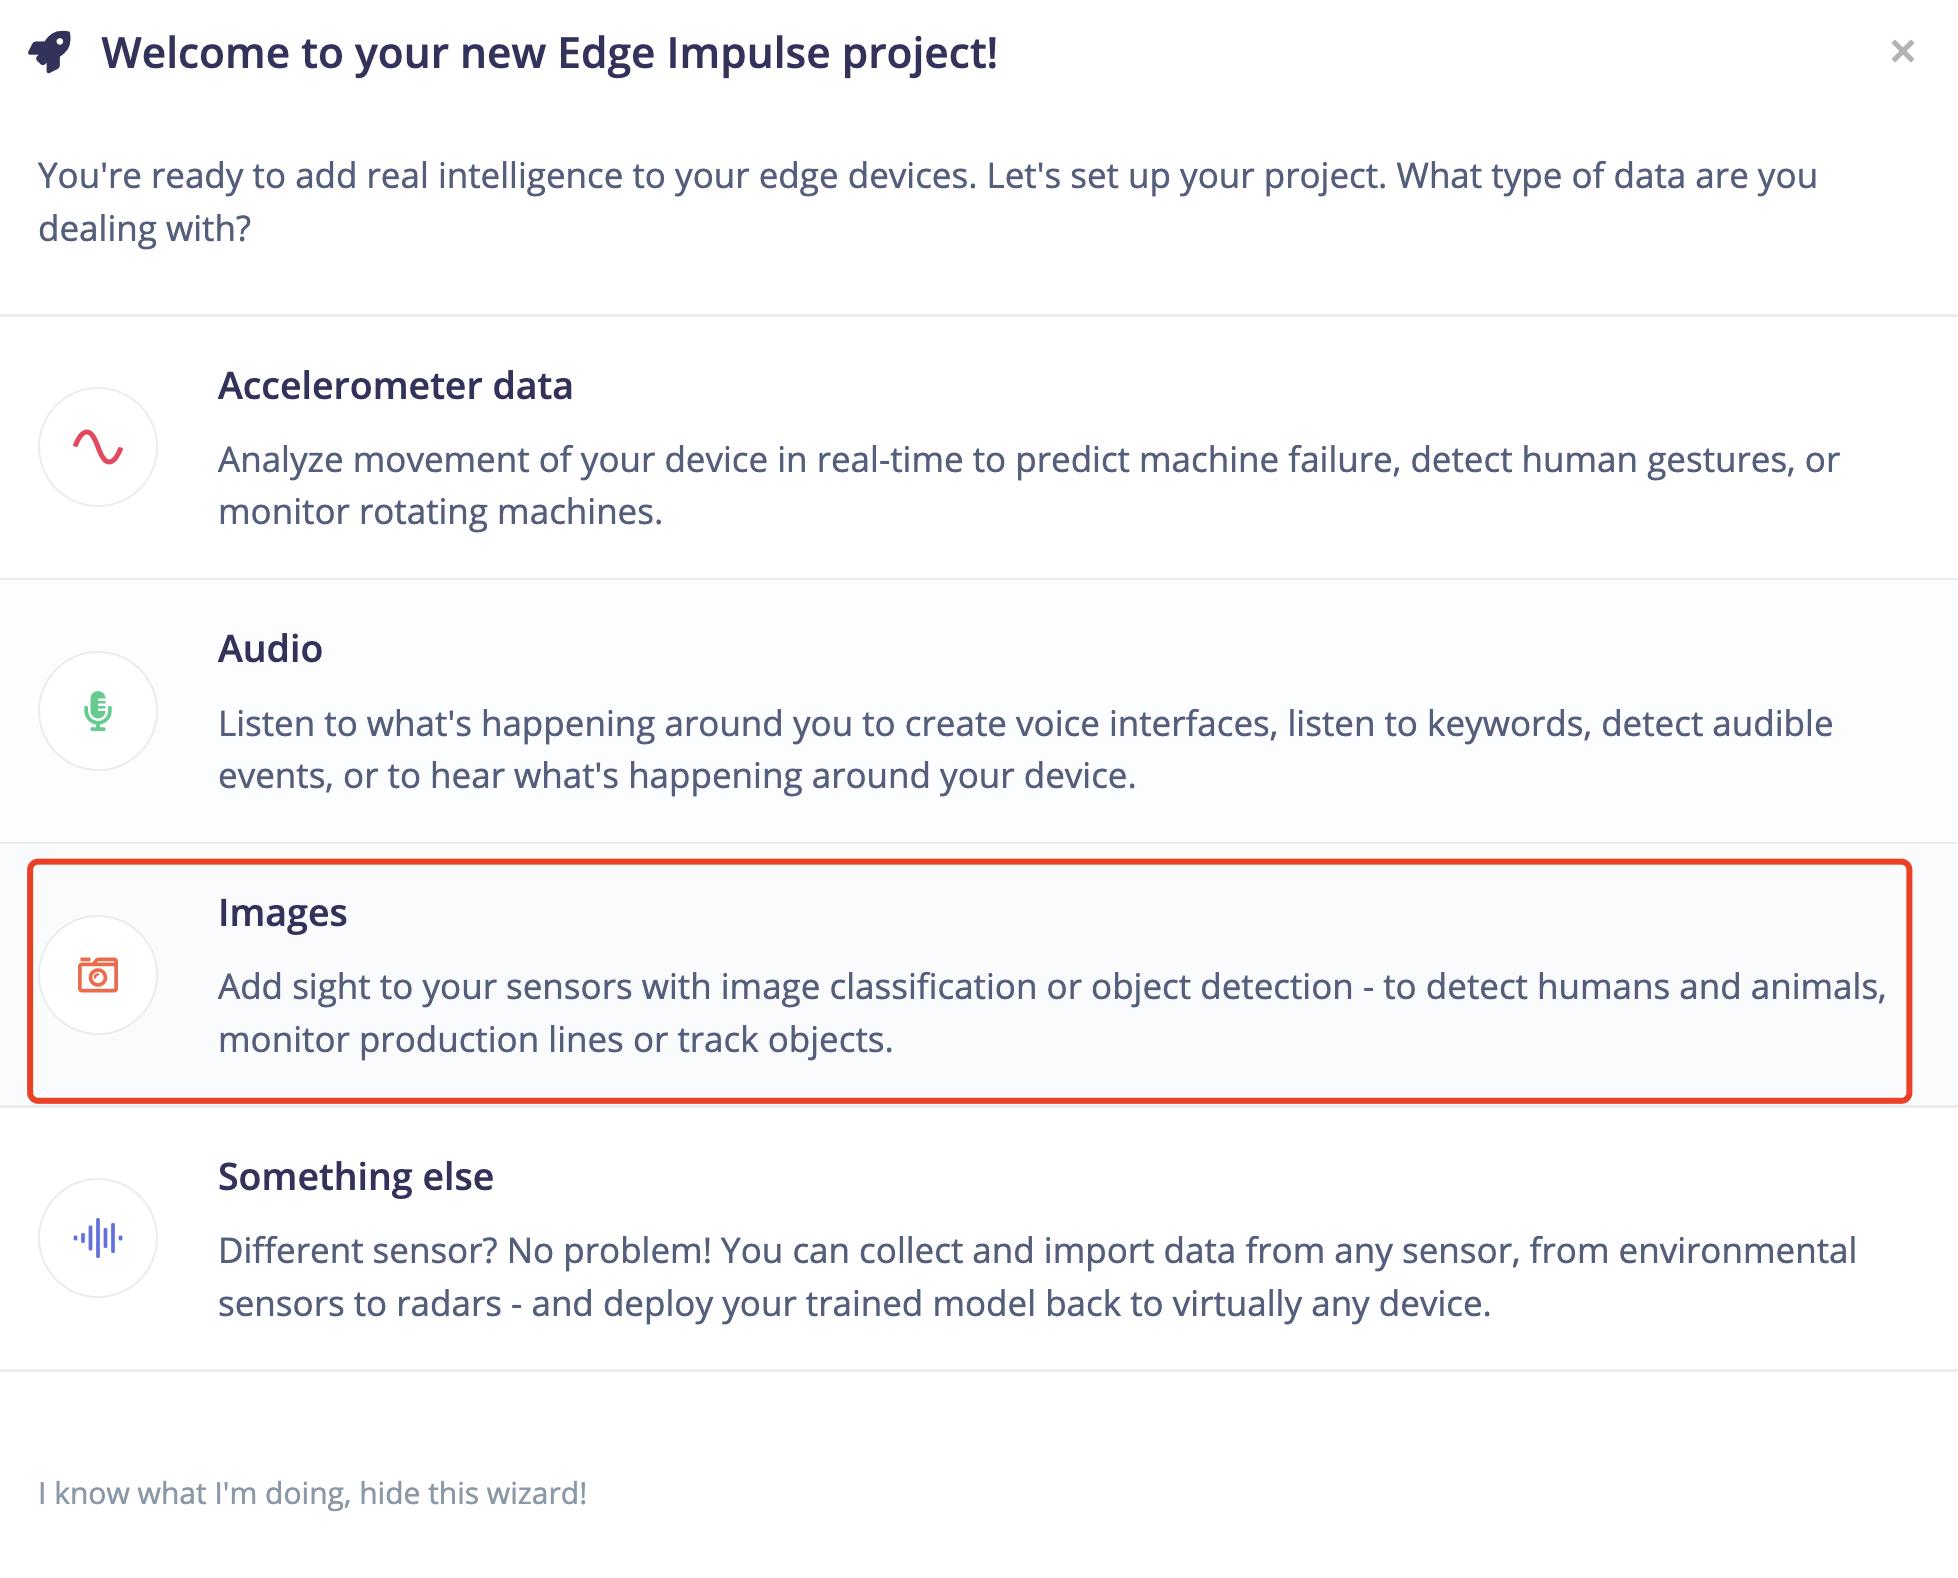
- Step 3. We are going to train a embedded ML model to detect Hard Hat, thus at here the option "image" should be selected.
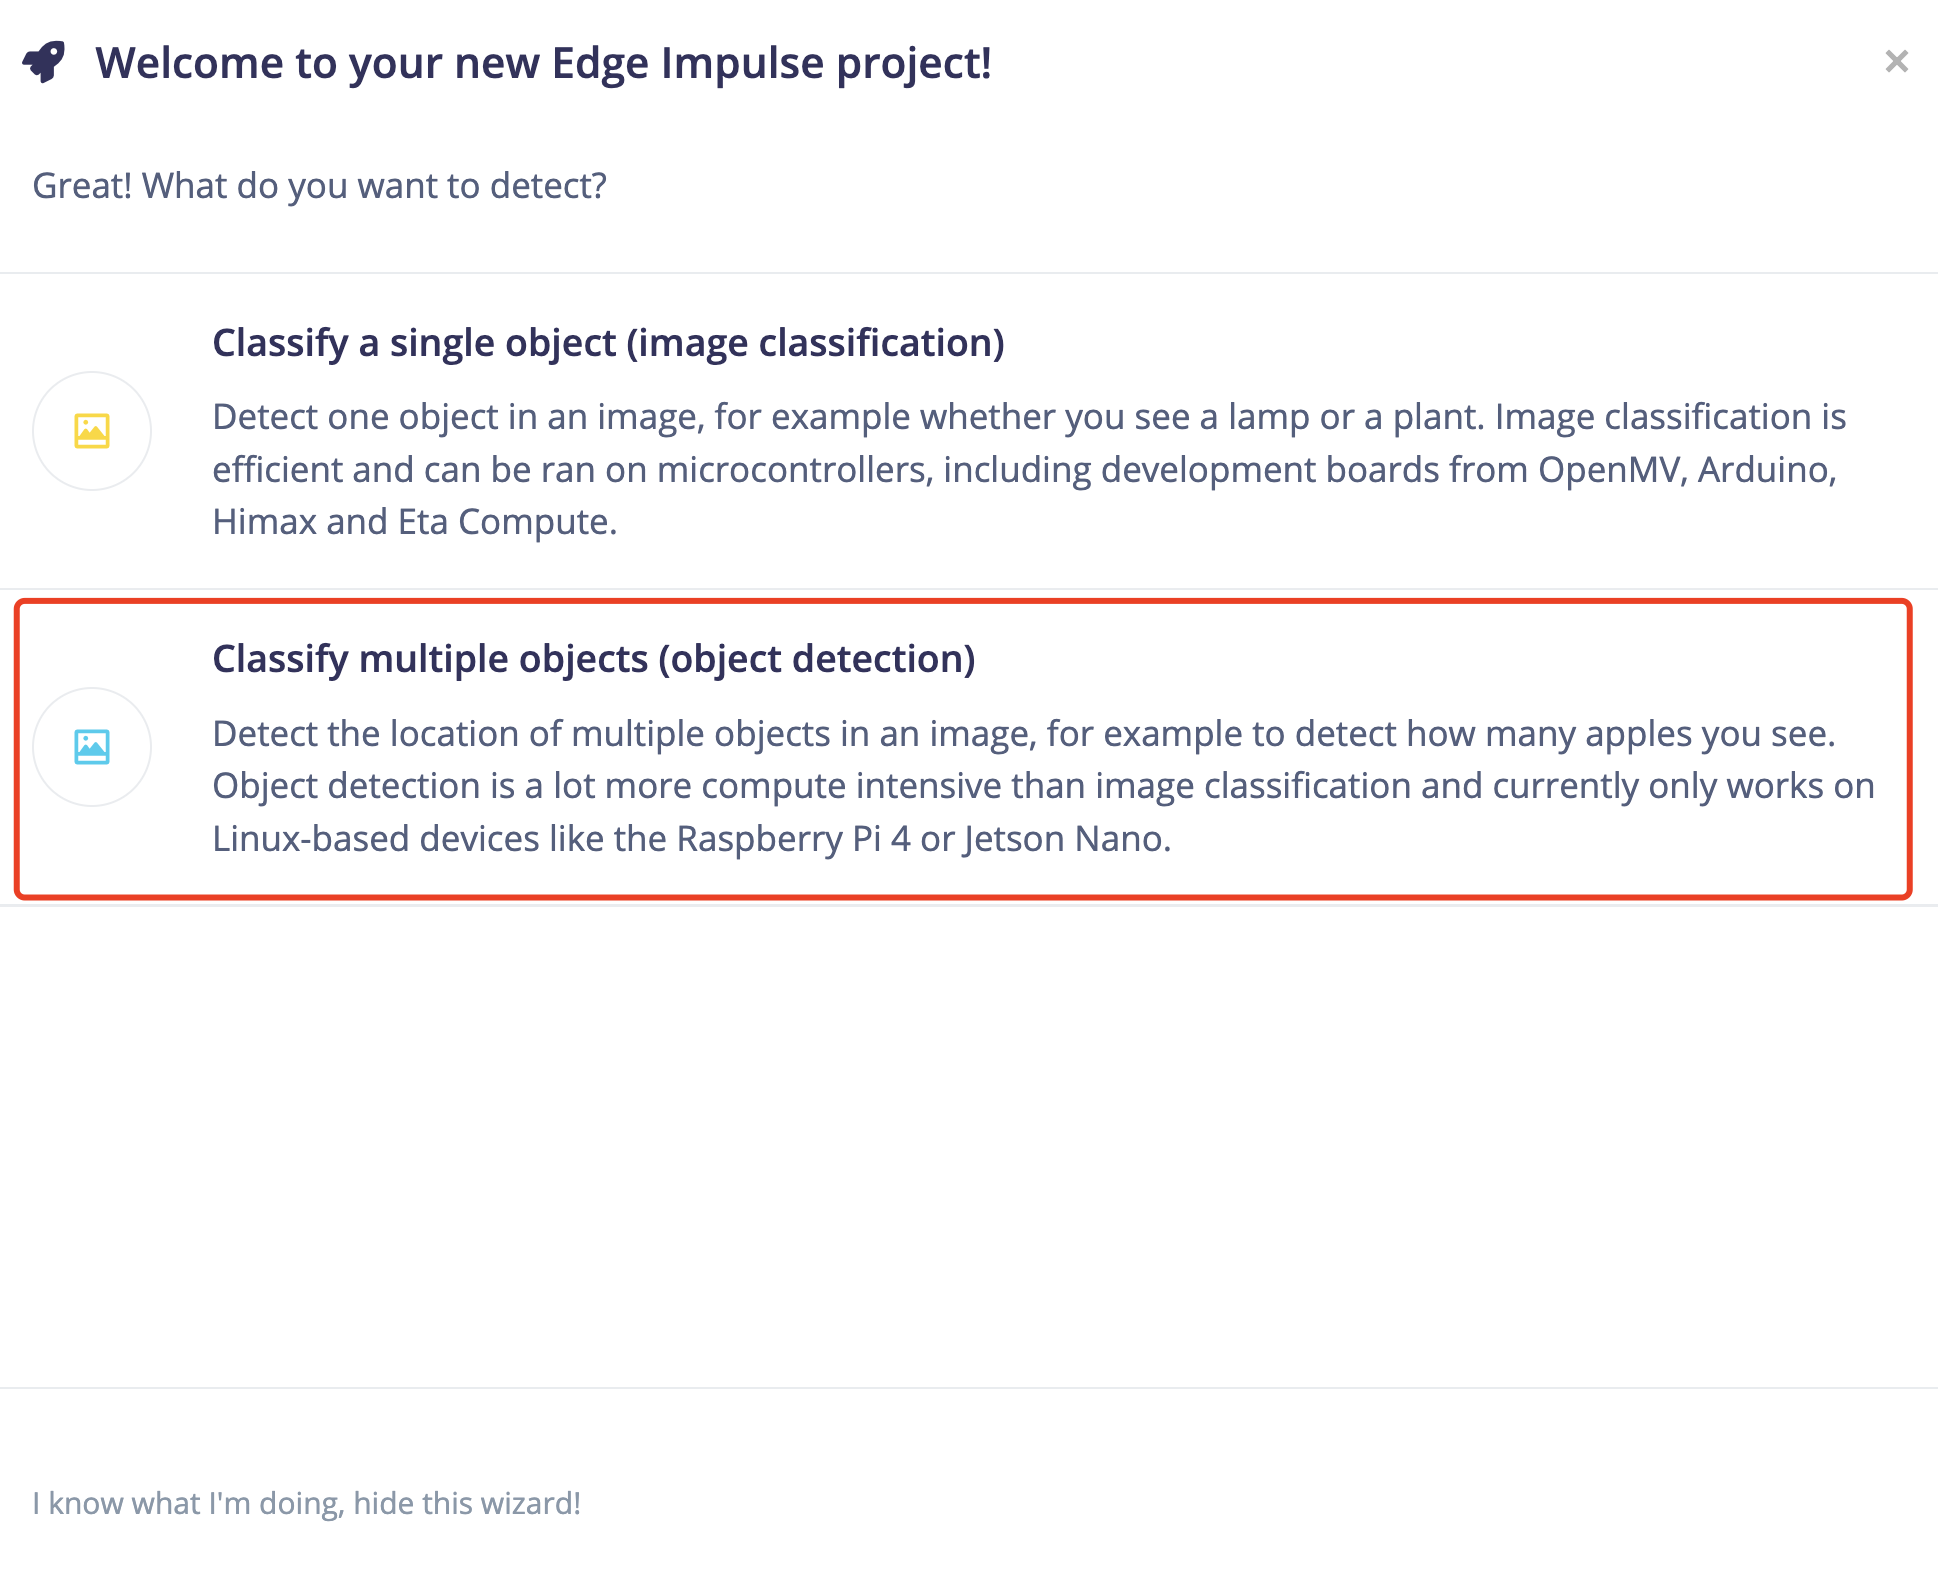
- Step 4. Set up the configuration as "Classify multiple objects (object detection)".
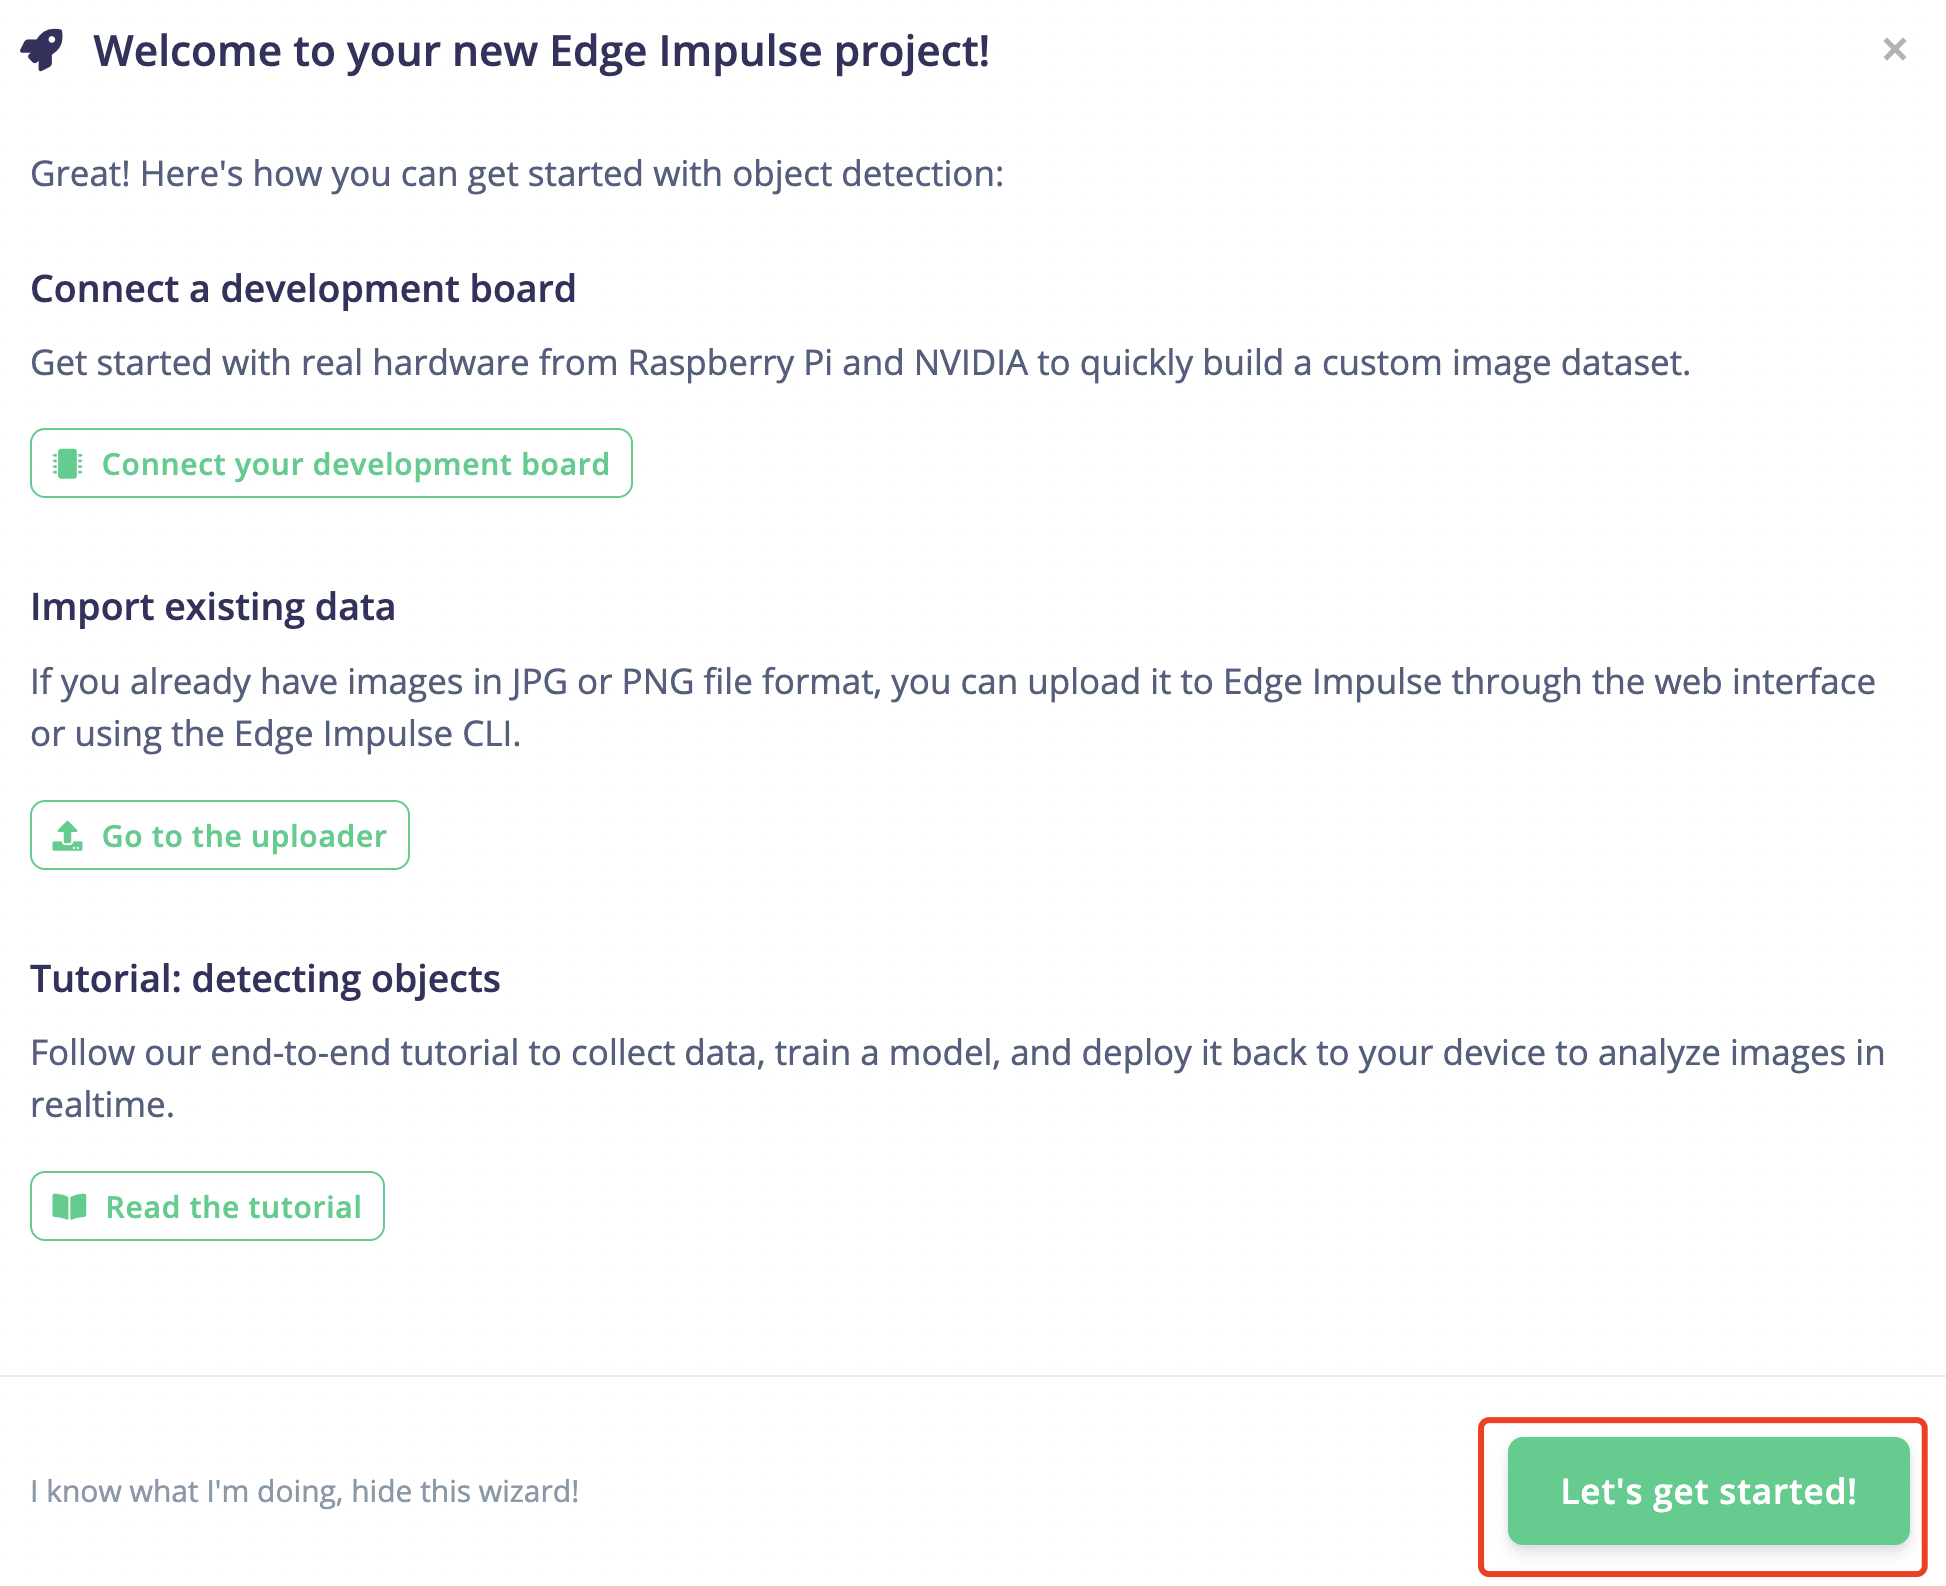
Now we can get started with the project.
Hard Hat Detection ML Model Training
ML Model Training based on Input Public Datasets
Edge Impulse has provided several ways to collect data. First we are going to upload the pubilc data to the website and try to develop an enbedded Machine Learning.
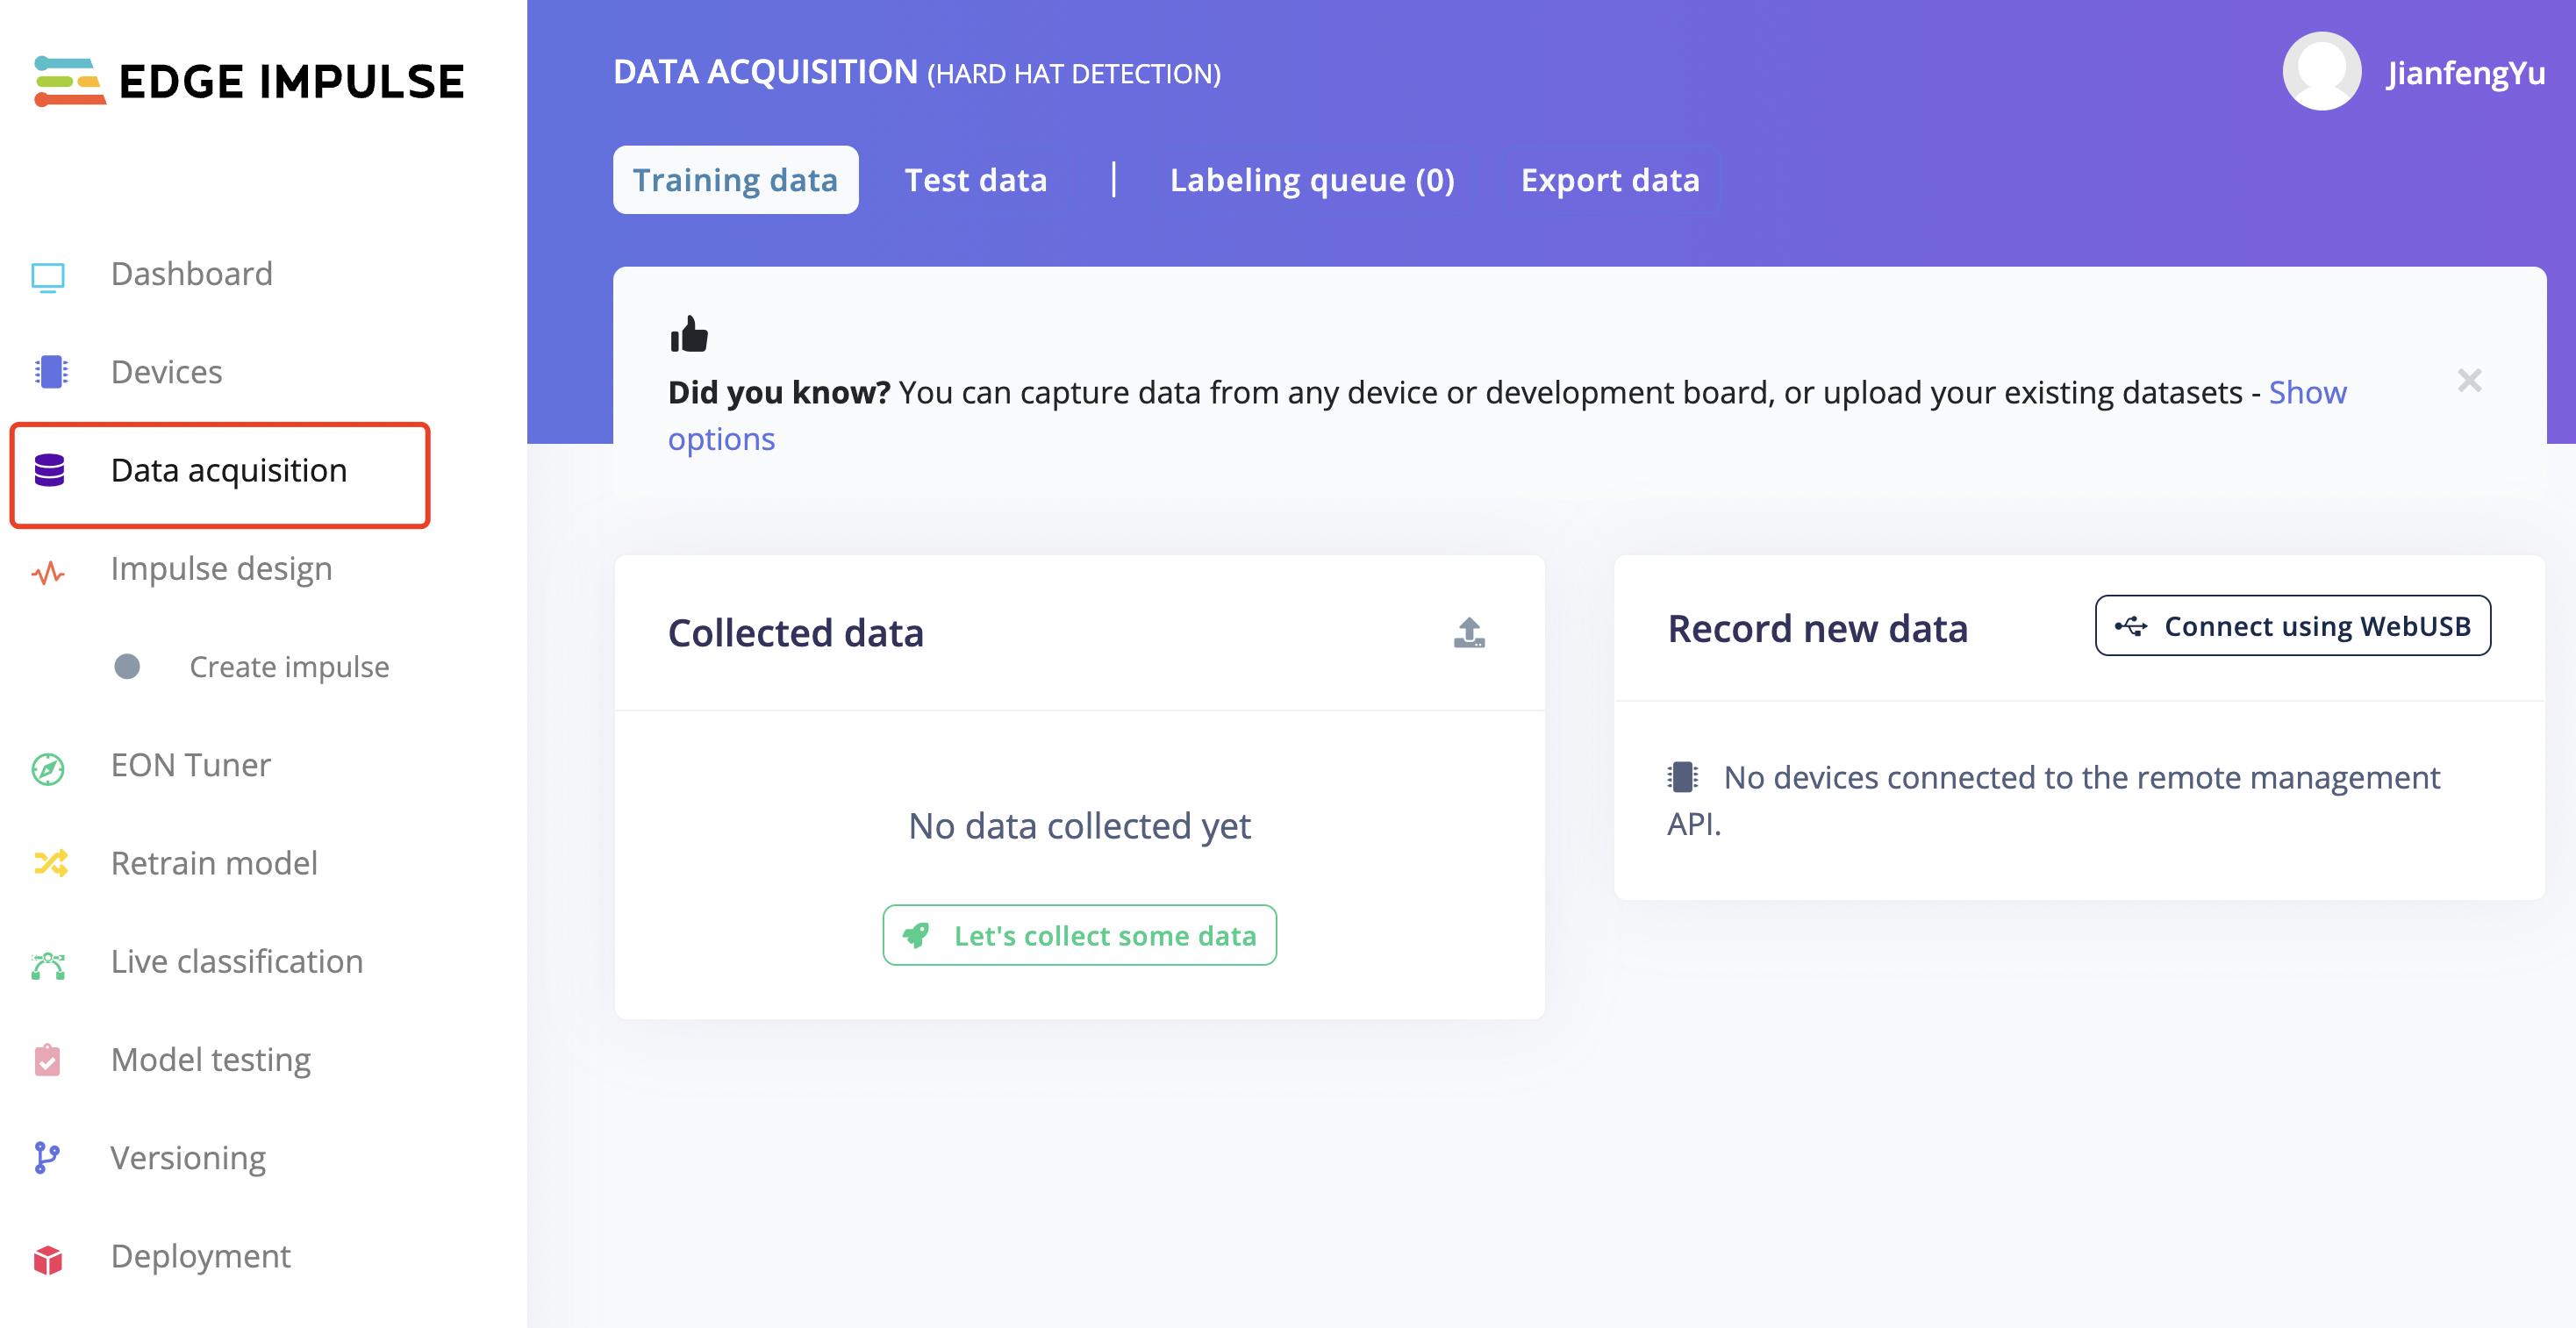
- Step 1. Select the "Data acauistion" page on the left column and collect data.
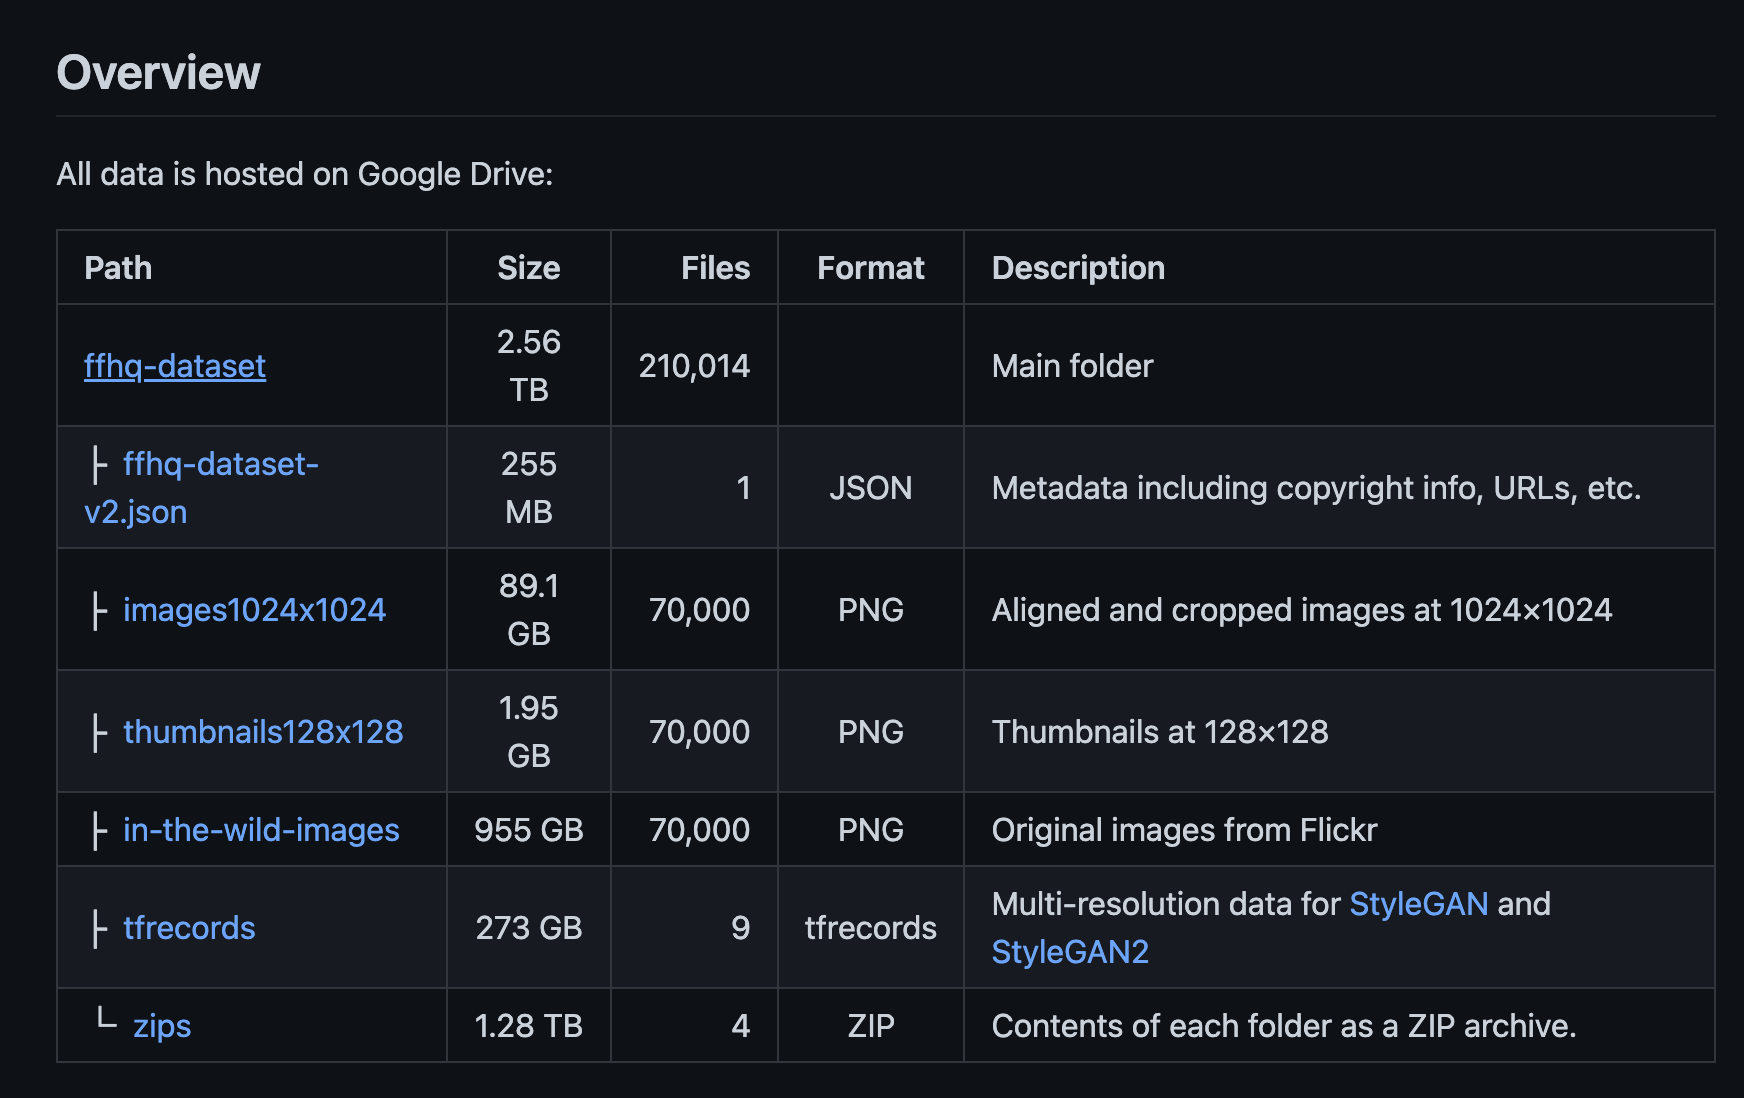
- Step 2. Chose and download the datasets from the Flickr-Faces-HQ Dataset Github.
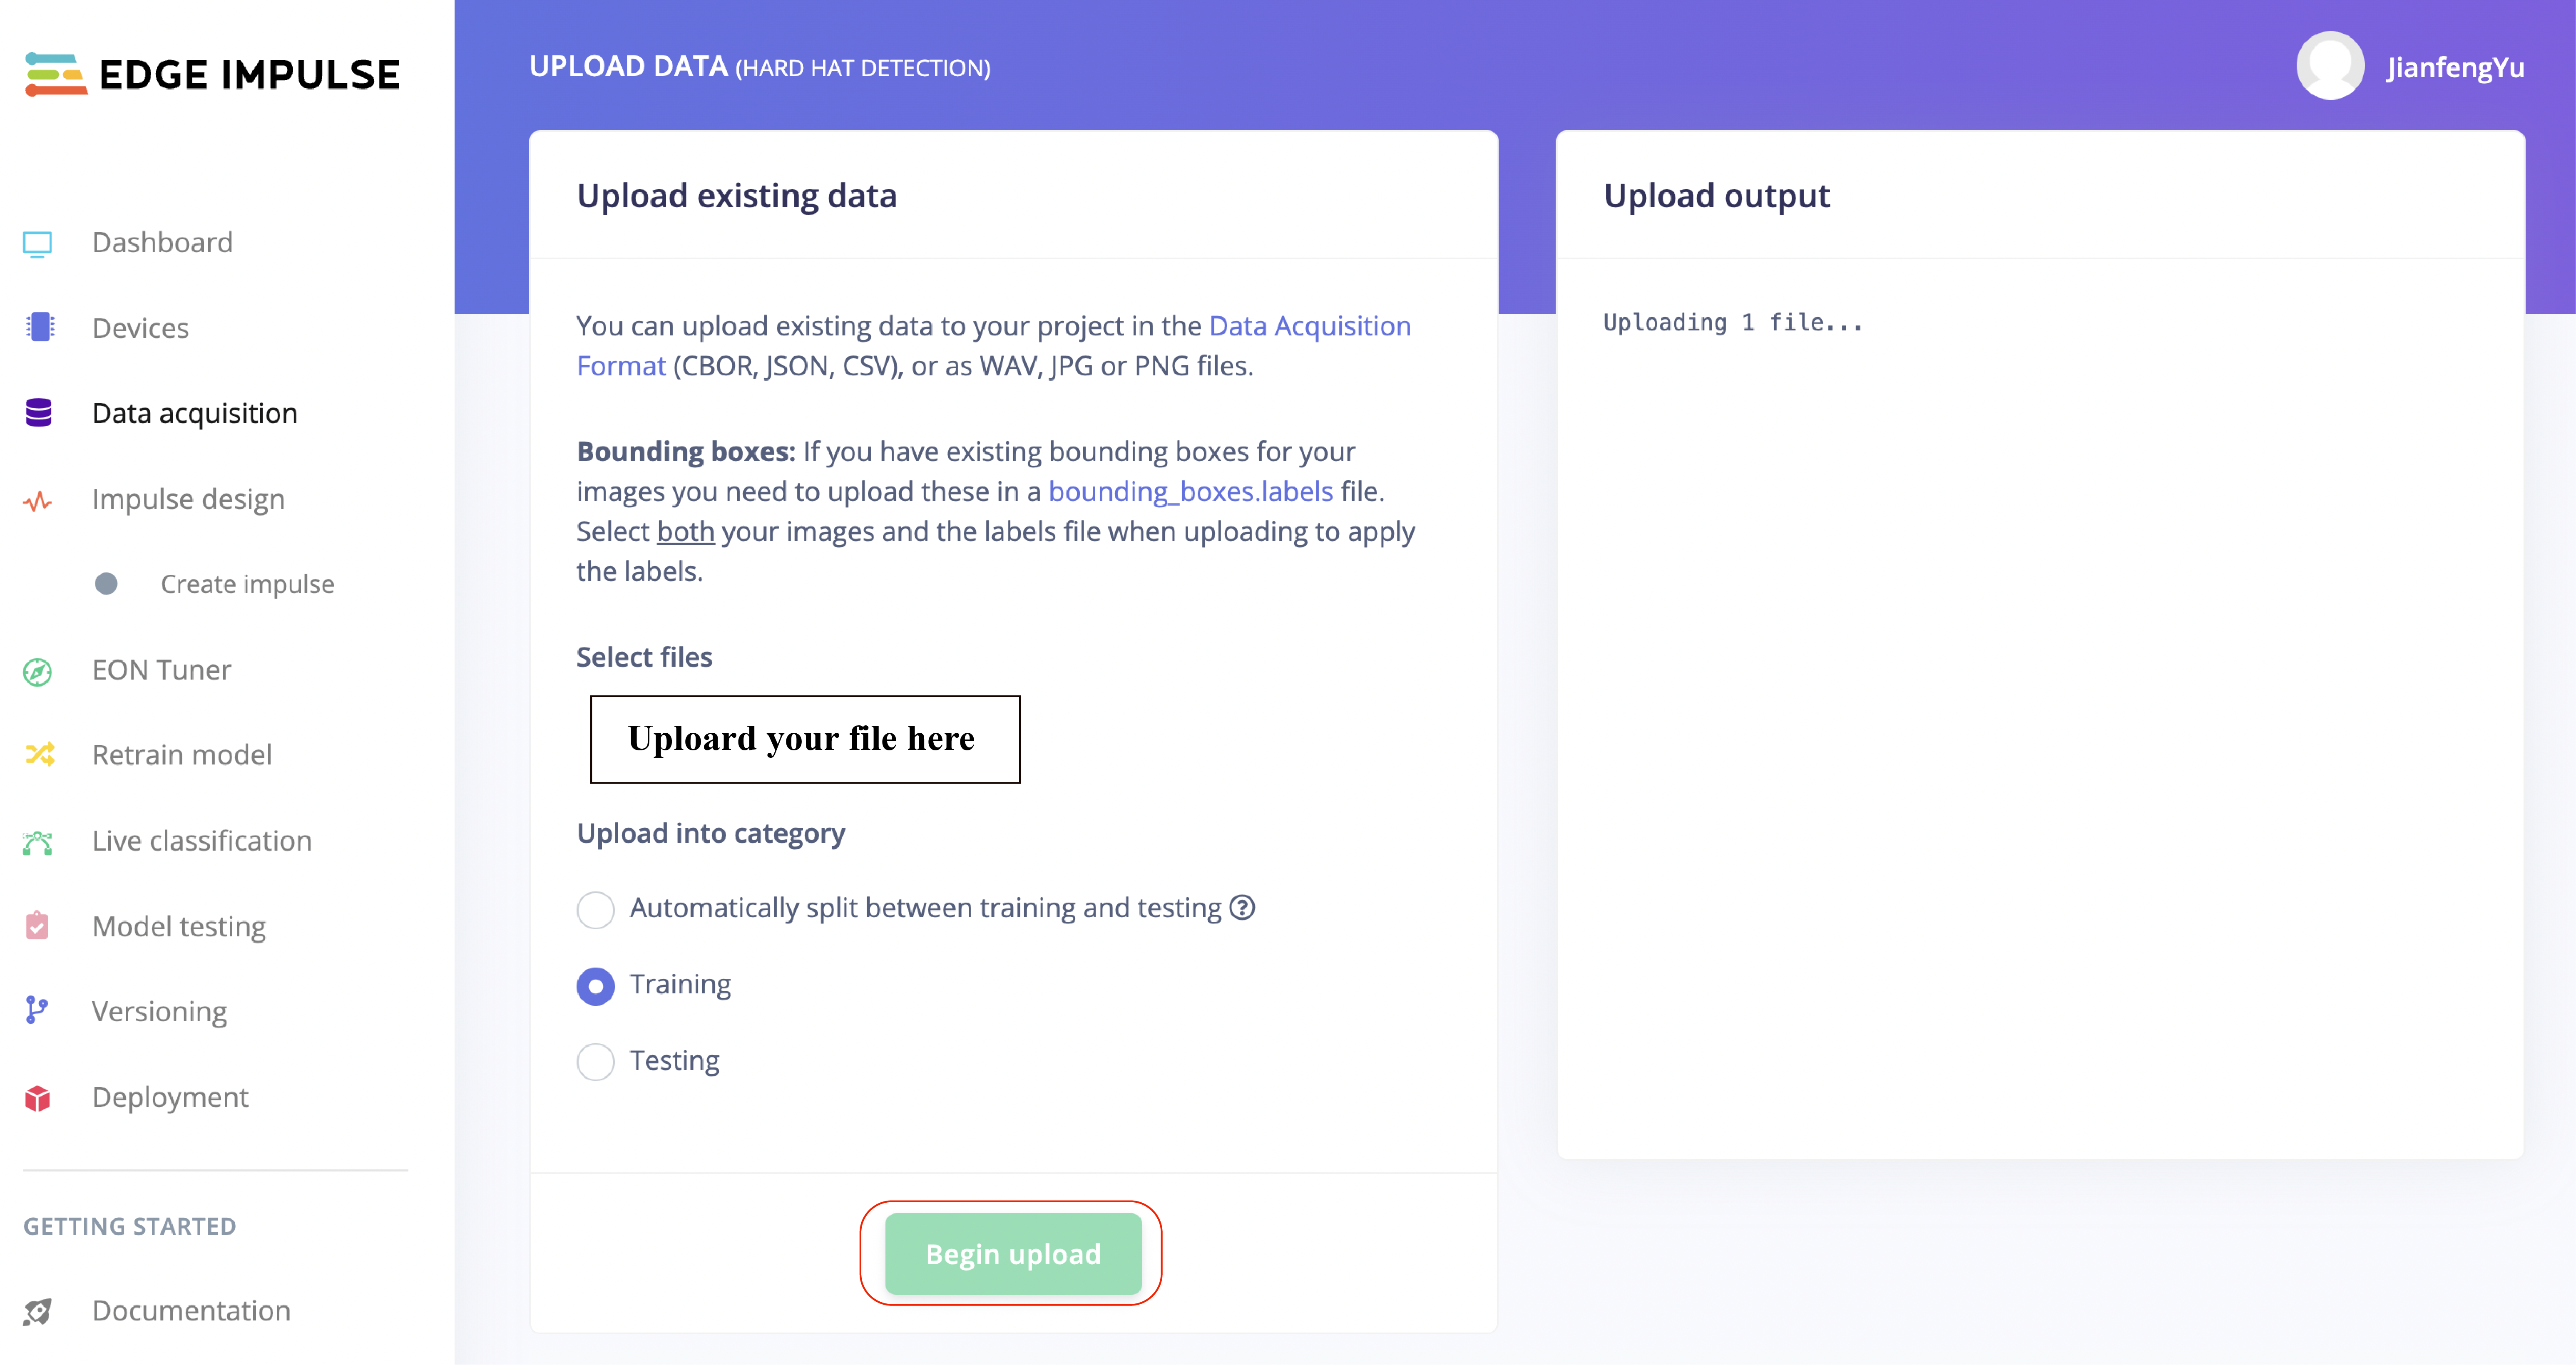
Click "upload data" button on the "Data acquisition" page and upload the downloaded datasets.
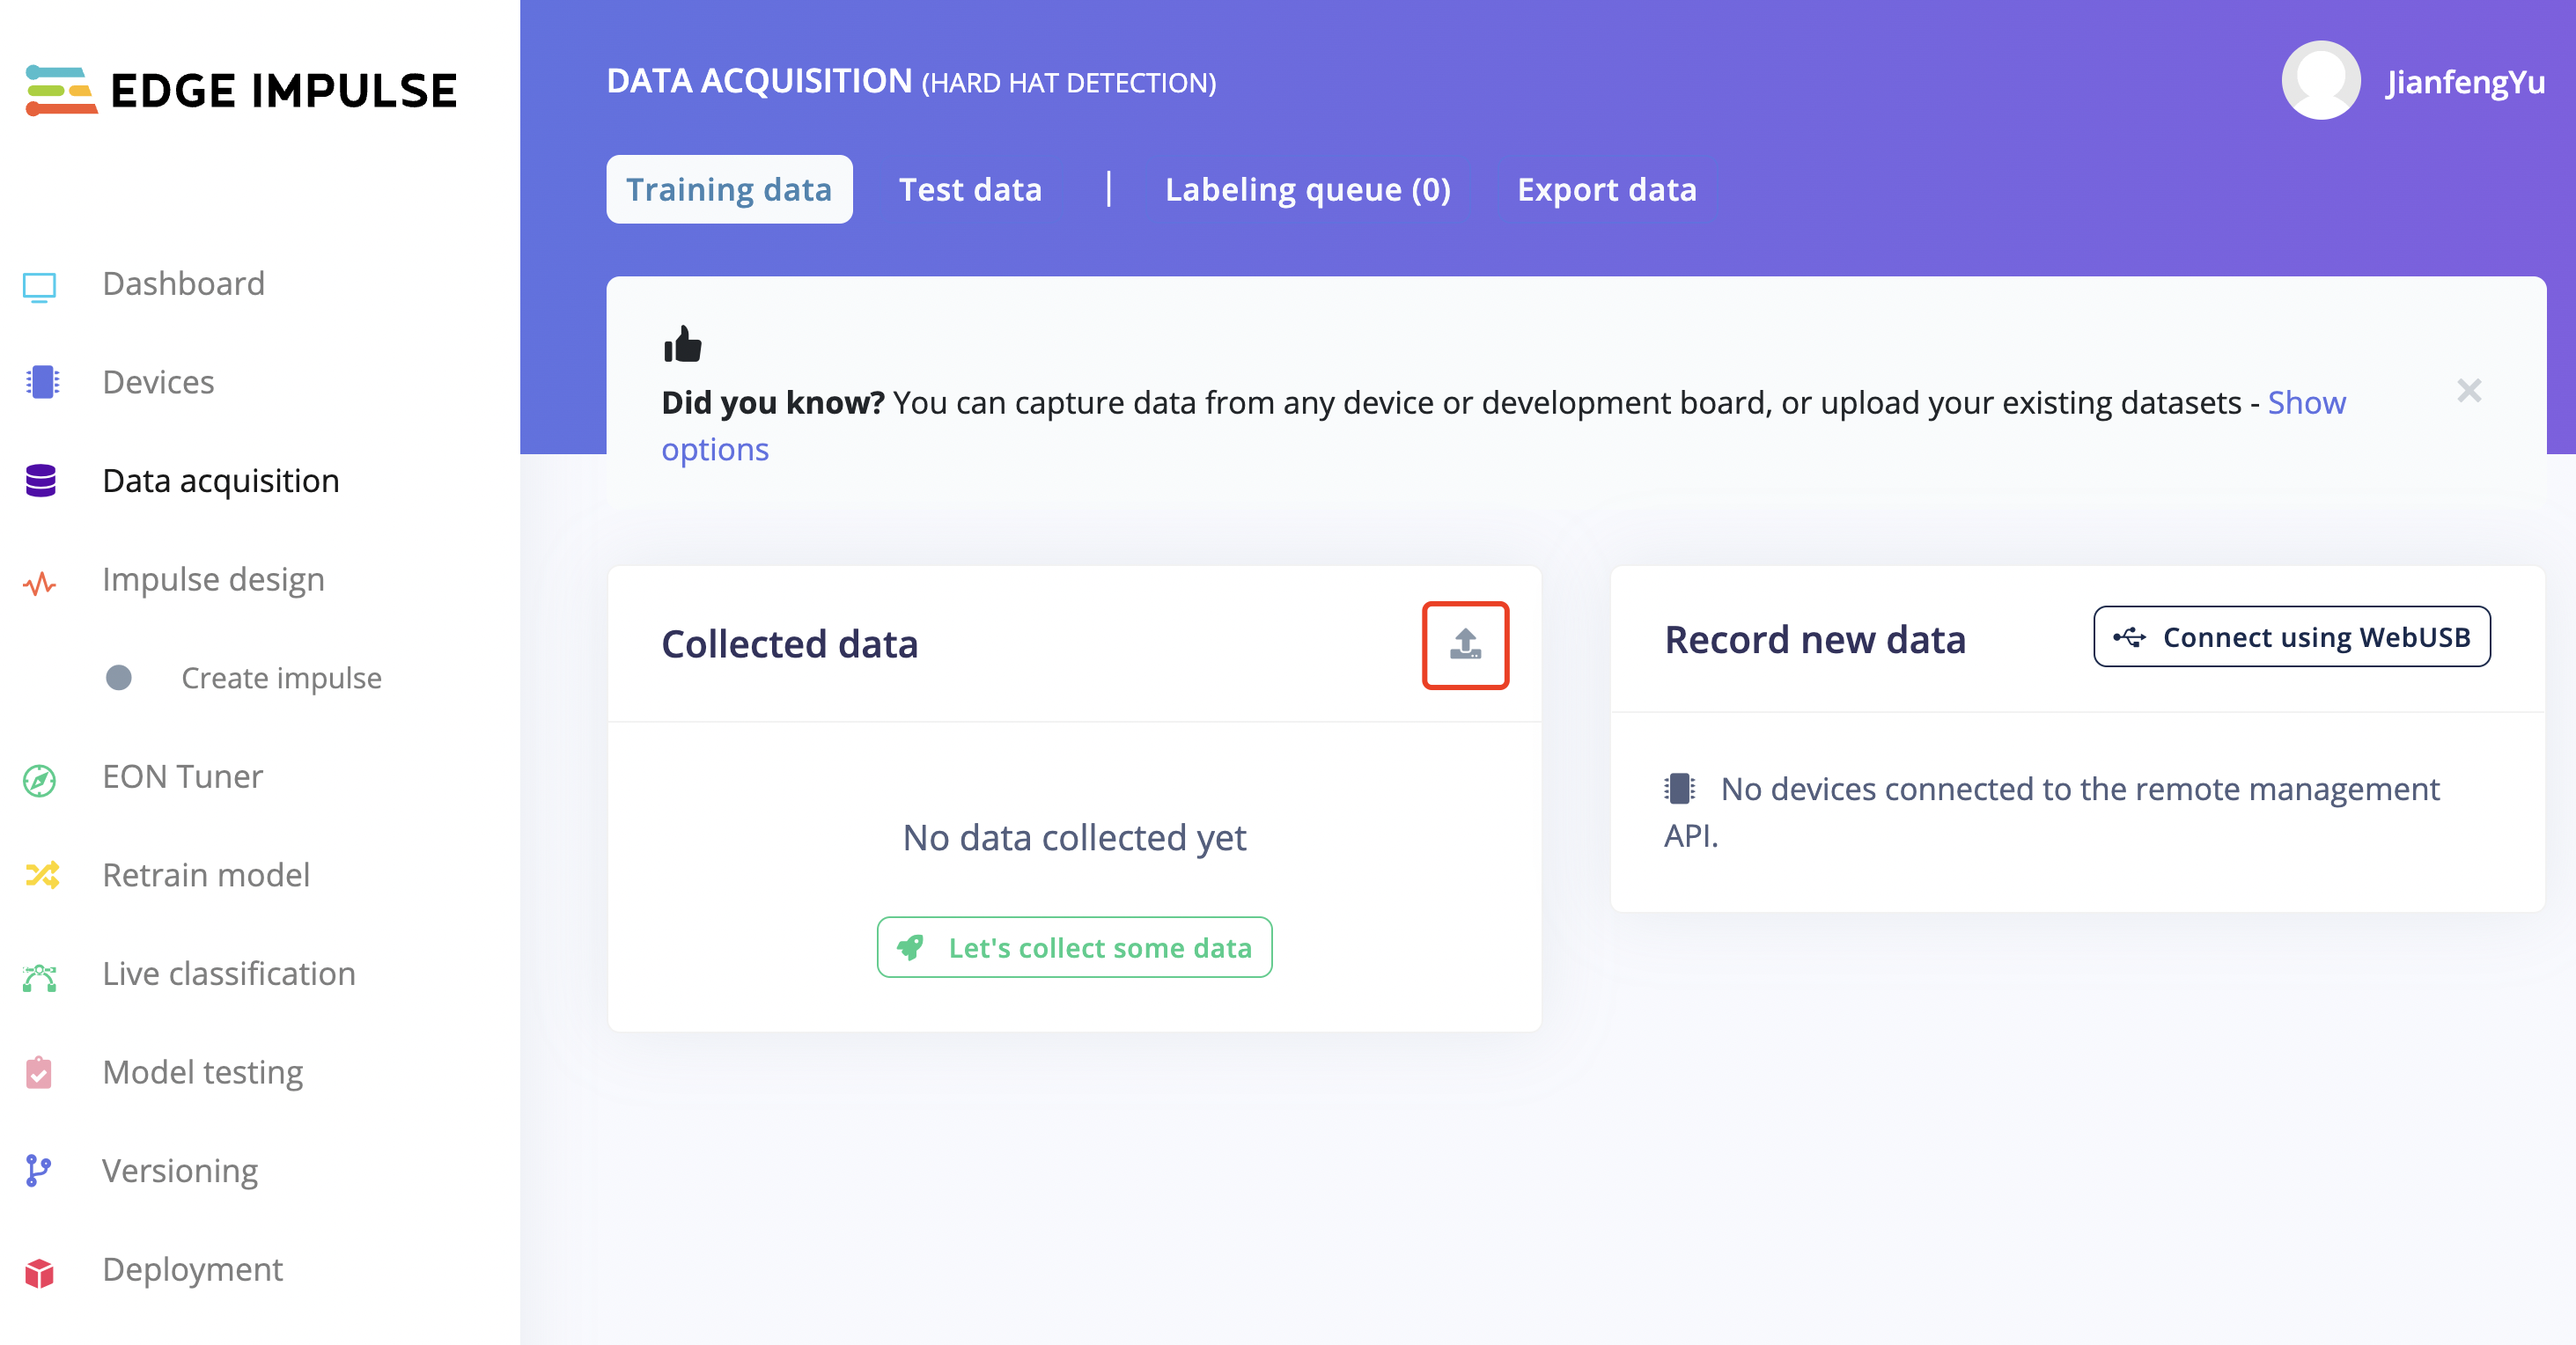
It is optional to upload existing data to the project in the Data Acquisition Format (CBOR, JSON, CSV), as WAV, JPG or PNG files.
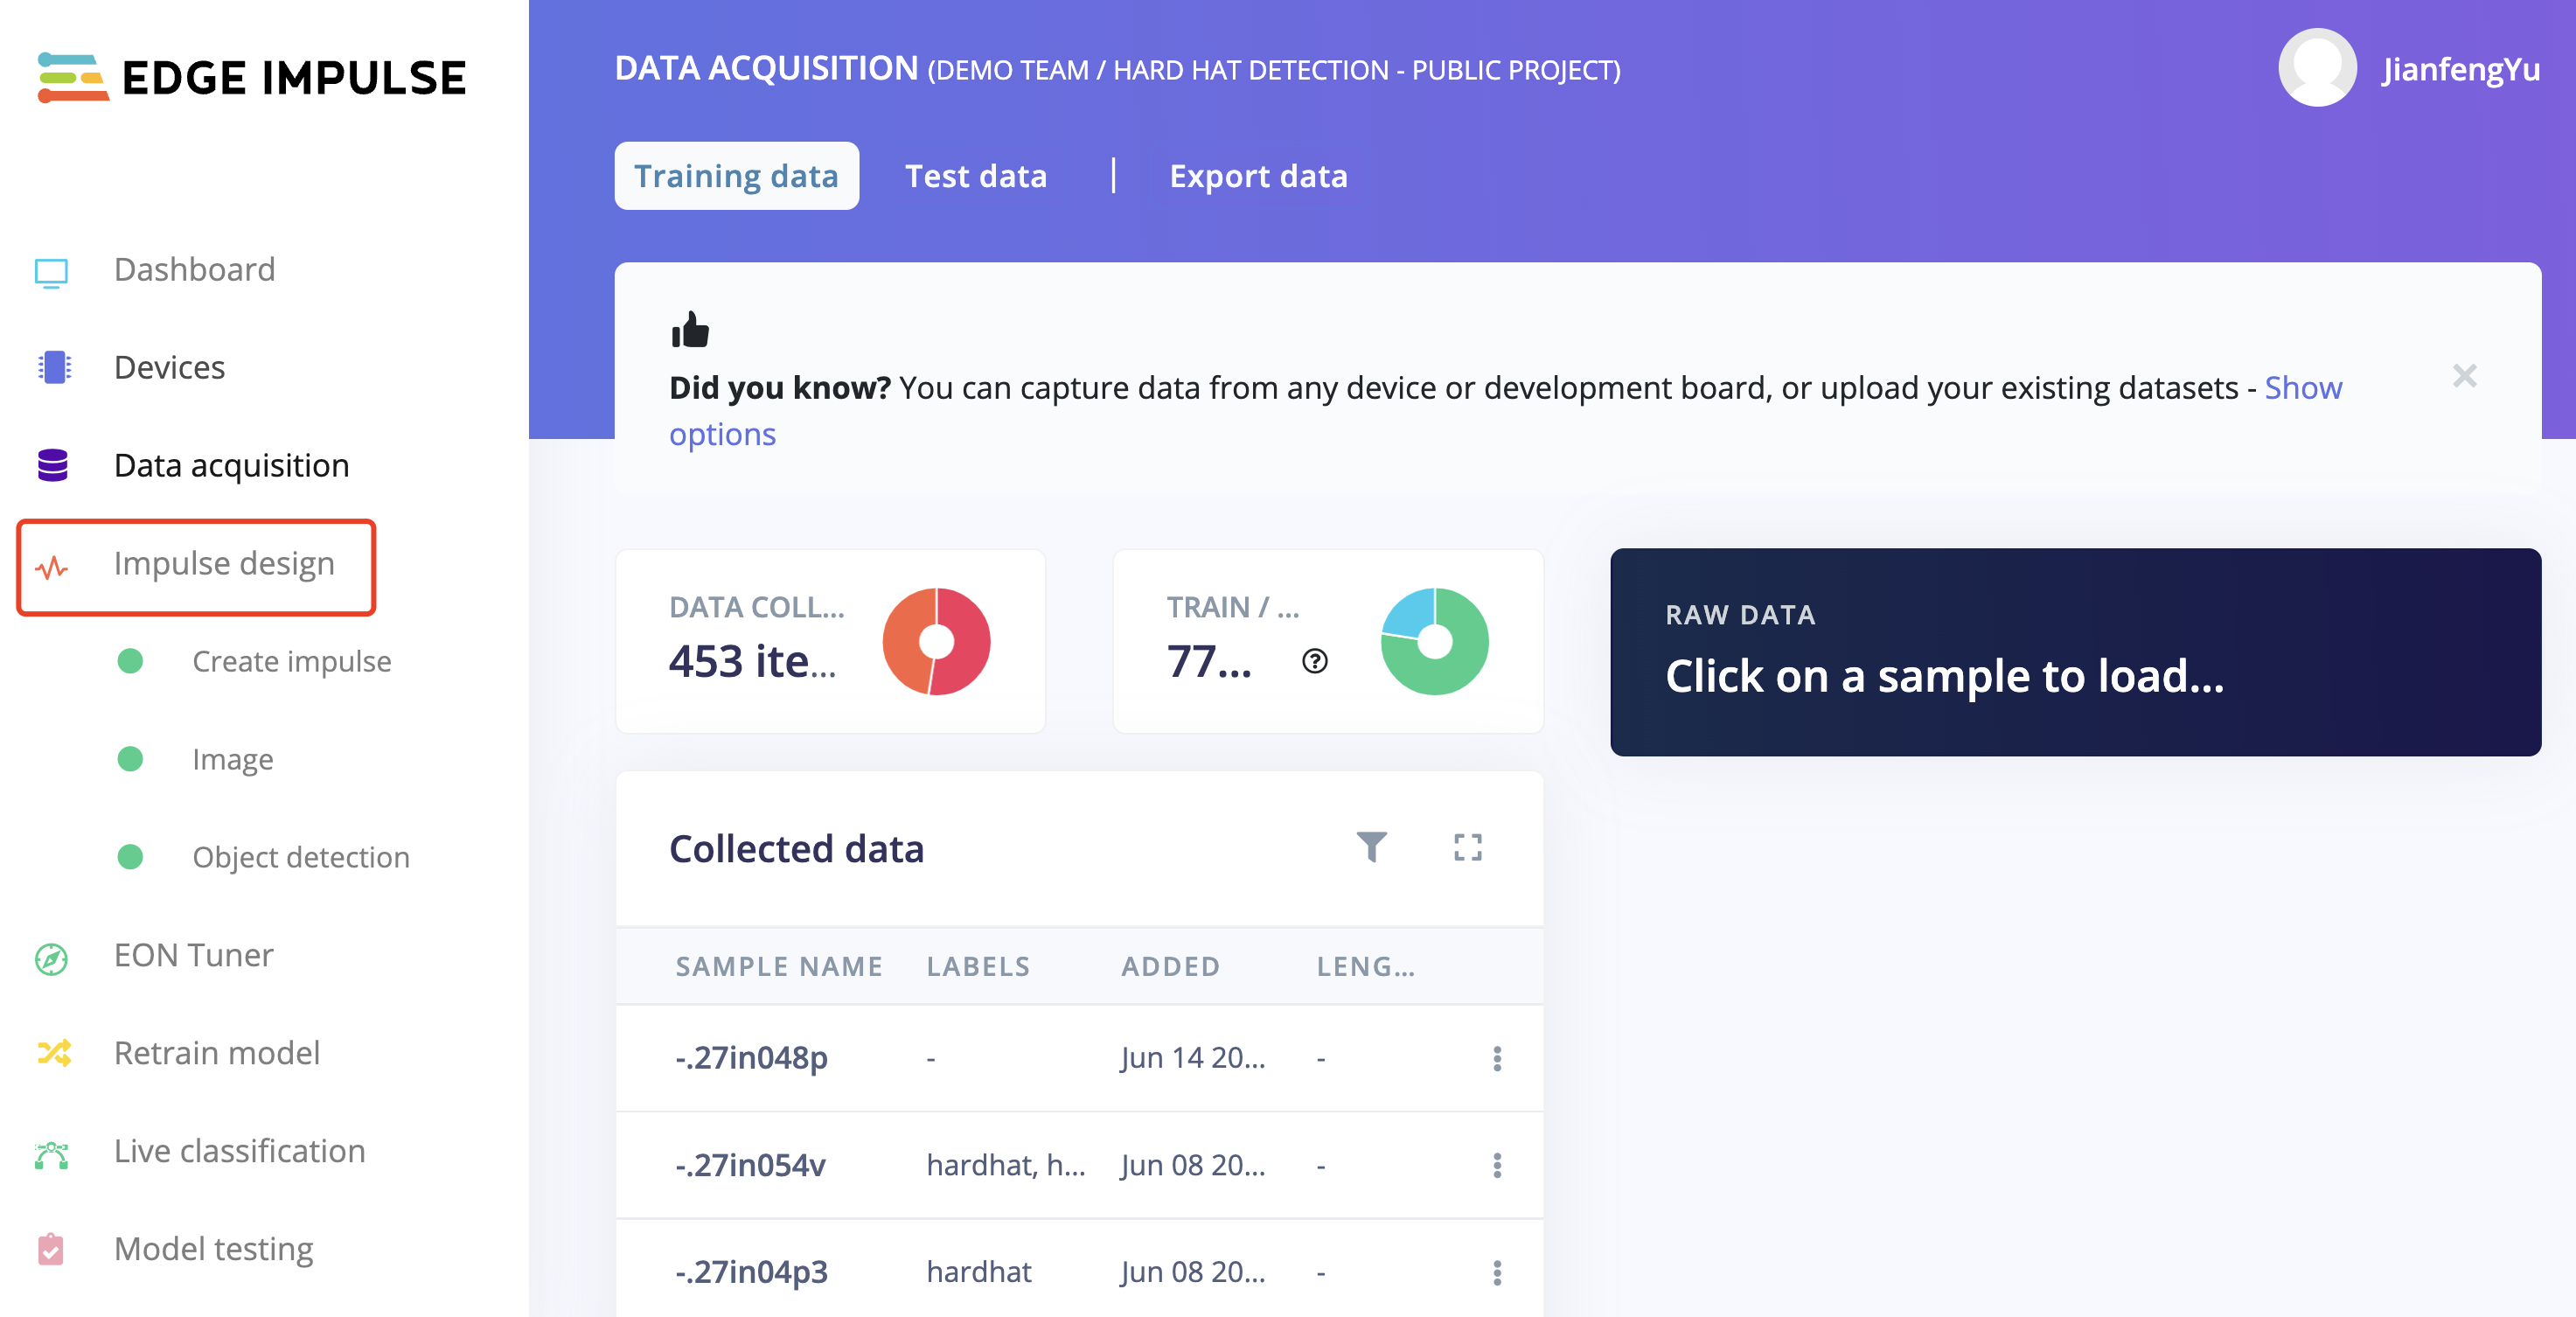
- Step 3. Once uploaded, the collected data are is fullfilled with labeled images. Continue by clicking "Impulse desigh" on the left of the page.
- Step 4. Chose the suitable the processing image blcok and the image learnning block and save the impulse.
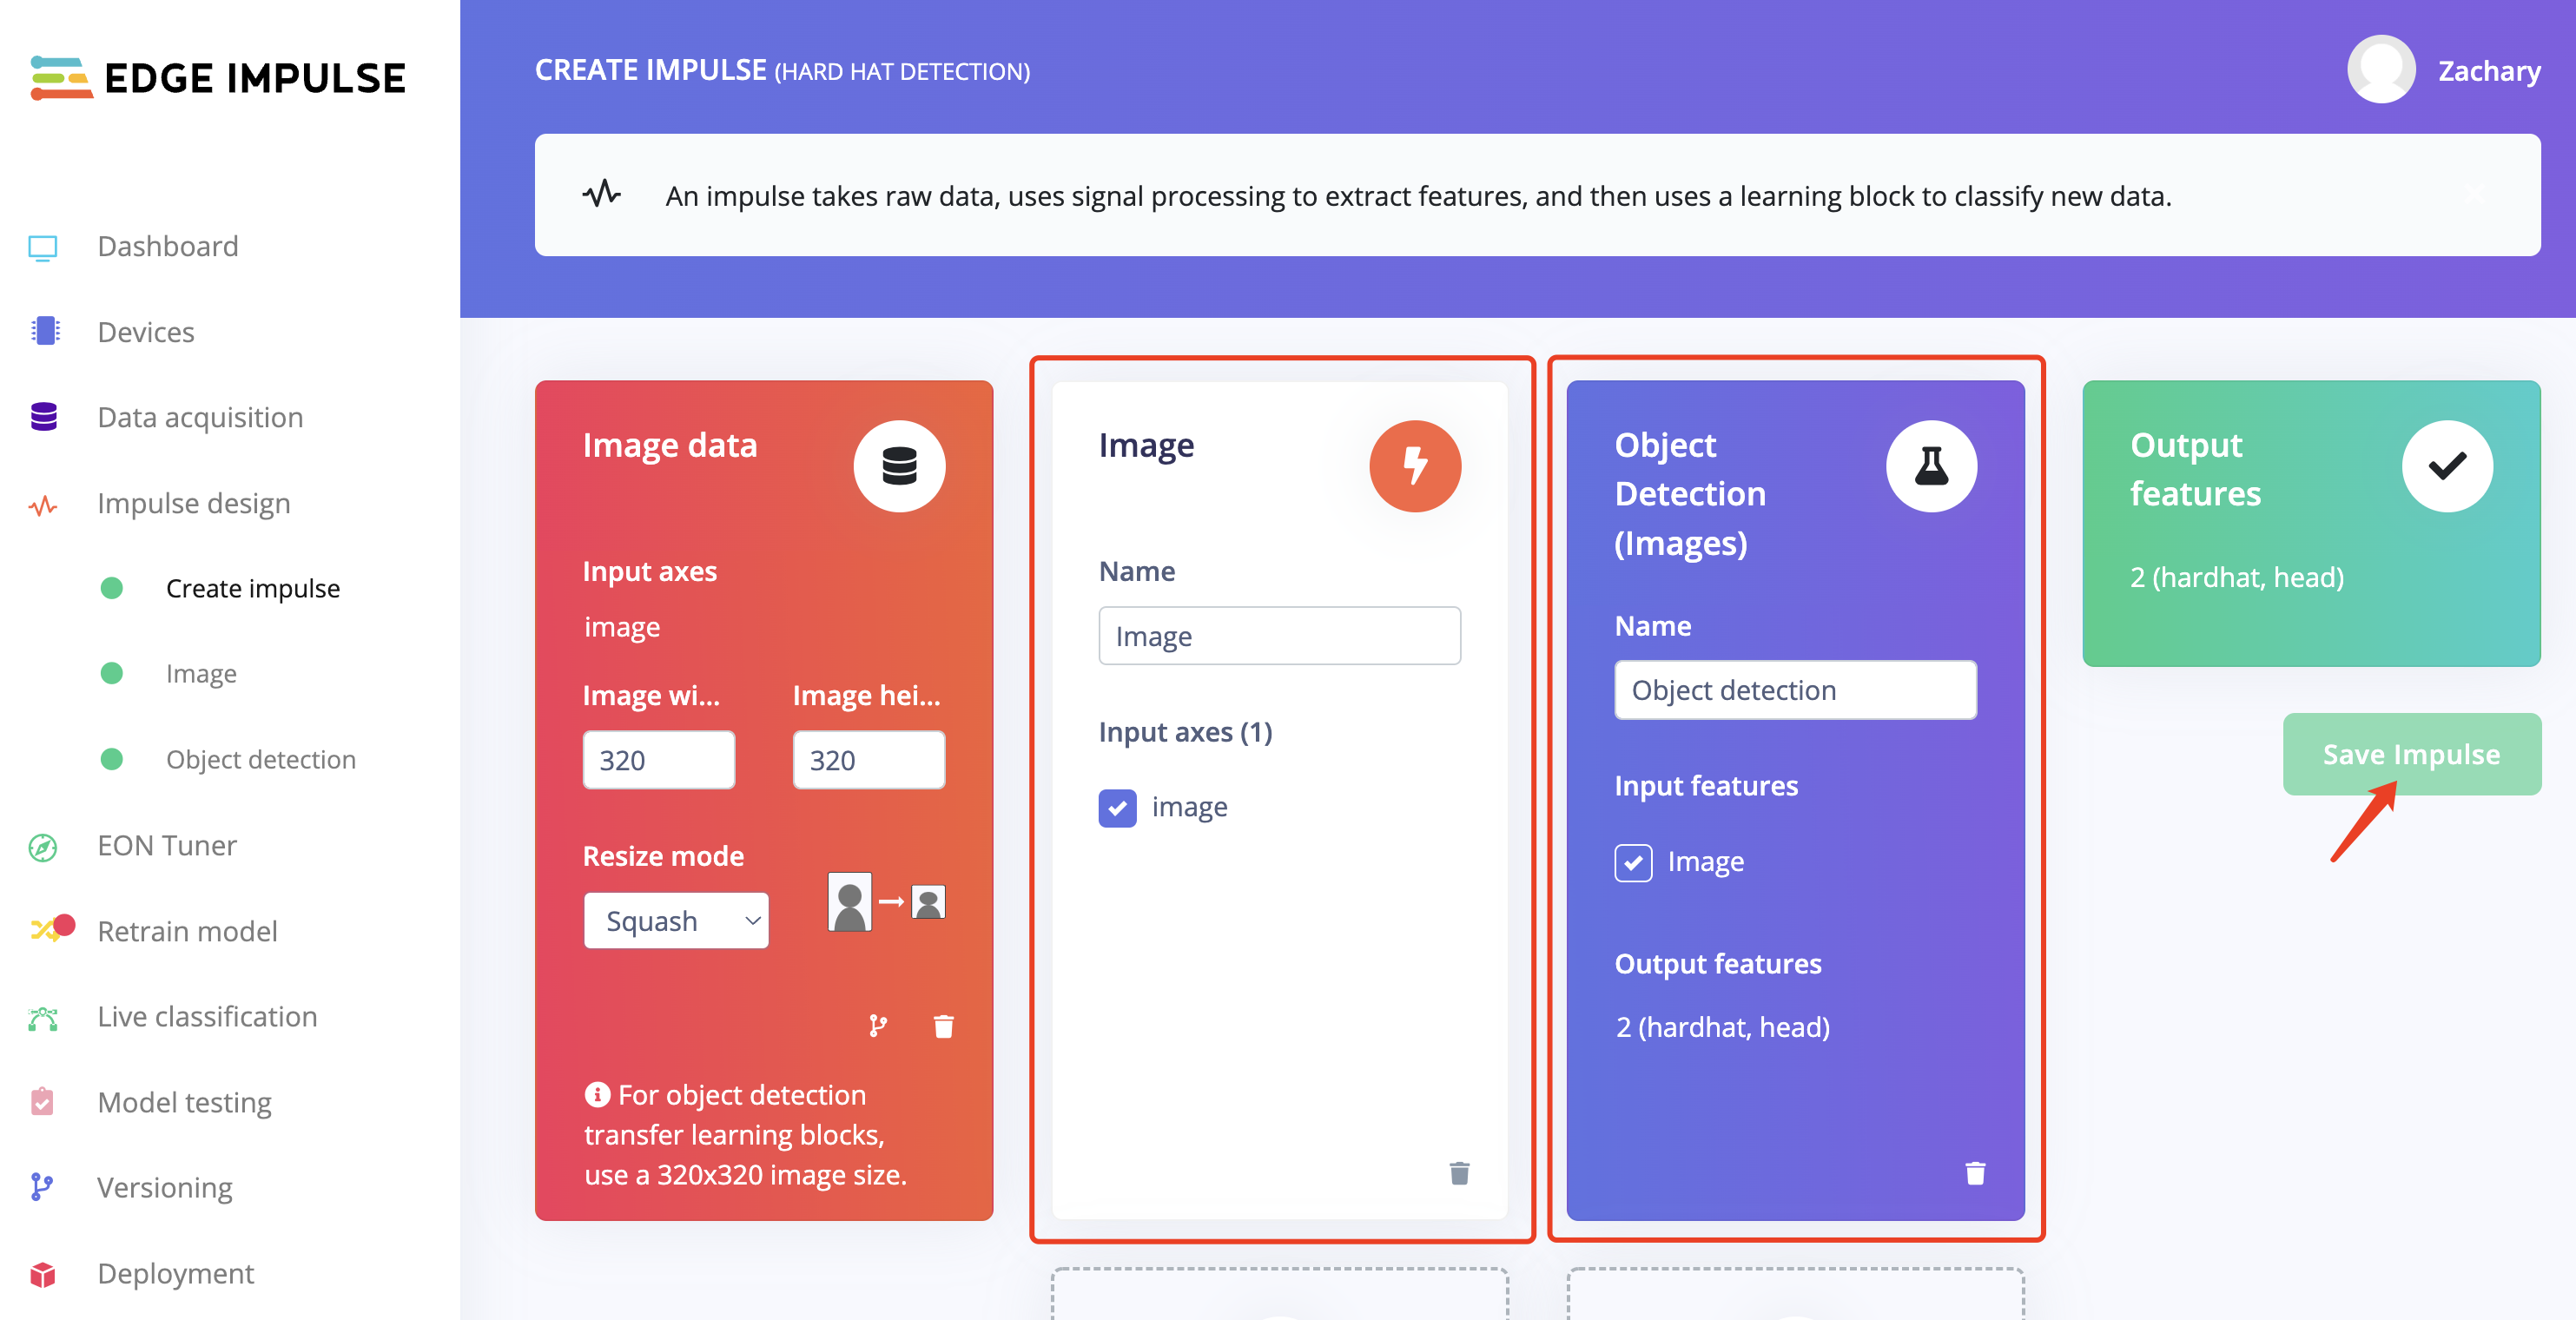
- Step 5. Click "image" on the left of the page.
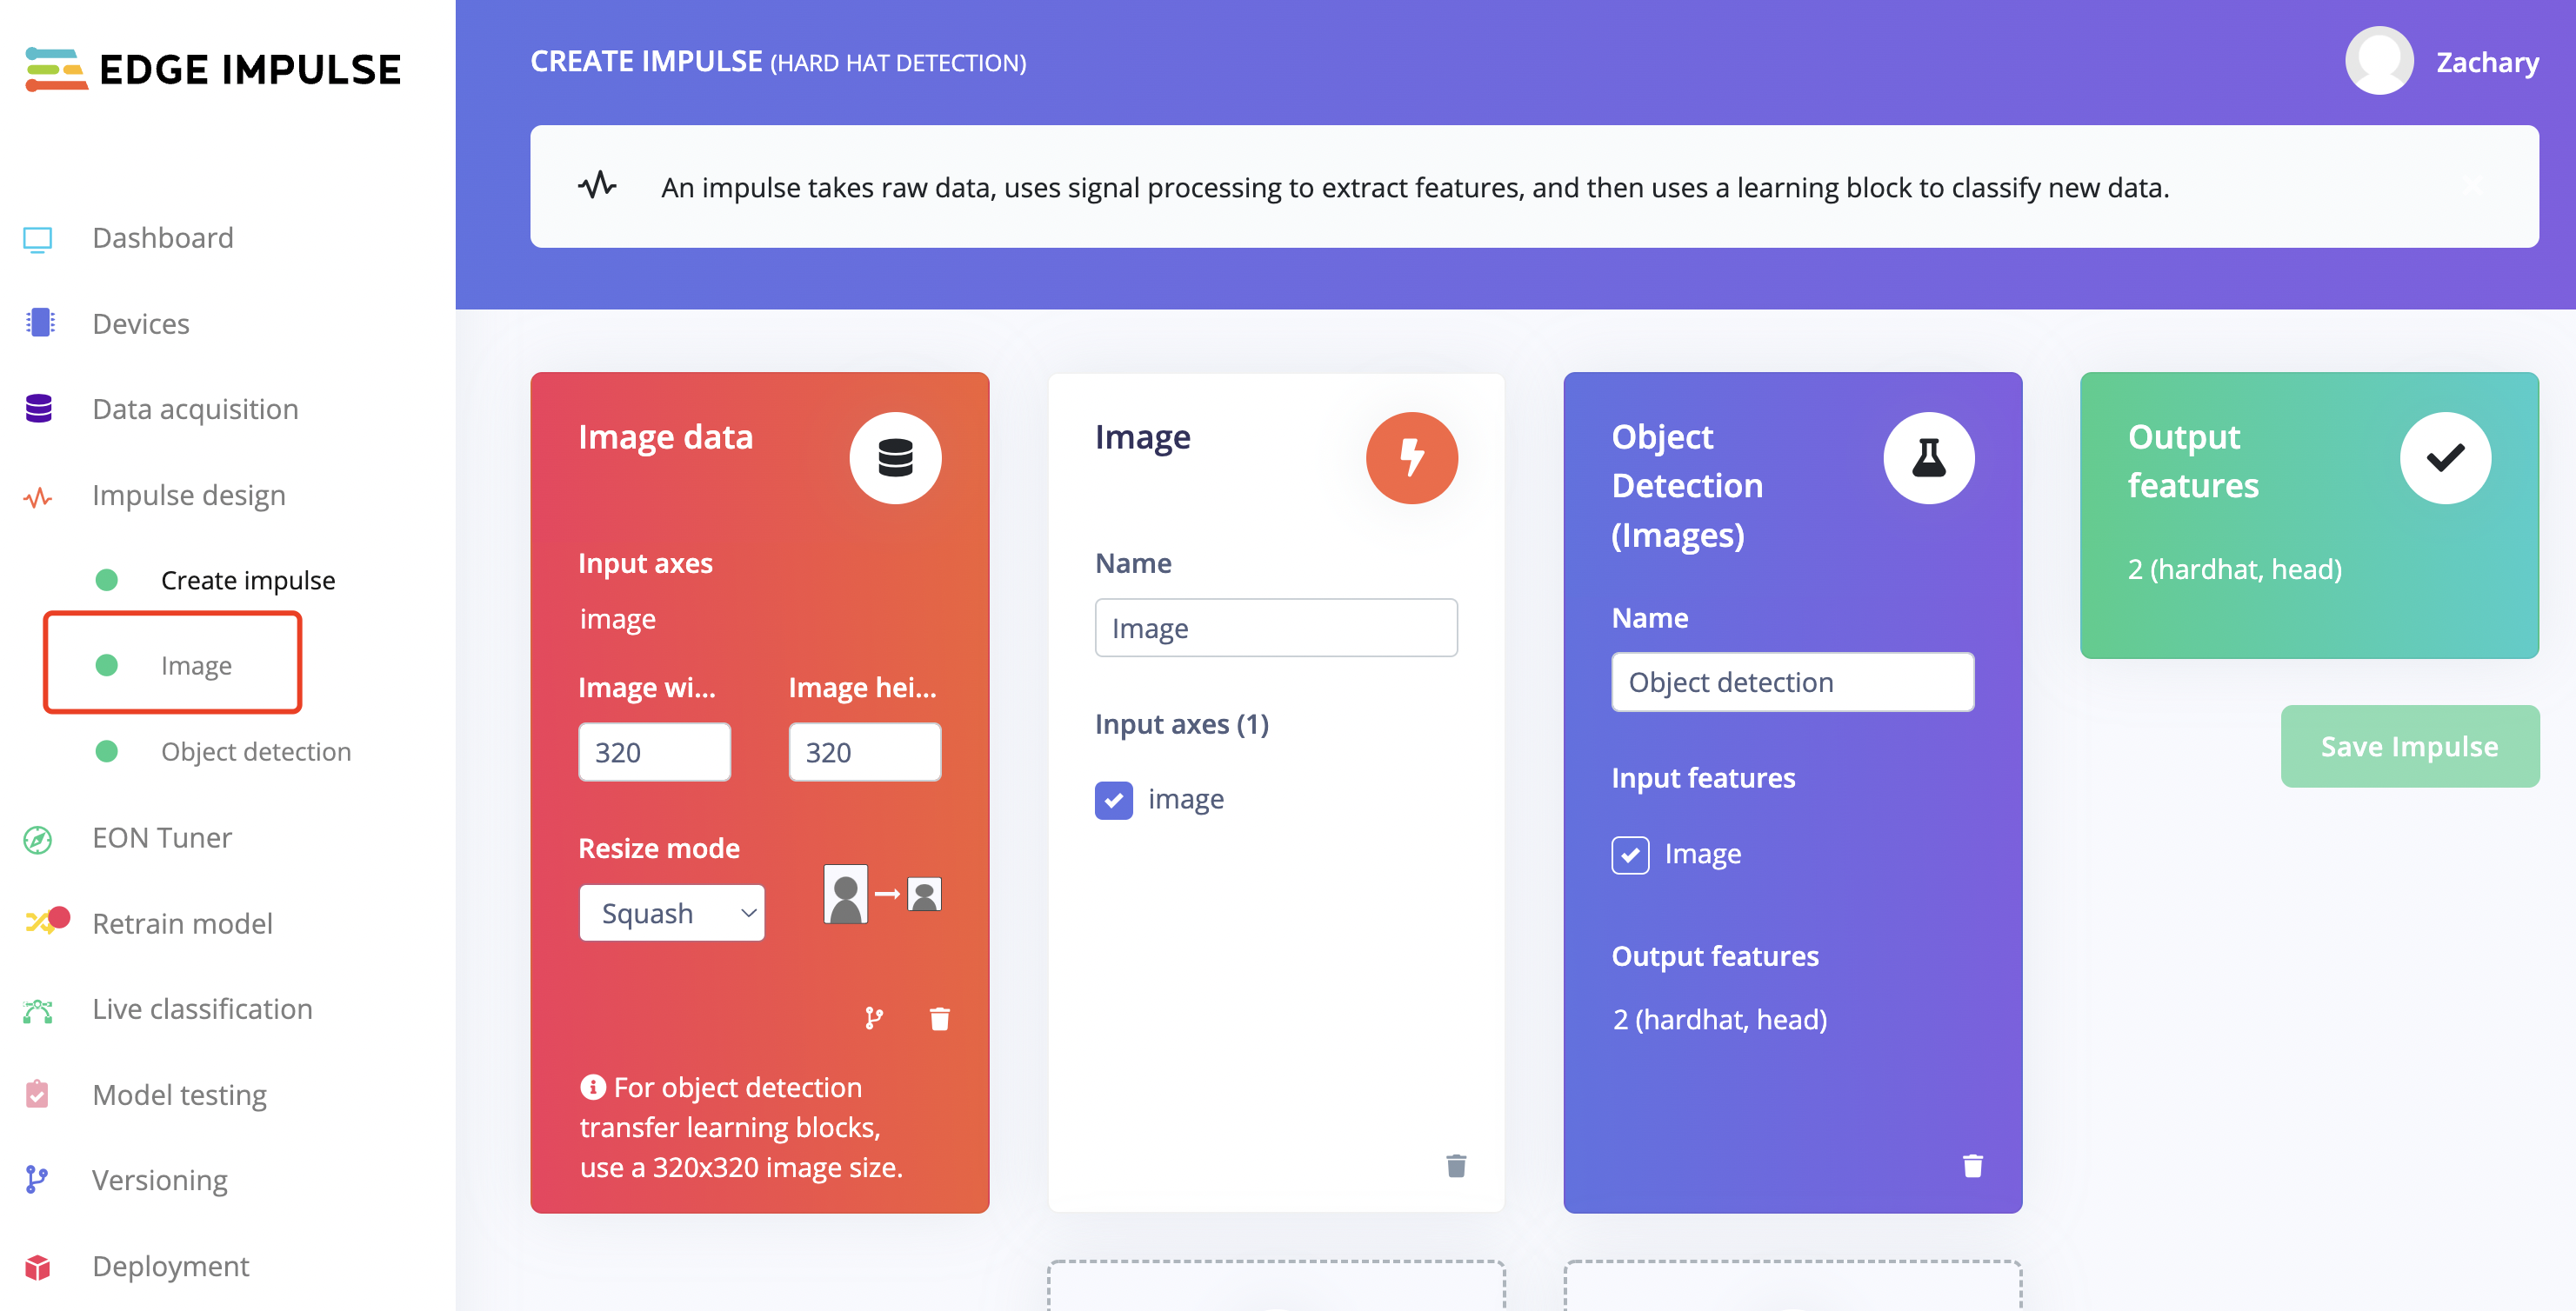
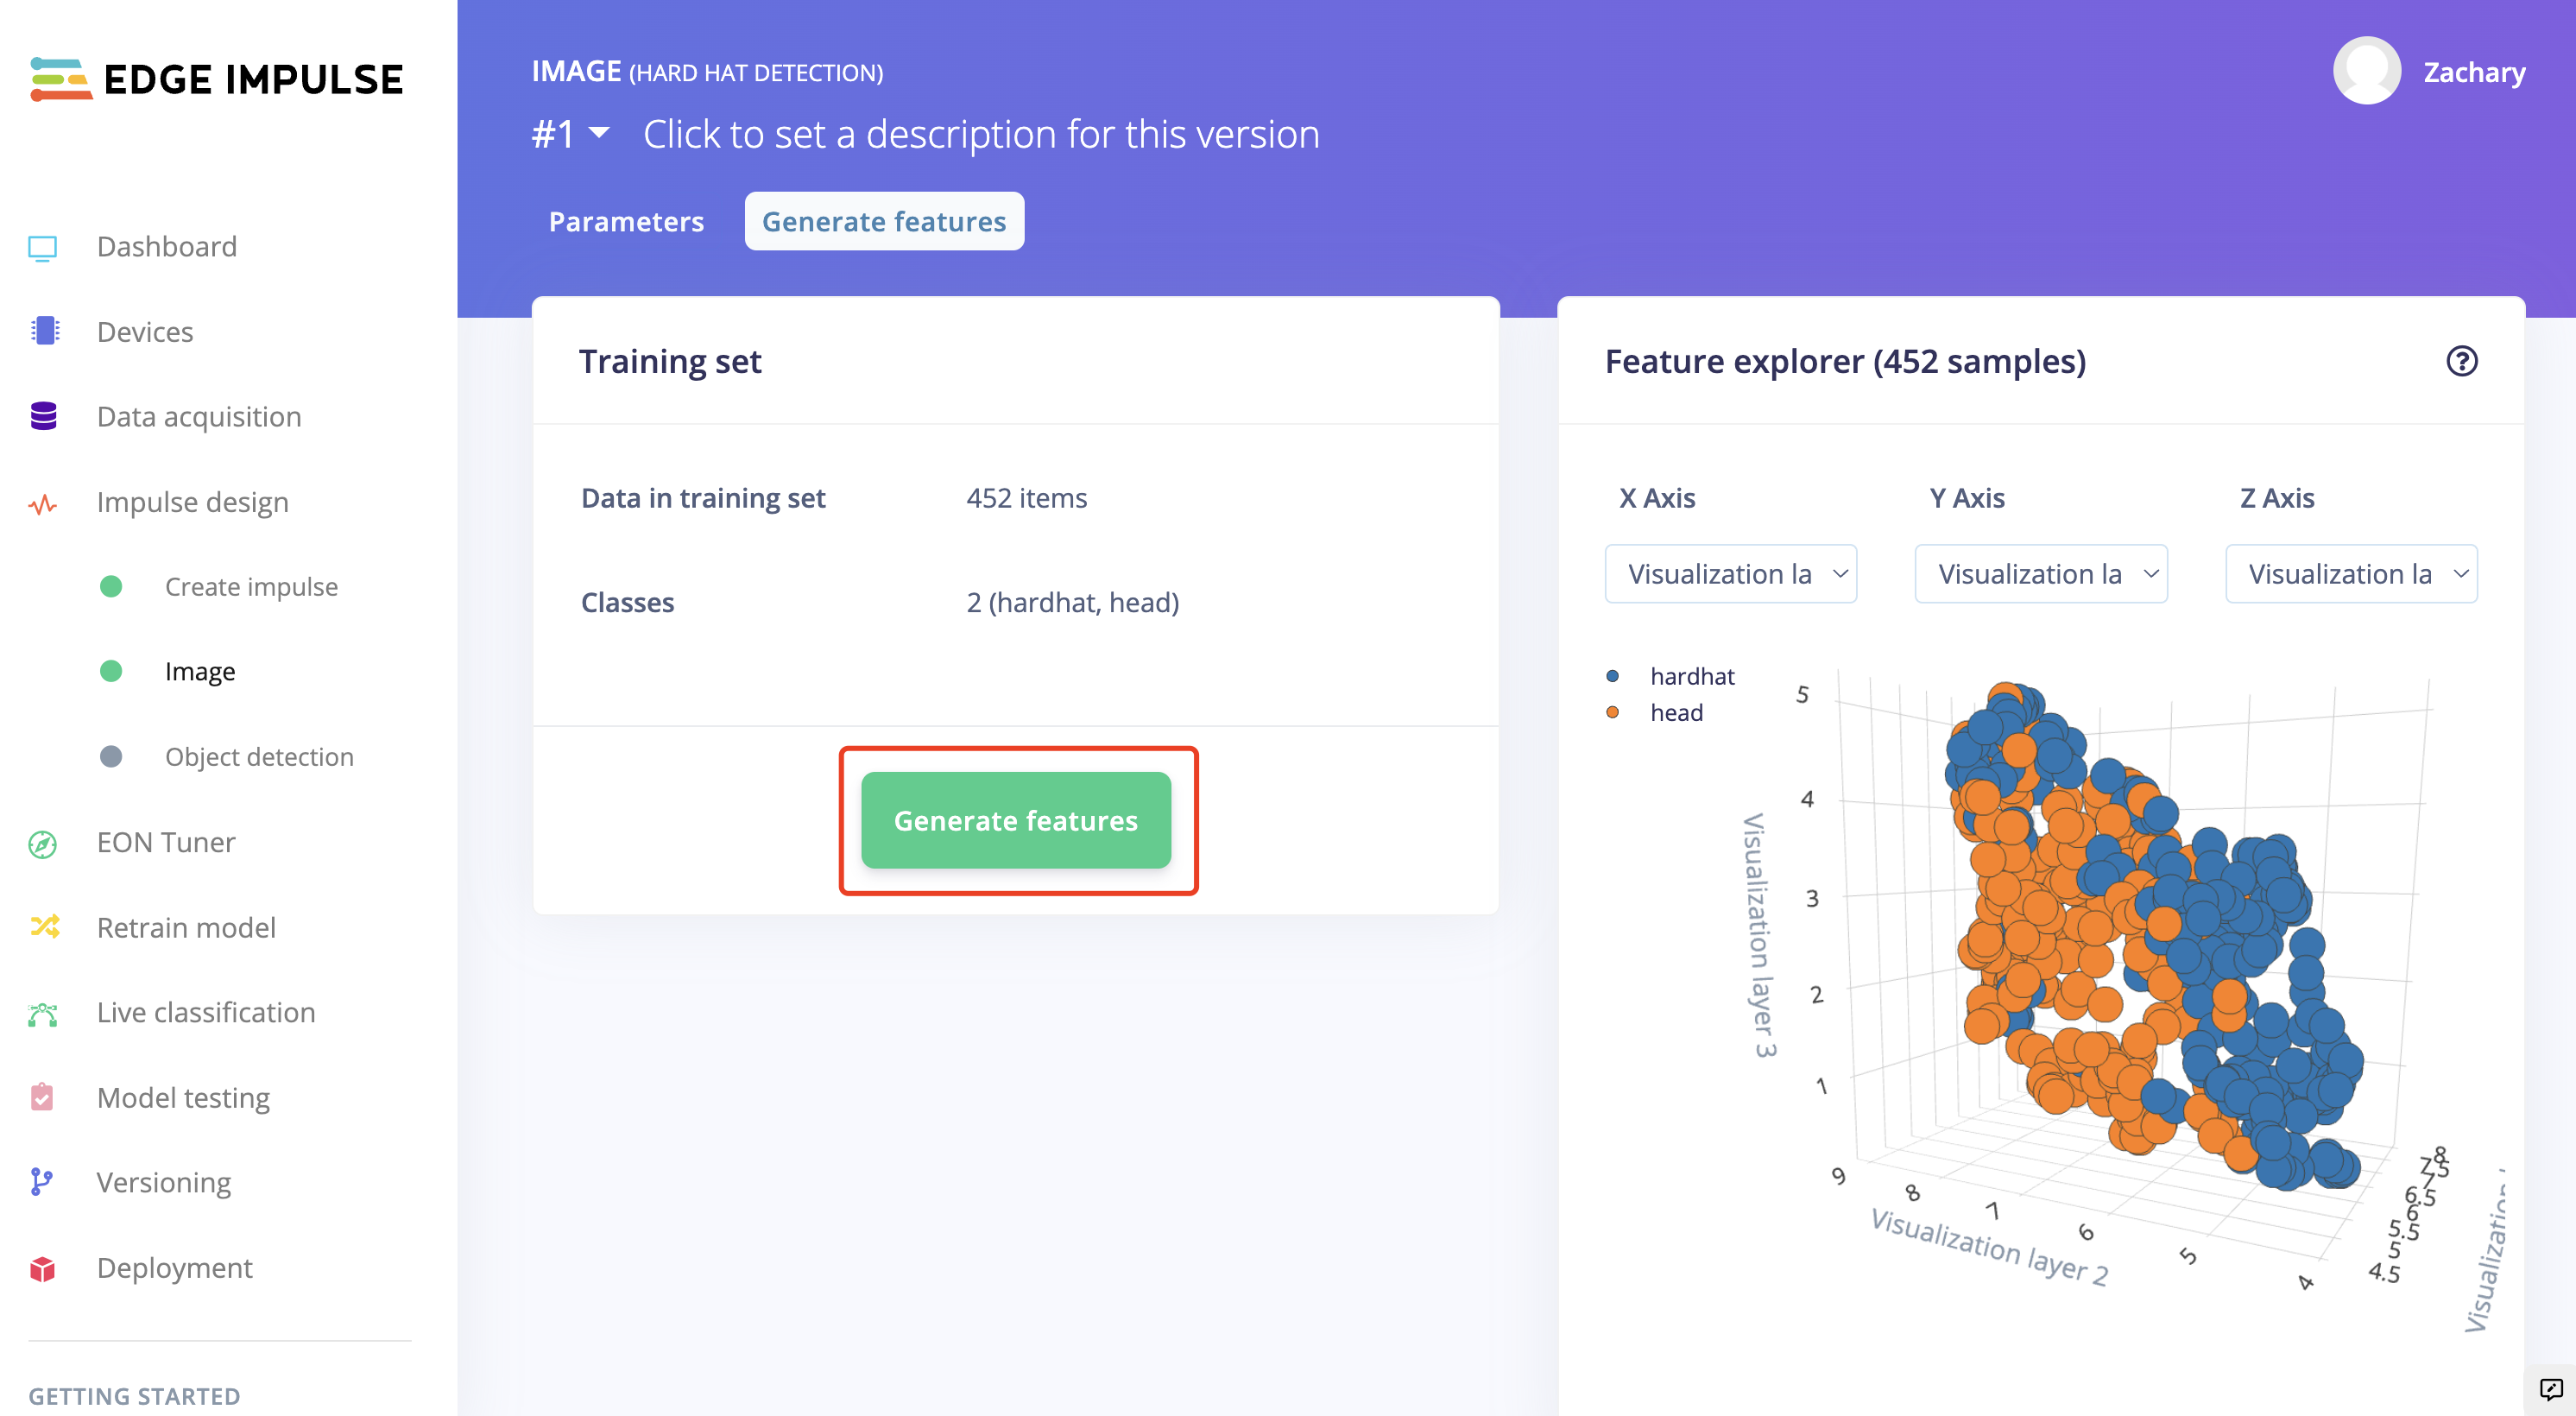
Configure as "GRB" and click "Save Parameters", the page will turn to the "Generate features" site automatically.

We then are able to generate the features.
- Step 6. When the "Job completed" is shown up, click the "Object detection" on the left of the page.
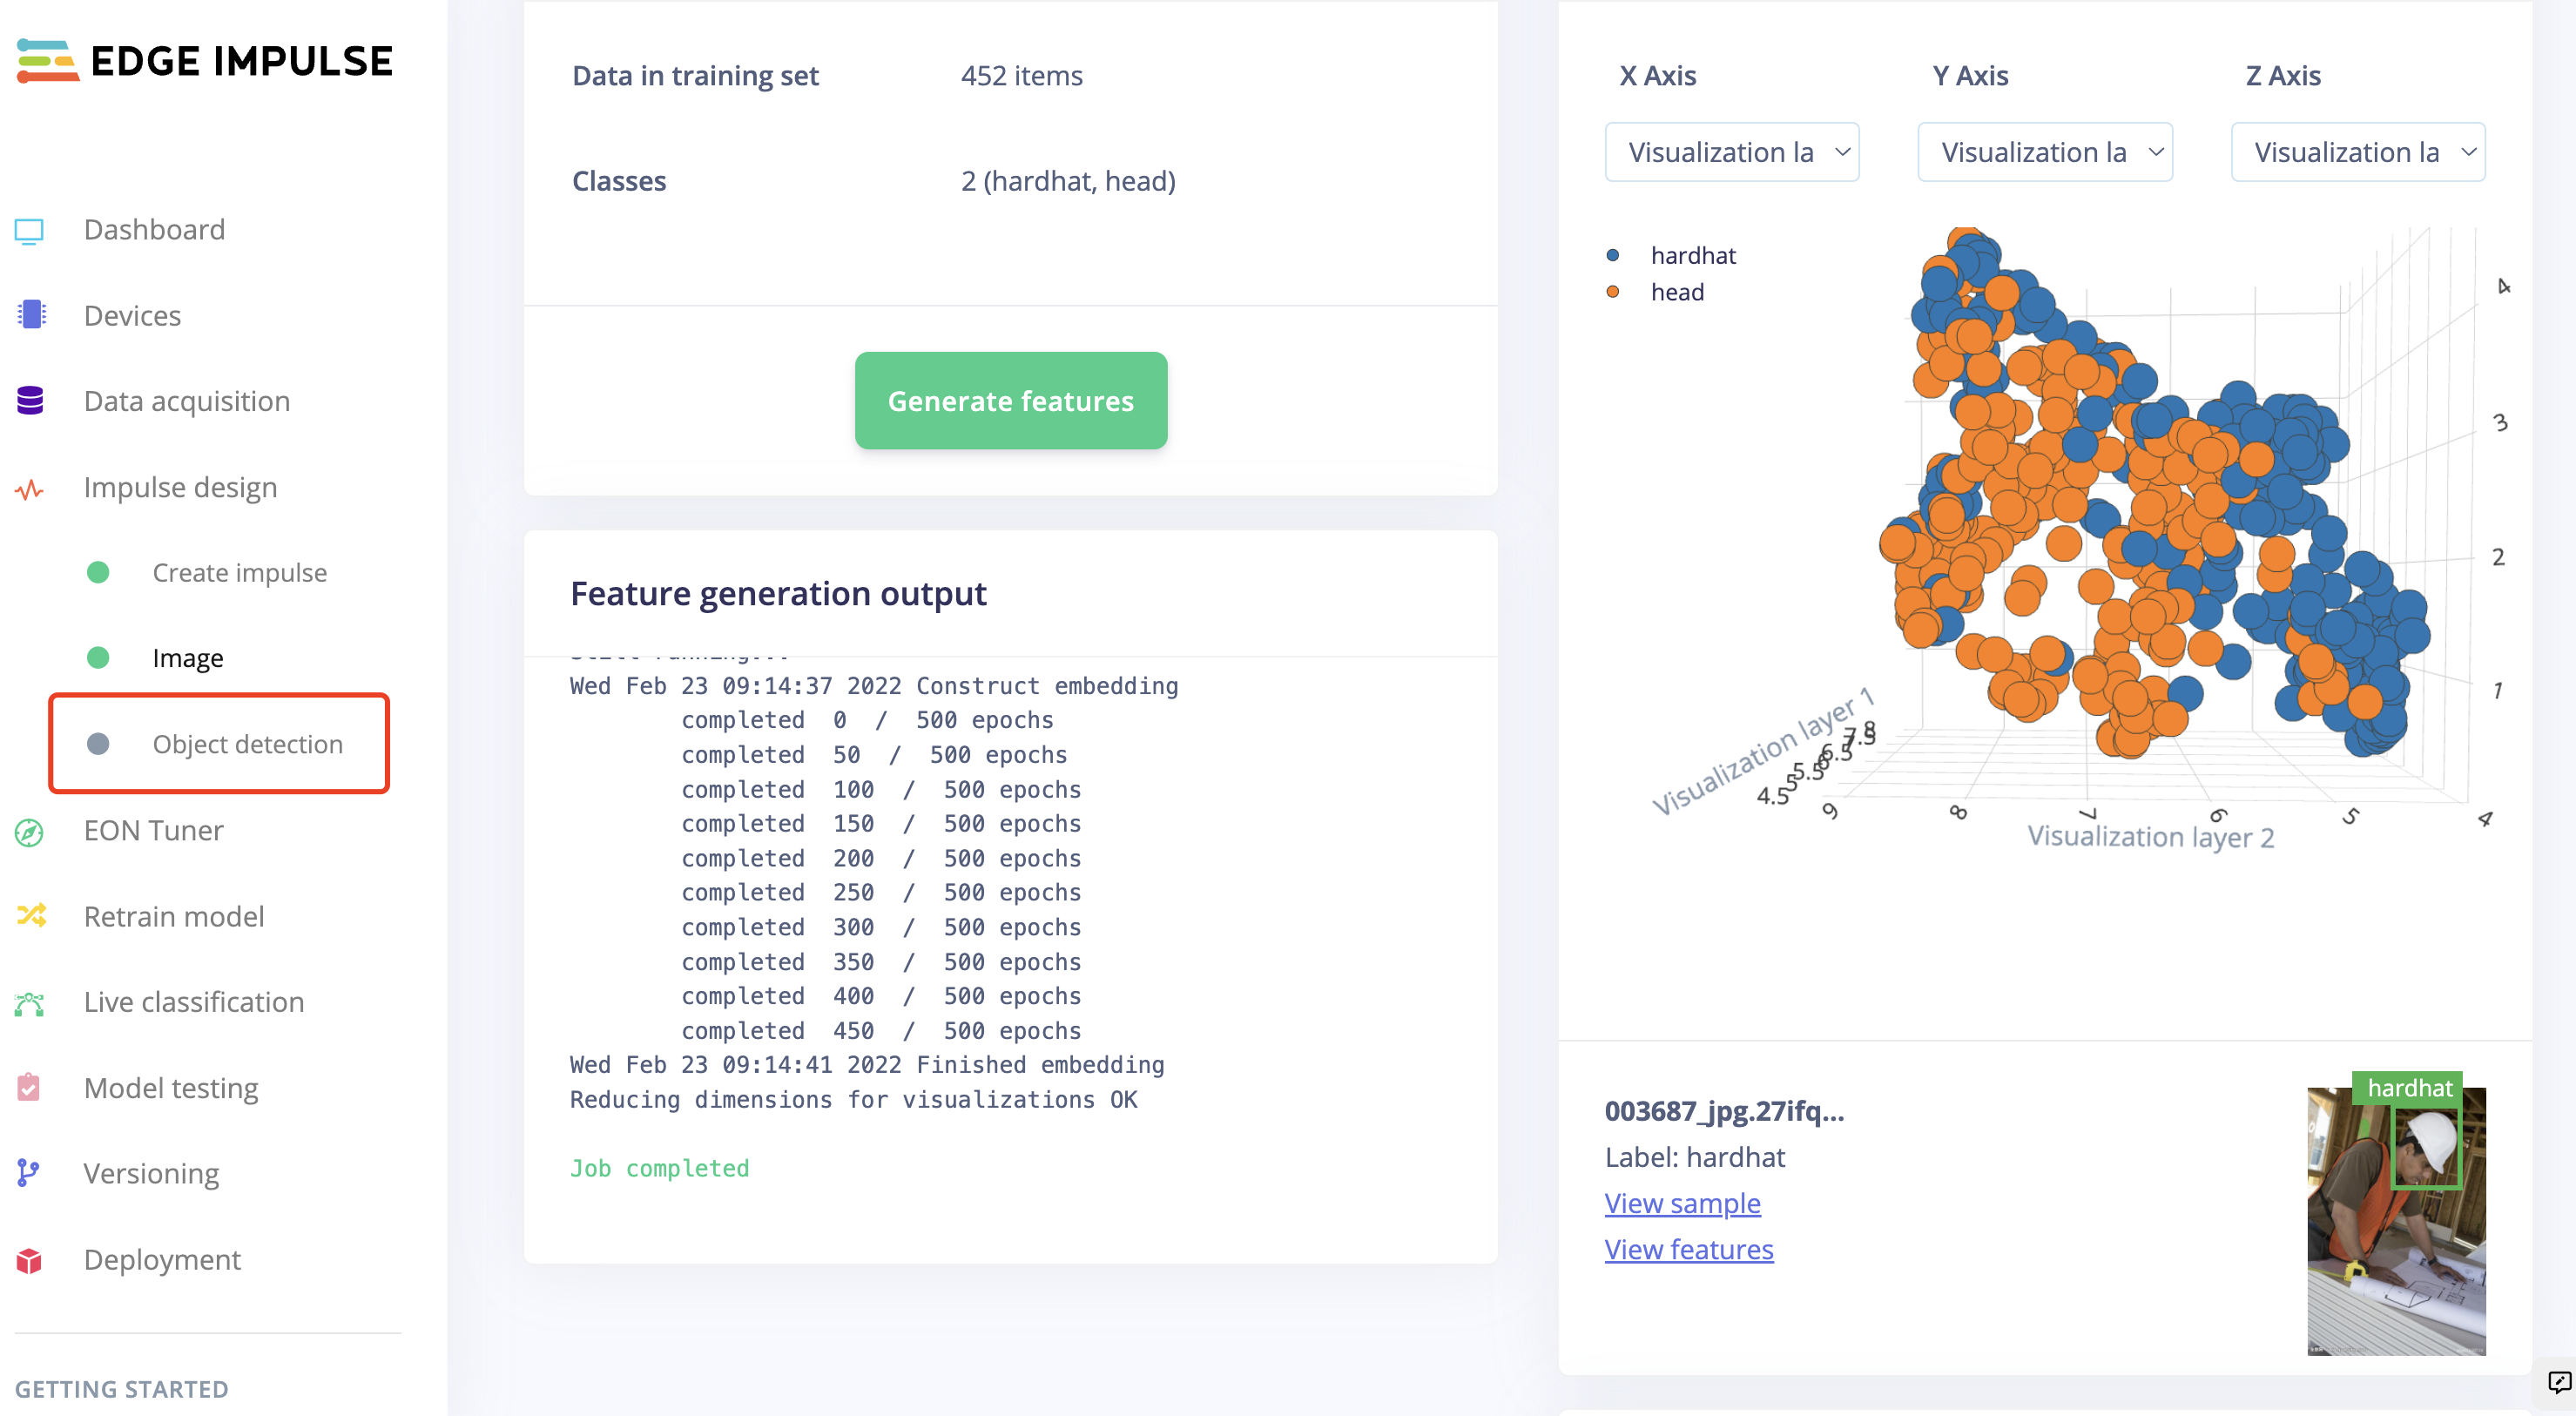
Click "start training" and let Edge Impulse train a model based on the generated features.

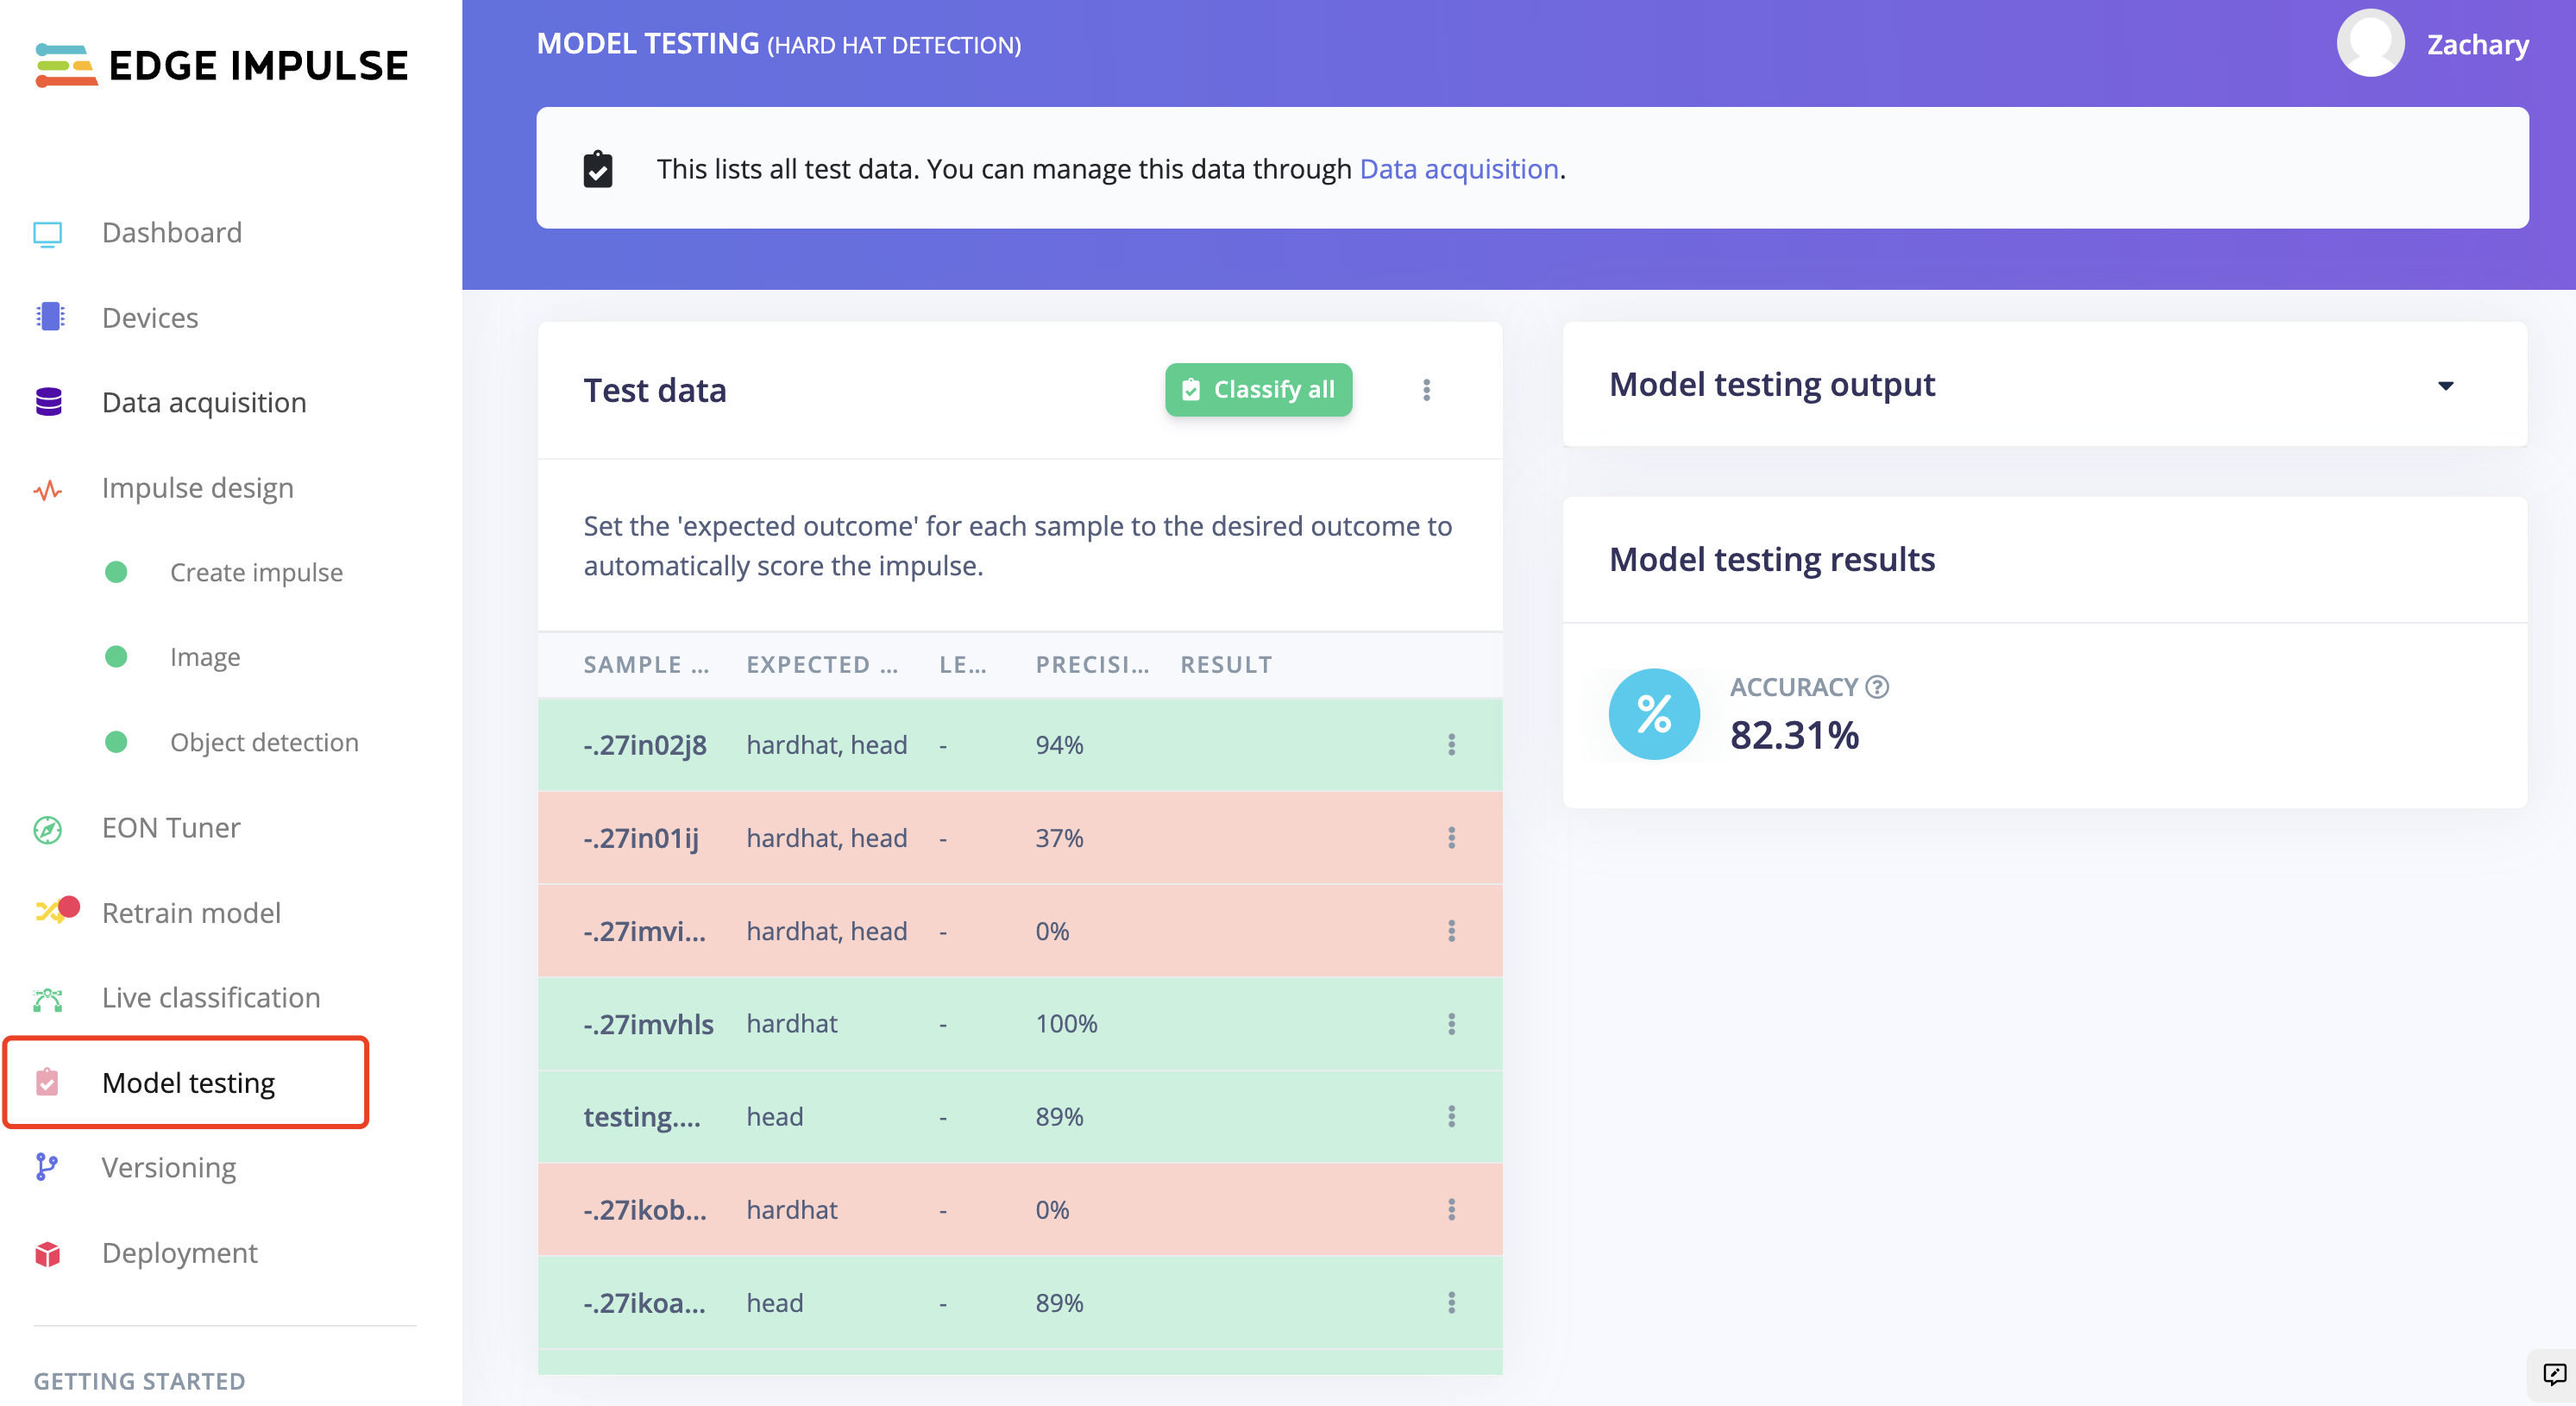
- Step 7. Once the "job done" is shown up, click "Model testing" to check how the model works.
ML Model Training based on Custimized PC Camera Datasets
Edge Impulse has provided several ways to collect data. Here we are going to customized our own images and upload them to the website by capturing the pictures through the PC camera.
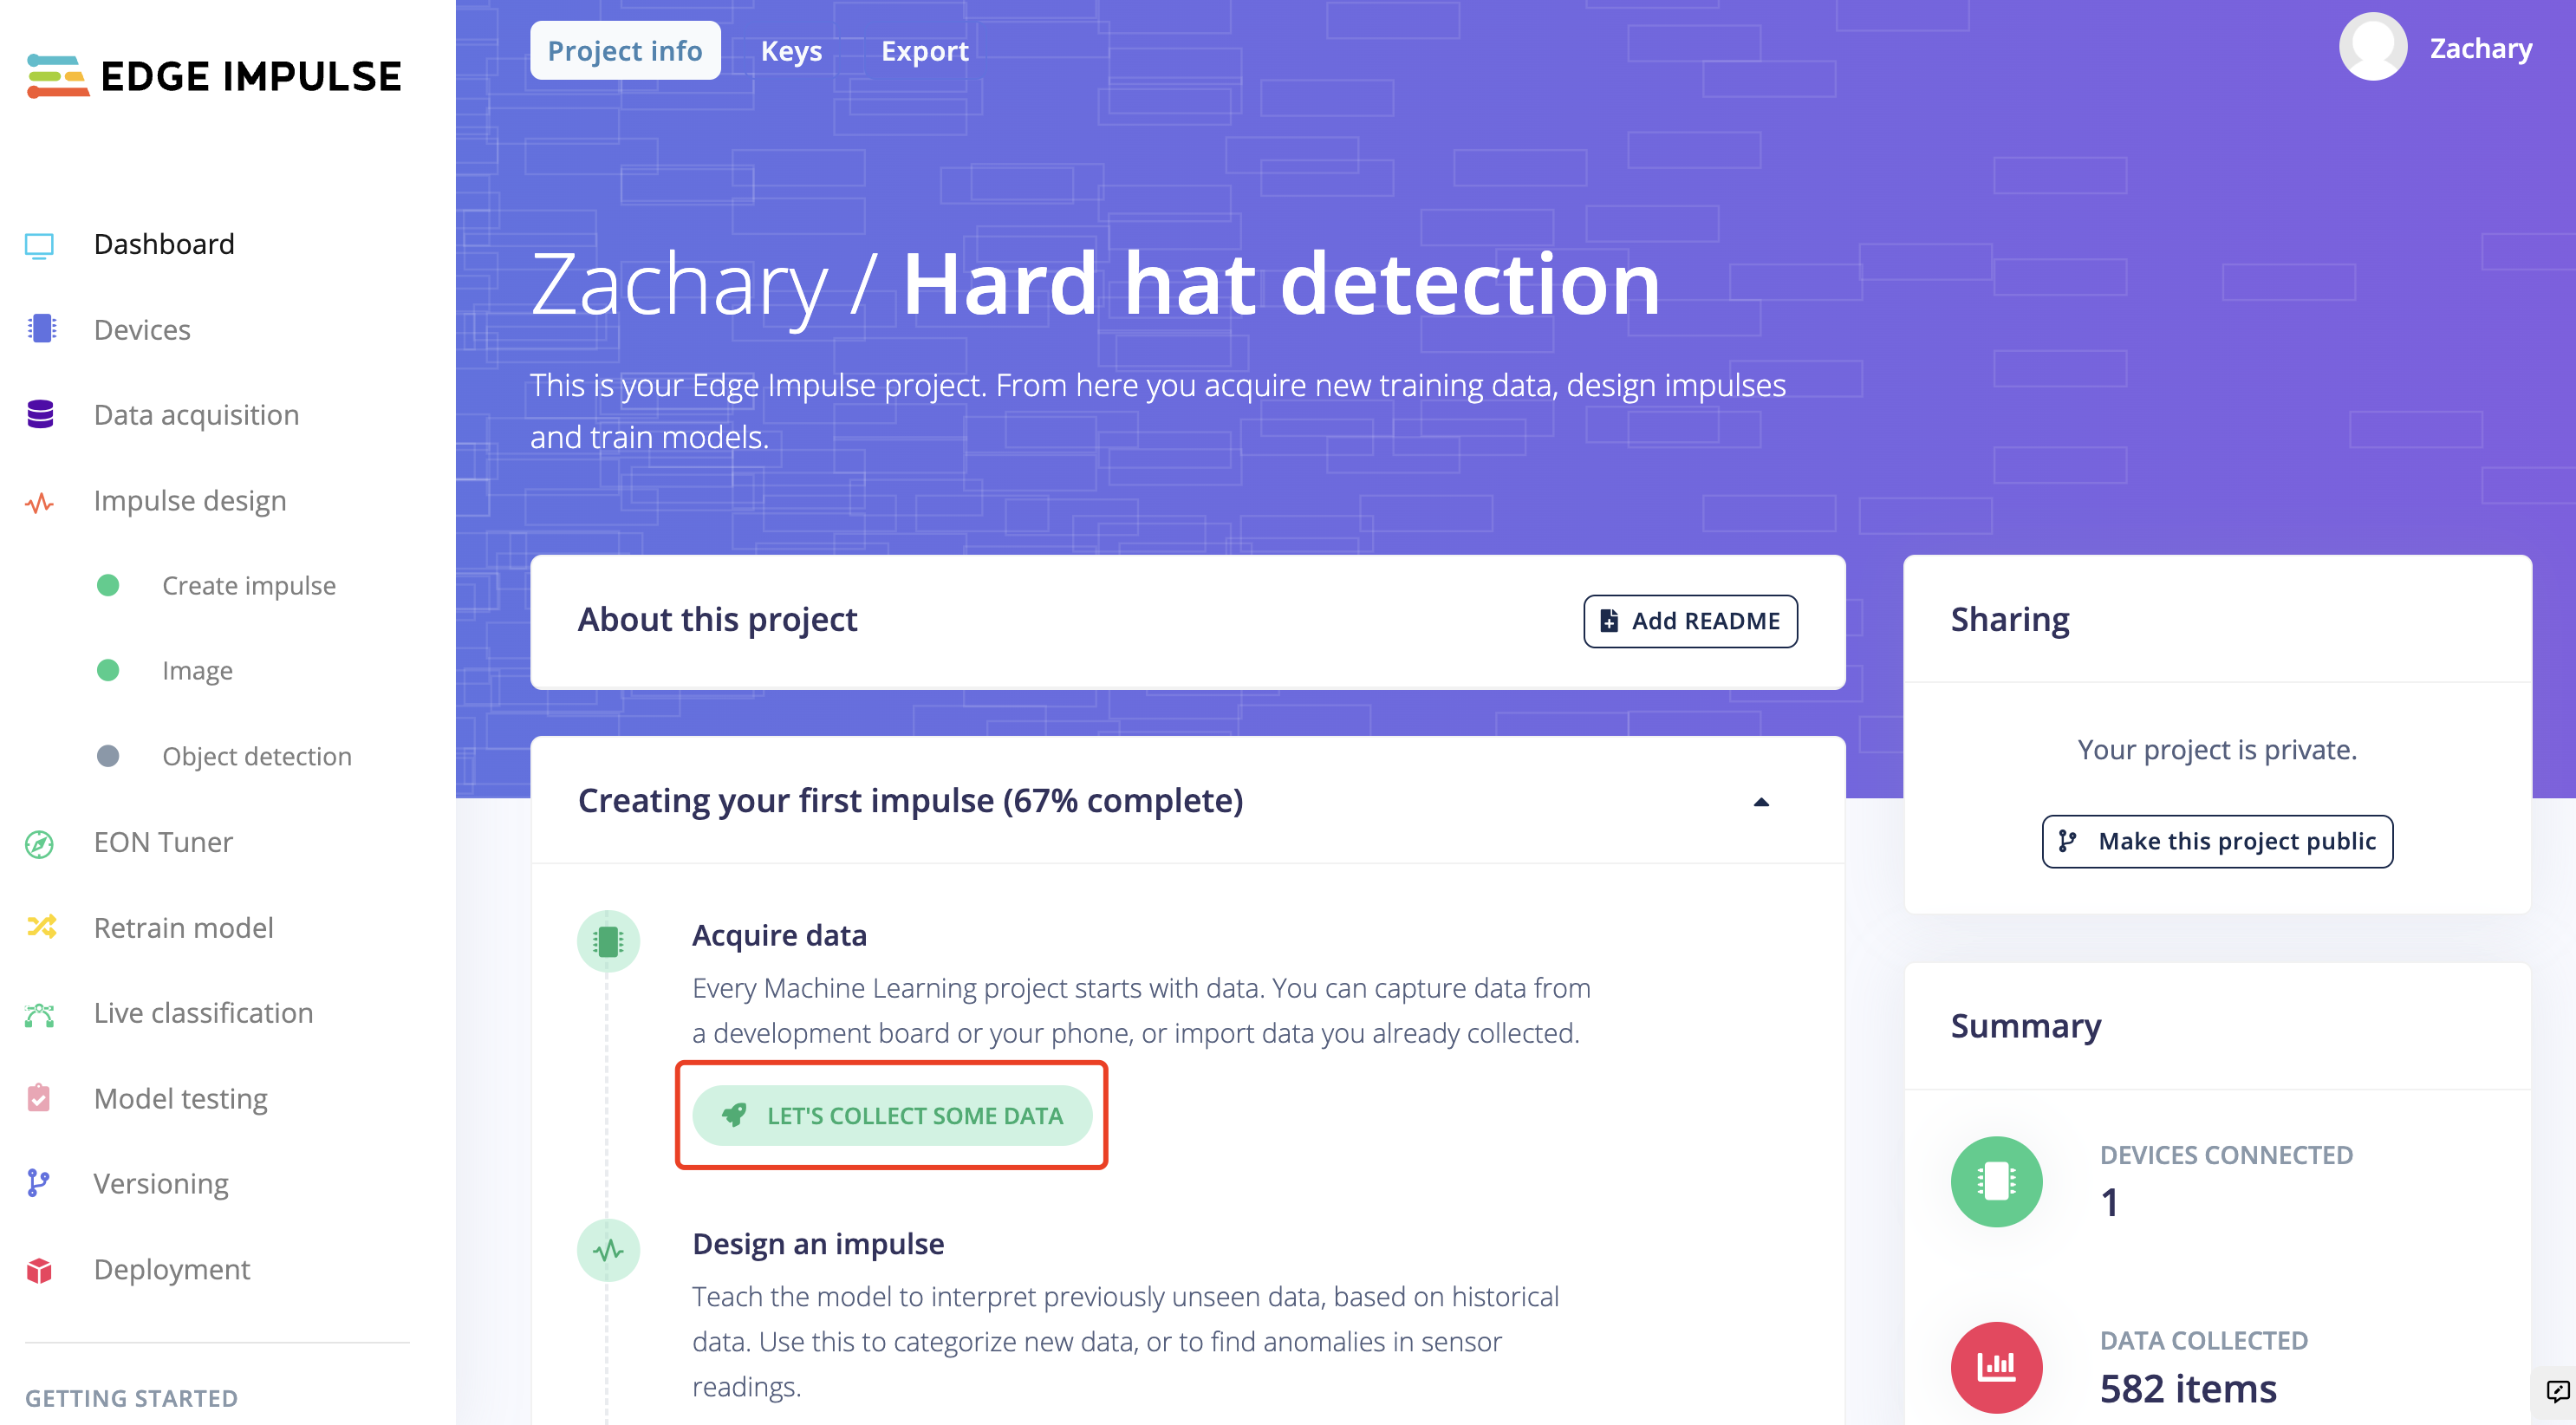
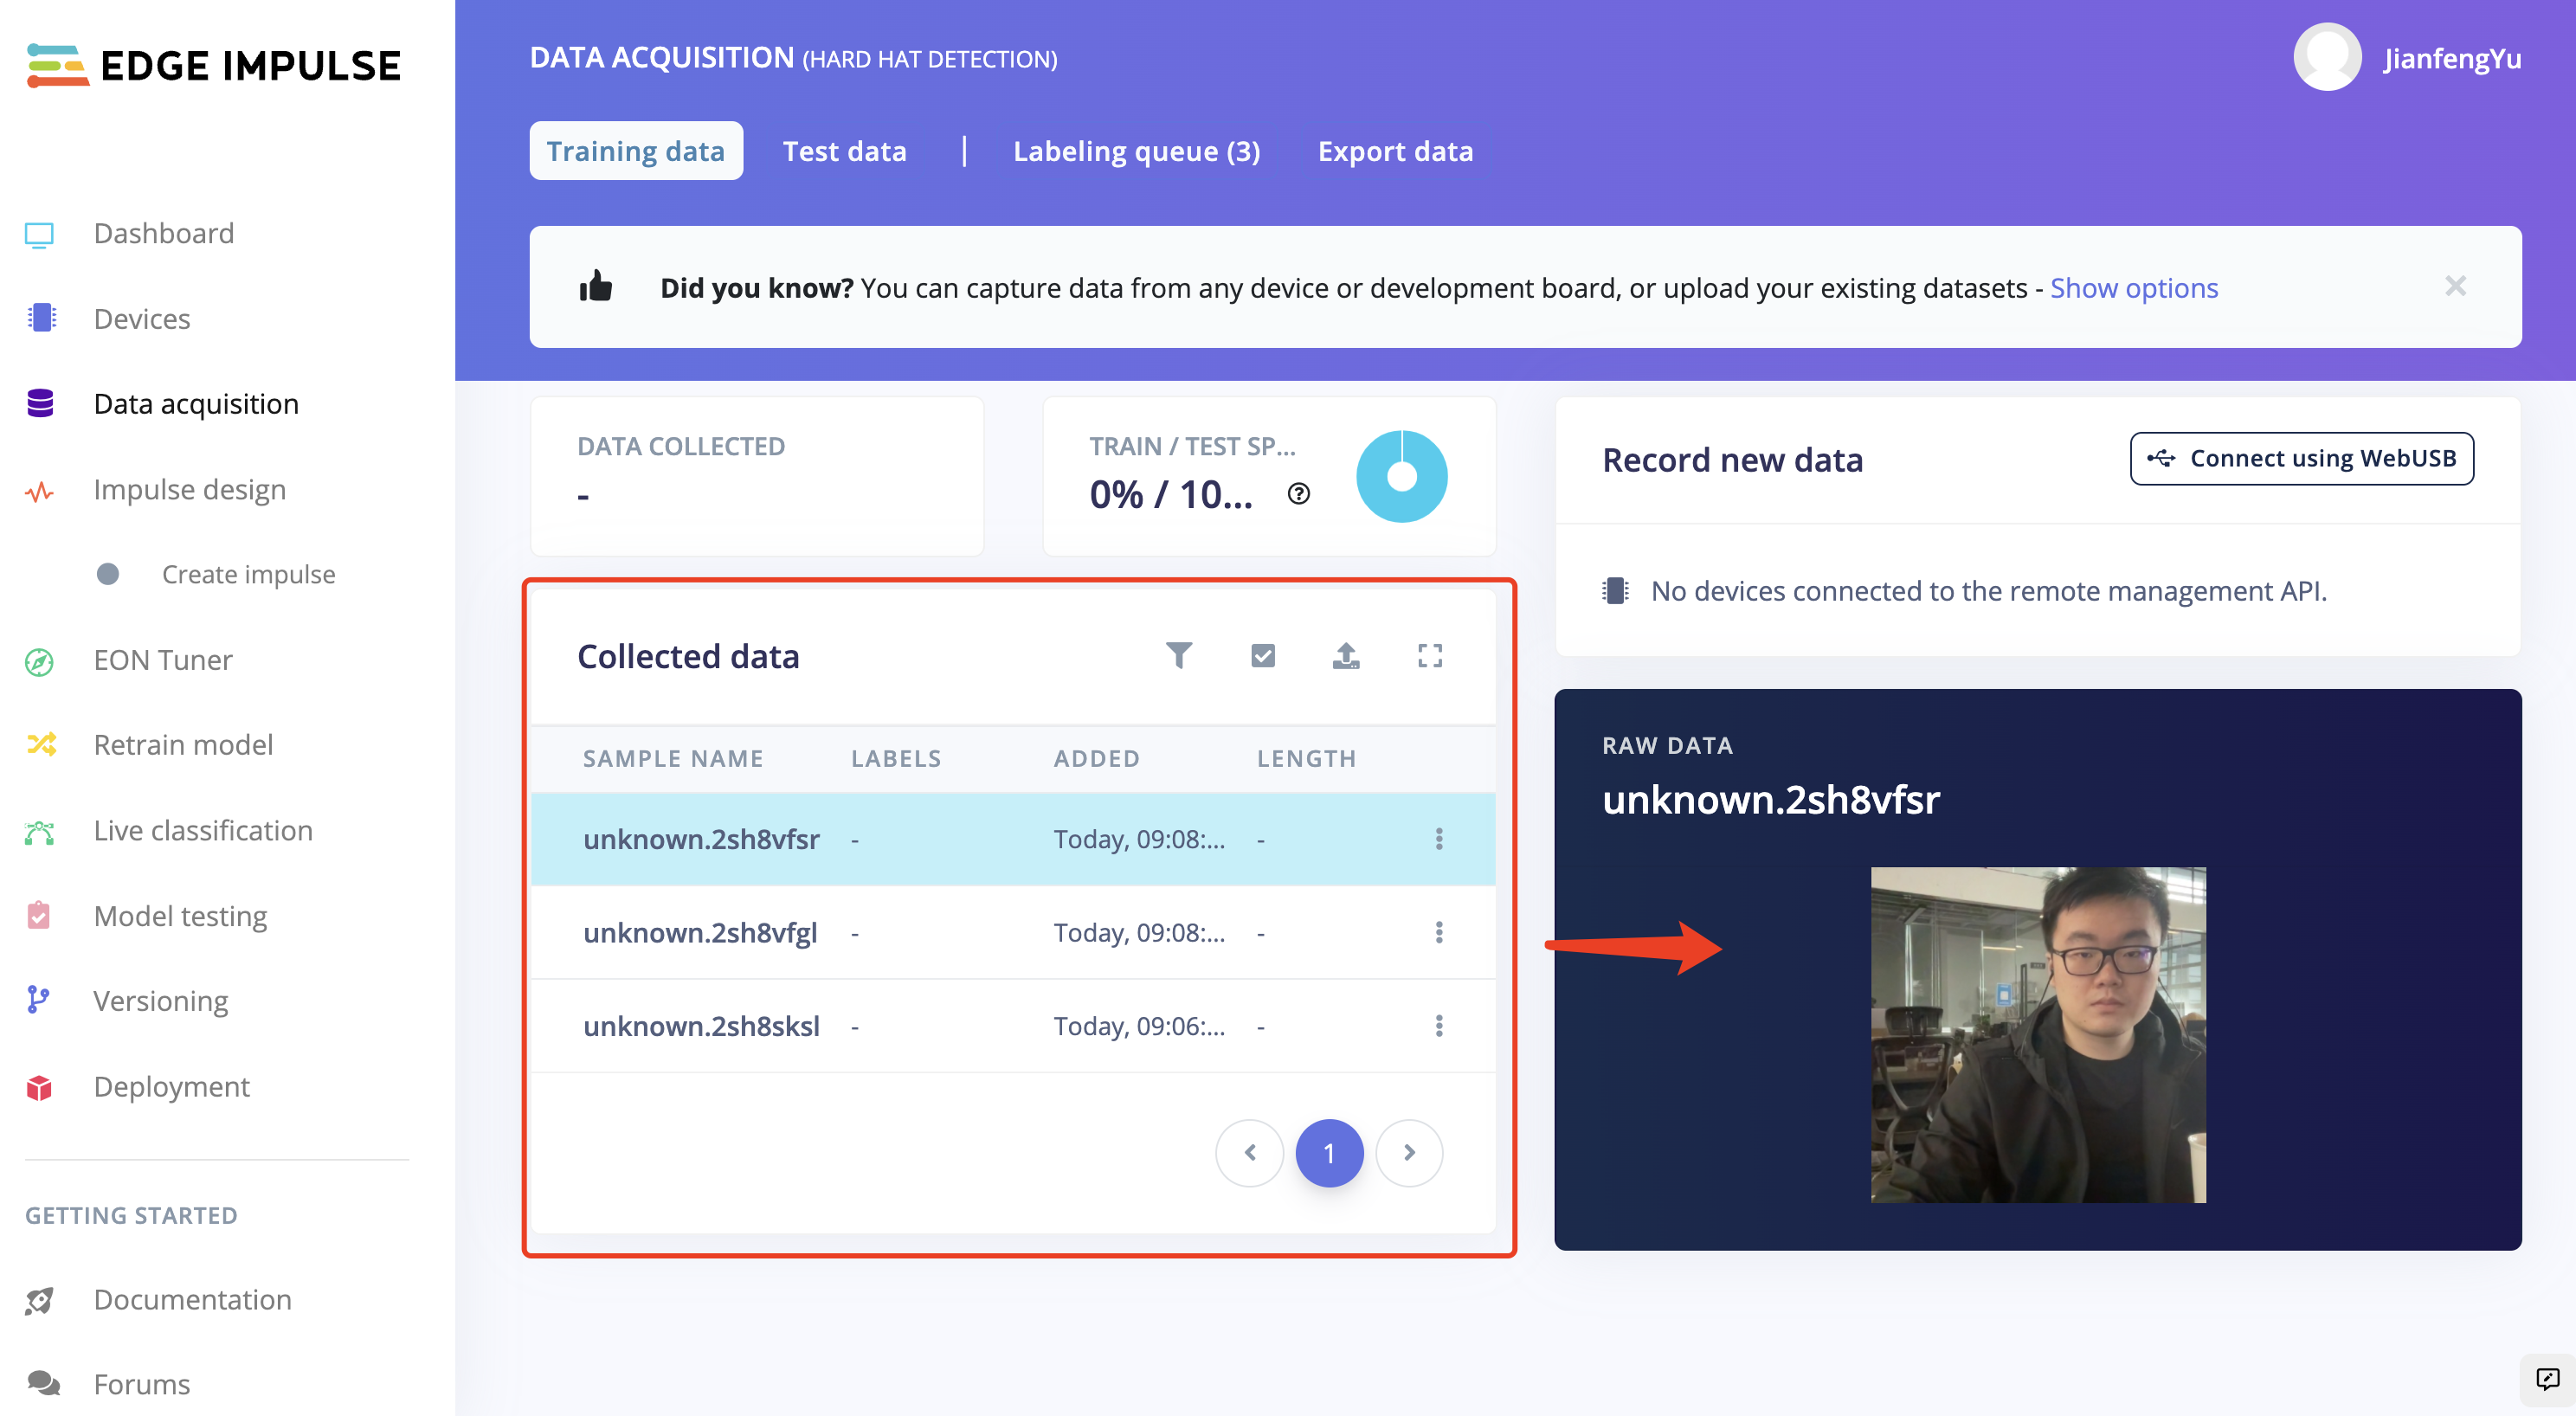
- Step 1. Stay on the "Dashboard" page and then click "LET'S COLLECT SOME DATA".
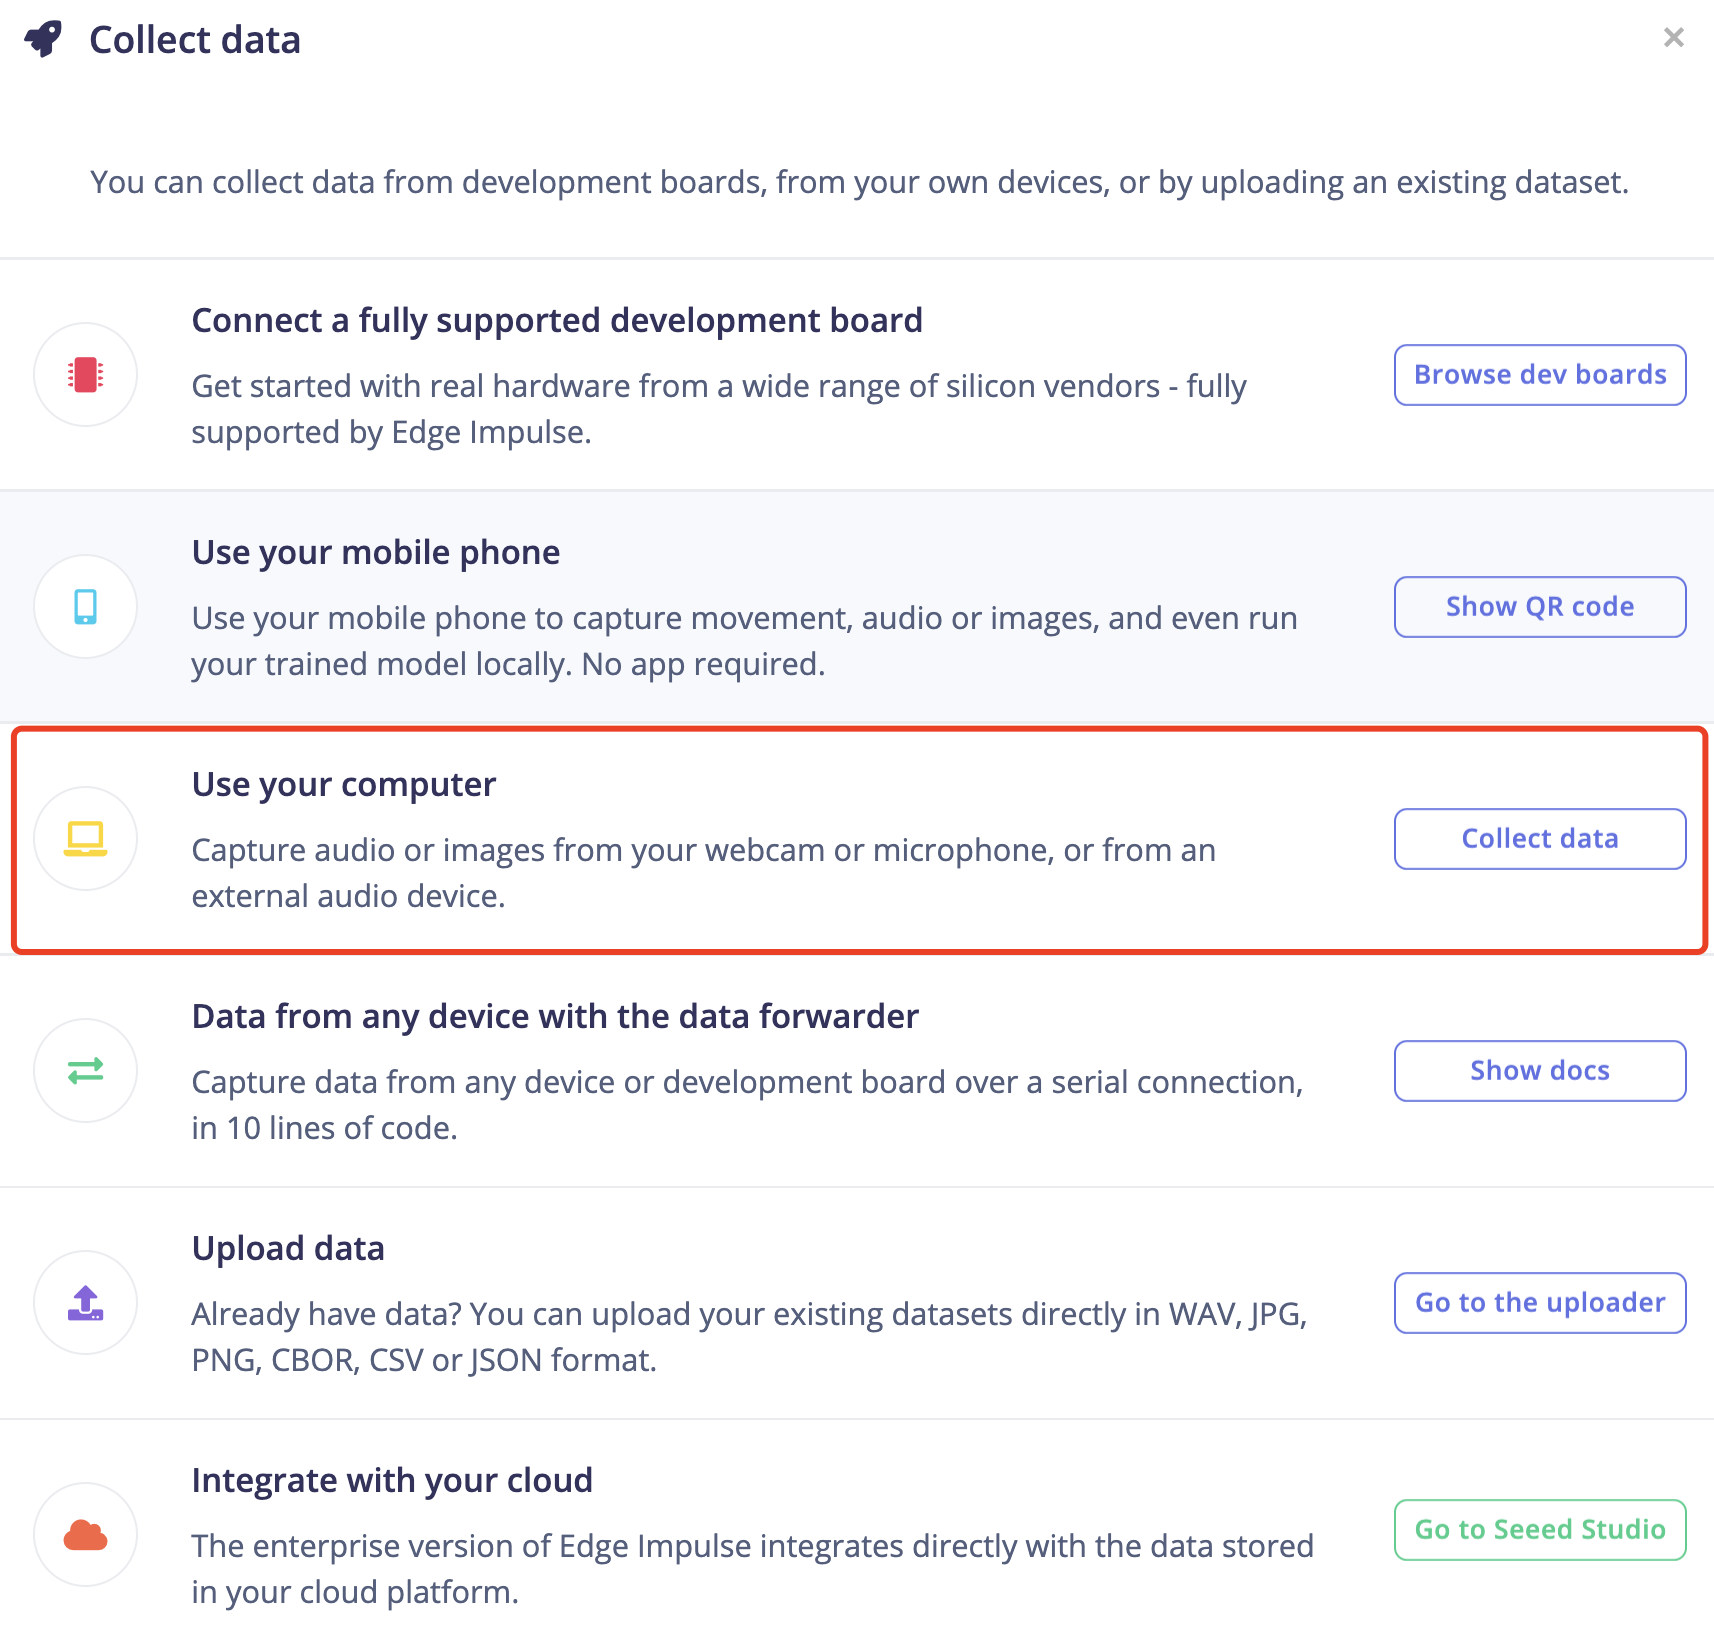
There are multiply options that we can chose to collect data, here we are using our computer to proceed.
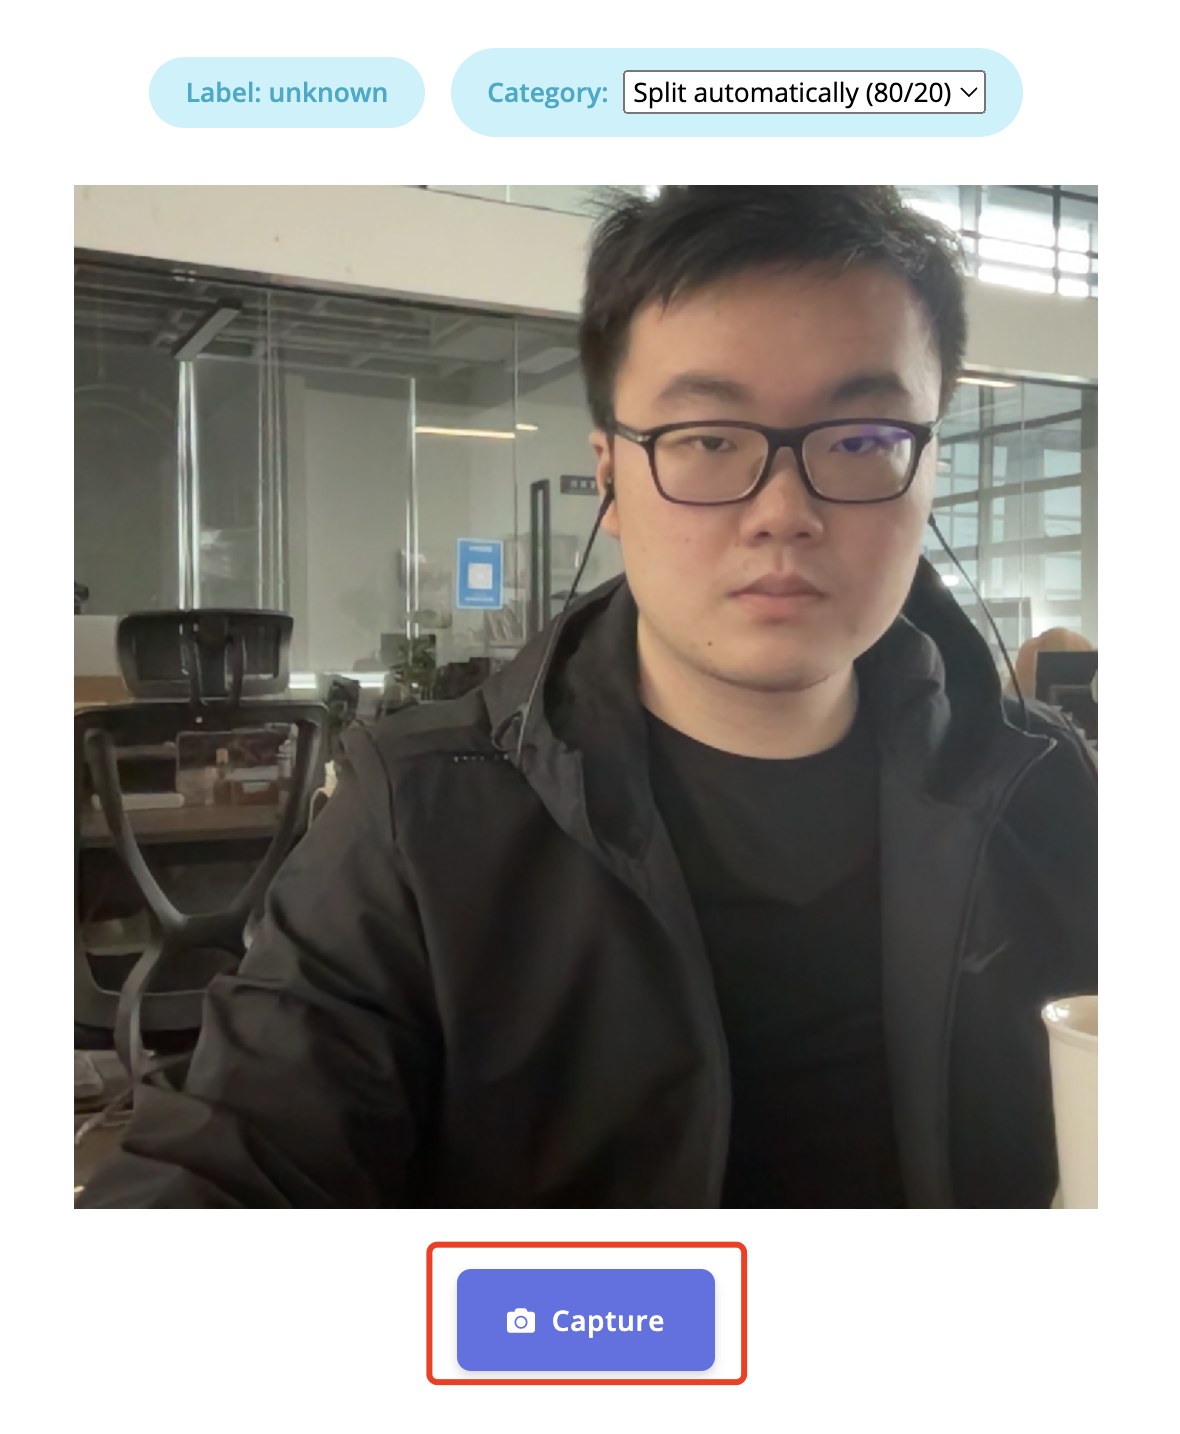
- Step 2. After a while, the page will show that it has been connected to the computer. Click "Collecting images?" and then "Give access to the camera".

- Step 3. Click "Capture" to take the picture of yourself or the others. The image data need to be labeled as "Hard Hat" and "Head" in the section. To quickly label the picture, it is highly recommended to finish one category data acquisition before moving on to the next, i.e. it is recommended to finish capturing the pictures of "Hard Hat" and then move on to capturing the pictures of "Head".
The captured pictures will be stored in the "Data acquistion" automatically. For better performance to the training model, it is highly recommended to collect as much pictures as possible and collect the same amount of the data in differnt catagories.
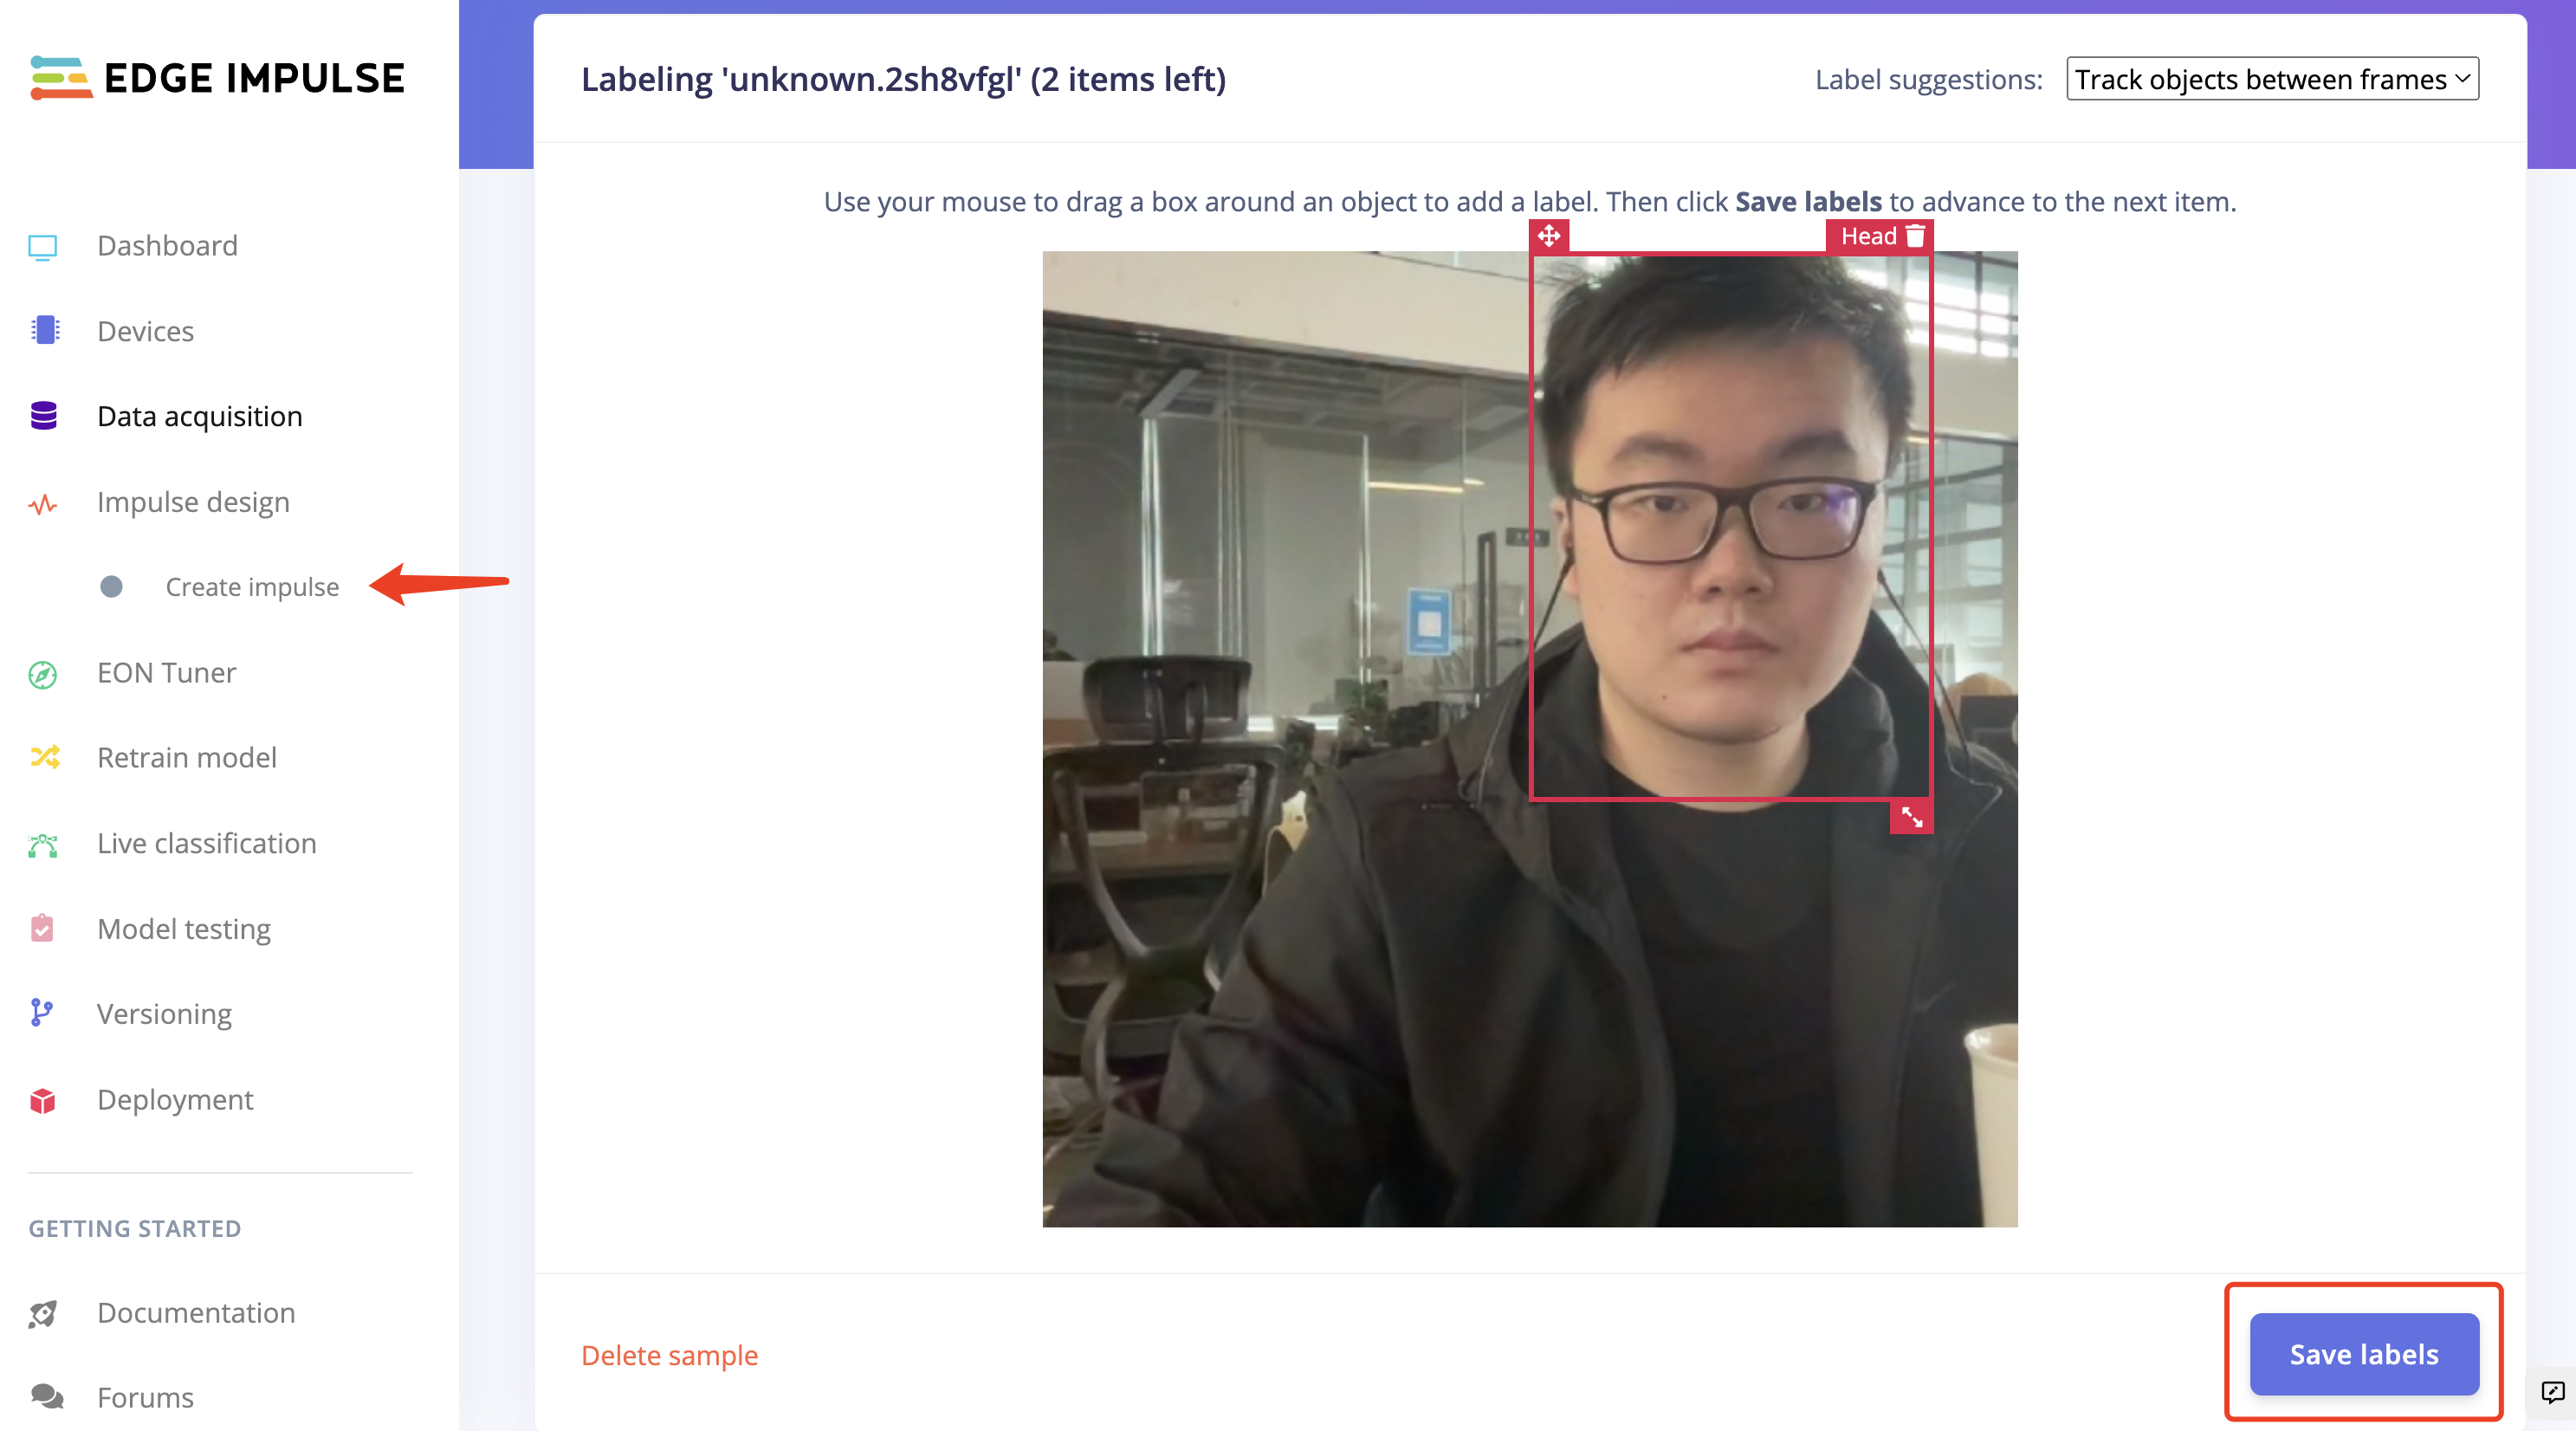
- Step 4. Click "Labeling queue" to label the data by circling the head with a saquare on the picture.

Use your mouse to drag a box around an object to add a label. Then click Save labels to advance to the next item.
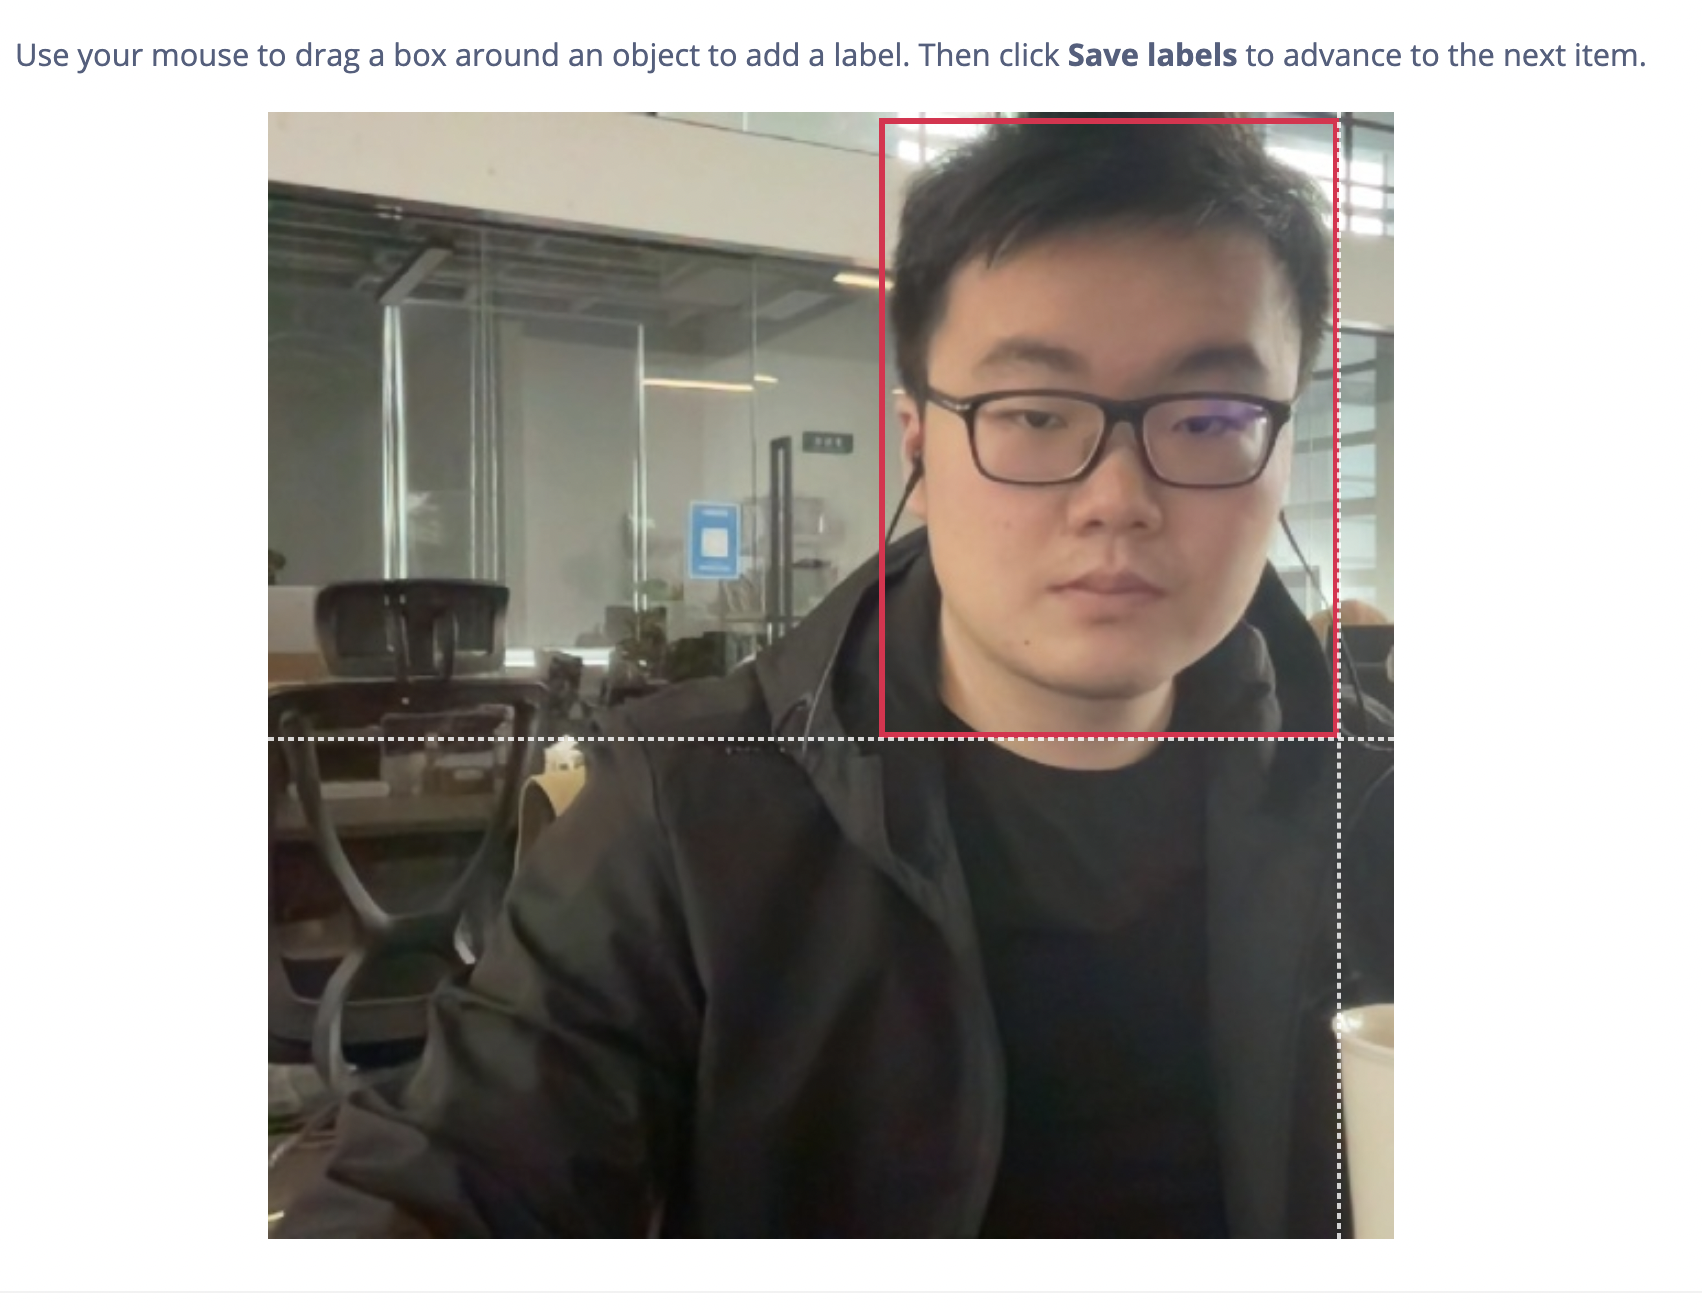
Set the labels as "Head" and "Hard Hat" and fill the dialog. Please make sure the saquare frames the area of people's head.

- Step 5. When the data have been labeled, click "Save labels" move to the "Impulse design"
- Step 6. Chose the suitable the processing image blcok and the image learnning block and save the impulse.
- Step 7. Click "image" on the left of the page.
Configure as "GRB" and click "Save Parameters", the page will turn to the "Generate features" site automatically.
We then are able to generate the features.
- Step 8. When the "Job completed" is shown up, click the "Object detection" on the left of the page.
Click "start training" and let Edge Impulse train a model based on the generated features.
- Step 9. Once the "job done" is shown up, click "Model testing" to check how the model works.
ML Model Training based on Custimized NAVDIA Jetson Camera Datasets
Edge Impulse has provided several ways to collect data. Here we are going to customized our own images and upload them to the website by capturing the pictures through the camera connected with the Nivdia Jetson Nano.
- Step 1. According to the hardware, set up NVIDIA Jetson Nano Developer Kit or NVIDIA Jetson Nano 2GB Developer Kit for the connection of external monitor and keyboard. Connect with Jetson Nano a screen display.
- Step 2. Ensure your Jetson Nano is connected to the internet and set up the device in Edge Impulse.
You can check your network with following commands:
ping -c 3 www.google.com
If the network is working fine, the result should be like:
3 packets transmitted, 3 received, 0% packet loss, time 2003ms
The setup starts to be runned with the command below:
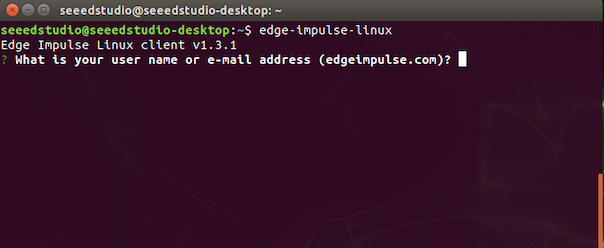
edge-impulse-linux
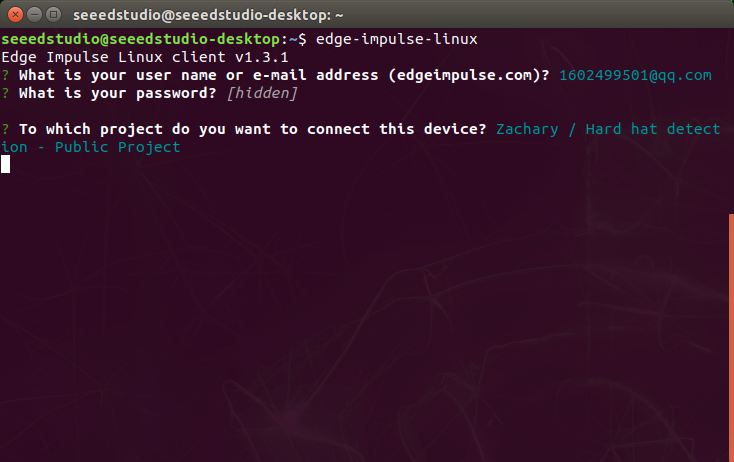
Then the website will request the Edge Impulse account.
The contents shown like belowing means the connnection is complete. All the projects we save at the Edge Impulse are selectable.
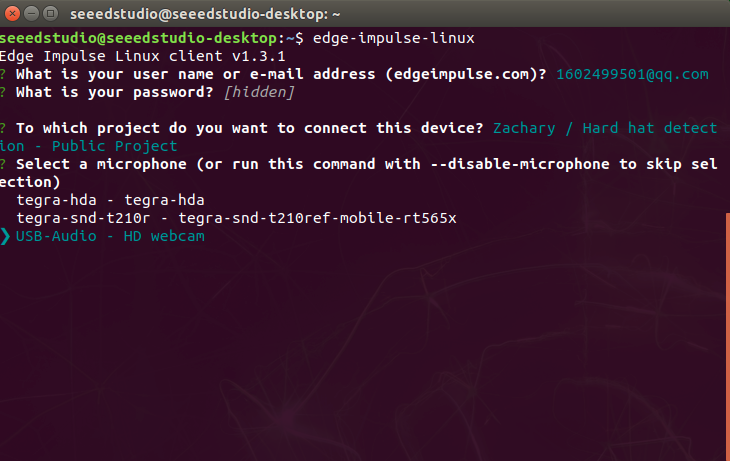
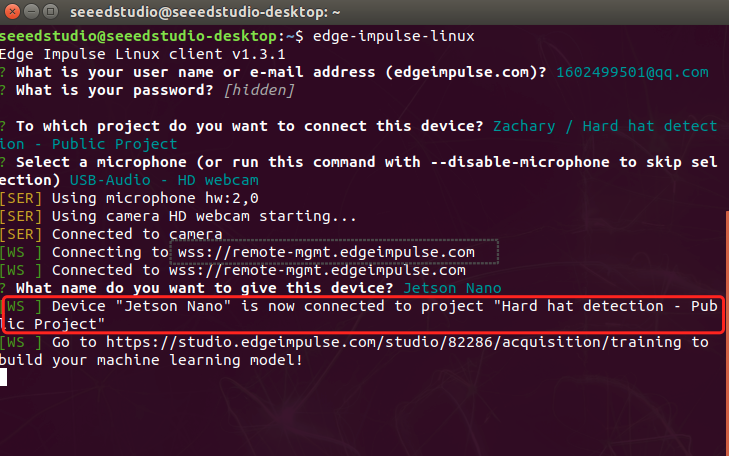
We are capturing the photos, so here we need to select our USB-Camera to apply in the website.
Name the device we wanted to connect to the website
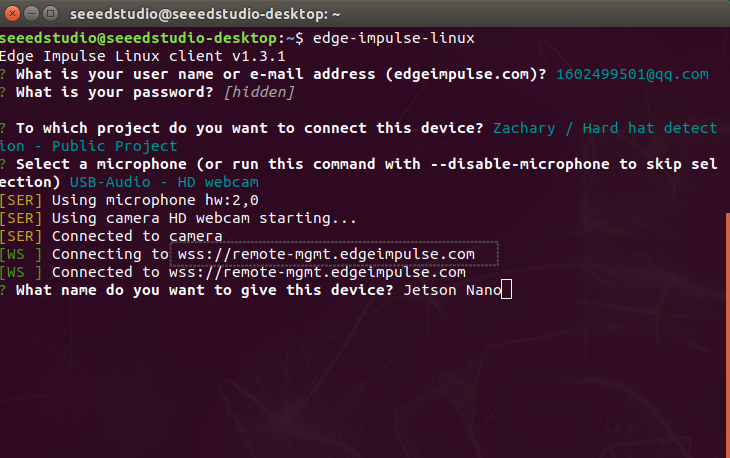
It is clearly seen that Device Jetson Nano is now connected to the project.
- Step 3. Move back to the Edge Impulse page and select the "Devices" column. The connected Jetson Nano is shown as below:

- Step 4. Select the device we connect to the Edge Impulse and move to the "Data acquisation" page. Click "Capture" to take the picture of yourself or the others. The image data need to be labeled as "Hard Hat" and "Head" in the section. To quickly label the picture, it is highly recommended to finish one category data acquisition before moving on to the next, i.e. it is recommended to finish capturing the pictures of "Hard Hat" and then move on to capturing the pictures of "Head".
The captured pictures will be stored in the "Data acquistion" automatically. For better performance to the training model, it is highly recommended to collect as much pictures as possible and collect the same amount of the data in differnt catagories.
-
Step 5. When the data have been done collecting, move to the "Impulse design"
-
Step 6. Chose the suitable the processing image blcok and the image learnning block and save the impulse.
- Step 7. Click "image" on the left of the page.
Configure as "GRB" and click "Save Parameters", the page will turn to the "Generate features" site automatically.
We then are able to generate the features.
- Step 8. When the "Job completed" is shown up, click the "Object detection" on the left of the page.
Click "start training" and let Edge Impulse train a model based on the generated features.
- Step 9. Once the "job done" is shown up, click "Model testing" to check how the model works.
It is encouraged to mix the methods we provide above and check the performance of each model to see which one is better.
Deploy the ML model to the Jetson Nano
Now we are going to deploy the trained ML model into the Jetson Nano and apply the codes to make it ().
Deploy the ML model through the Edge Impulse Linux CLI
- Step 1. According to the hardware, set up NVIDIA Jetson Nano Developer Kit or NVIDIA Jetson Nano 2GB Developer Kit for the connection of external monitor and keyboard. Connect with Jetson Nano a screen display.
- Step 2. Ensure your Jetson Nano is connected to the internet and set up the device in Edge Impulse.
!!!Note If you already connect Jetson Nano with Edge Impulse in the section "ML Model Training based on Custimized NAVDIA Jetson Camera Datasets". This step can be skipped.
You can check your network with following commands:
ping -c 3 www.google.com
If the network is working fine, the result should be like:
3 packets transmitted, 3 received, 0% packet loss, time 2003ms
The setup starts to be runned with the command below:
edge-impulse-linux
The website will request the Edge Impulse account.
The contents shown like belowing means the connnection is complete. All the projects we save at the Edge Impulse are selectable.
We are capturing the photos, so here we need to select our USB-Camera to apply in the website.
Name the device we wanted to connect to the website
It is clearly seen that Device Jetson Nano is now connected to the project.
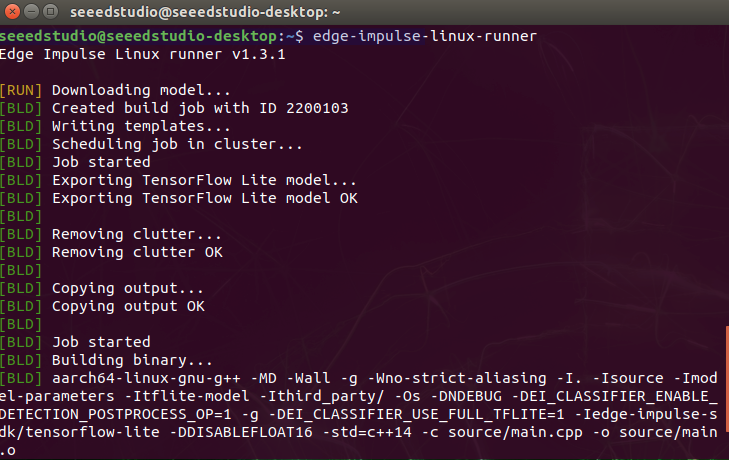
- Step 3. Download the ML model to the Jetson Nano by following code.
edge-impulse-linux-runner
The successful connection are shown as blow and the model will be activited automatically.
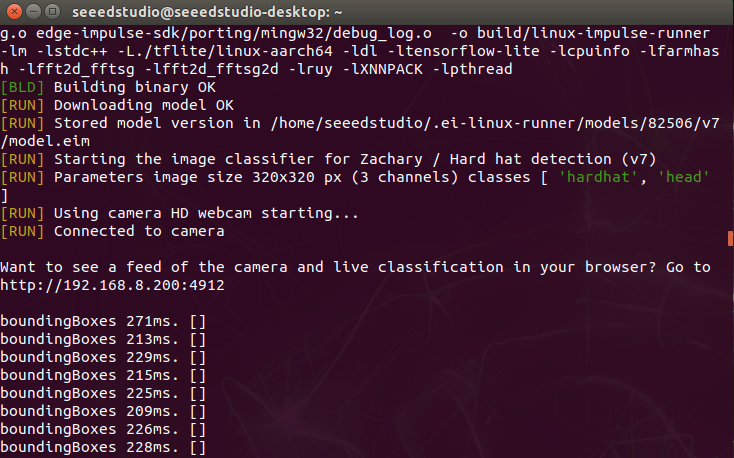
- Step 4. Copy the address shown up and open it with a browser.
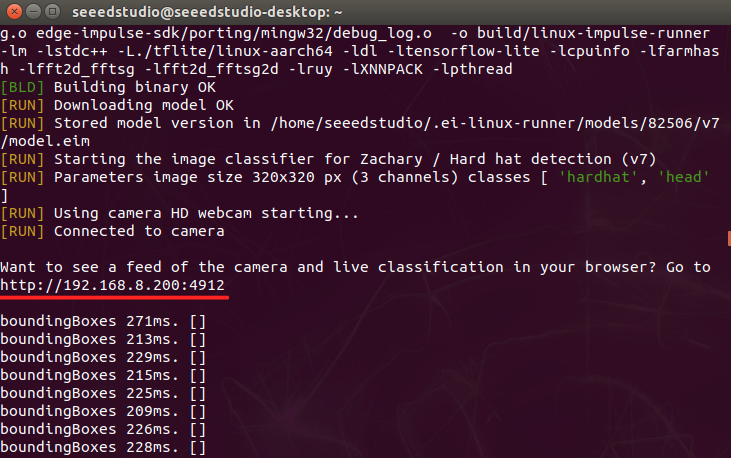
The detection will be displayed on the browser.
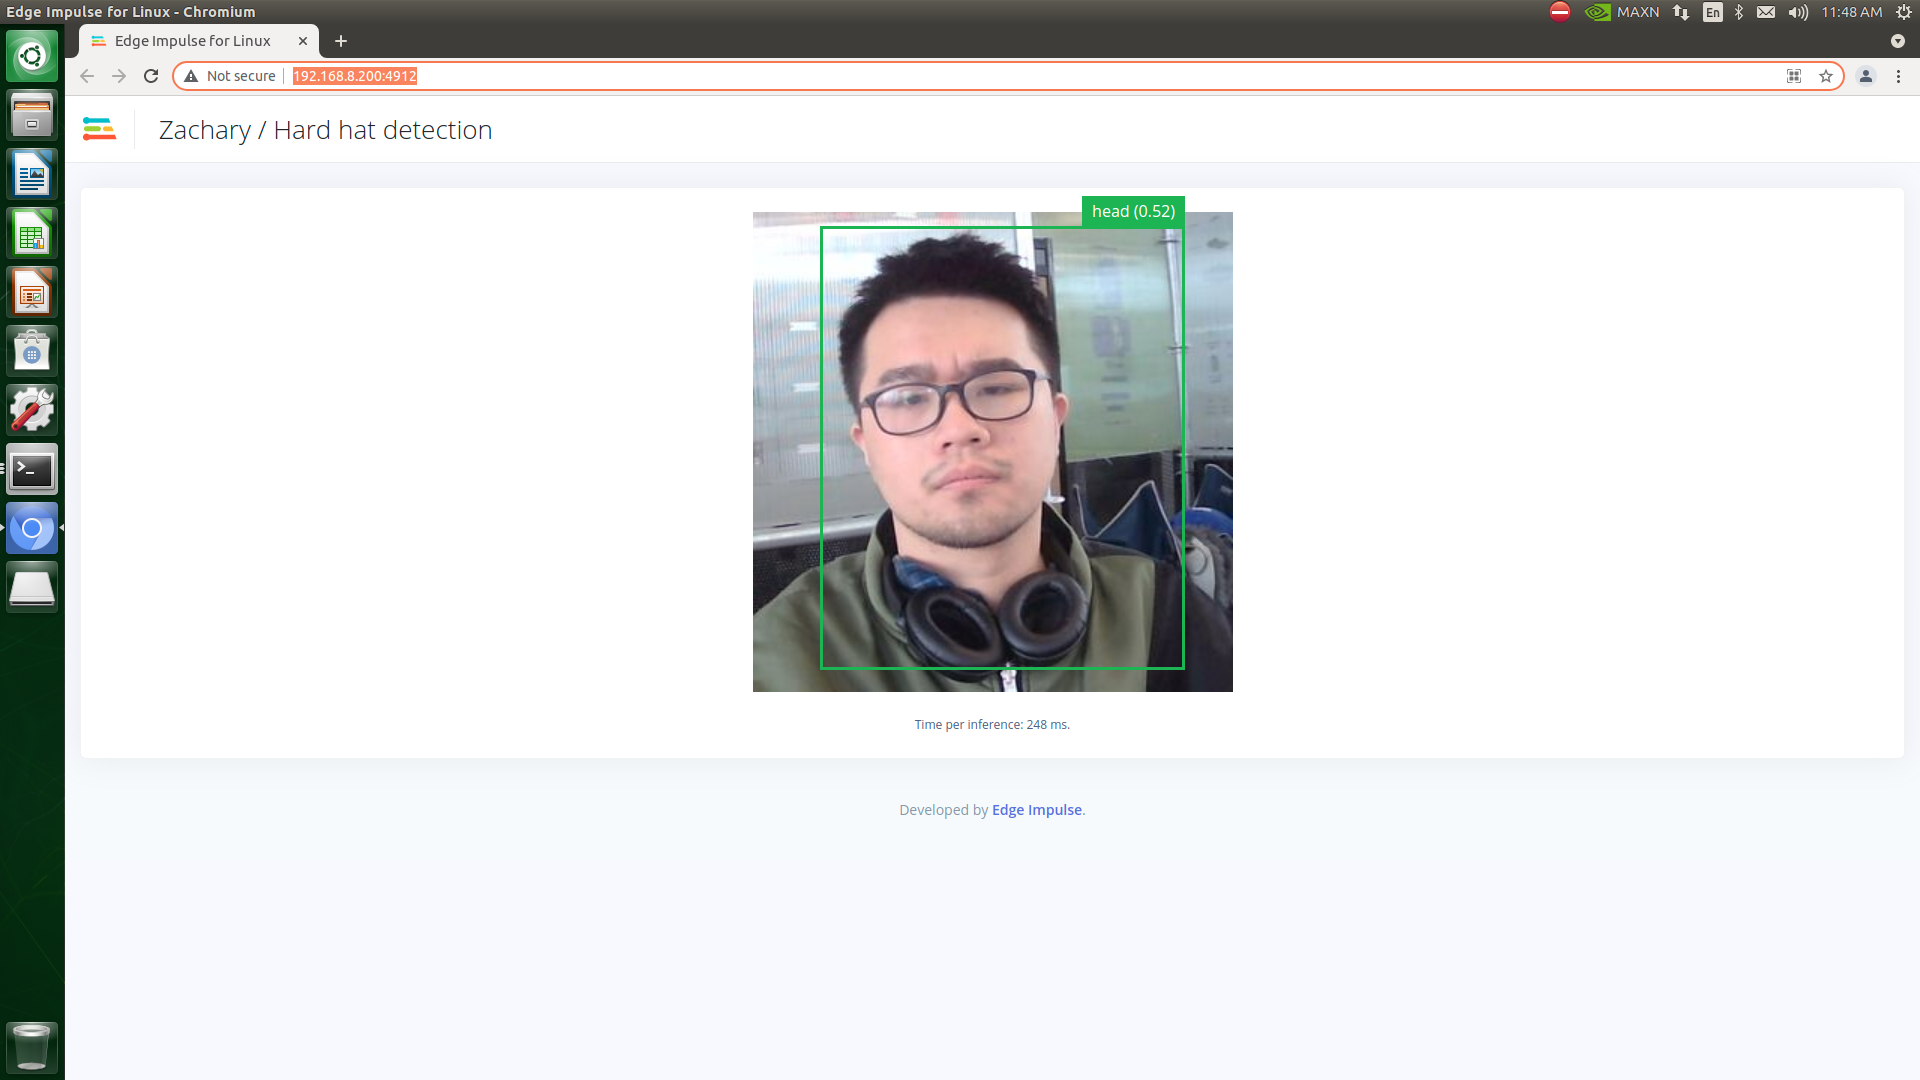
And the data outcome will be shown as below:
Deploy the ML model through Linux Python SDK
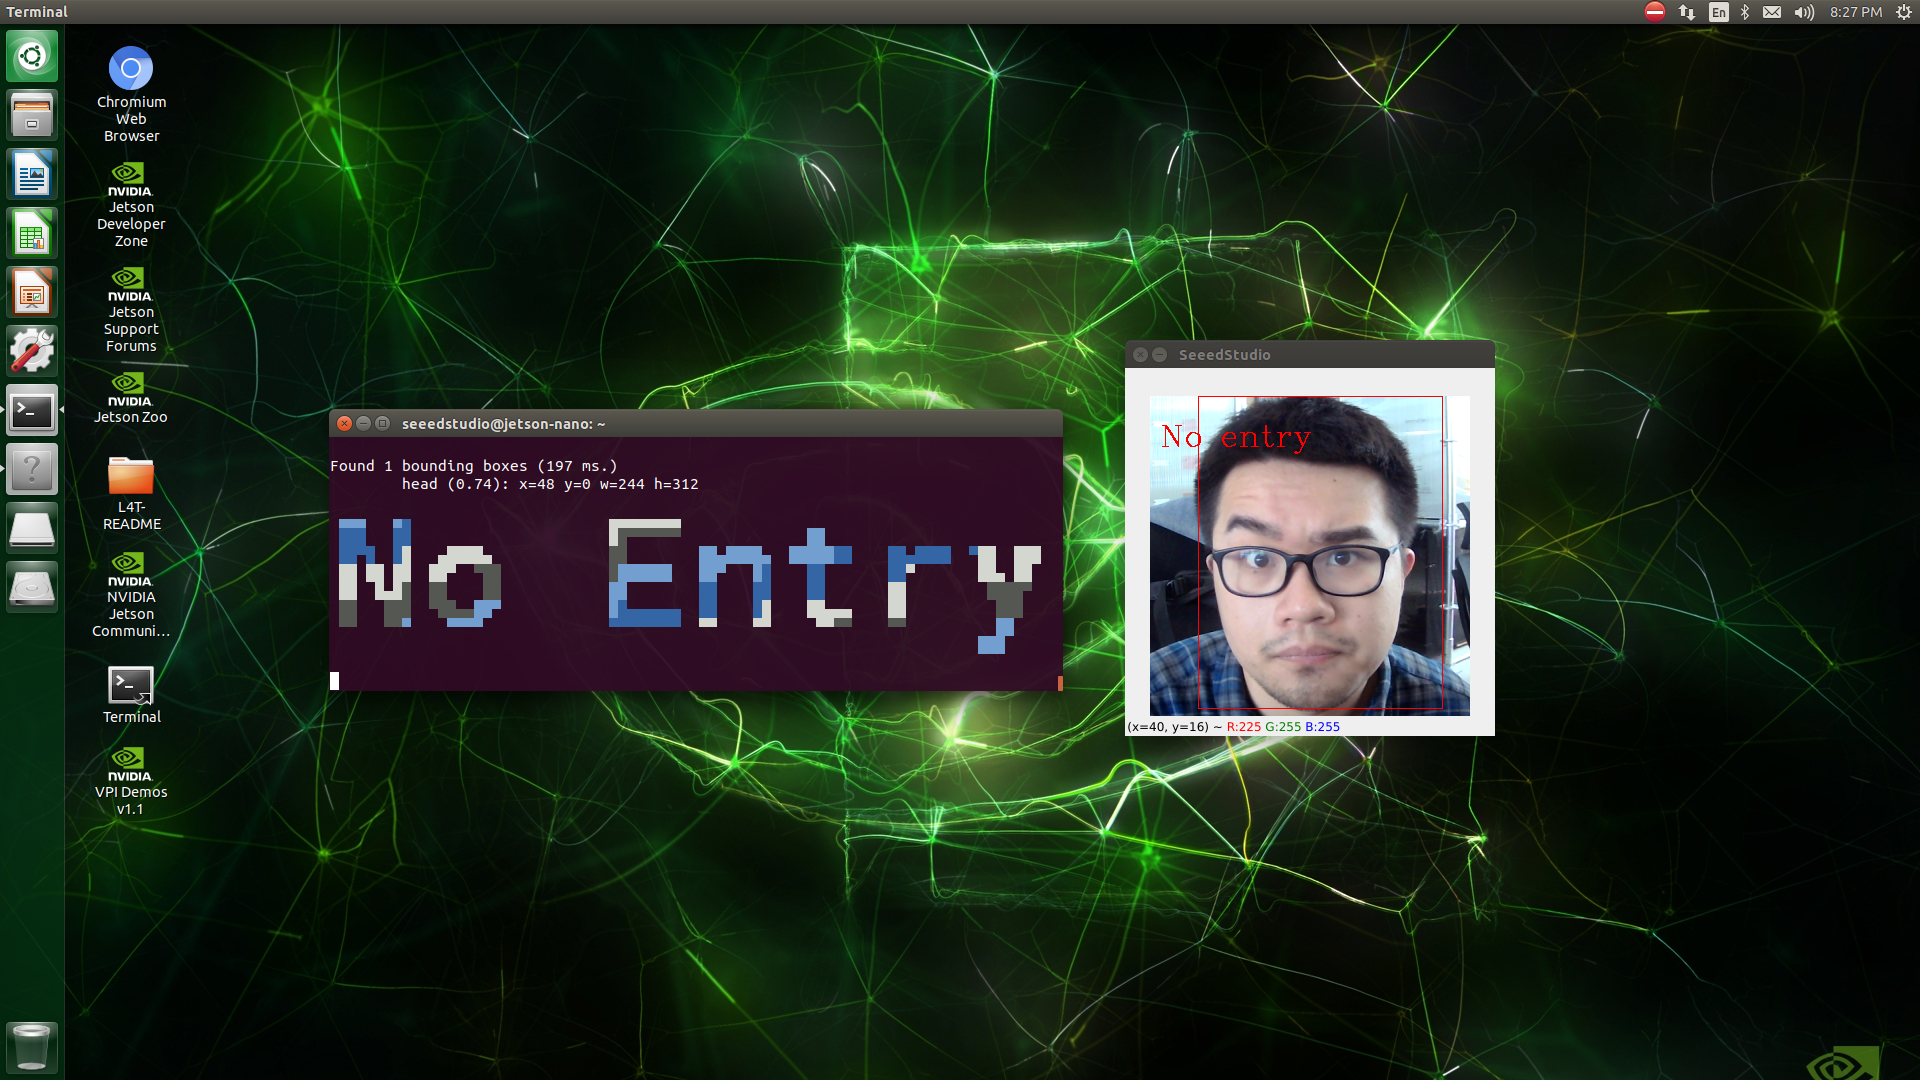
In this project, we are going to apply the model to display the detection of Hard Hat on the screen by showing "No entry" and "Welcome". The Edge Impulse provides a library that makes ML models running and sensor data collection possible on Linux machines using Python. The SDK is an open source and hosted on GitHub. You can also try the mirror image we already set up.
-
Step 1. Install a latest version of Python 3(>=3.7) for Linux.
-
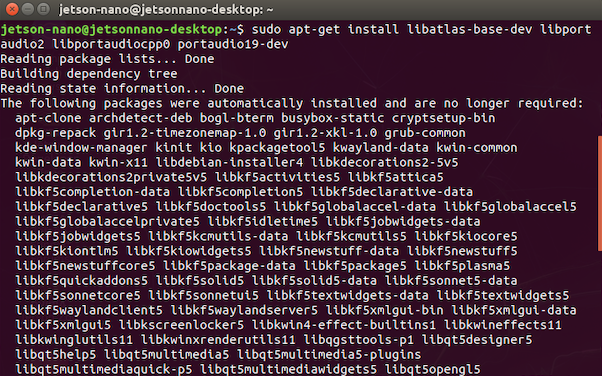
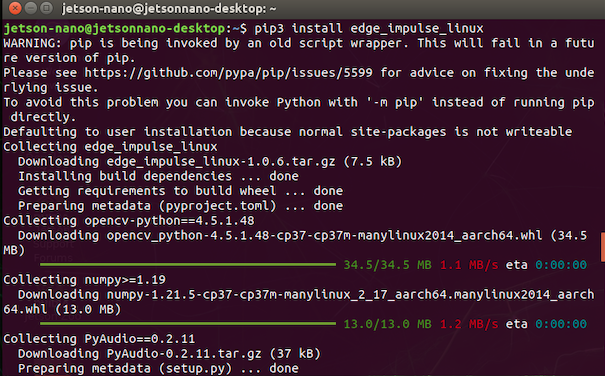
Step 2. Install the Linux Python SDK with following command:
sudo apt-get install libatlas-base-dev libportaudio2 libportaudiocpp0 portaudio19-dev
pip3 install edge_impulse_linux
- Step 3. Install the Edge Impulse for Linux CLI with following command:
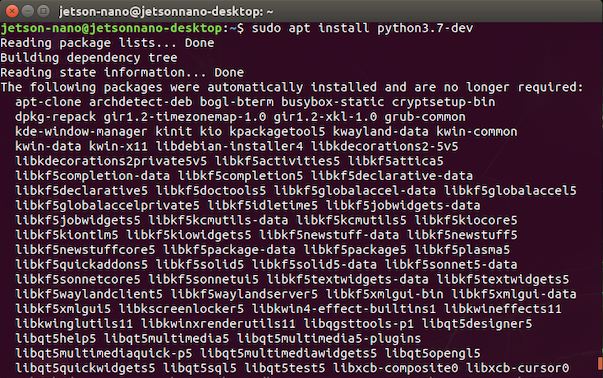
sudo apt install python3.7-dev
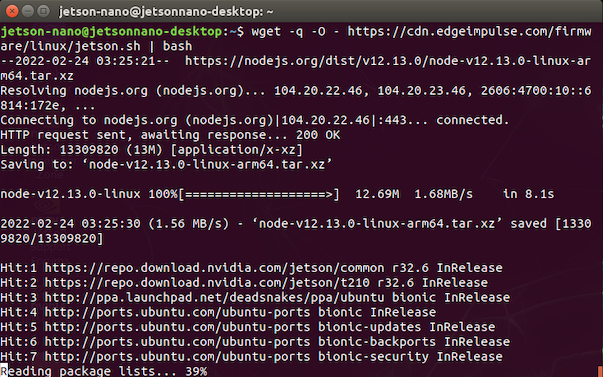
wget -q -0 - https://cdn.edgeimpulse.com/firmware/linux/jetson.sh | bash
- Step 4. Download the ML model to the Jetson Nano by the command below:
edge-impulse-linux-runner --download modelfile.eim
If this is the first time for connection between Jetson Nano and Edge Impulse, the website will require your Edge Impulse account information to log in.
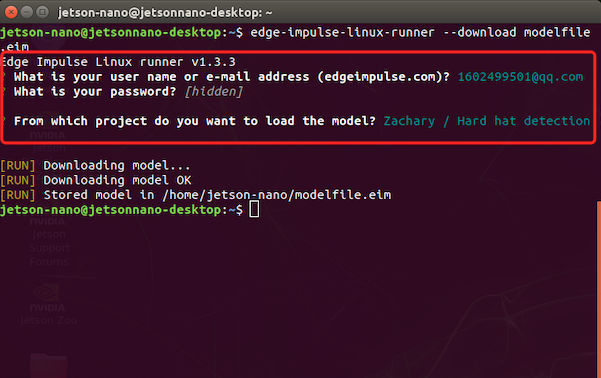
!!!Note This downloads the file into modelfile.eim, if you want to switch projects, it can be done by adding '--clean'.
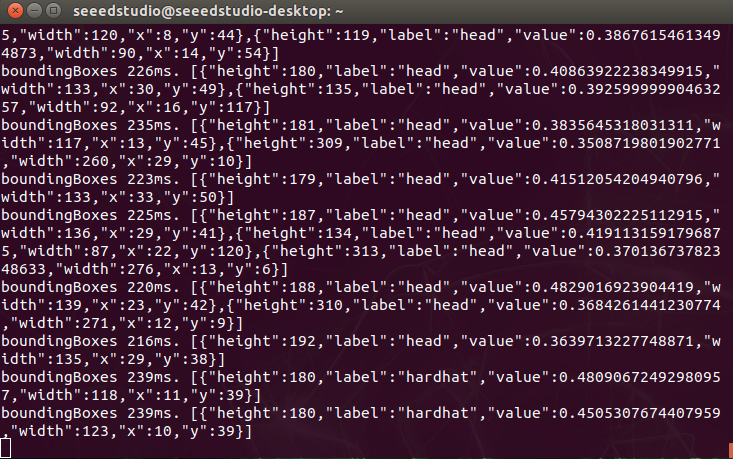
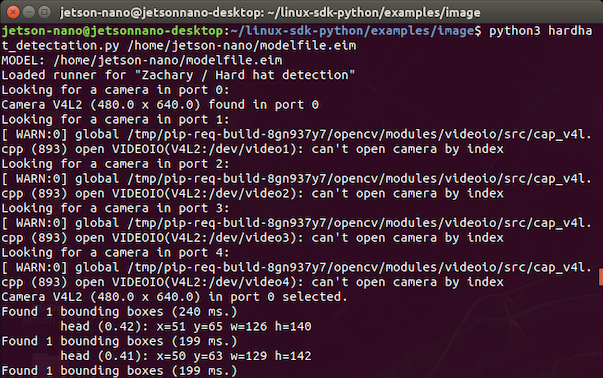
- Step 5. Run the hardhat_detectation.py to apply the ML model with the following command. The codes might required an external file.
python3 hardhat_detectation.py /home/jetson-nano/modelfile.eim
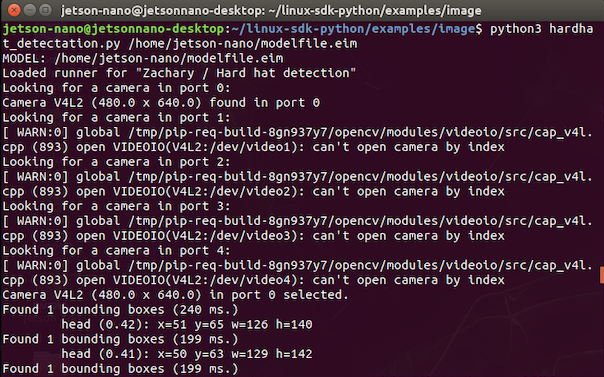
- Step 6. The result should look familiar to these:

Or can it be an image, deploy your ML application for the PPE detection pipeline in 5 mins? Stay tuned with us!
Tech Support & Product Discussion
Thank you for choosing our products! We are here to provide you with different support to ensure that your experience with our products is as smooth as possible. We offer several communication channels to cater to different preferences and needs.