How to install an Arduino library
This tutorial is based on Arduino 1.6.9.
Here we will show you how to install an Arduino library. You should notice that almost all of our library was stored at Github. We will provide Arduino library when a product need a library. For some simple product, there is no need to write a library such as Grove - Button.
Download the Library
There are two ways to download a Arduino library.
1.Download in the product page
Normally, if a product needs a library, you will find a download library button bar like this below:

Click on the button to start downloading. Seconds you will get a package.
2.Download from github
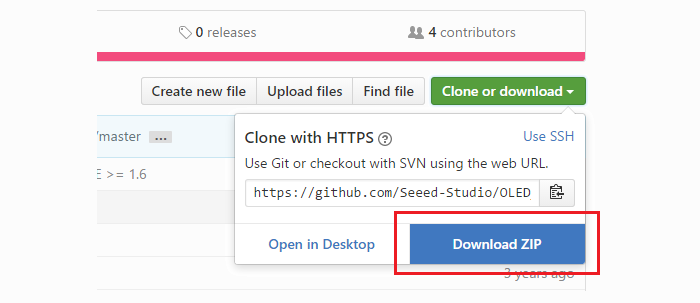
If you need to download from a Github page, then you can click on the Clone or download >Download ZIP button to get the library package.
Add the library
Also there are two ways to add a library to Arduino IDE.
1.Add ZIP Library
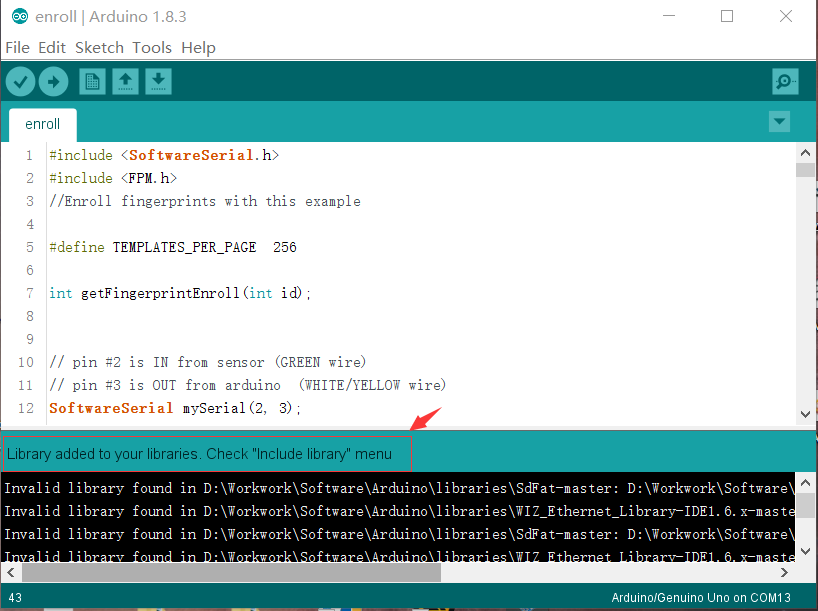
Since you have downloaded the zip Library, open your Arduino IDE, click on Sketch > Include Library > Add .ZIP Library.

Choose the zip file you just downloaded,and if the library install correct, you will see Library added to your libraries in the notice window. Which means the library is installed successfully.
2.Add Library folder manually
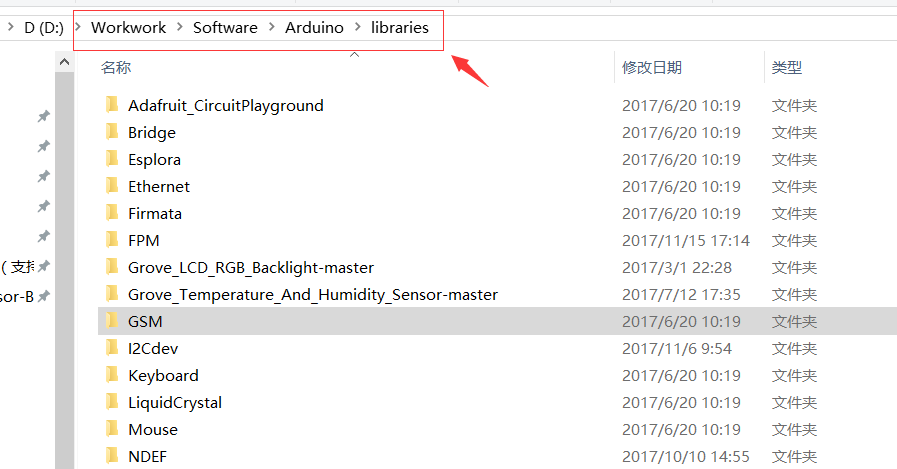
Sometimes you can not add a ZIP library correctly, because the root folder of the Zip Library lacks of .cpp or .h file, the Arduino can not recognize. Then you can Unzip the zip file and copy the Library folder into the following path ...\Arduino\libraries. *....* is the path you setup Arduino. In my case is D:\Workwork\Software\Arduino\libraries.
Check
Then let's check if the library install correctly.
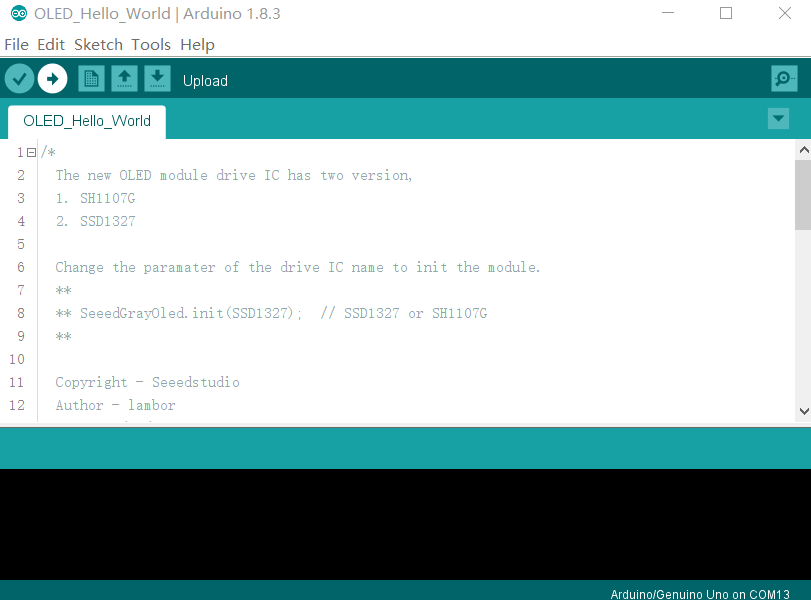
When you add a library successfully, there will be a demo in the Example. In this case, click on File > Example > OLED_Display_96x96-master > OLED_Hello_World to open an example, click on the Verify button, if there's no error, congratulation, the library is installed perfectly.
Tech Support & Product Discussion
Thank you for choosing our products! We are here to provide you with different support to ensure that your experience with our products is as smooth as possible. We offer several communication channels to cater to different preferences and needs.