Android-x86 Installation
This tutorial demonstrates how to install the Android-x86 on the ODYSSEY-X86J41x5 and use it as a smart TV box to watch live stream TV or media from local storage(such as NAS) with the help of Kodi.
The Android-x86 is a project to port Android open source project to x86 platform, formerly known as "patch hosting for android x86 support". For more reference, please visit the official Android-x86.
Hardware Requirements
-
A Working Computer
-
USB Drive x 1 (>= 8GB is recommended)
-
A Monitor
-
Keyboard
Download the Android-x86 OS Image
First, download the Android-x86 OS Image into your drive. It should be a .iso file.
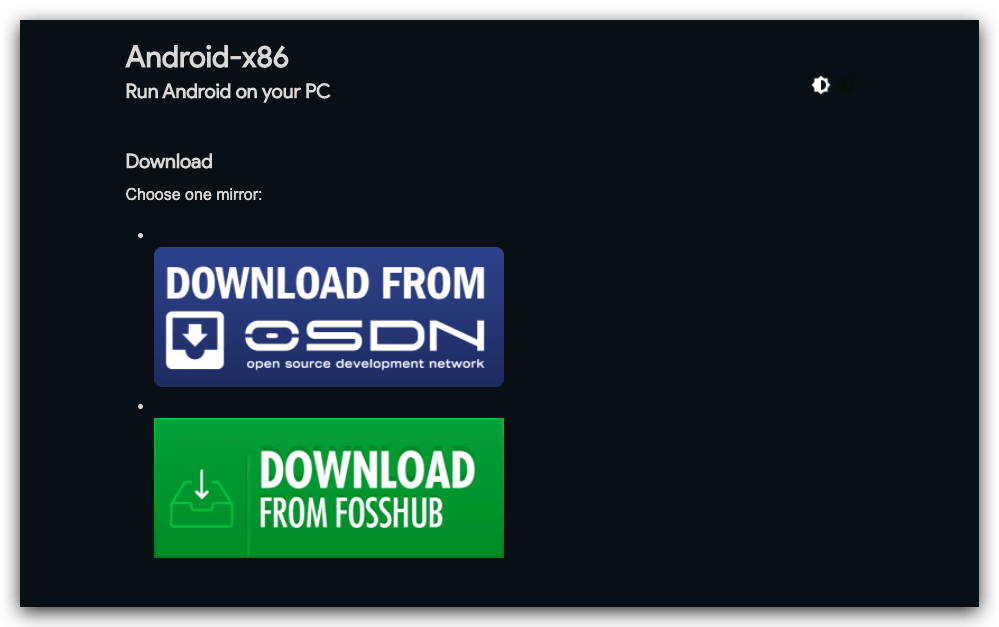
In this tutorial, android-x86-7.1-r4-k419 is used.
Creating a Bootable USB
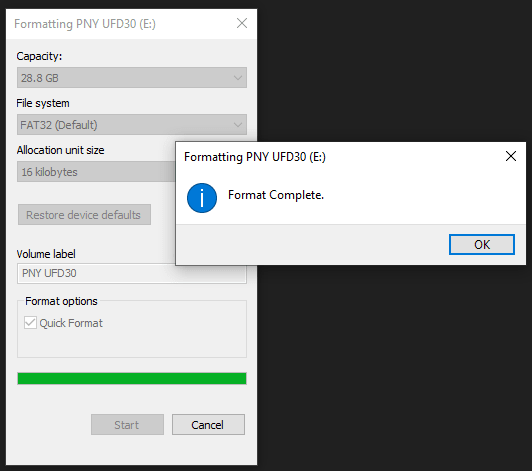
Step 1 - Prepare your Bootable USB
Format one of the USB drive. If you are a Windows user, you can format the USB drive by right-clicking the USB Drive and select Format.
Note: Choose FAT32 for the File System.
Step 2 - Download Flash Burner
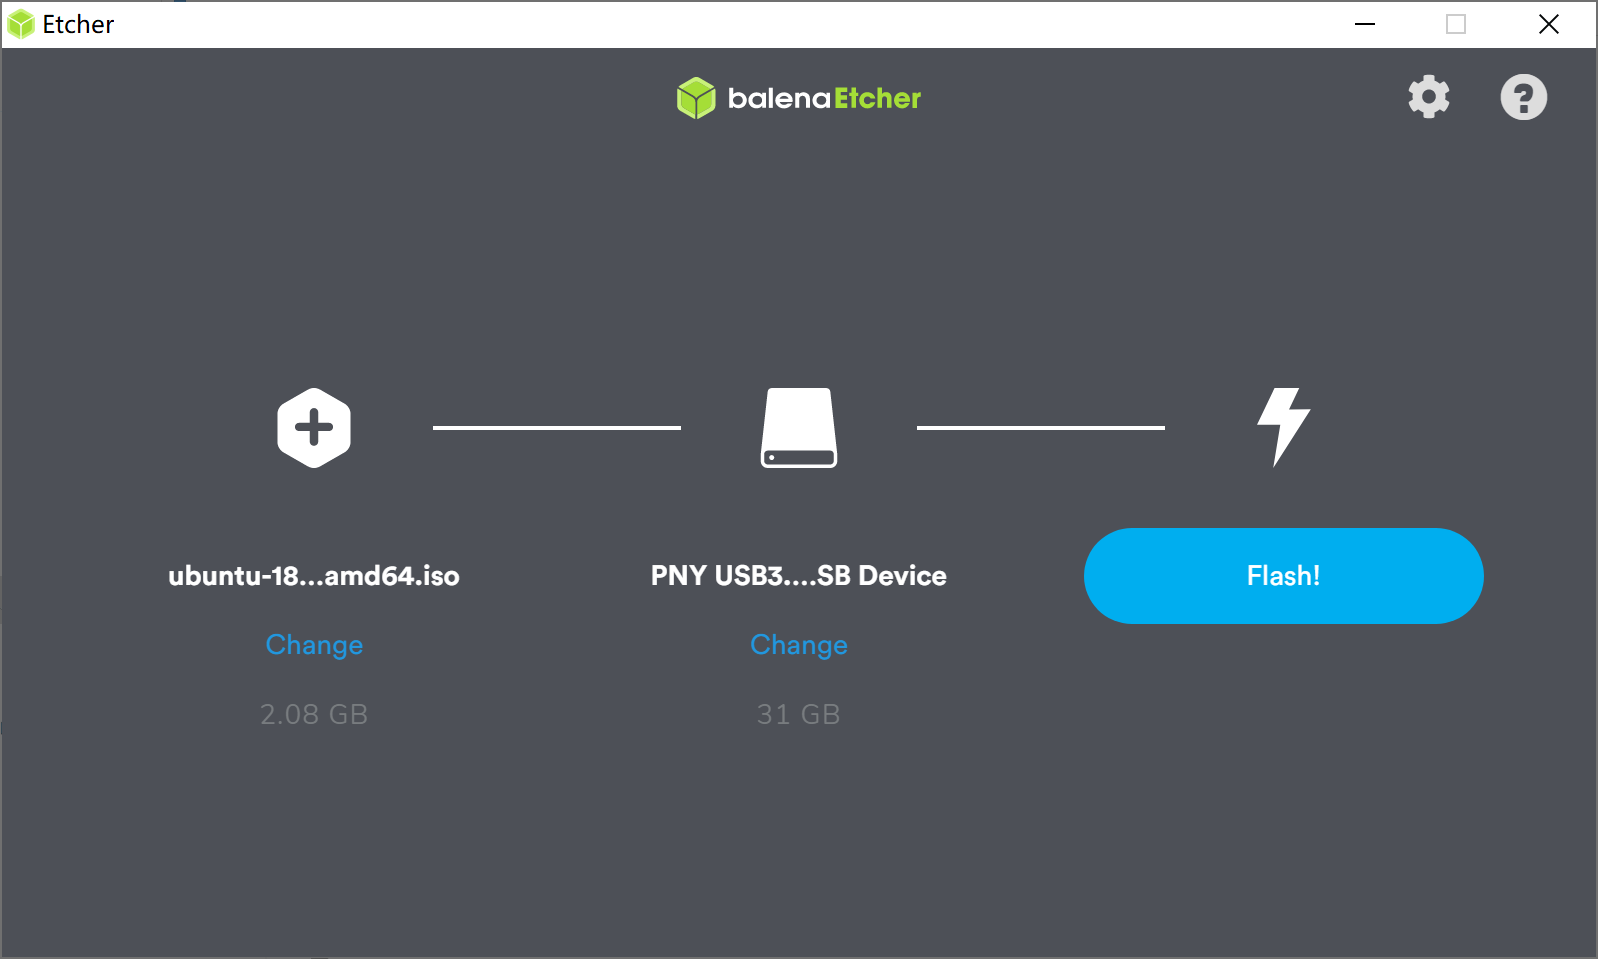
Download the Open Source Flash burner balenaEtcher. Download the version according to your operating system(Windows/macOS/Linux).
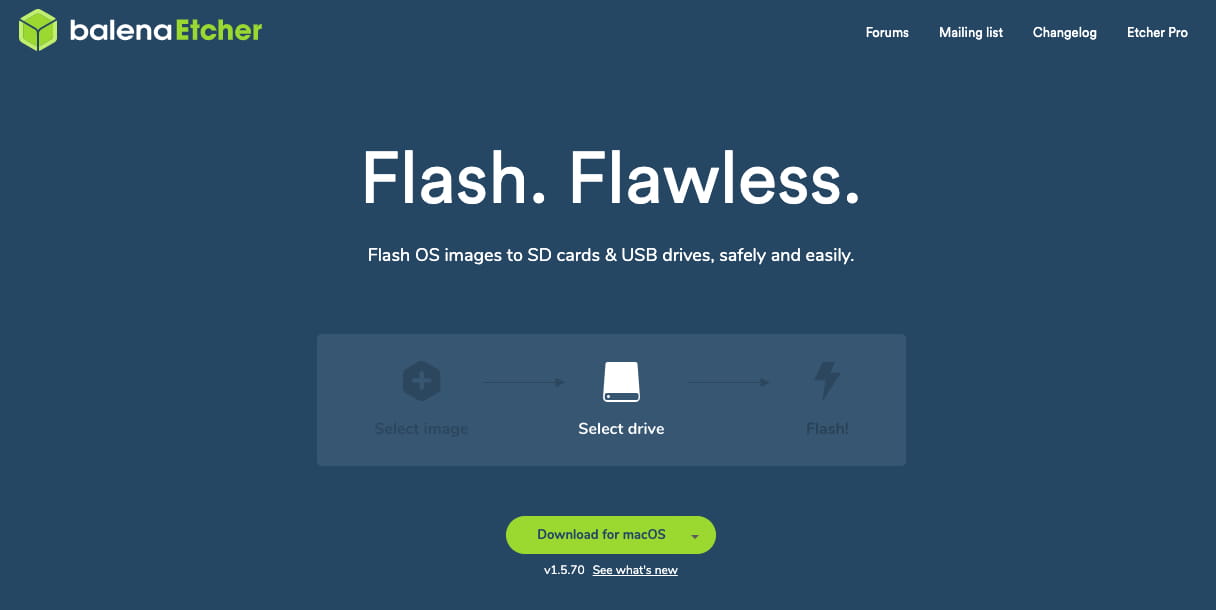
Step 3 - Writing the OS Image into USB
Select the downloaded Operating System Image, select the formatted USB Drive and Flash! Now, the bootable USB is all set to go.
Installing the Android-x86
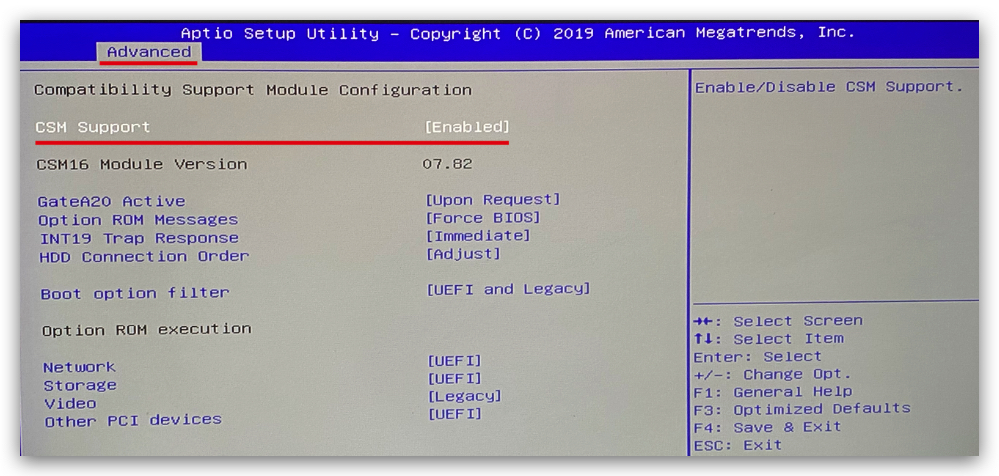
Step 1 - Enabling CSM Mode in ODYSSEY - X86J41x5
Plugin your bootable USB, Monitor and keyboard to ODYSSEY - X86J41x5, and power up. When booting up, keep pressing DEL key to enter the setup screen. Navigate to Advanced -> CSM Support and press Enter to enable it.
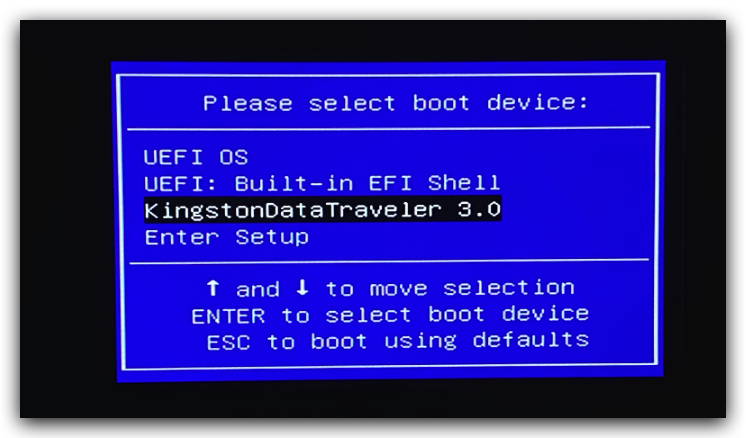
Step 2 - Install the OS
Reboot your ODYSSEY - X86J41x5 and keep pressing F7 to enter the boot manager screen. Select the bootable USB (Installer) and press Enter.
Note: Remember to choose the one that has the Android-x86 iso image on it.
Step 3 - Installing process
Under GRUB options, select Advanced options:
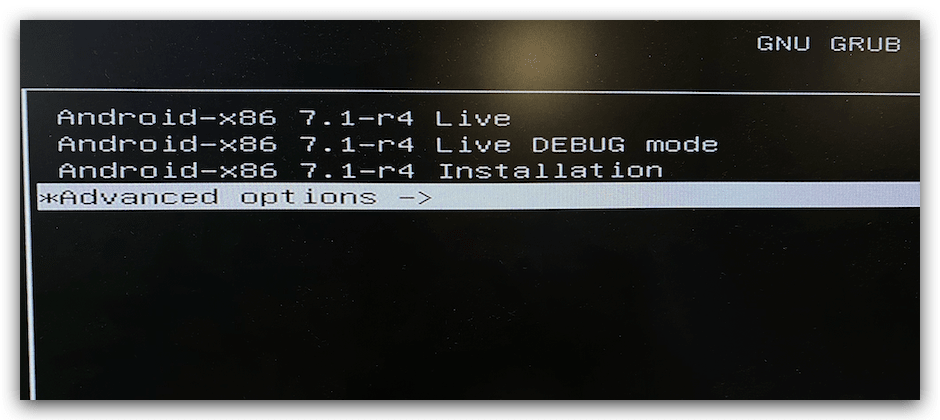
Select Android-x86** Auto Install to specific harddisk:
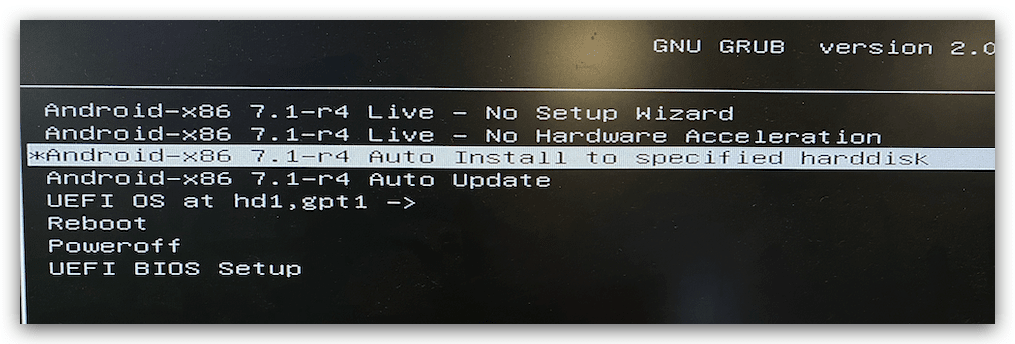
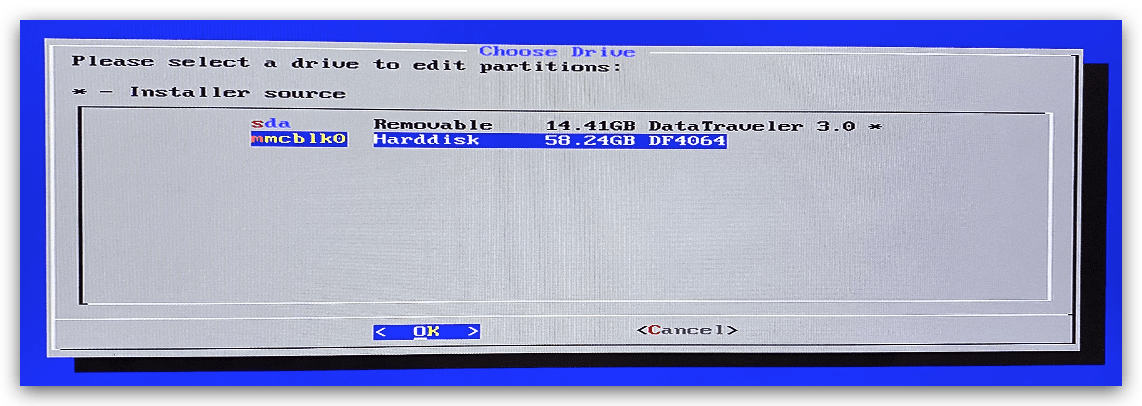
This goes into the installation process and you can choose where the Android-x86 is installed on ODYSSEY-X86. Here is installed onto the onboard eMMC.
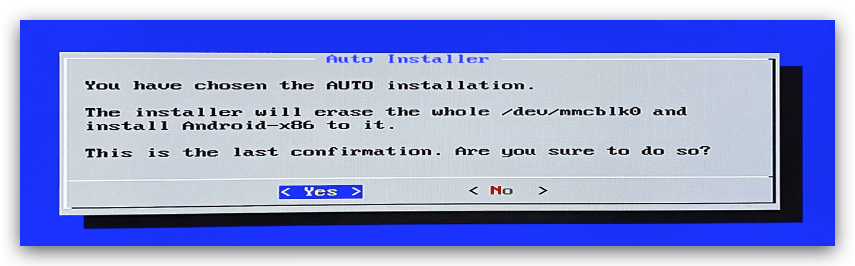
Select Yes for confirmation:
Now, the installing process is taking place and once it's done, select Reboot:
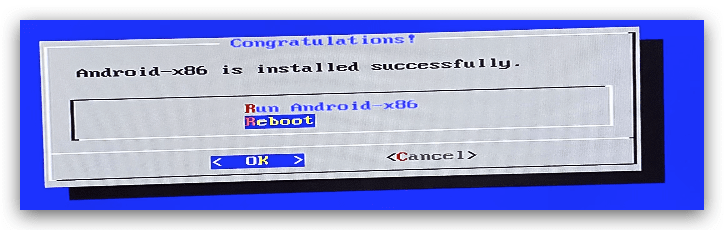
Take out the bootable USB and reboot the device. Android-x86 should be booted up.
!!!Note If not booted up properly, please press F7 and select the drive you installed Android-x86 to boot from.
Configurations
If everything goes well, you will booted into the Android-x86 like the screen below:
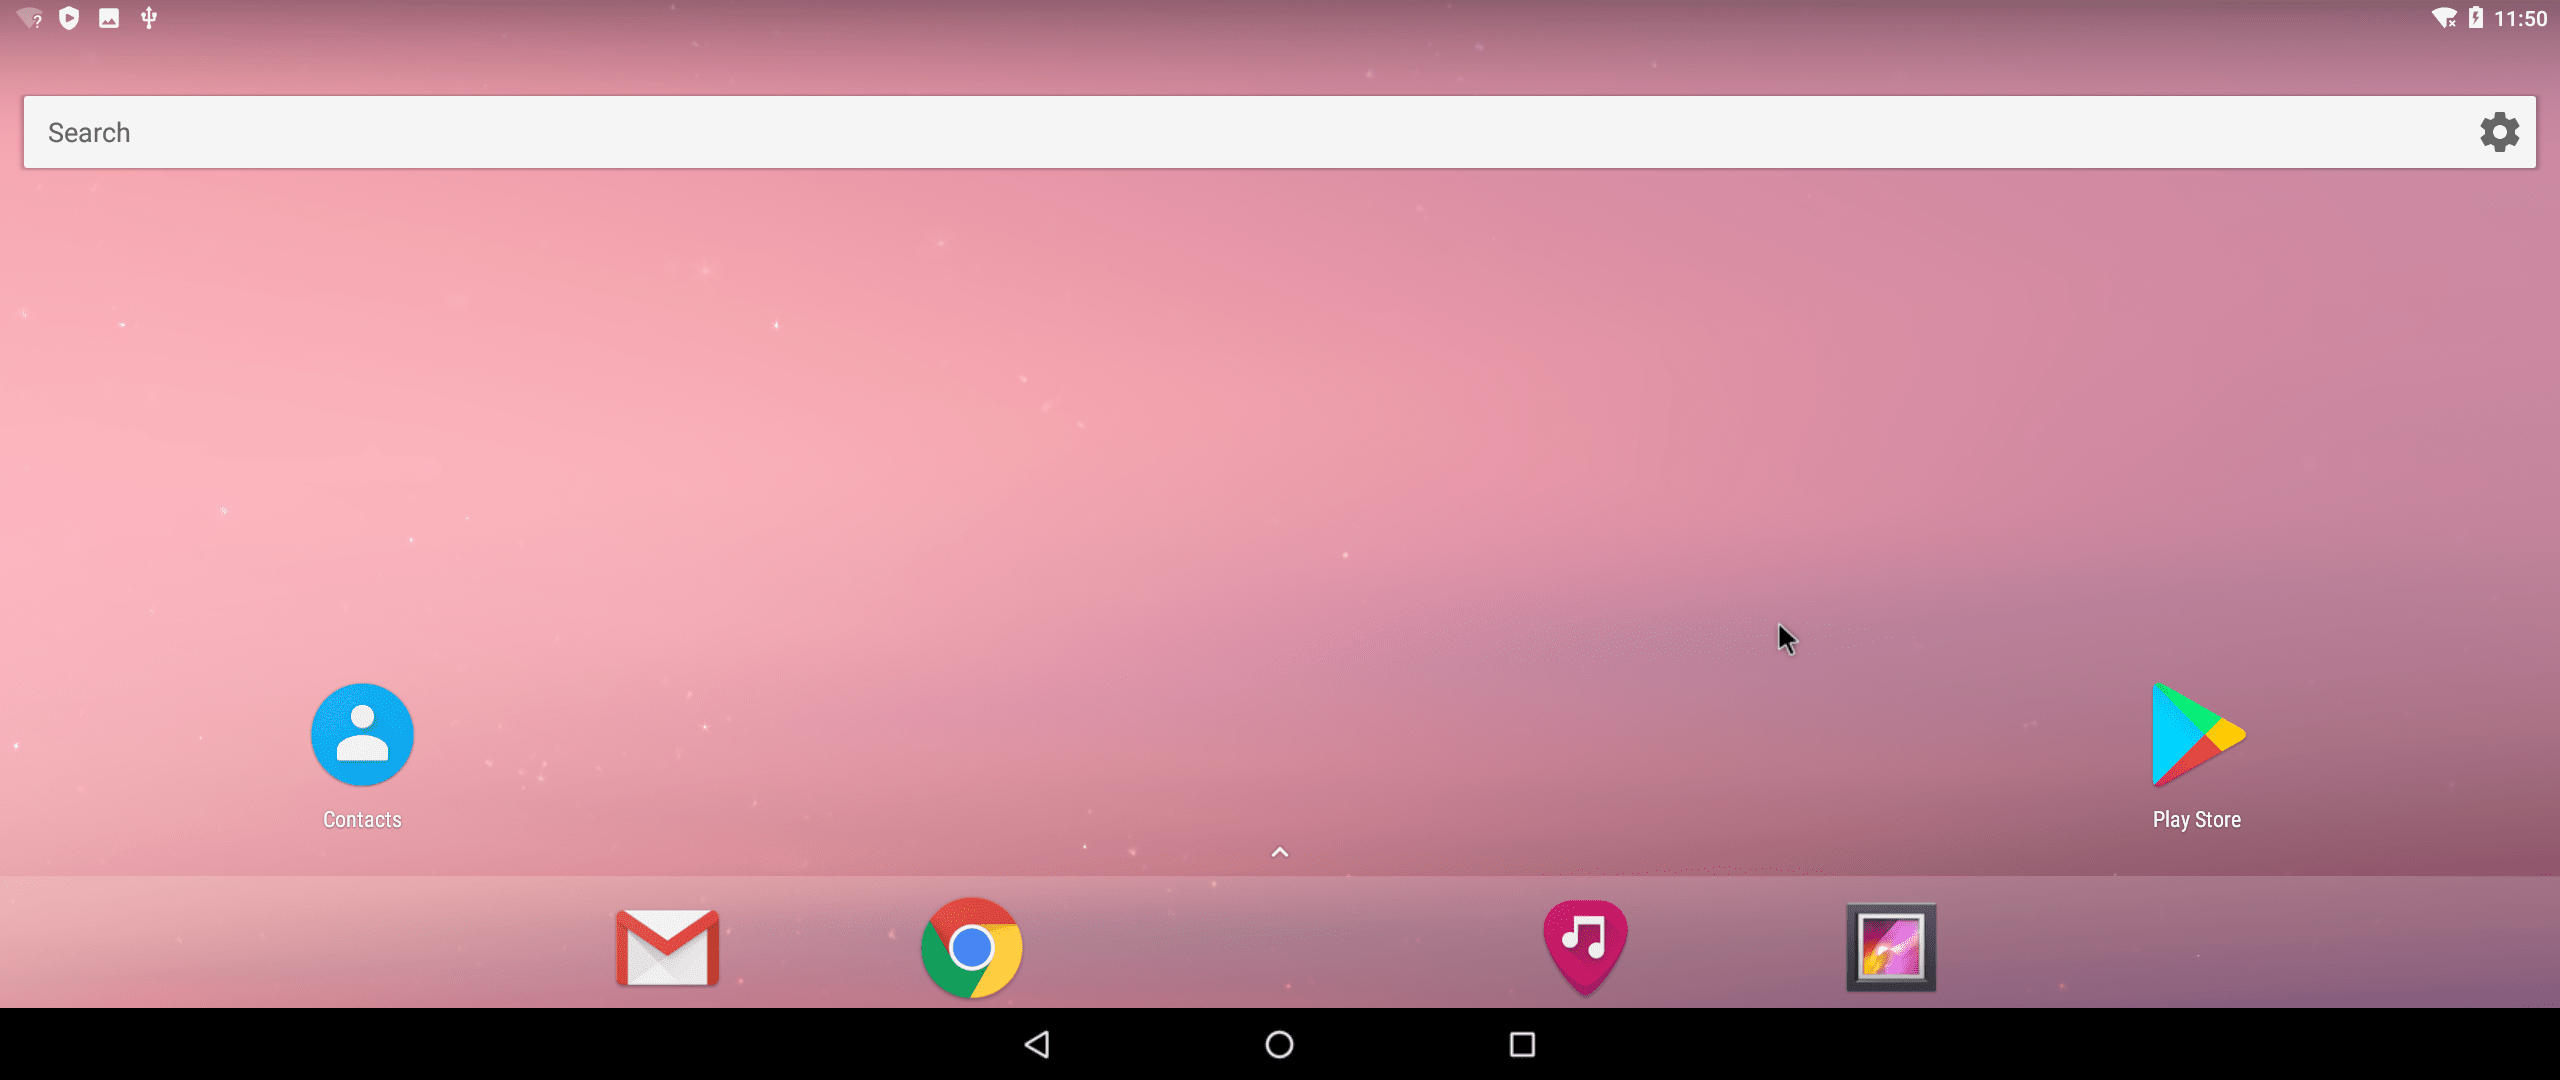
This may look familiar with people who use Android phones!
Setting up as Smart TV Box
To get ODYSSEY-X86J41x5 to work as a smart TV Box, we will need to install Kodi.
Kodi is a free, open source piece of media centre software that can run on anything from your Android phone to your home PC, and plenty of other devices in between. And of course it supports Android-x86!
Download and Install KODI for Android-x86
You can download the Kodi for Android-x86 here. You may want to download it from another PC and save the .apk file into a USB drive and install the app from USB.
Kodi IPTV Settings
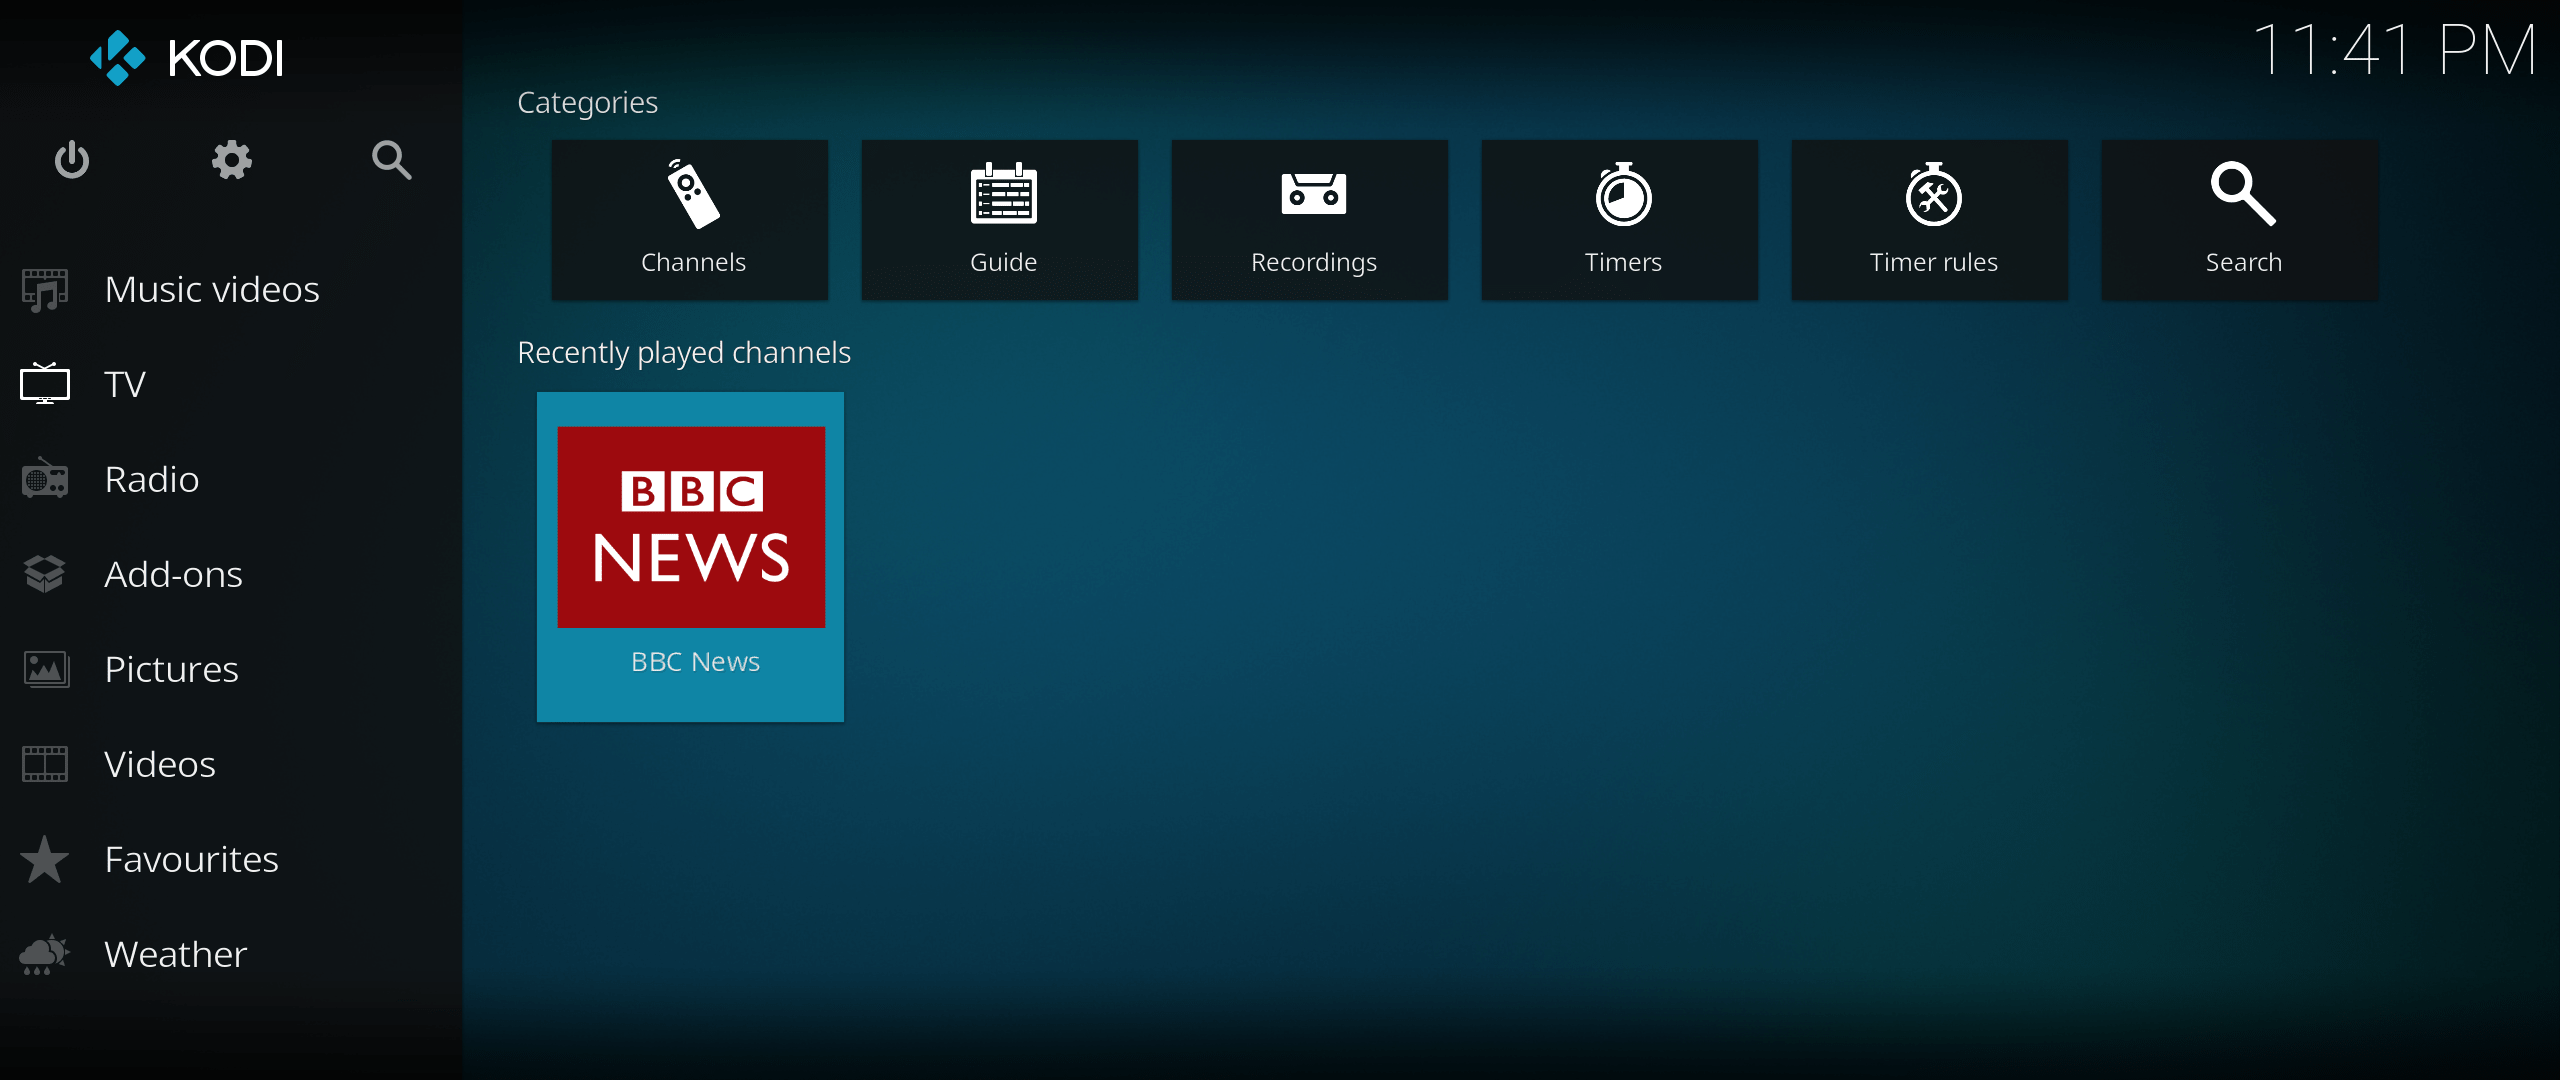
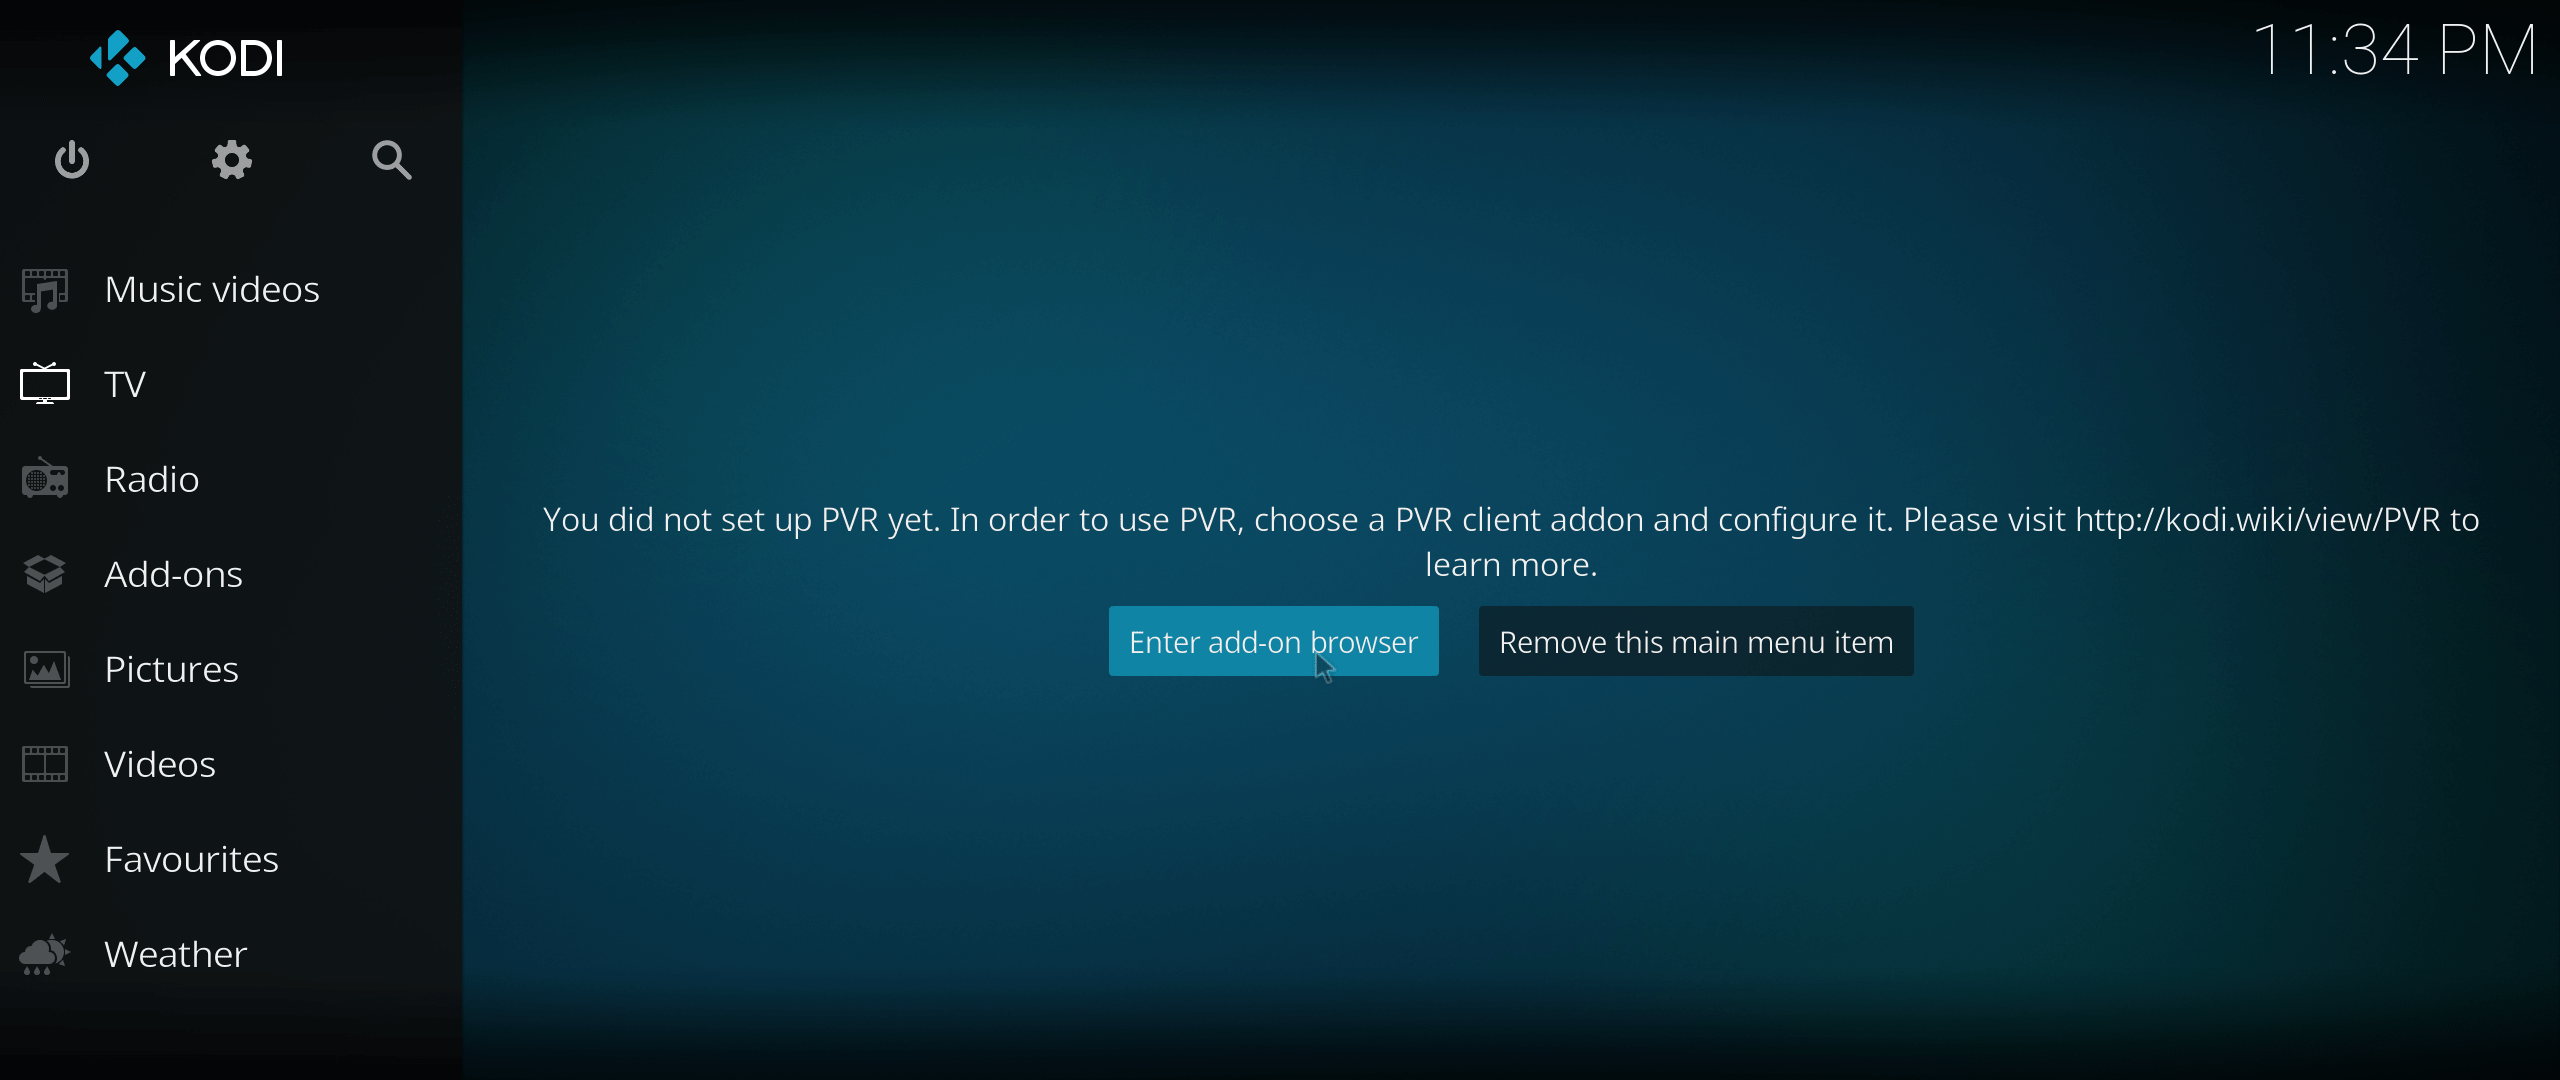
Open Kodi and navigate to TV -> More Add-on:
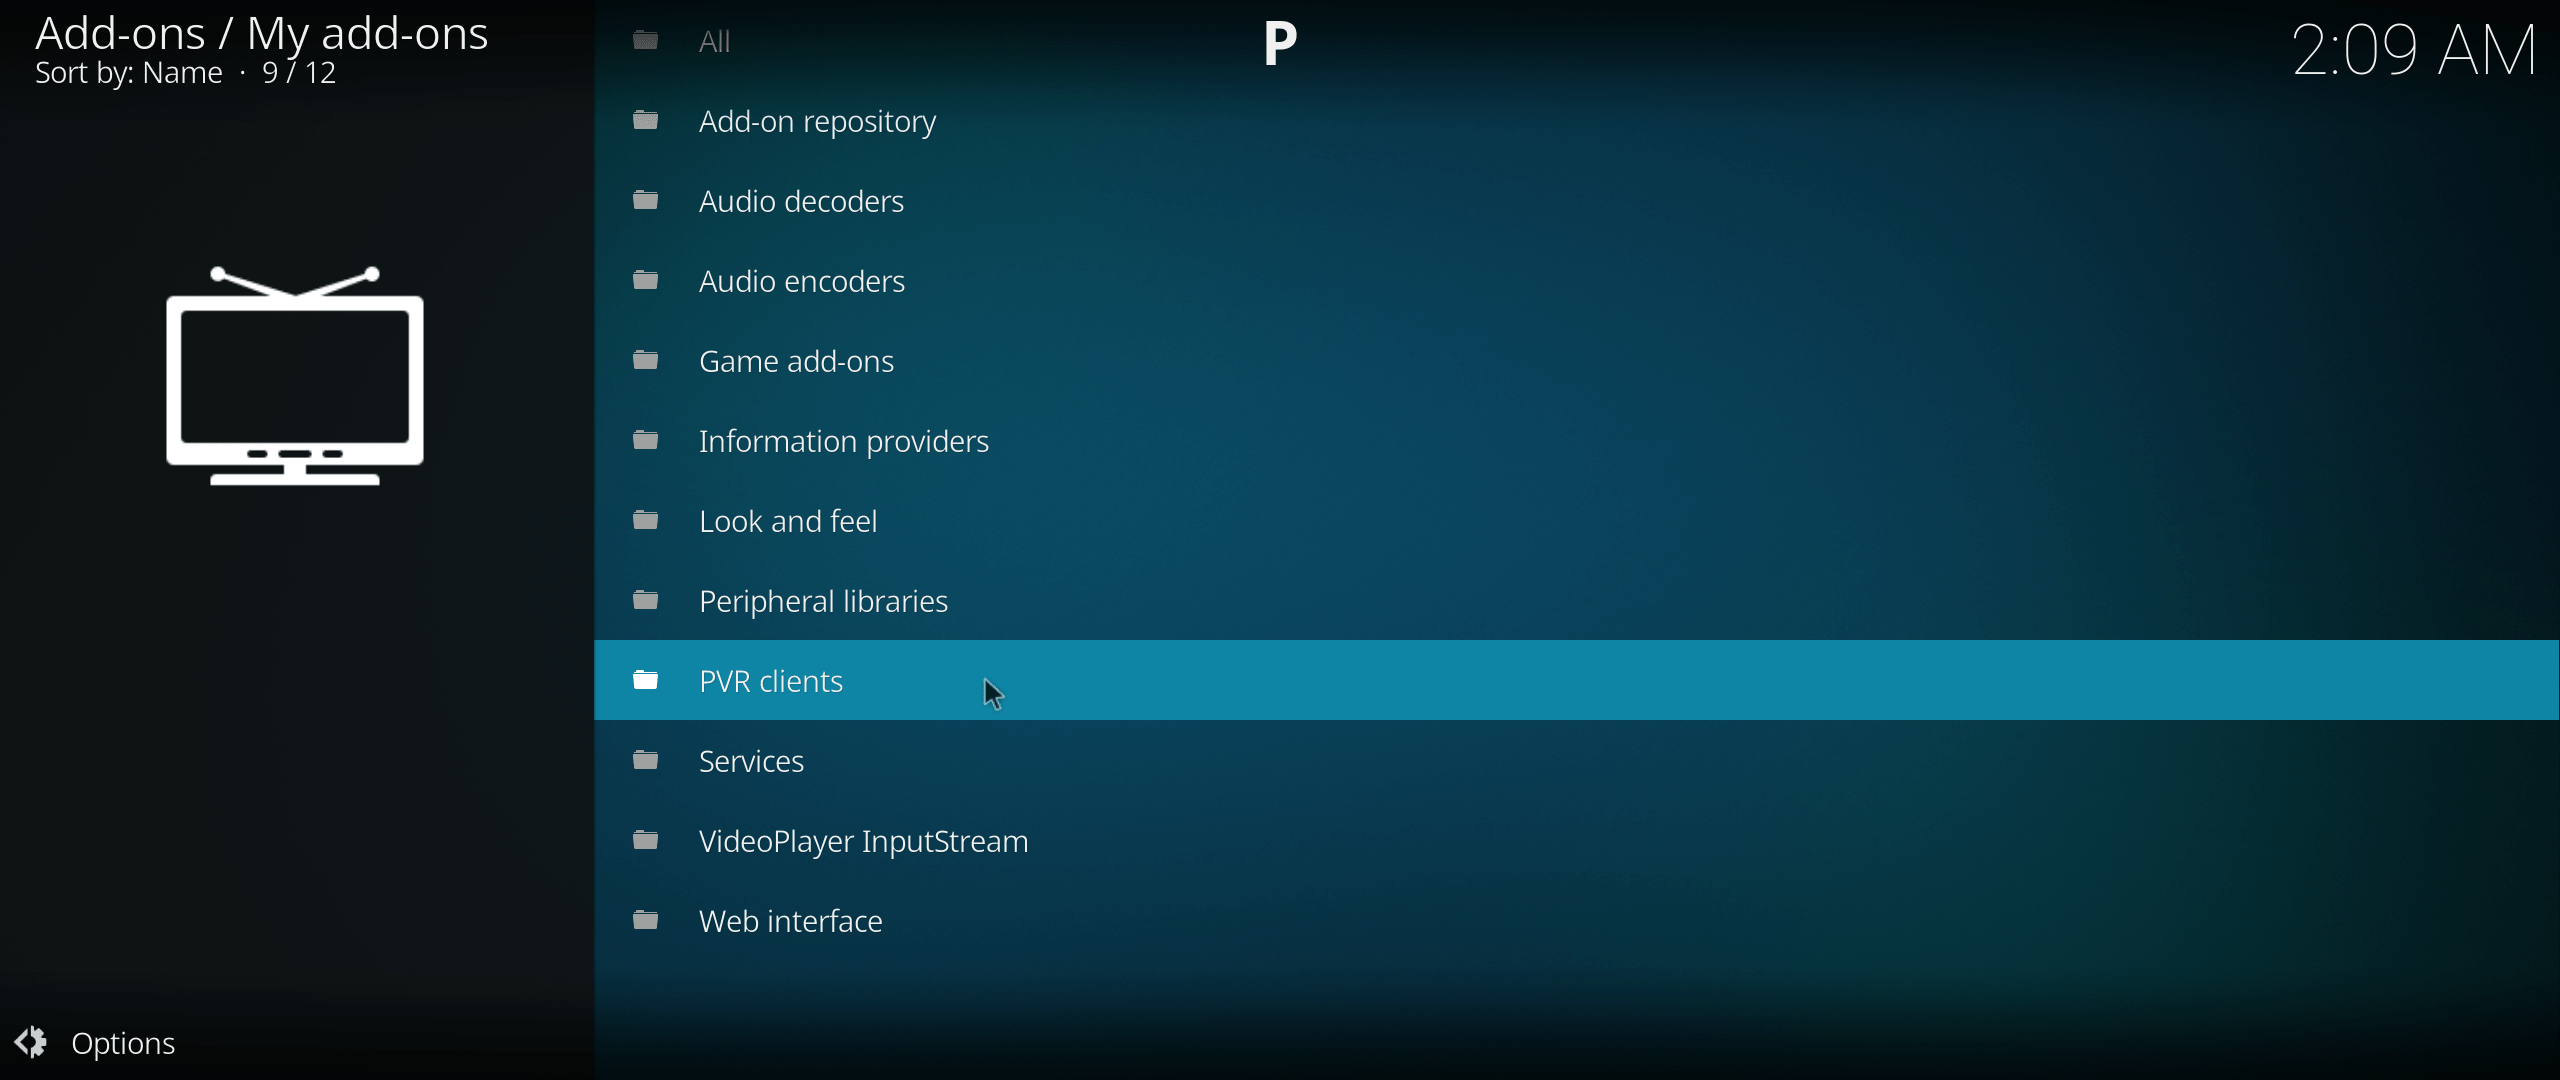
Choose PVR clients:
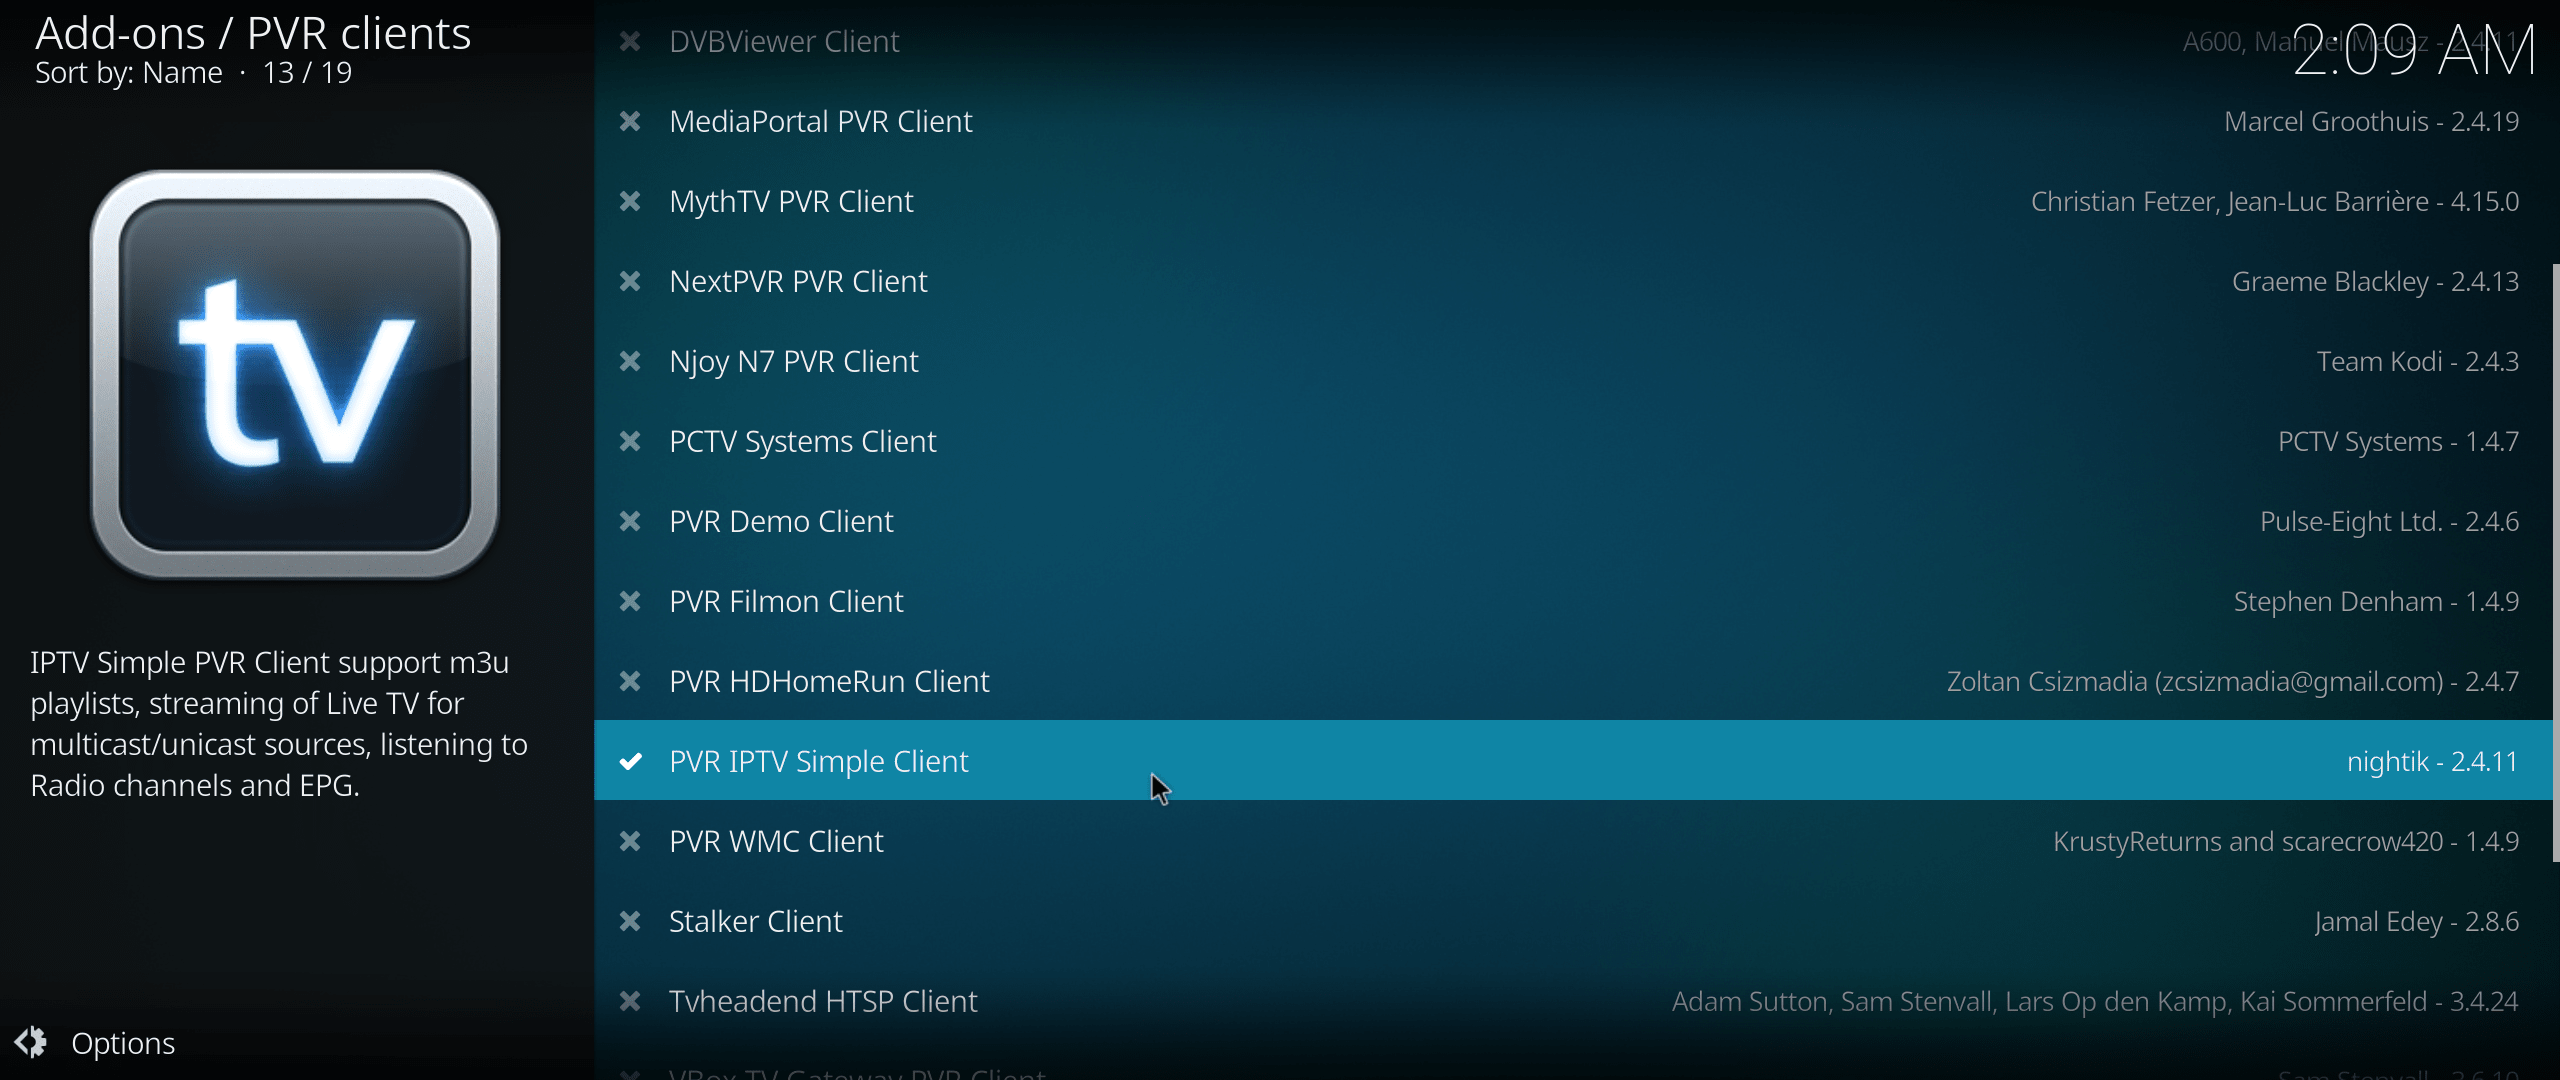
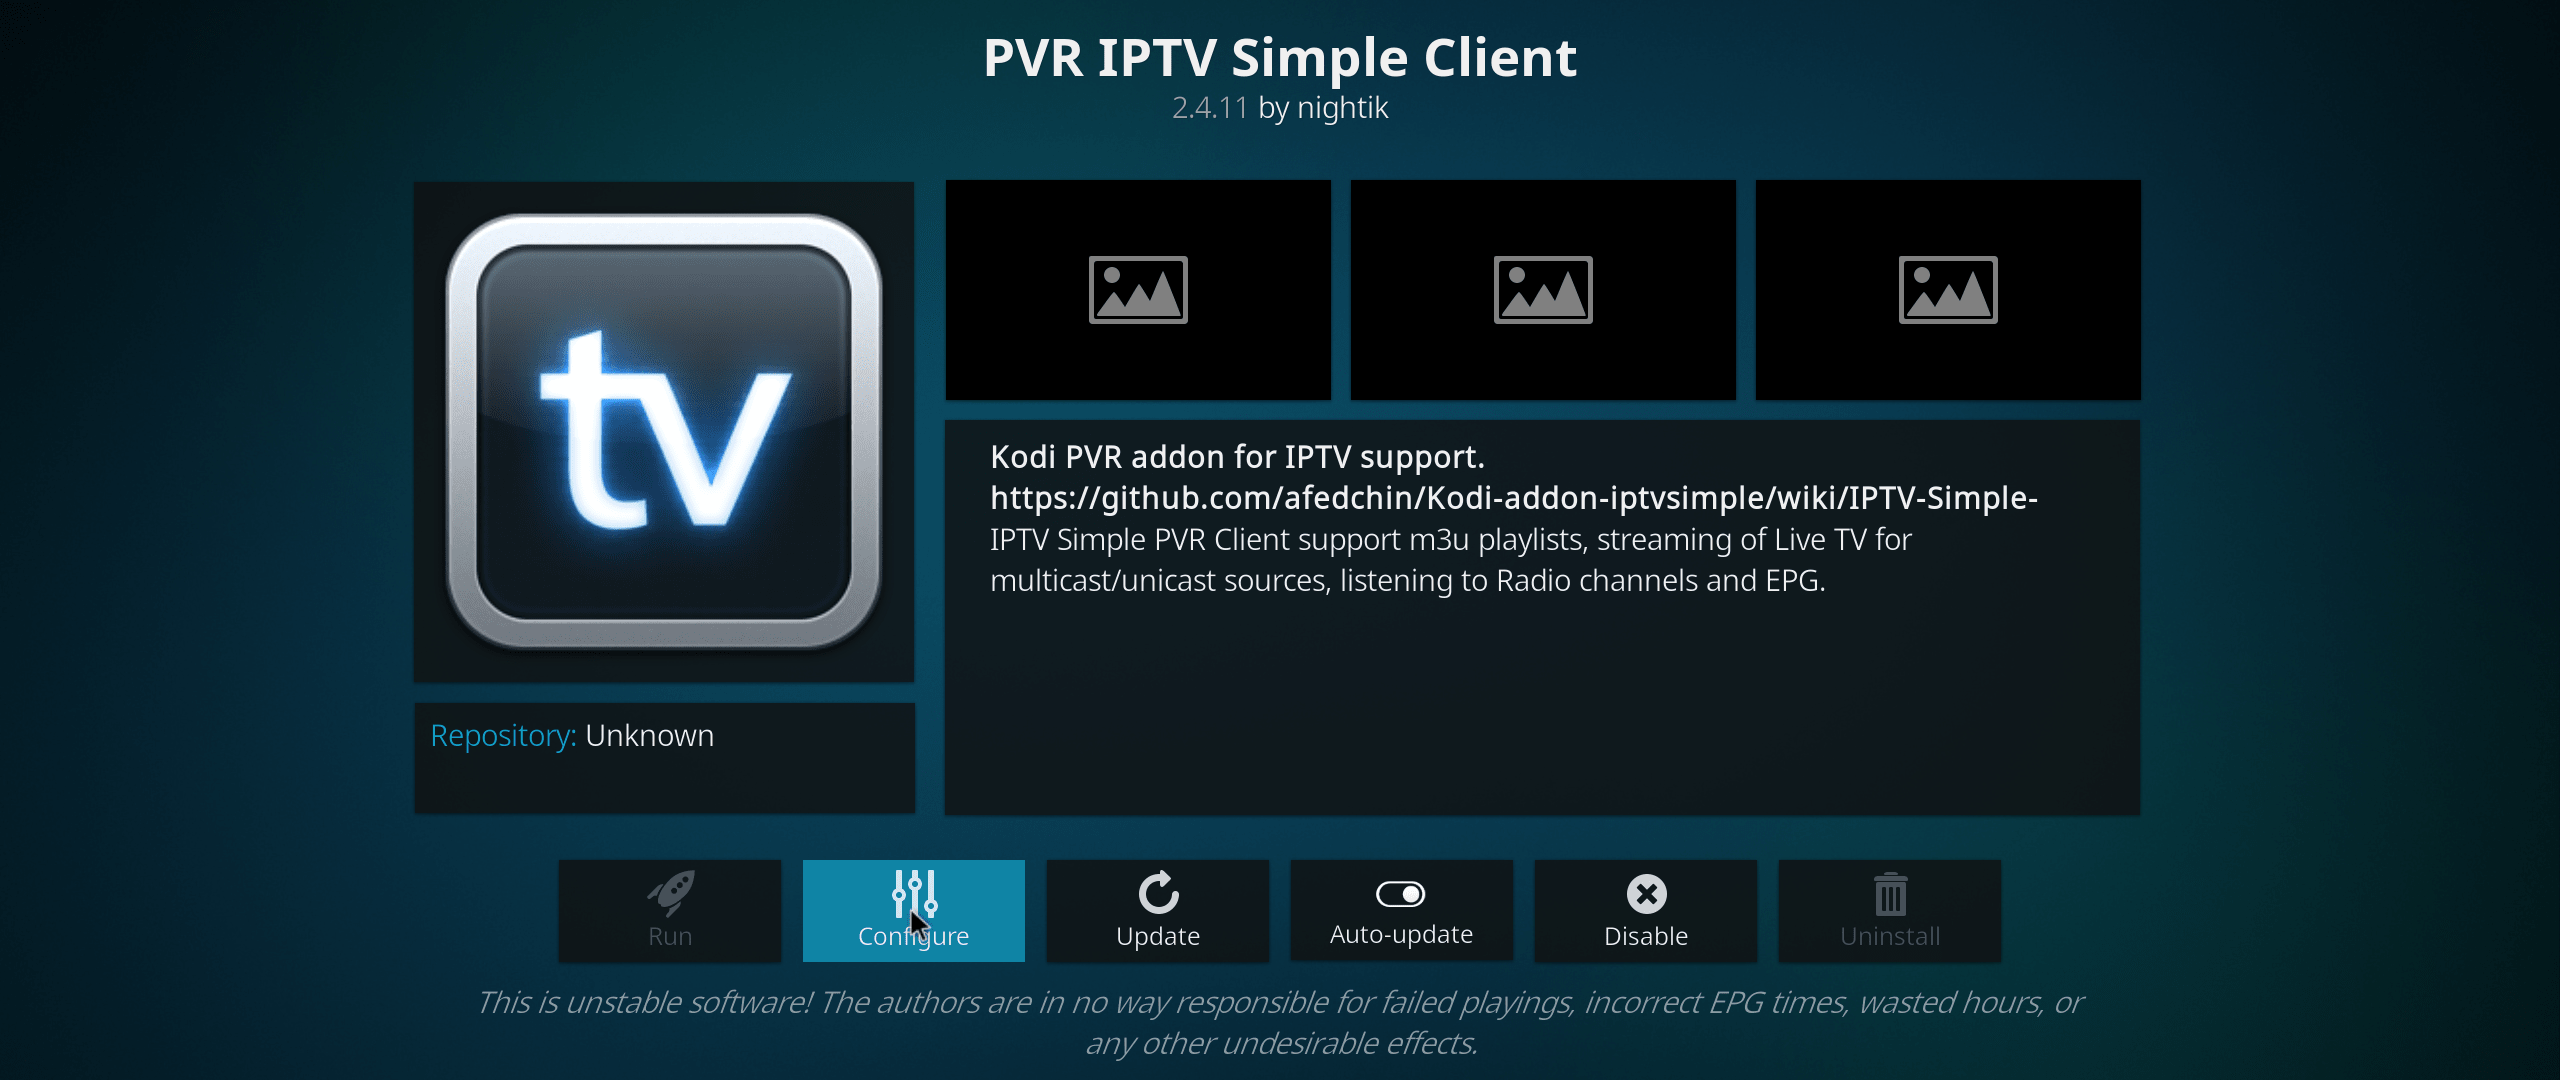
Select PVR IPTV Simple Client:
Select configure and type in the IPTV streaming m3u url. You may check this iptv repo for reference. Select OK and remember to enable.
REboot the Kodi and you should have channels loaded! Now you have truned your ODYSSEY-X86 into a Smart TV Box!

Boot from Start-up
If you want the ODYSSEY-X86 to boot Kodi from boot up, you can simply achieve this by installing Boot apps from the Google Play Store!
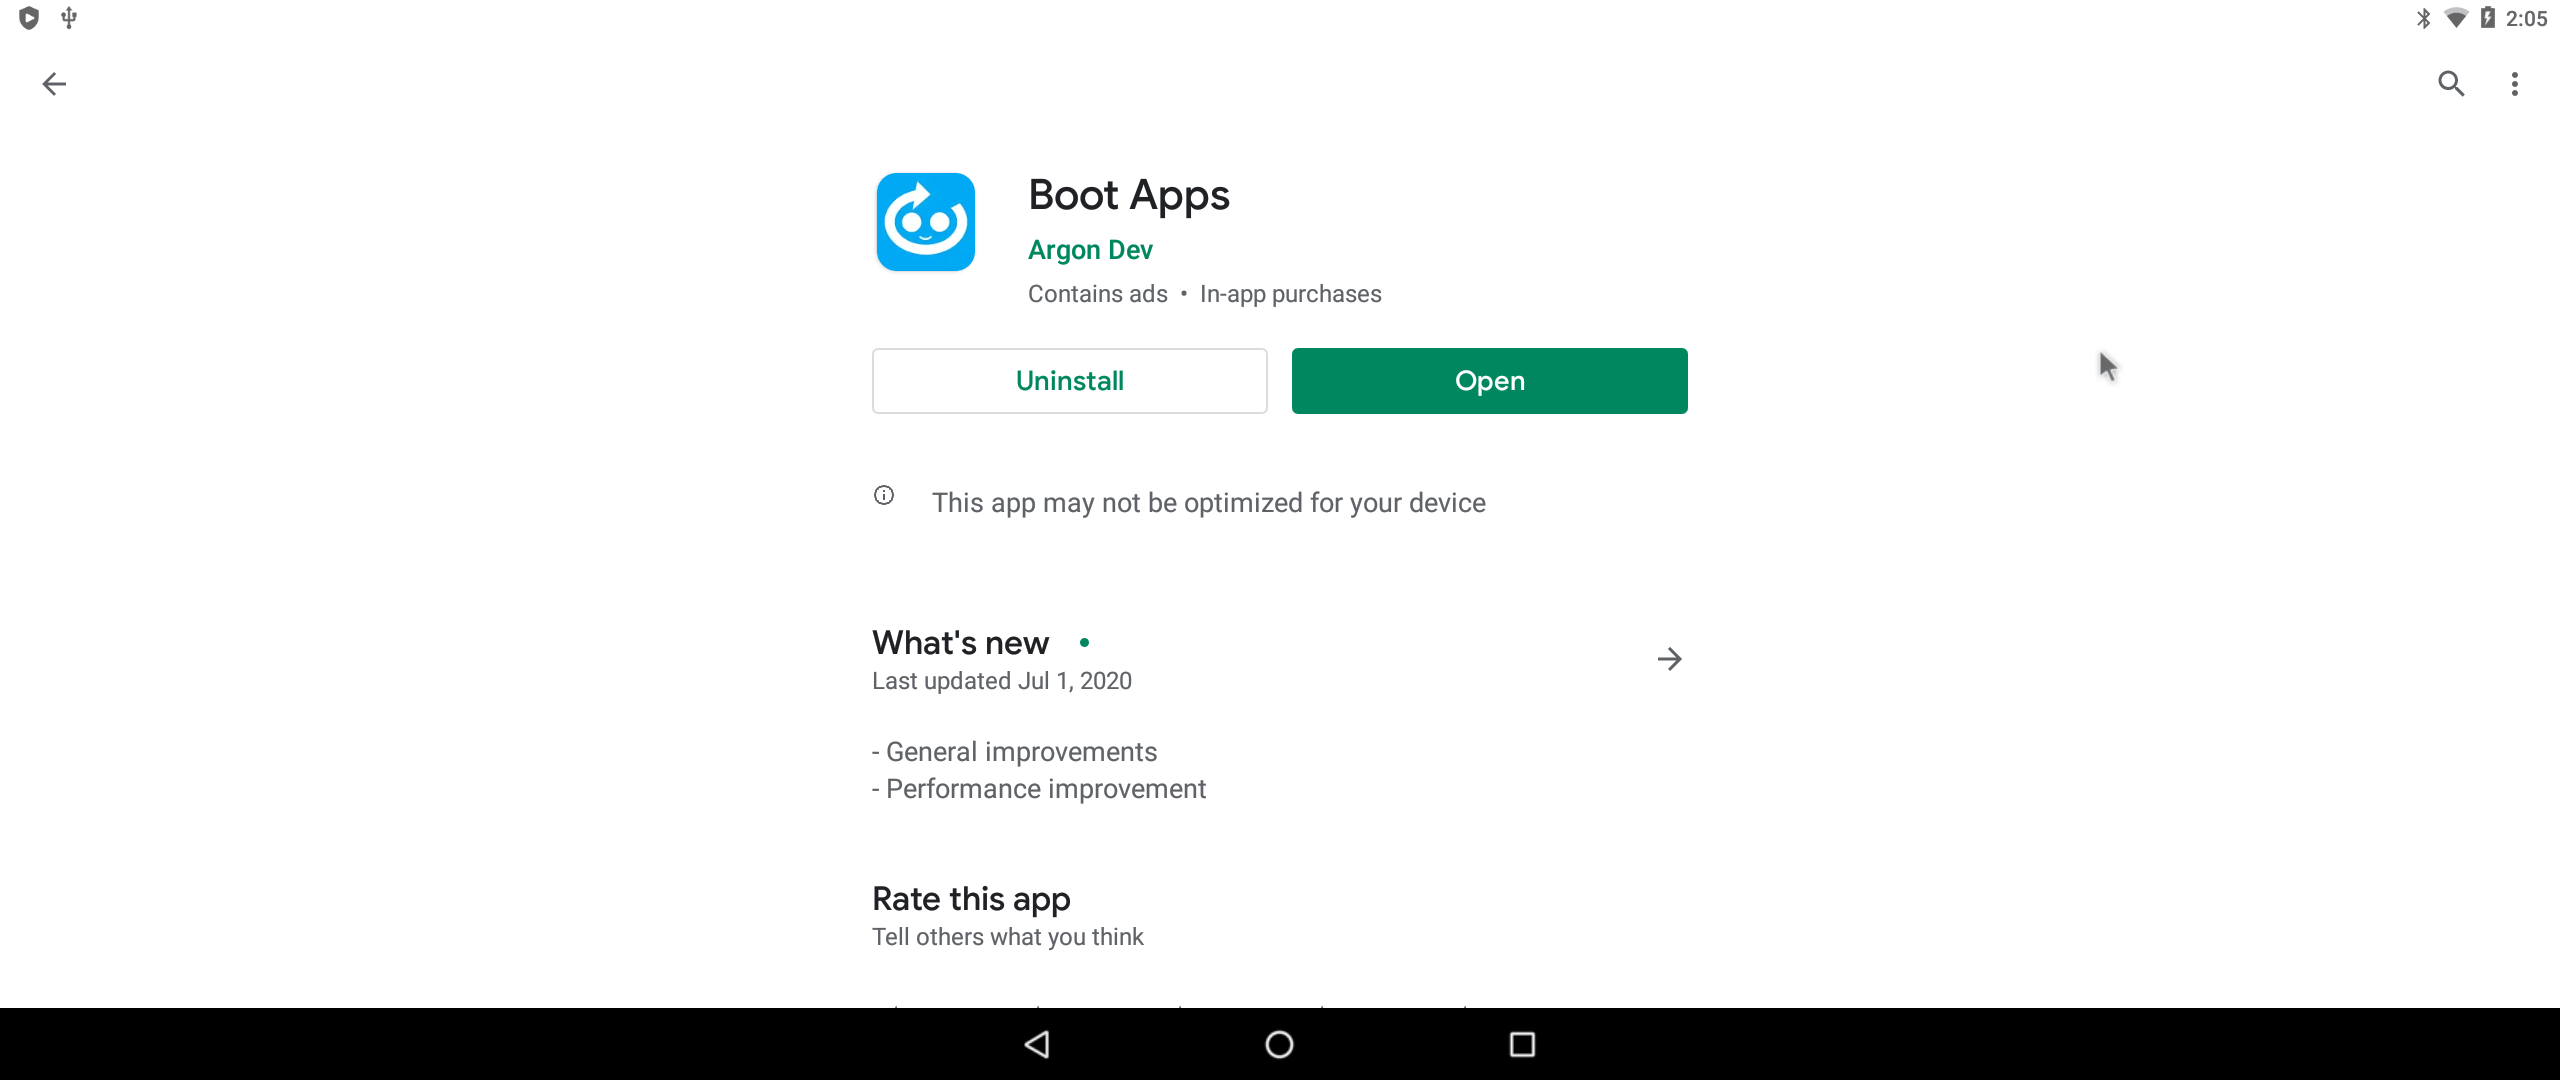
Install the app and select Kodi as boot from start apps!
Resources
Tech Support & Product Discussion
Thank you for choosing our products! We are here to provide you with different support to ensure that your experience with our products is as smooth as possible. We offer several communication channels to cater to different preferences and needs.