Tango with Home Assistant and SenseCAP Sensors
Share a way to integrate LoRaWAN® Sensor into Home Assistant.
There are already enough intelligent devices(sensors, lights, switches) in the smart home playground, and you might already have multiple Apps from Apple Homekit, Google Home, and Amazon Alexa to serve different devices. It’s highly required to connect all of them with each other in one place. I read the news recently in Sep 2022 that matter 1.0 was released and aim to uniform the ecosystem. however, this will definitely take time.
Actually, before the matter was released years ago, Home Assistant is one of the best platforms to build a fully customized smart home ecosystem, integrating mainstream devices and setting automation rules to make your home a better and smarter place. That is definitely something I want to learn and share the experience.
In this series of articles, I will share how I build a decent smart home in Home Assistant and use sensors from Seeed Studio SenseCAP products. And this is the first milestone.
Running a home assistant from scratch and integrating SenseCAP weather sensors.
Here are the steps to get there:
- Install home assistant on a Raspberry Pi
- Get the SenseCAP sensor onboard with App
- Add MQTT integration and subscribe to the SenseCAP data
- Add entities with different sensor measurement values.
- Create a sensor data dashboard
Install home assistant on a Raspberry Pi
To get started with Home Assistant, the official tutorial is very useful.
There are many devices and platforms to run home assistant, I happen to have one unused Raspberry Pi, so I will start from here.
Instead of using the Balena etcher to flash the SD card, I prefer using the official Raspberry Pi Imager, it is lightweight and simple to use.
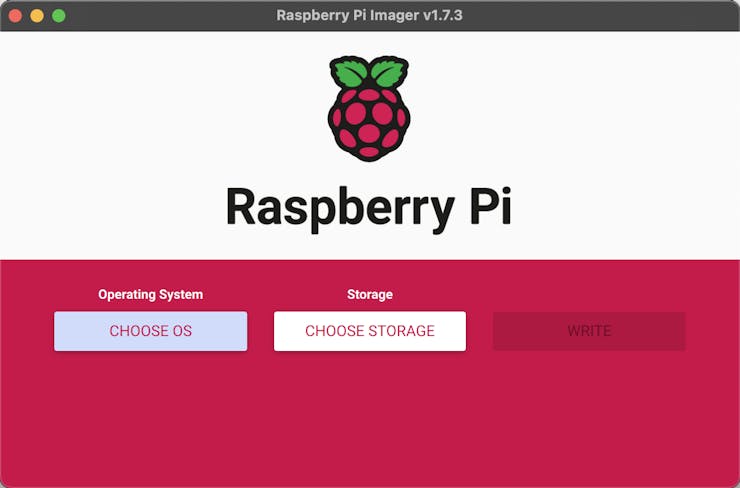
Get yourself a Micro SD card bigger than 32GB and plug it into your computer, here I use MacBook as an example.

Navigate to other specific -purpose OS and select the Home Assistant and Home Automation.

Select Home Assistant
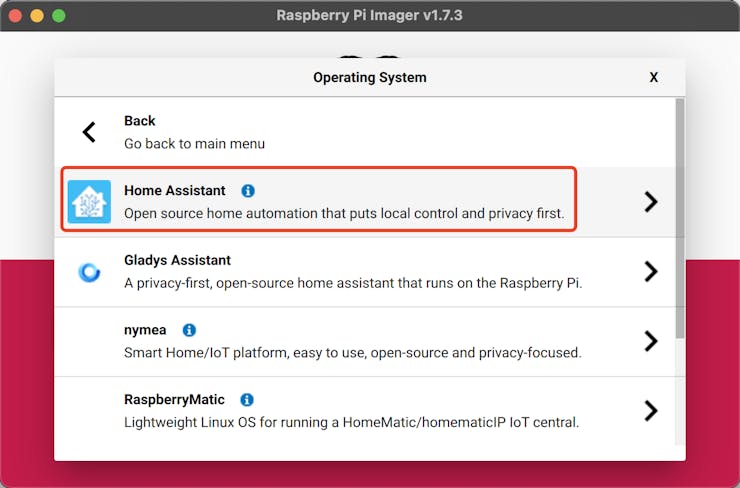
Select the Home Assistant OS version for RPi4

Then select the SD card drive, be careful, and DO NOT choose the wrong disk, which may format your driver and lose all the valuable data.
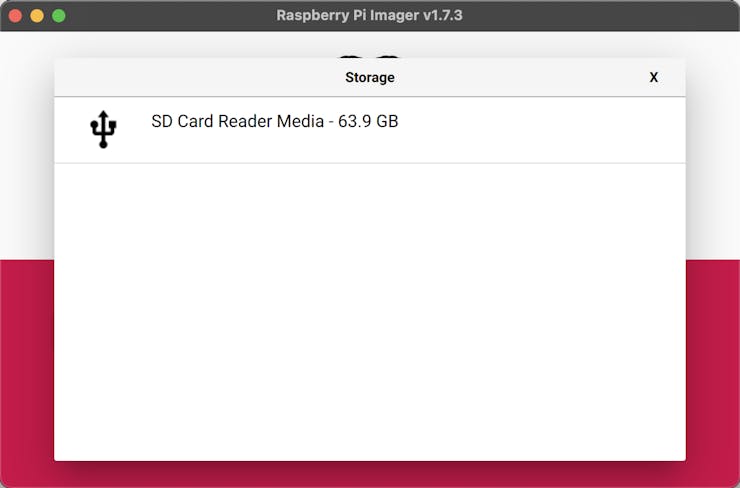

It may take a while to download the Home Assistant image depending on your internet speed.
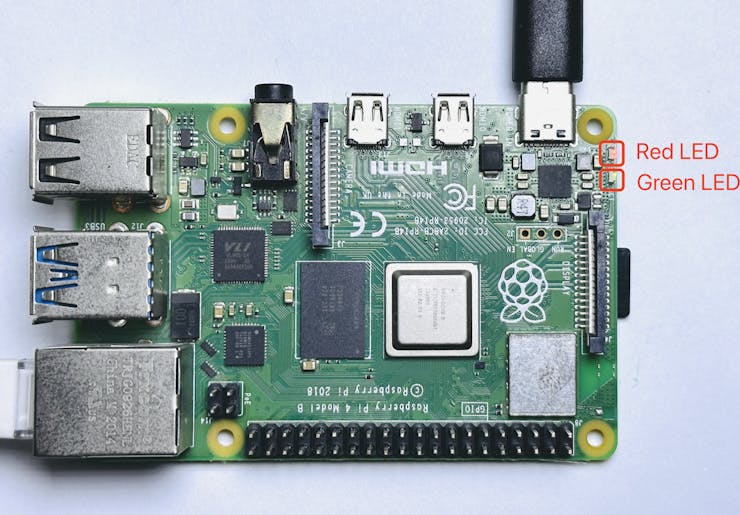
Then insert the micro SD card into Raspberry Pi and connect one ethernet cable to it. boot it up, the Red LED should stay red and Green LED will start to flash, if the green LED does not flash, that indicates something is wrong during image flashing.
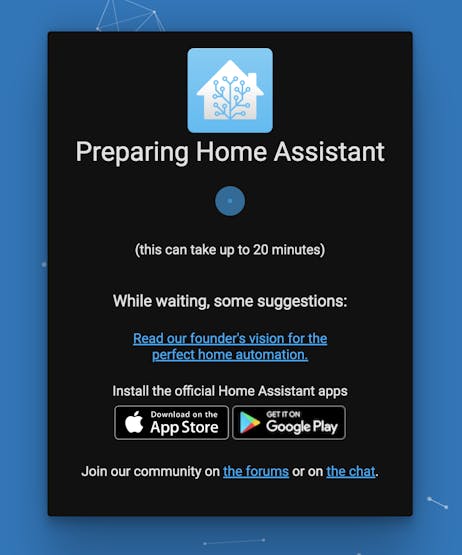
go to http://homeassistant.local:8123/ and wait for the installation to finish.
Following this link to register your Home Assistant account and login.
Bingo Finally, you have your Home Assitant installed.
Onboard the SenseCAP sensor with App
SenseCAP is a series of industrial sensor devices, and gateway product, among which, the S210x LoRaWAN sensor are mainly built for the long-range and battery-powered scenario.
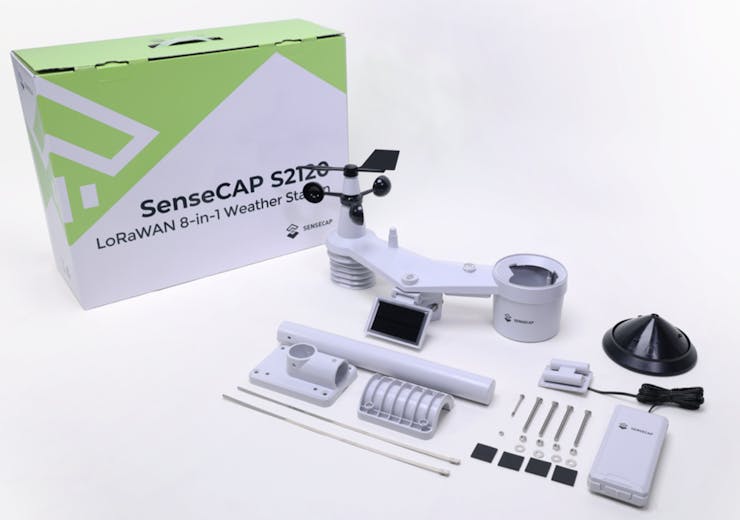
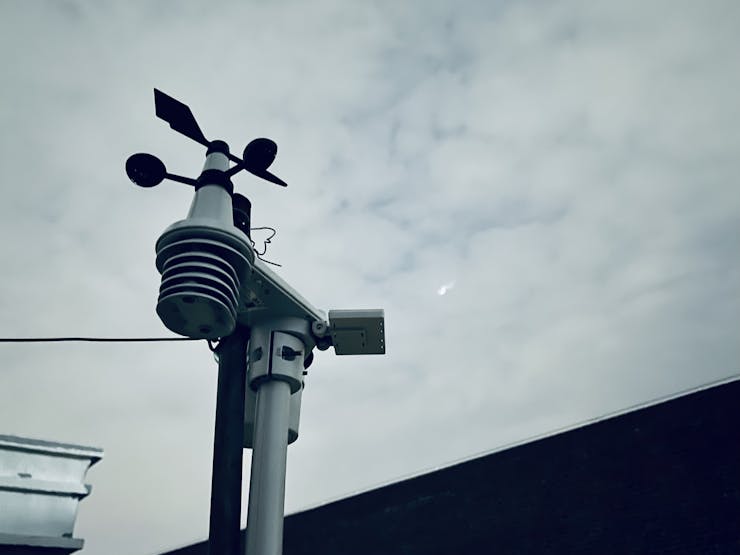
I want to use the new launch S2120 Weather Station, and deploy it on the top of my roof, which is 6 floors high, so LoRa's long-distance communication feature did the job well. It already comes with all the accessories for quick installation.
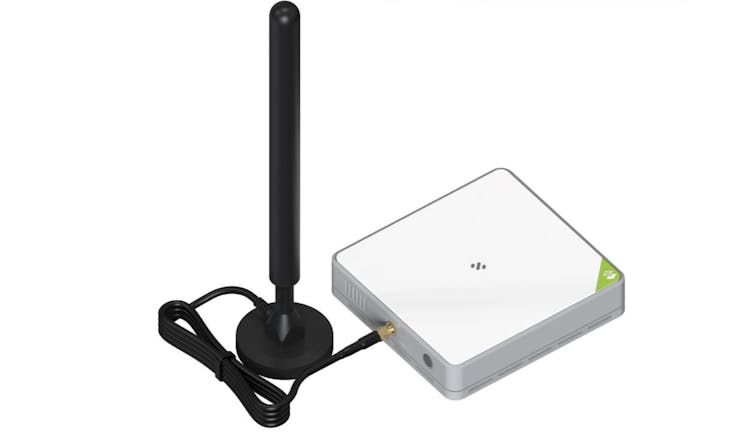
The Weather Station works as a standard LoRaWAN device, so I can use a SenseCAP M2 indoor LoRaWAN gateway in my home, it has a 3dBi antenna with a magnet base.
Next, download SenseCAP Mate App and register an account.

just for your reference, this video is coming from Seeed Studio that demonstrates the basic onboarding process.
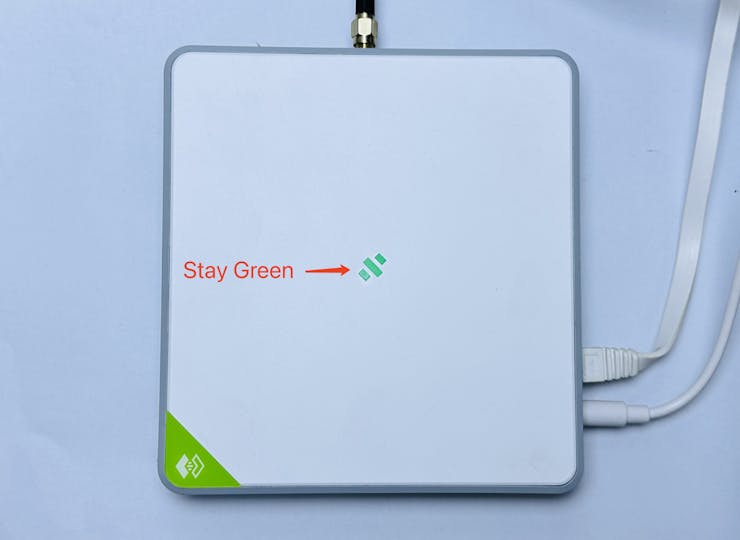
Connect the M2 LoRaWAN gateway to the internet with an ethernet cable and connect the antenna before you power it on, when you saw the panel RGB LED stay green, that means the gateway is set well.
Now let me onboard the M2 LoRaWAN gateway
- Open the Mate App and go to the "device" tab
- Click the "+" icon in the upper right corner to scan the gateway QR code, which is on the device label.
- Name your device and set the location.
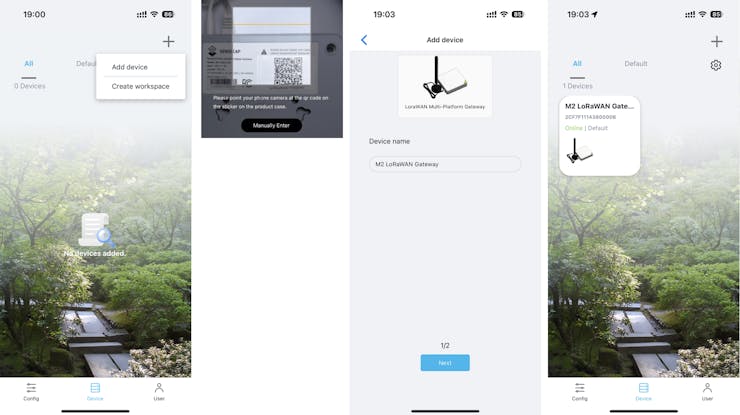
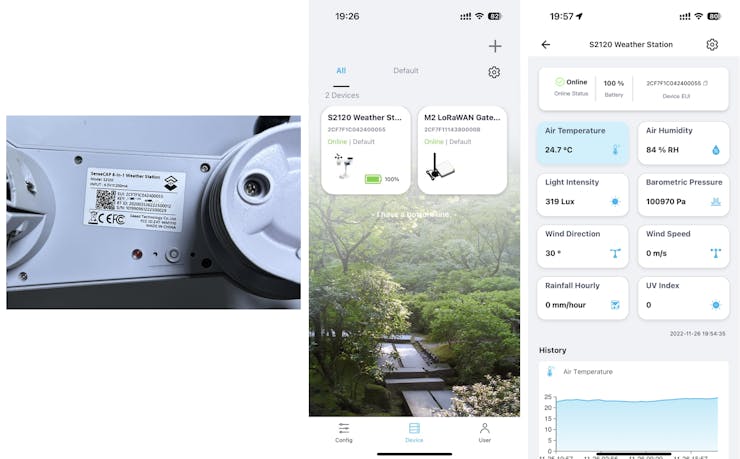
in the same way, scan the QR code to onboard the S2120 weather sensor. tap the S2120 sensor, now I can see weather data.
- Air Temperature
- Air Humidity
- Light Intensity
- Barometric Pressure
- Wind Direction
- Wind Speed
- Rainfall Hourly
- UV Index
and now it is time to go to my roof and install it on a pole.
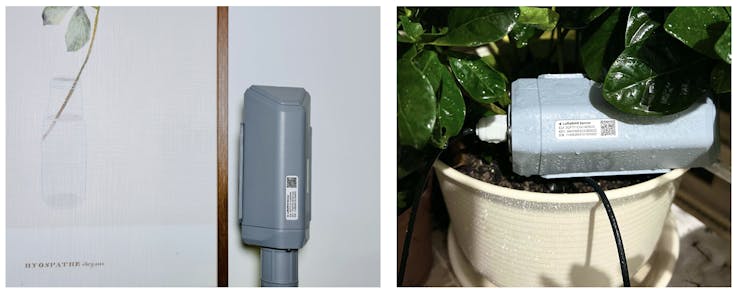
I also have another S2103 CO2, Temperature, and Humidity Sensor and S2105 Soil Moisture, Temperature and EC Sensor, they share the same benefits in the S210x series and the onboarding process is the same. and they are high quality with industrial standards.

so I also add them to SenseCAP Mate App and install them in my bedroom and flowerpot.
Now, I have everything set on the SenseCAP sensor side.
Add MQTT integration
- Why do I need the sensor data integrated into the Home Assistant?
I can take advantage of the automation flow in Home Asssitant, and the SenseCAP App currently do not have that feature.
- What is the process to get the SenseCAP data to Home Assistant?
Get your SenseCAP account API key<br/> Read the SenseCAP open stream API document(MQTT)<br/> Add MQTT integration in Home Assistant<br/> Subscribe SenseCAP data via MQTT and using the API key<br/>
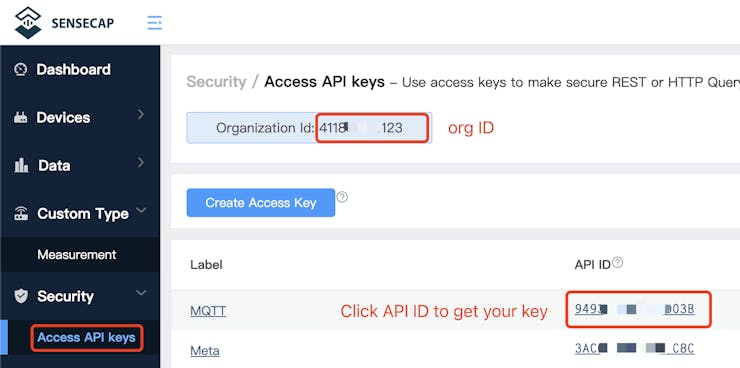
- Now, Let's get to SenseCAP Portal, here you can find your
OrgID = Organization ID
Password = Access API keys
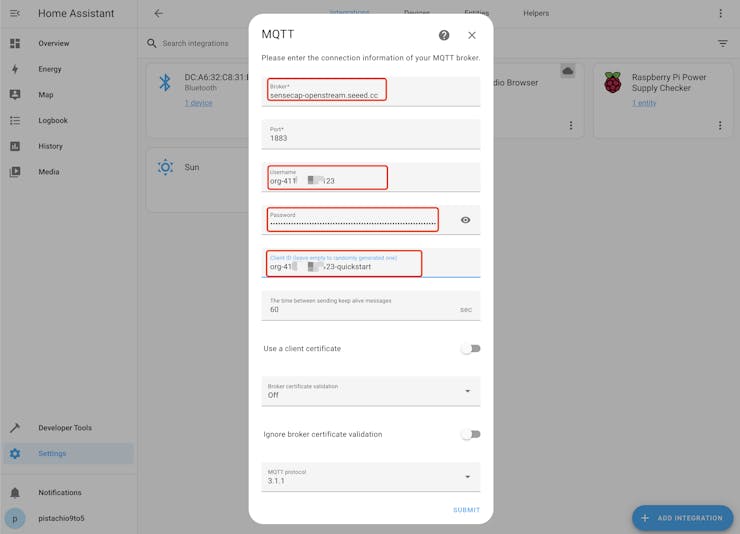
My MQTT subscription info is :

Go back to the Home Assistant web UI.
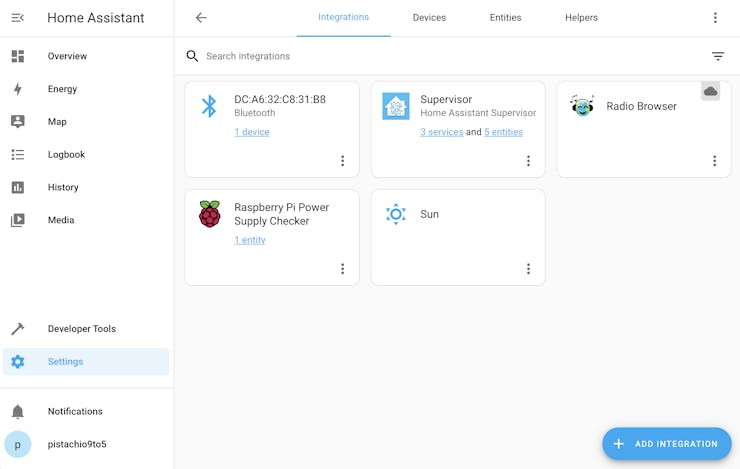
there are a lot of integrations in Home Assitant
https://www.home-assistant.io/integrations/
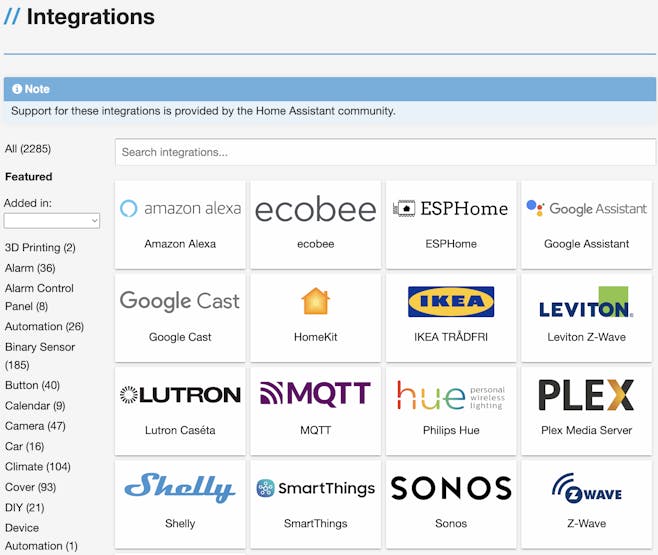
Today I will use MQTT integration to subscribe data in JSON format and use MQTT sensor integration to bind the sensor value to a specific entity.
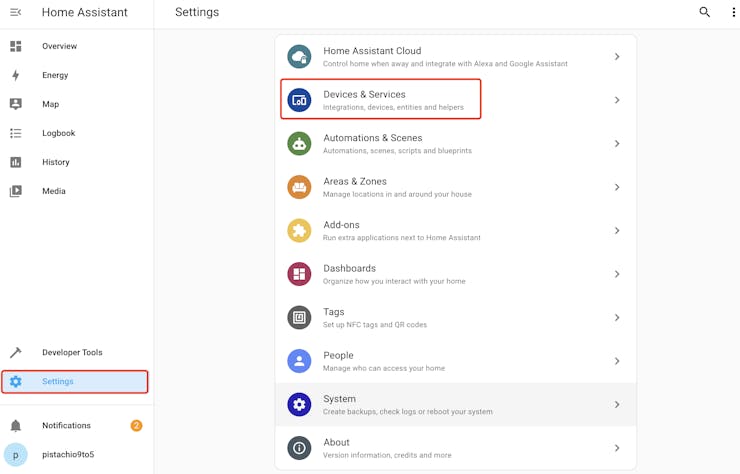
Go to settings and move into Devices & Services
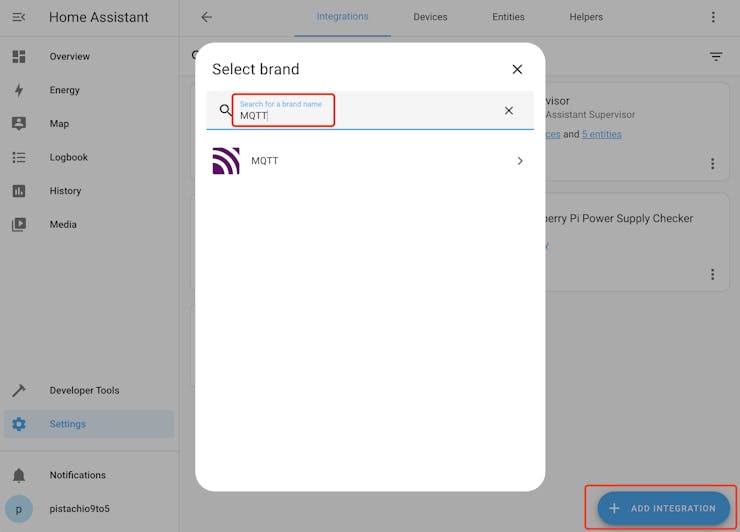
Click add integration button and search MQTT
Do remember to enable the advanced setting, if you forget to input the Client ID, the setup will fail.
then, you can test if the subscription works, by clicking the CONFIGURE button and listening to the topic

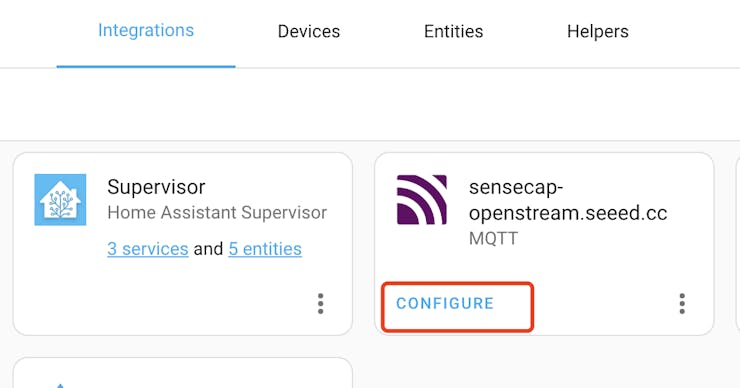
wait for a while, there will sensor message.
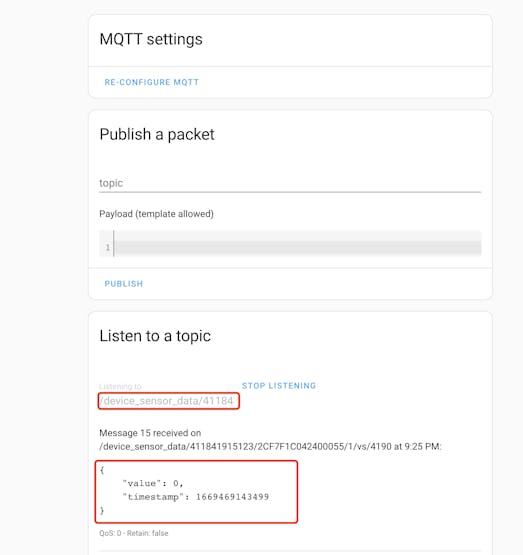
Until now, the MQTT client is set successfully.
Add entities
I will add multiple entities to store sensor measurement data, for example, create a new "Air temperature" entity and take the measurement value from the S2120 MQTT JSON message. and add the other sensor entities likewise.
I will finish this by editing the Home Assistant configuration file
configuration.yaml
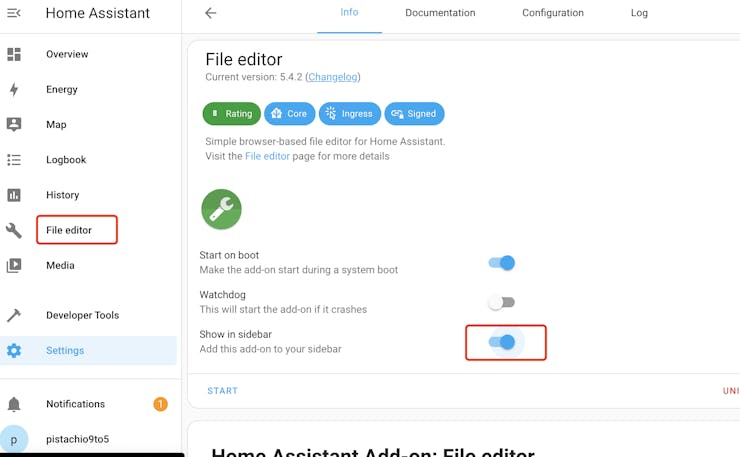
go to the setting and move to Add-ons, then
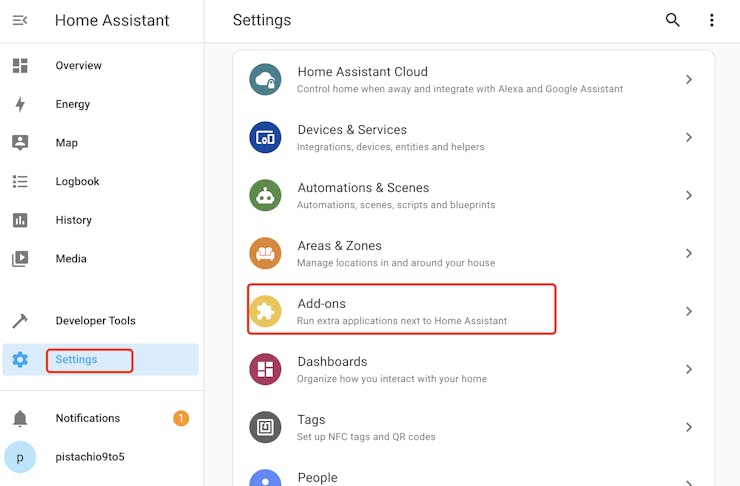

install it and enable show in the sidebar, and click start.
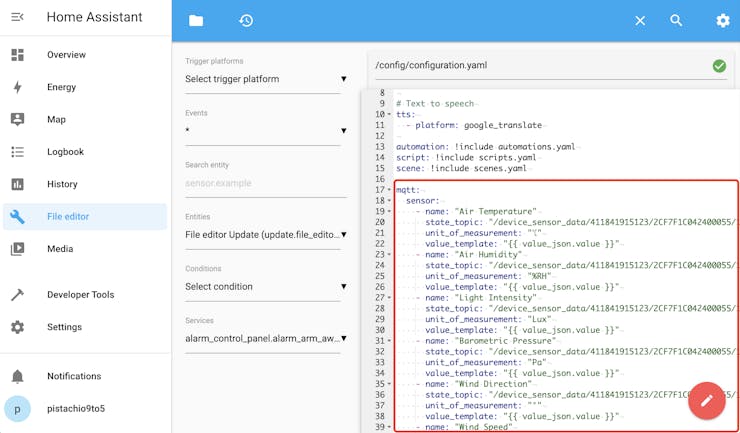
now this is the important part to modify the YAML file with below scripts
mqtt:
  sensor:
    - name: "Air Temperature"
      state_topic: "/device_sensor_data/411841915123/2CF7F1C042400055/1/+/4097"
      unit_of_measurement: "℃"
      value_template: "{{ value_json.value }}"
    - name: "Air Humidity"
      state_topic: "/device_sensor_data/411841915123/2CF7F1C042400055/1/+/4098"
      unit_of_measurement: "%RH"
      value_template: "{{ value_json.value }}"
    - name: "Light Intensity"
      state_topic: "/device_sensor_data/411841915123/2CF7F1C042400055/1/+/4099"
      unit_of_measurement: "Lux"
      value_template: "{{ value_json.value }}"
    - name: "Barometric Pressure"
      state_topic: "/device_sensor_data/411841915123/2CF7F1C042400055/1/+/4101"
      unit_of_measurement: "Pa"
      value_template: "{{ value_json.value }}"
    - name: "Wind Direction"
      state_topic: "/device_sensor_data/411841915123/2CF7F1C042400055/1/+/4104"
      unit_of_measurement: "°"
      value_template: "{{ value_json.value }}"
    - name: "Wind Speed"
      state_topic: "/device_sensor_data/411841915123/2CF7F1C042400055/1/+/4105"
      unit_of_measurement: "m/s"
      value_template: "{{ value_json.value }}"
    - name: "Rainfall Hourly"
      state_topic: "/device_sensor_data/411841915123/2CF7F1C042400055/1/+/4113"
      unit_of_measurement: "mm/hour"
      value_template: "{{ value_json.value }}"
    - name: "UV Index"
      state_topic: "/device_sensor_data/411841915123/2CF7F1C042400055/1/+/4190"
      unit_of_measurement: "UV"
      value_template: "{{ value_json.value }}"
    - name: "Soil Temperature"
      state_topic: "/device_sensor_data/411841915123/2CF7F1C04160002C/1/+/4102"
      unit_of_measurement: "℃"
      value_template: "{{ value_json.value }}"
    - name: "Soil Moisture"
      state_topic: "/device_sensor_data/411841915123/2CF7F1C04160002C/1/+/4103"
      unit_of_measurement: "%"
      value_template: "{{ value_json.value }}"
    - name: "Electrical Conductivity"
      state_topic: "/device_sensor_data/411841915123/2CF7F1C04160002C/1/+/4108"
      unit_of_measurement: "dS/m"
      value_template: "{{ value_json.value }}"
    - name: "Bed Room Temperature"
      state_topic: "/device_sensor_data/411841915123/2CF7F1C04160002C/1/+/4102"
      unit_of_measurement: "℃"
      value_template: "{{ value_json.value }}"
    - name: "Bed Room Humidity"
      state_topic: "/device_sensor_data/411841915123/2CF7F1C04160002C/1/+/4103"
      unit_of_measurement: "%RH"
      value_template: "{{ value_json.value }}"
    - name: "Bed Room CO2"
      state_topic: "/device_sensor_data/411841915123/2CF7F1C04160002C/1/+/4108"
      unit_of_measurement: "ppm"
      value_template: "{{ value_json.value }}"
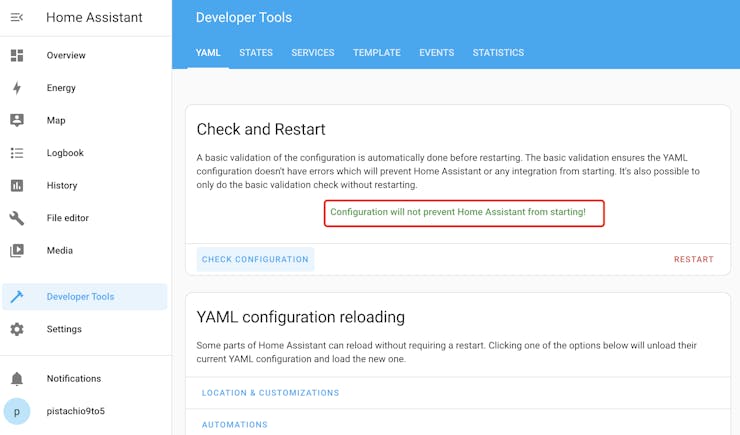
save it and go to developer tools to check if the YAML file is correct.
then, restart the Home Assistant
after restarting, make sure the MQTT is listening to the SenseCAP topic

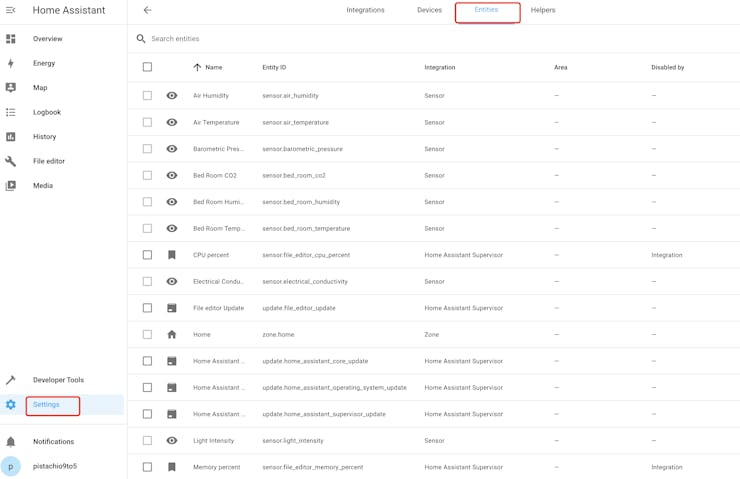
then, go to Settings -> Devices and Services -> Entities
wow~~~ all the sensor measurements are listed there.
Create a sensor data dashboard
The last step is to add sensor entities to a dashboard.
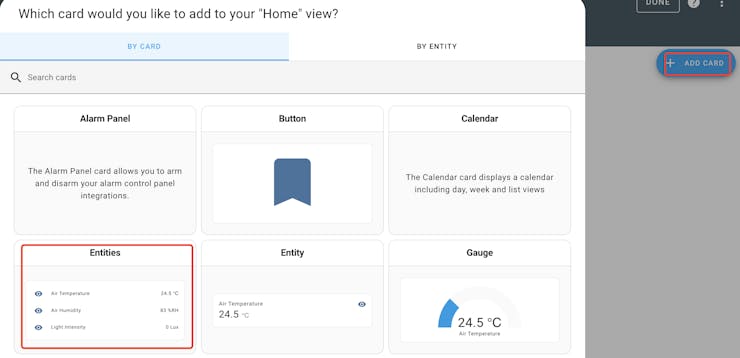
go to overview and find the "Edit Dashboard"

Choose entities card, this card can include multiple sensor values in a card.
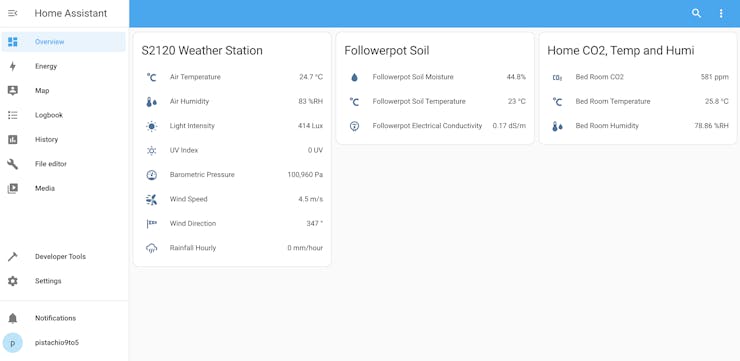
I will create three cards for each sensor
Finally, I have made the very basic integration and show SenseCAP sensor data in Home Assitant.
Next, I will spend more time optimizing the UI and making it looks beautiful.
and using ESP32 to add new sensors to Home Assistant.