Getting Started with Home Assistant on reTerminal
Introduction
This wiki will walkthrough step-by-step on how you can turn your ordinary house into a smart one just by using a reTerminal! By the end of this wiki, you will be able to view a beautiful dashboard on the reTerminal LCD and be able to control your home appliances and view other information such as sensor data right at your fingertips. So, let's get started!
What is Home Assistant?
Home Assistant is a free and open-source software for home automation designed to be a central control system for smart home devices, which can be referred to as a smart home hub. It offers you home automation without needing the cloud, which means your home automation system is not dependent on remote servers or an internet connection. This local control means, you can have far better security than cloud connected devices. Also, it offers greater reliability when it comes to keep it running 24x7.
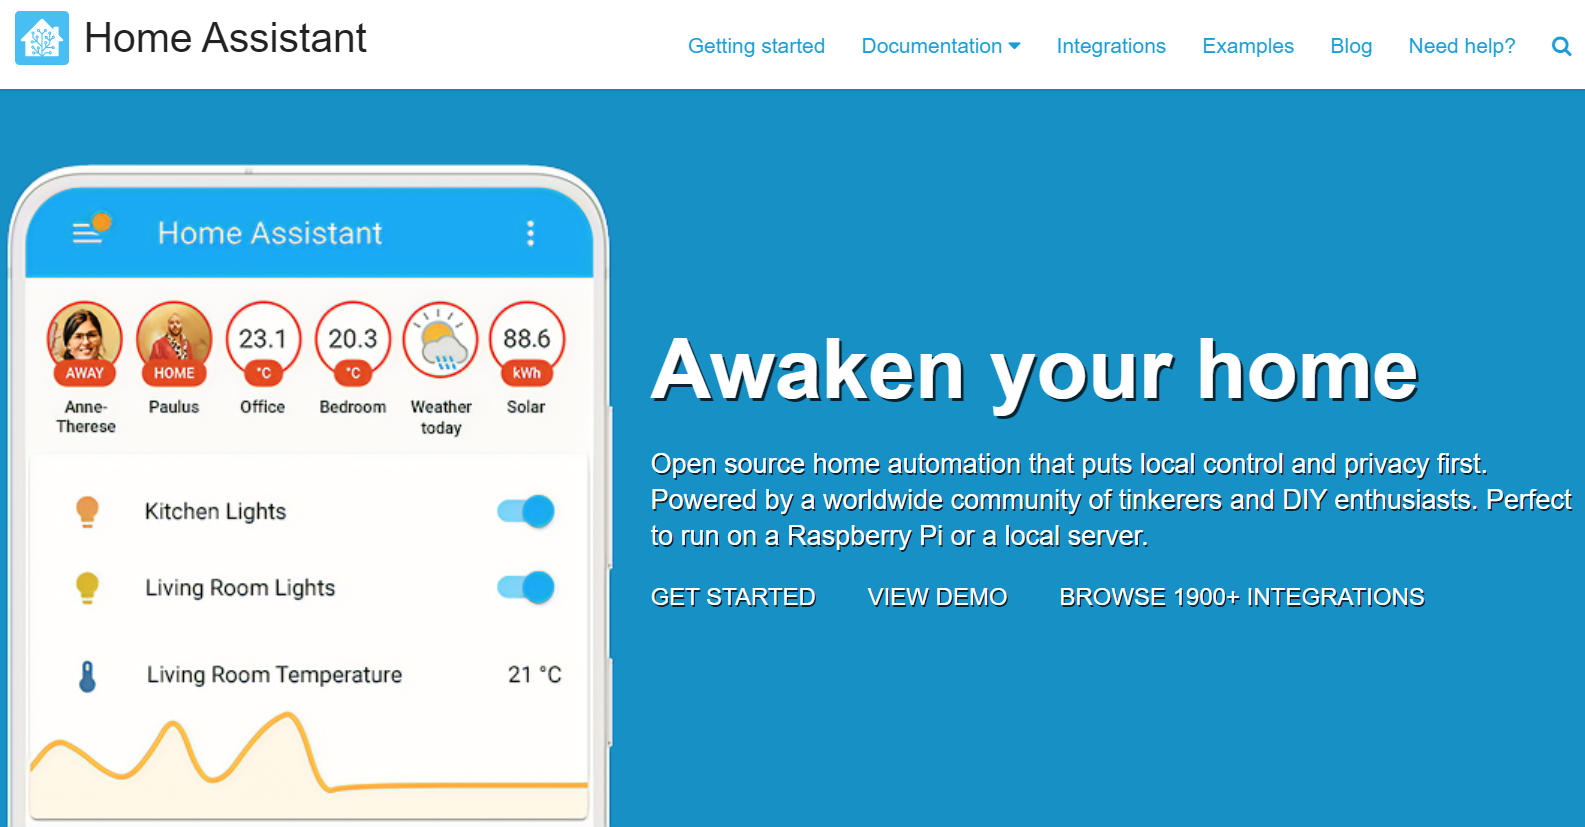
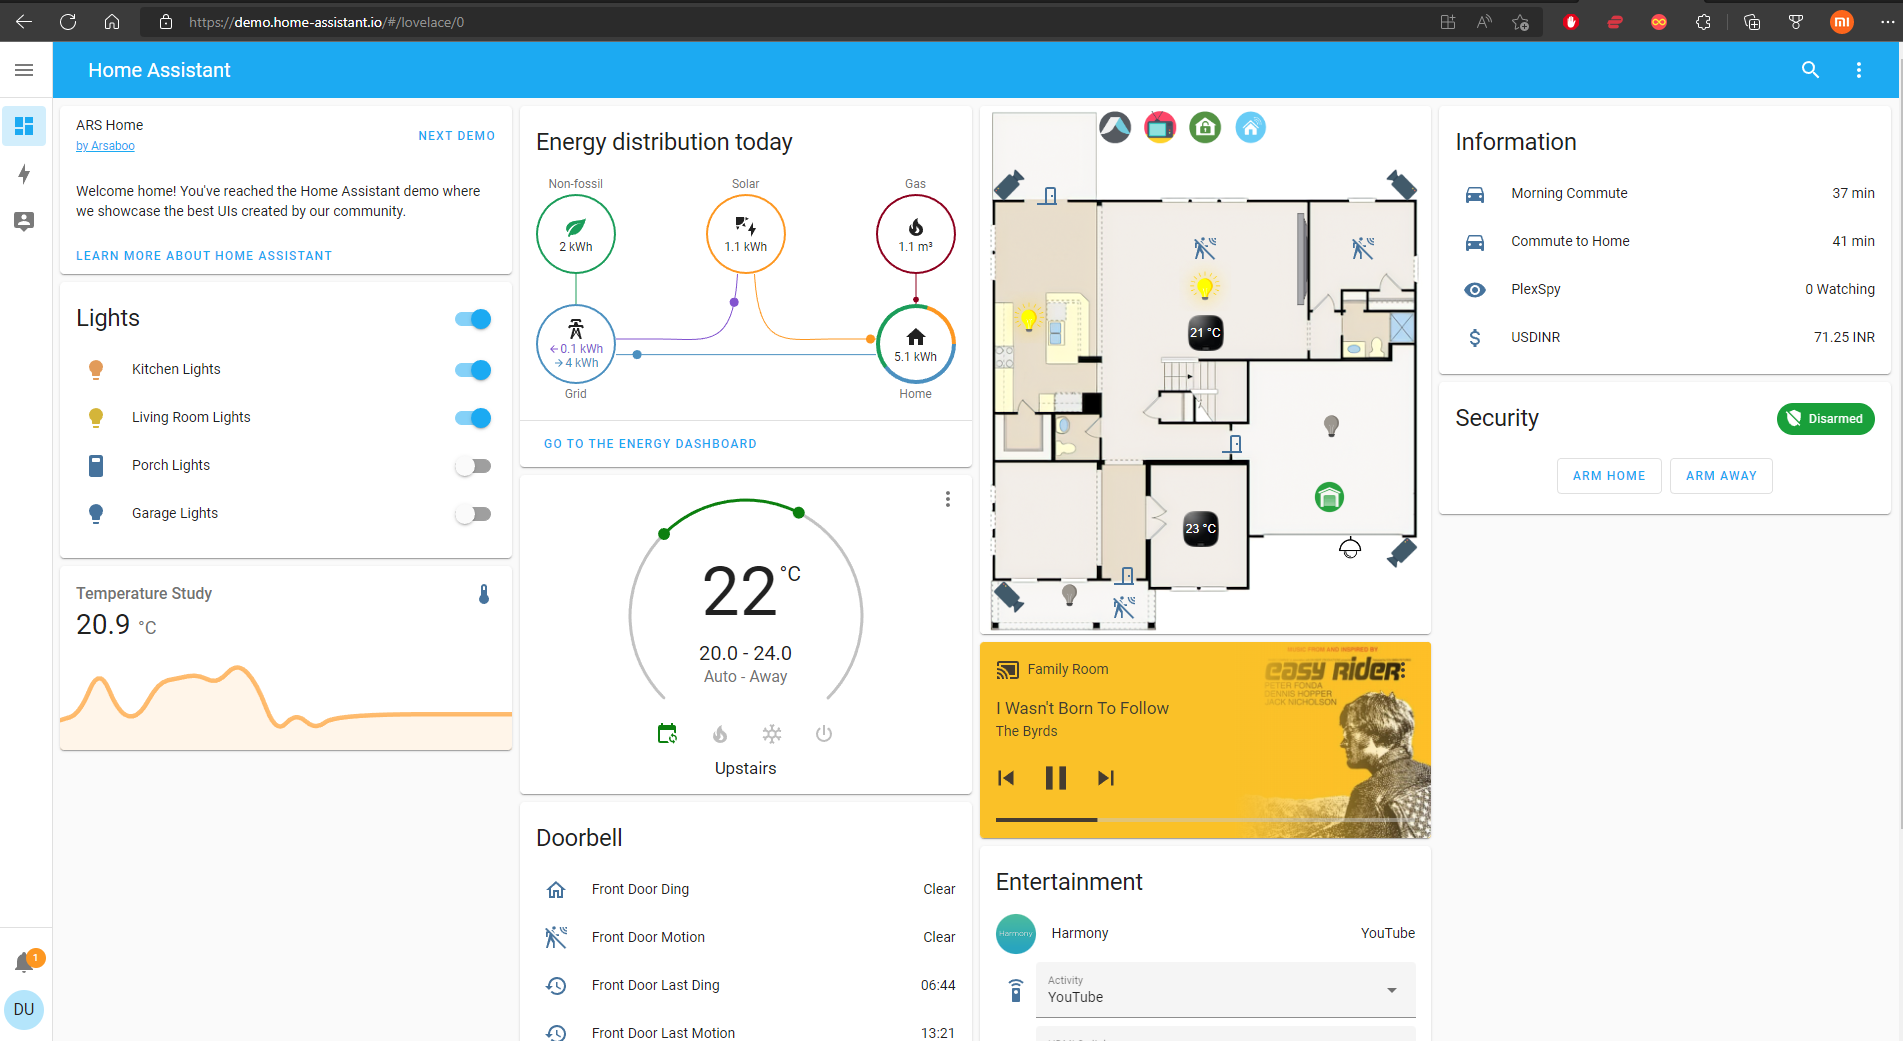
It is flexible to use and very easy to get started even for beginners with the great documentation offered by Home Assistant. Also, there is an active community on Home Assistant Forum with many members who will be there to help you if you come across any issues when building and running Home Assistant. After setting up Home Assistant, it can be accessed through a web-based user interface by using companion apps for Android and iOS, or by voice commands via a supported virtual assistant such as Google Assistant or Amazon Alexa. If you want to quickly experience a demo on your web browser, please click here.
Different installation methods
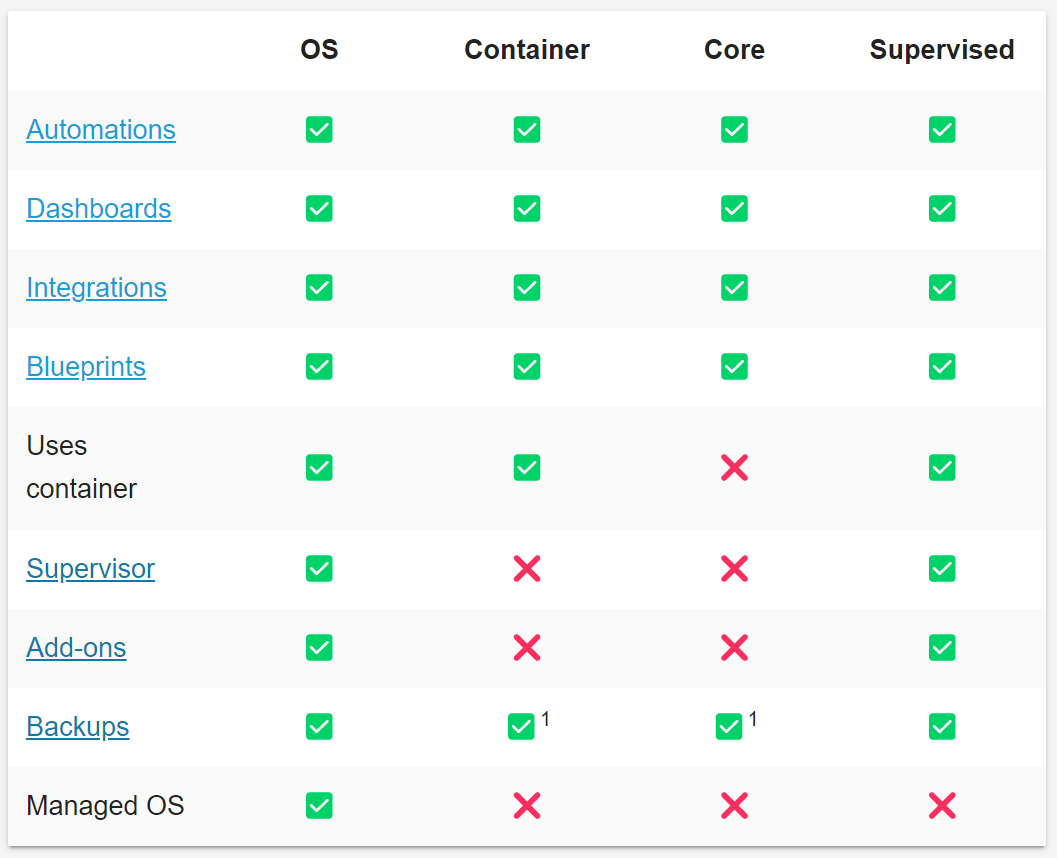
Home Assistant is supported to run on different hardware such as a Raspberry Pi, ODROID, ASUS Tinkerboard, Intel NUC, Windows/ Linux/ Mac PCs. And with this, comes different methods of installation on different hardware. To learn more about all these installation methods please visit this page. As you can see below, there are 4 main types of installation methods and not all Home Assistant features are supported by all installation methods.
Installation Method for reTerminal
According to Home Assistant, the two recommended methods of Home Assistant installation are OS and Container method. However we will not be using these 2 methods to install on reTerminal. Why is that?
Why not Home Assistant Operating System?
If we install Home Assistant Operating System on reTerminal, we cannot view the Home Assistant Dashboard UI on reTerminal LCD. This is because, Home Assistant OS will only output a CLI interface to any connected display like below.
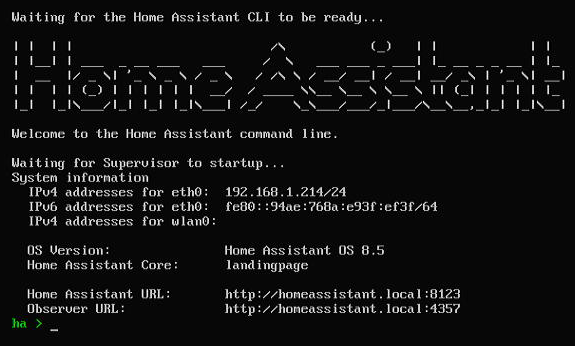
So the dashboard UI can only be accessed via homeassistant.local:8123 on another device. However, if you want to install like this and do not want to view the dashboard on reTerminal LCD, you can follow this guide. It follows the same installation methods as a Raspberry Pi because reTerminal is based on Raspberry Pi Compute Module 4.
Why not Home Assistant Container?
If we install Home Assistant Container on reTerminal, we will be missing out on several Home Assistant features. So we will skip on that installation. However, if you want to explore this installation method, you can follow this guide. It follows the same installation methods as a Raspberry Pi because reTerminal is based on Raspberry Pi Compute Module 4.
Why Home Assistant Supervised?
If we install Home Assistant Supervised on reTerminal, we will be able to use all the features of Home Assistant and be able to view the dashboard UI on reTerminal LCD as well! But the installation of this will involve more steps in comparison with OS and Container methods. However, if you carefully follow along this wiki, you will be able to successfully achieve it!
- Bullseye
- Bookworm
Let's build it
In some steps, if you are connected through Wi-Fi, you may lose connection. It is recommended to use a LAN connection instead.
Now let's go through the process of installing Home Assistant Supervised on reTerminal.
- Step 1. Prepare a reTerminal with Raspberry Pi OS already installed. reTerminal comes with RPi OS 32-bit pre-installed. However, if you want to install it again please follow this wiki.
Note: Make sure to use 32-bit version because Home Assistant Dashboard UI on reTerminal LCD will be much smoother in 32-bit version.
- Step 2. Update package manager list
sudo apt update
- Step 3. Install dependencies
sudo apt-get install \
apparmor \
jq \
wget \
curl \
udisks2 \
libglib2.0-bin \
network-manager \
dbus \
systemd-journal-remote -y
- Step 4. Fix broken installations
sudo apt --fix-broken install
- Step 5. Restart reTerminal
sudo reboot
- Step 6. Download official Docker script
curl -fsSL https://get.docker.com -o get-docker.sh
- Step 7. Run the Docker script
sudo sh get-docker.sh
- Step 8. Add Docker user to the system
sudo usermod -aG docker pi
- Step 9. Check whether Docker is working properly
docker --version
If you see an output like below, that means Docker is installed properly
Docker version 20.10.18, build b40c2f6
Home Assistant Supervisor's compatibility hinges on a specific Docker CGroup v1. To ensure this compatibility, the following changes need to be made:
- Open this file using editor
sudo nano /etc/default/grub
- Add this line and save it.
systemd.unified_cgroup_hierarchy=false
- Open this file
sudo nano /boot/cmdline.txt
- Add this line end of the phrase and save it.
systemd.unified_cgroup_hierarchy=false apparmor=1 security=apparmor
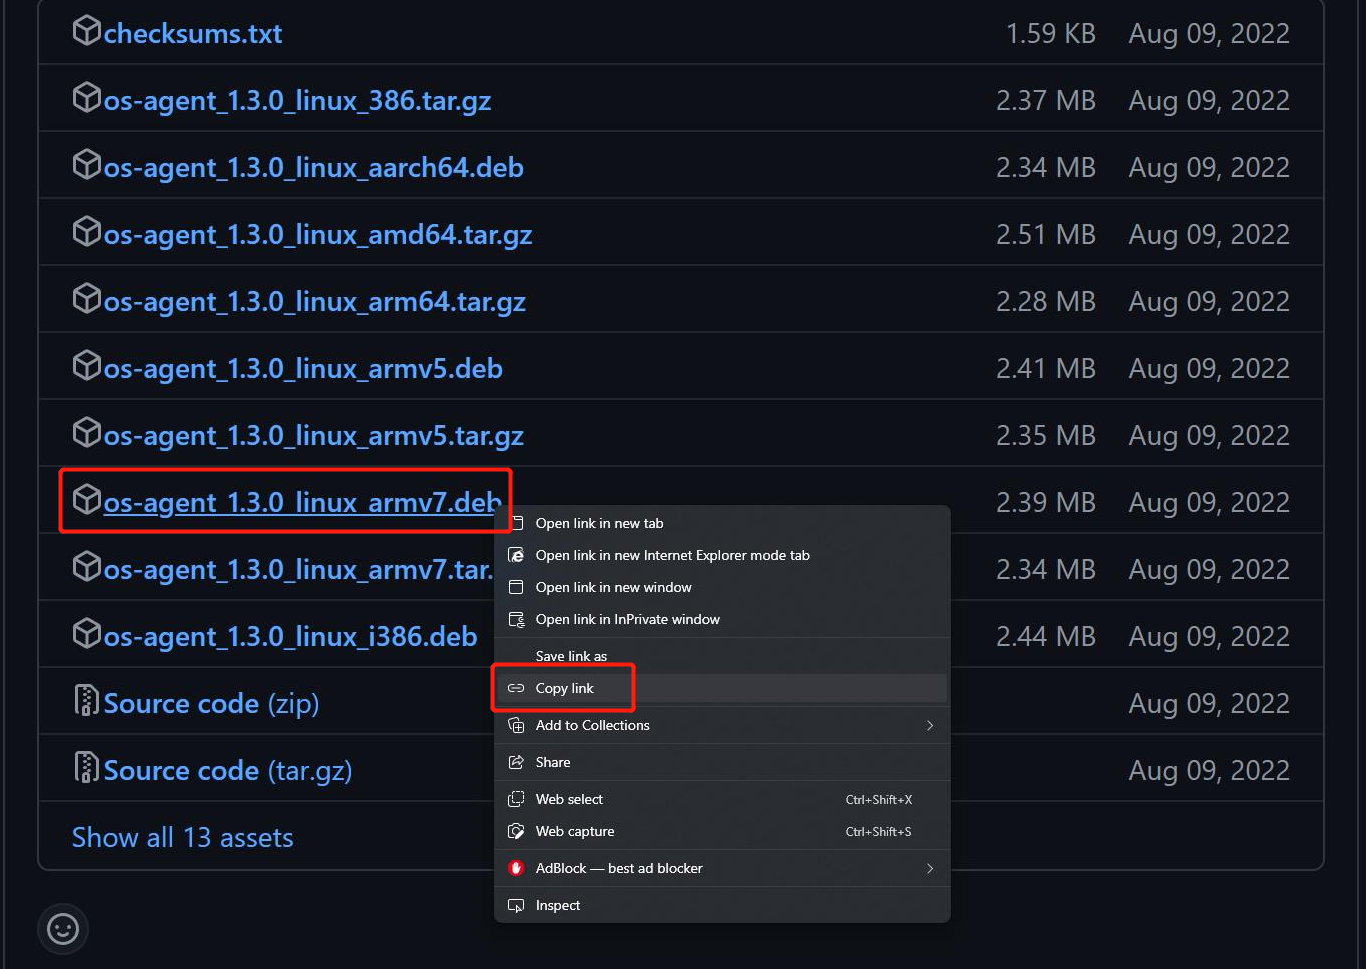
- Step 10. Visit Home Assistant OS Agent page, under the latest release, right click on file that ends with *linux_armv7.deb and copy the link
The tested stable and working release for Home Assistant Agent so far for reTerminal(CM4) is V1.3.0.
- Step 11. Download the file by entering in following format
wget <copied_link>
For example:
wget https://github.com/home-assistant/os-agent/releases/download/1.3.0/os-agent_1.3.0_linux_armv7.deb
- Step 12. Install Home Asssitant OS Agent
sudo dpkg -i os-agent_<version_number>_linux_armv7.deb
For example:
sudo dpkg -i os-agent_1.3.0_linux_armv7.deb
- Step 13. Download Home Assistant-Supervised installation script
Similarly, the tested stable and working release for Home Assistant-Supervised so far for reTerminal(CM4) is also V1.3.0.
wget https://github.com/home-assistant/supervised-installer/releases/download/1.3.0/homeassistant-supervised.deb
- Step 14. Install Home Assistant-Supervised
sudo dpkg -i homeassistant-supervised.deb
- Step 15. If there are any errors in the installation, pleae run the bellow command to fix broken installations
sudo apt --fix-broken install
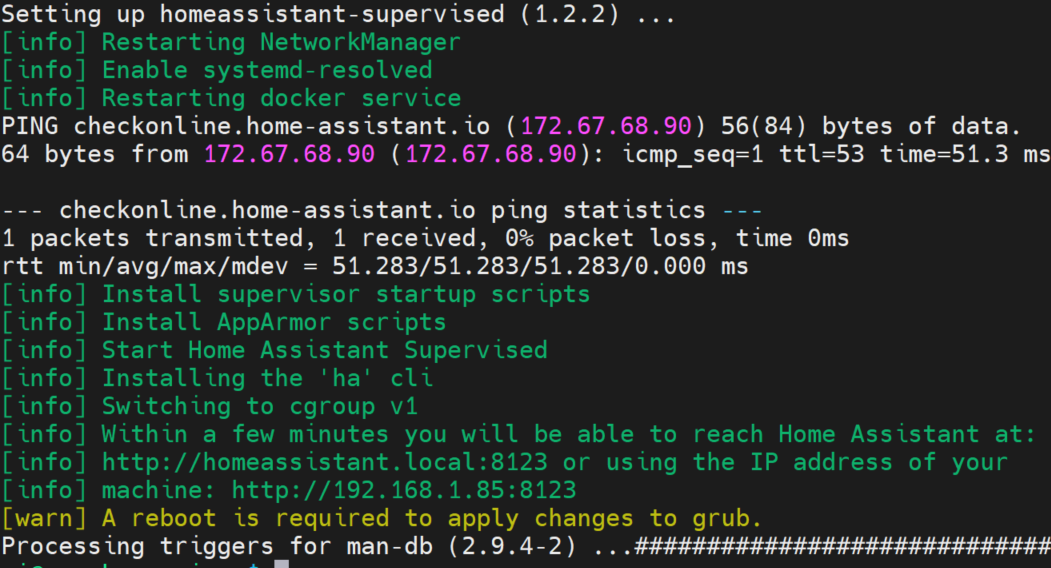
- Step 16. In the Package configuration window, select raspberrypi4 and press ENTER
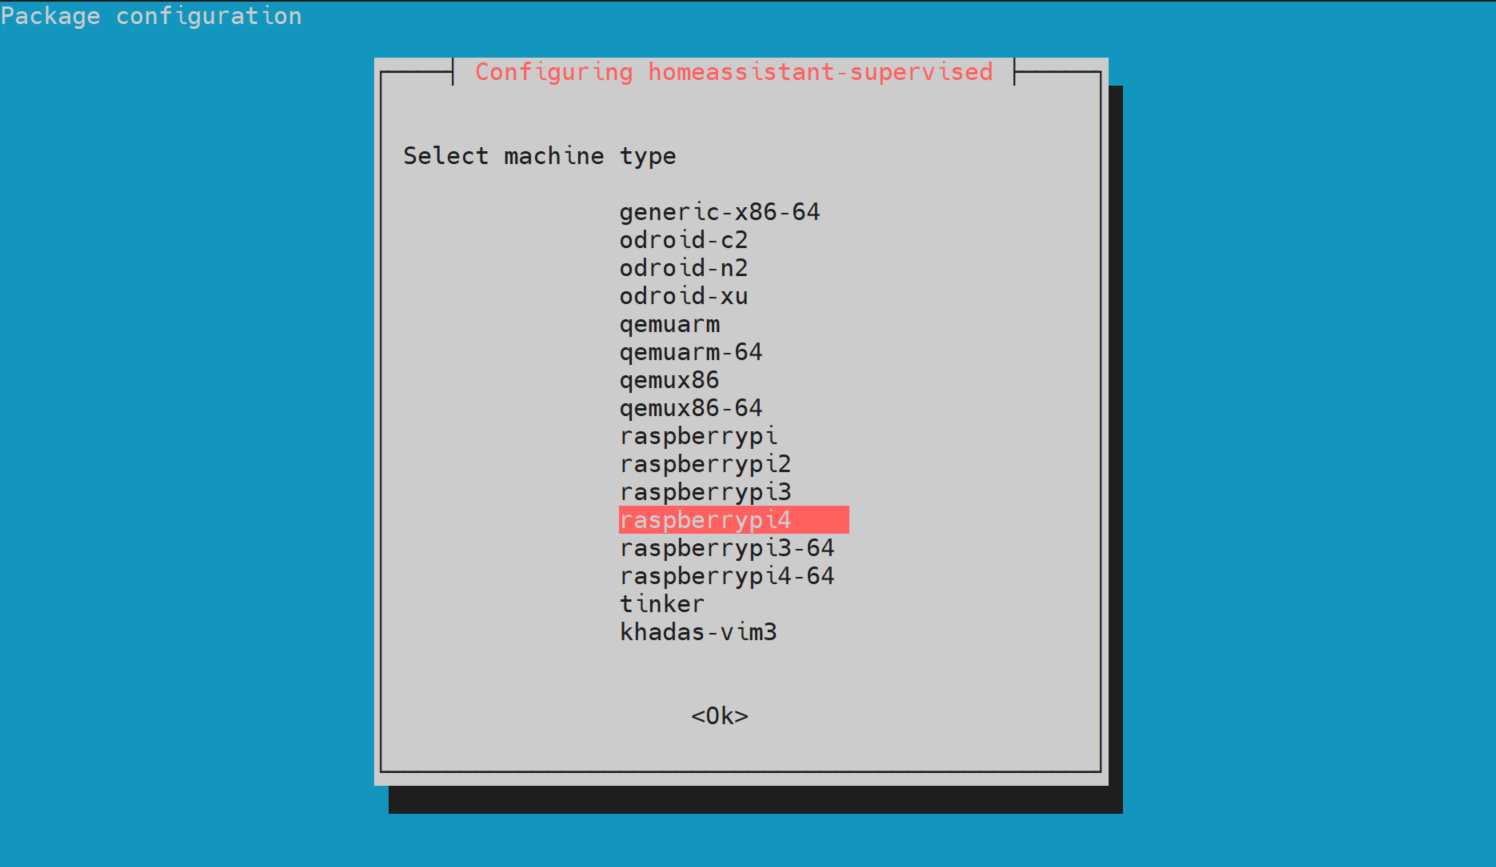
The output will be as follows
If you encounter Wi-Fi connectivity issues after rebooting, follow these steps
- To enable 'dhcpcd', execute the following command:
sudo systemctl enable dhcpcd
- Disable the networking service with the command:
sudo systemctl disable networking
- Reboot the Raspberry Pi to apply the changes:
sudo reboot
To resolve the "Network Manager issues,"(find in settings) you can rectify the situation by initiating and subsequently enabling the Network Manager. Utilize the following command to accomplish this:
sudo systemctl enable NetworkManager
View Home Assistant Dashboard UI on web browser
- Step 1. On a web browser, type the following URL
homeassistant.local:8123
It will take some time to finish the initial start up process
- Step 2. Once finished starting up, create an account and follow through the initial set up instuctions
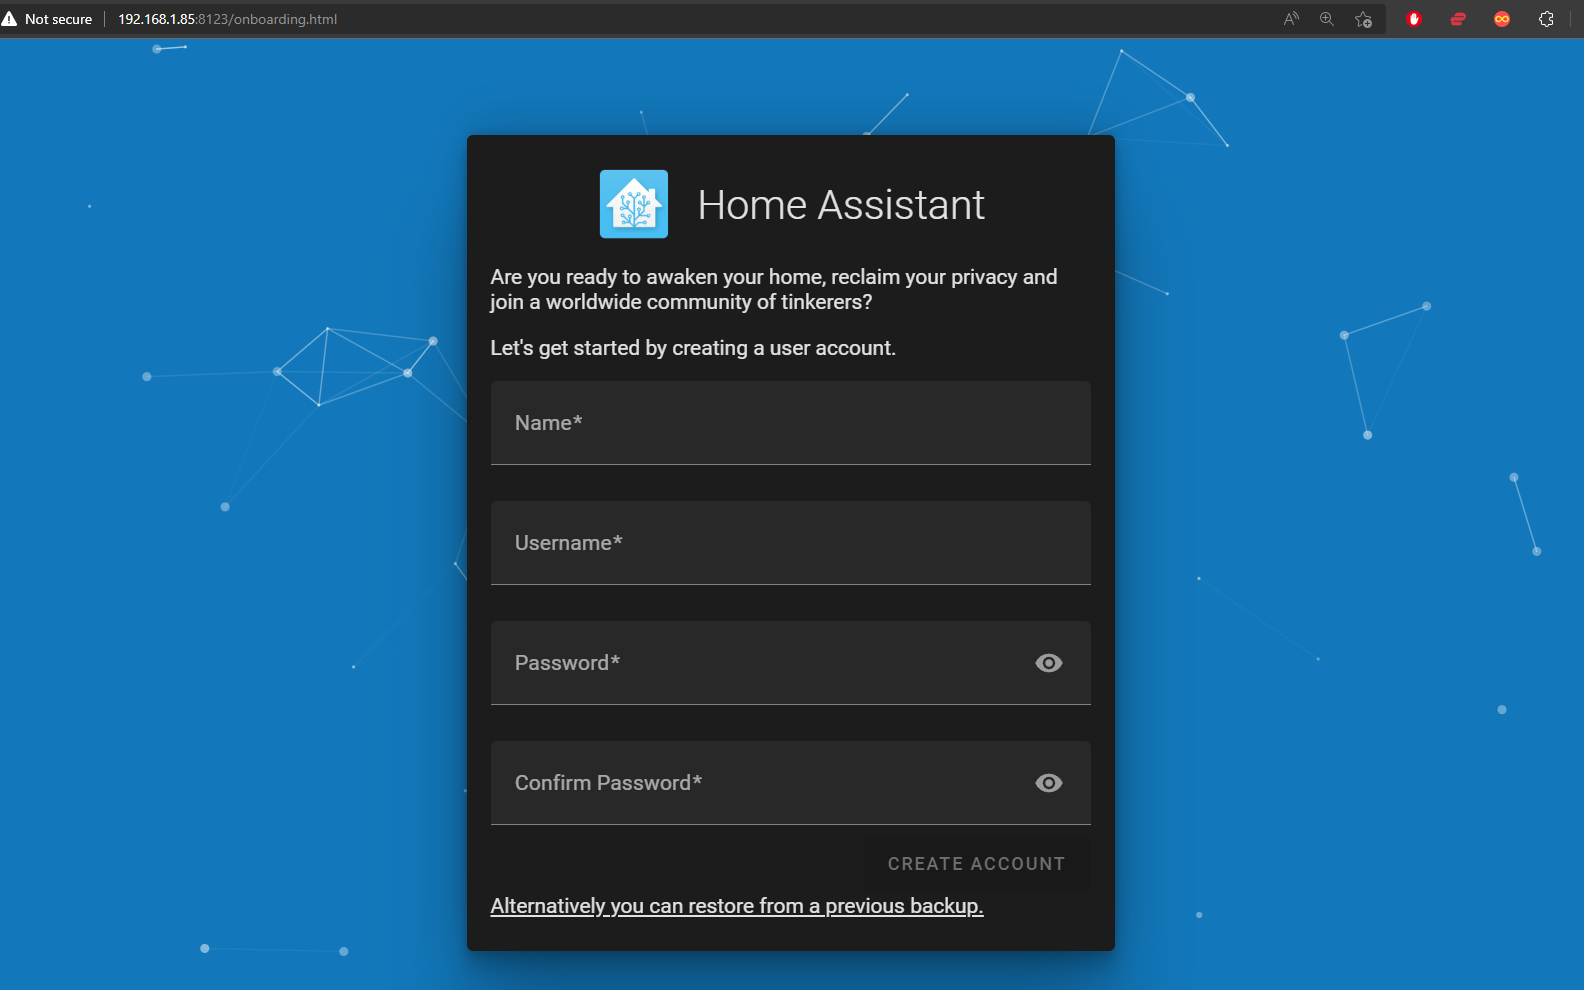
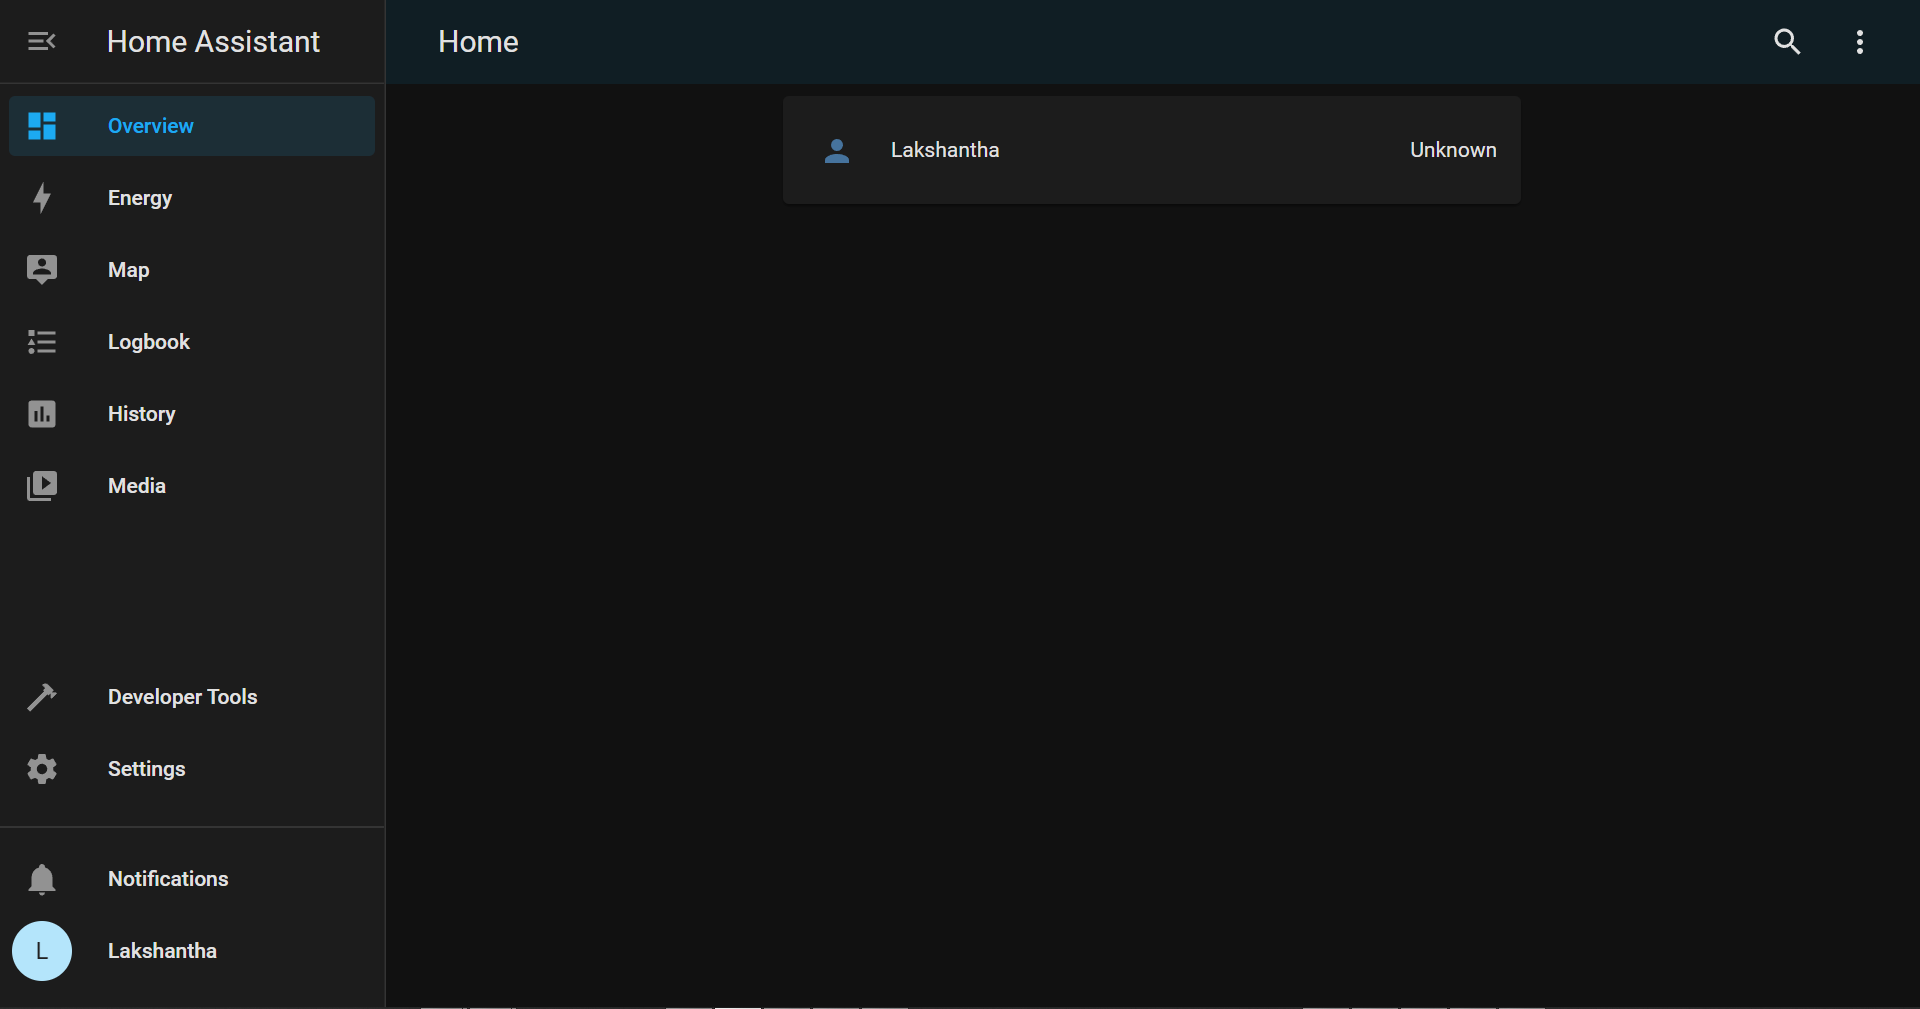
After that you will see your welcome dashboard as follows
View Home Assistant Dashboard UI in Kiosk mode on reTerminal
To be able to view the Home Assistant Dashboard UI on reTerminal LCD, we will use Chromium web browser which already comes with Raspberry Pi OS. We will set up Chromium so that it will autostart on full-screen mode after reTerminal is booted up.
- Step 1. Navigate to the following directory
cd /etc/xdg/lxsession/LXDE-pi/
- Step 2. Open autostart file with nano text editor
sudo nano autostart
- Step 3. Add the following line to the end of the file
@chromium-browser --kiosk --incognito --disable-pinch --overscroll-history-navigation=0 homeassistant.local:8123
- Step 4. Reboot reTerminal
sudo reboot
Now when reTerminal boots up, Home Assistant dashboard UI will open in full-screen window !
Bonus
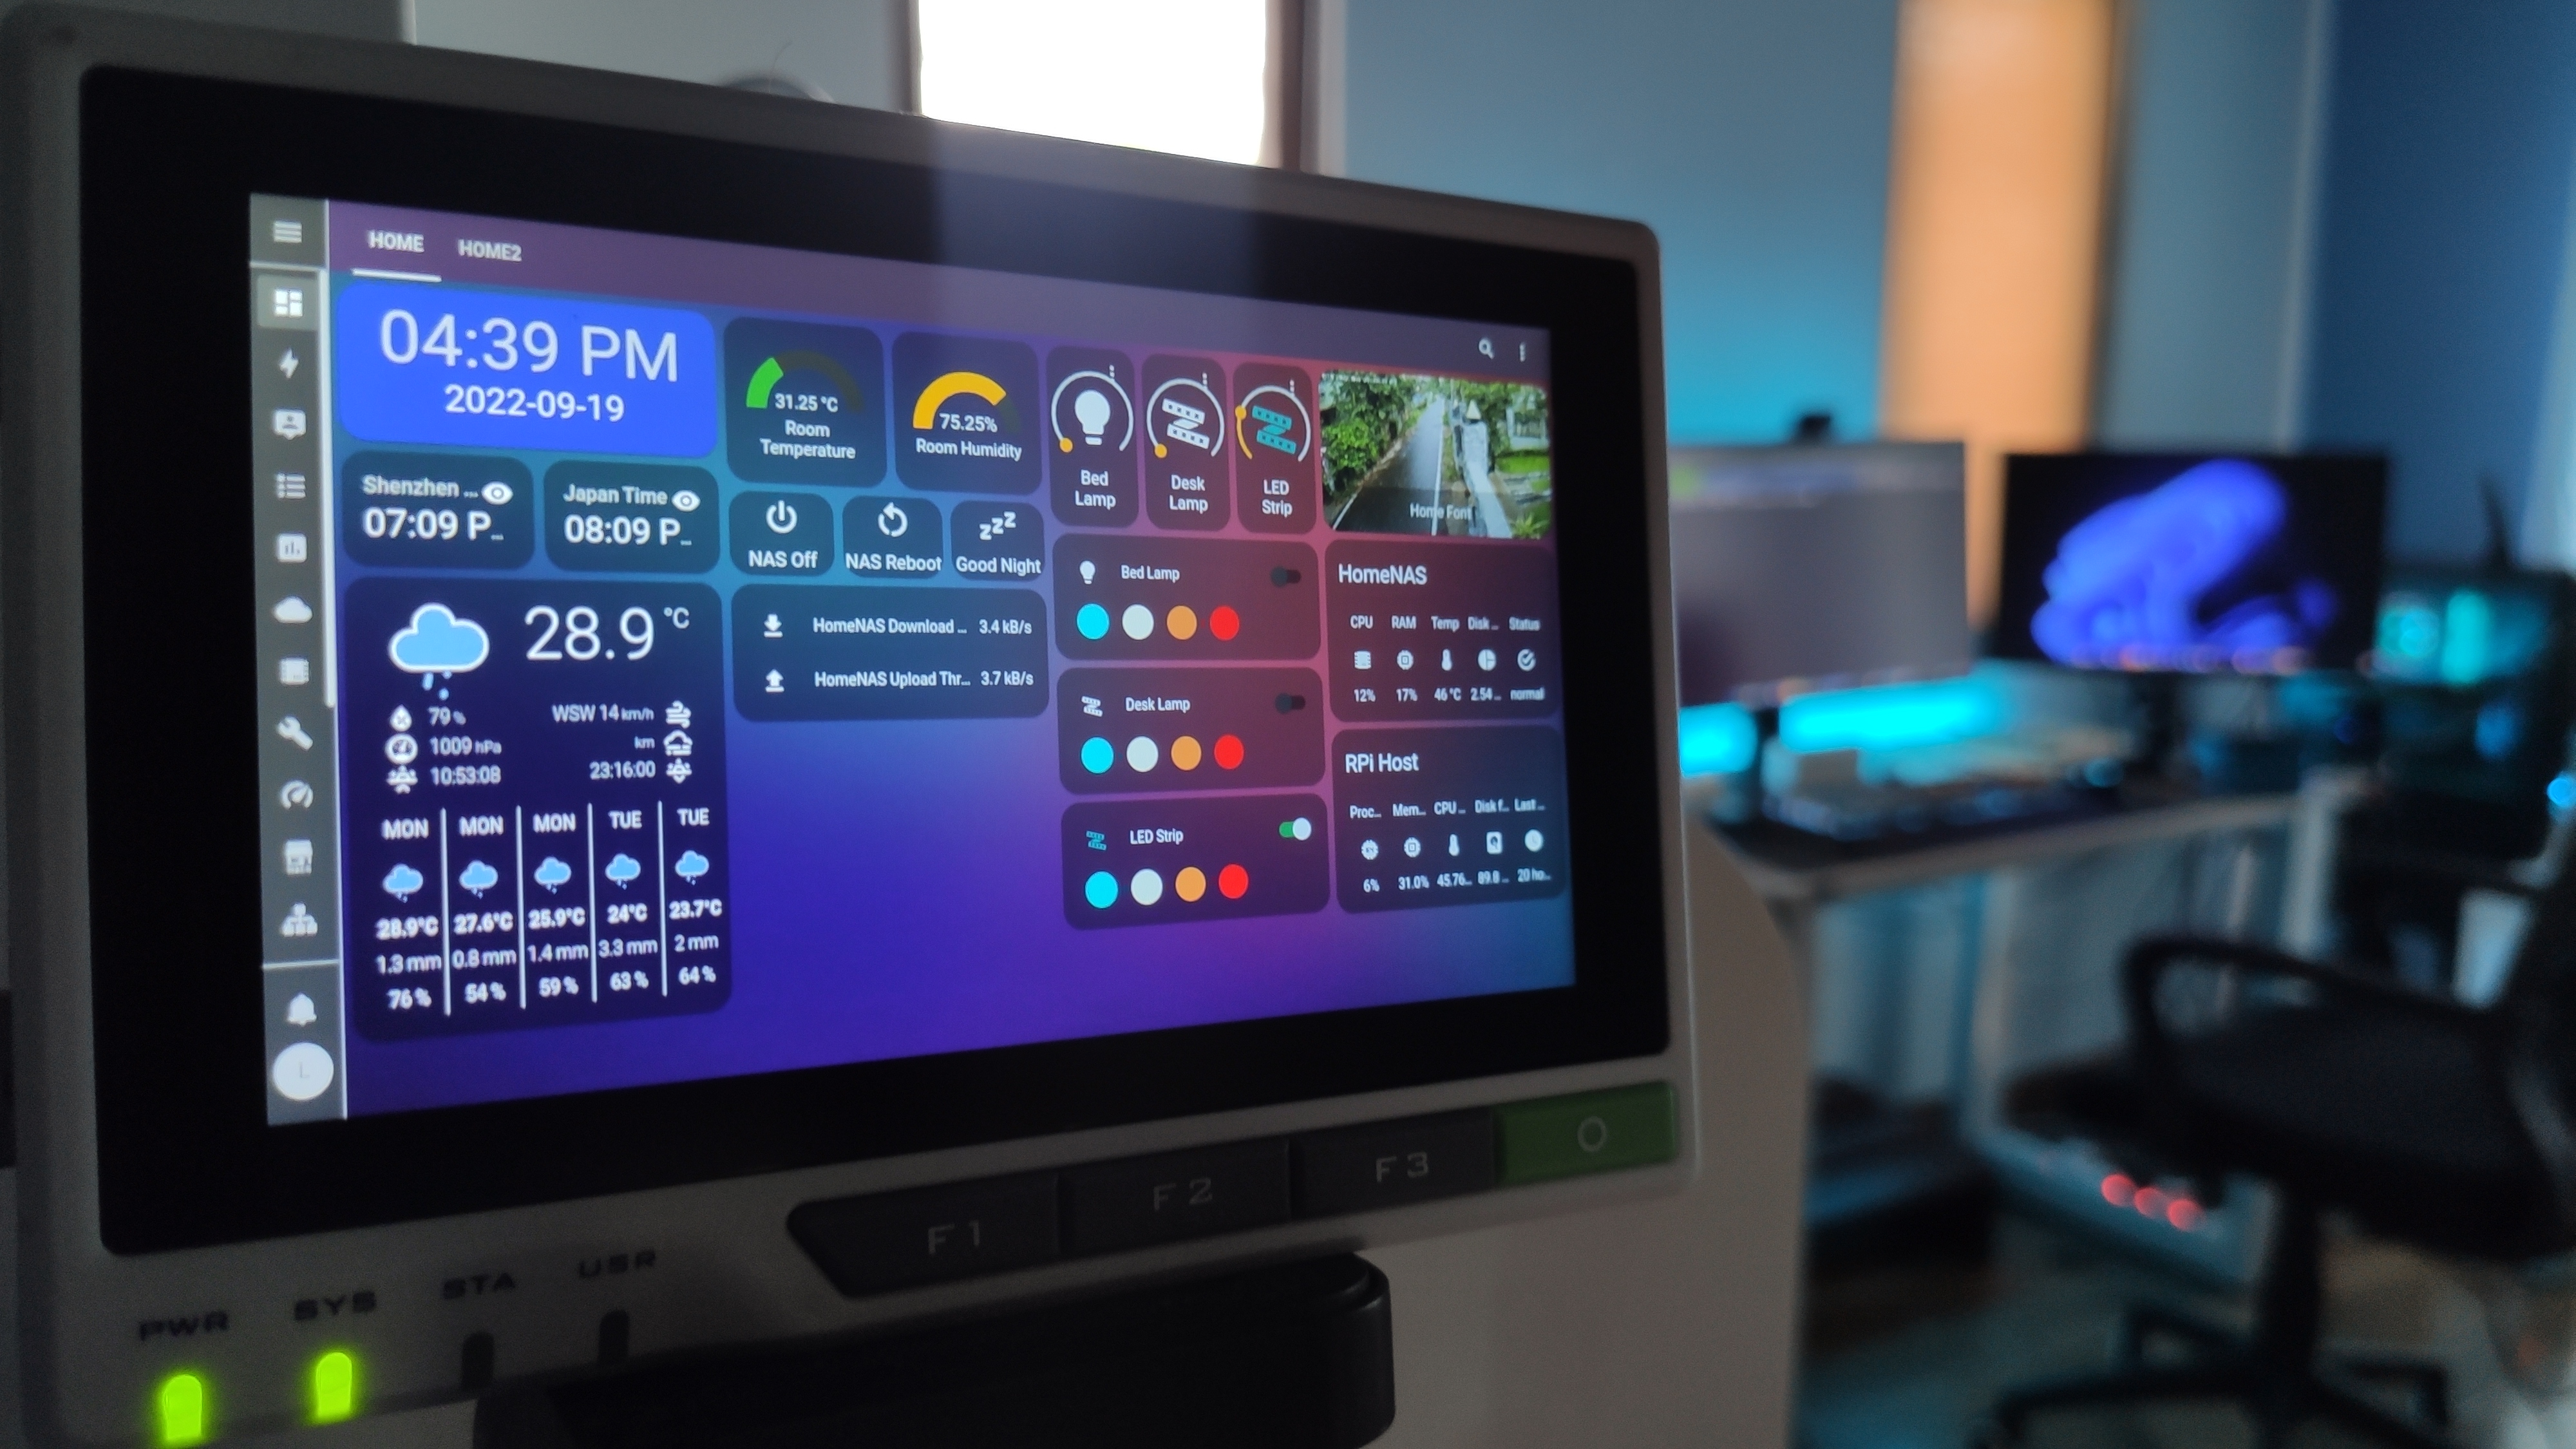
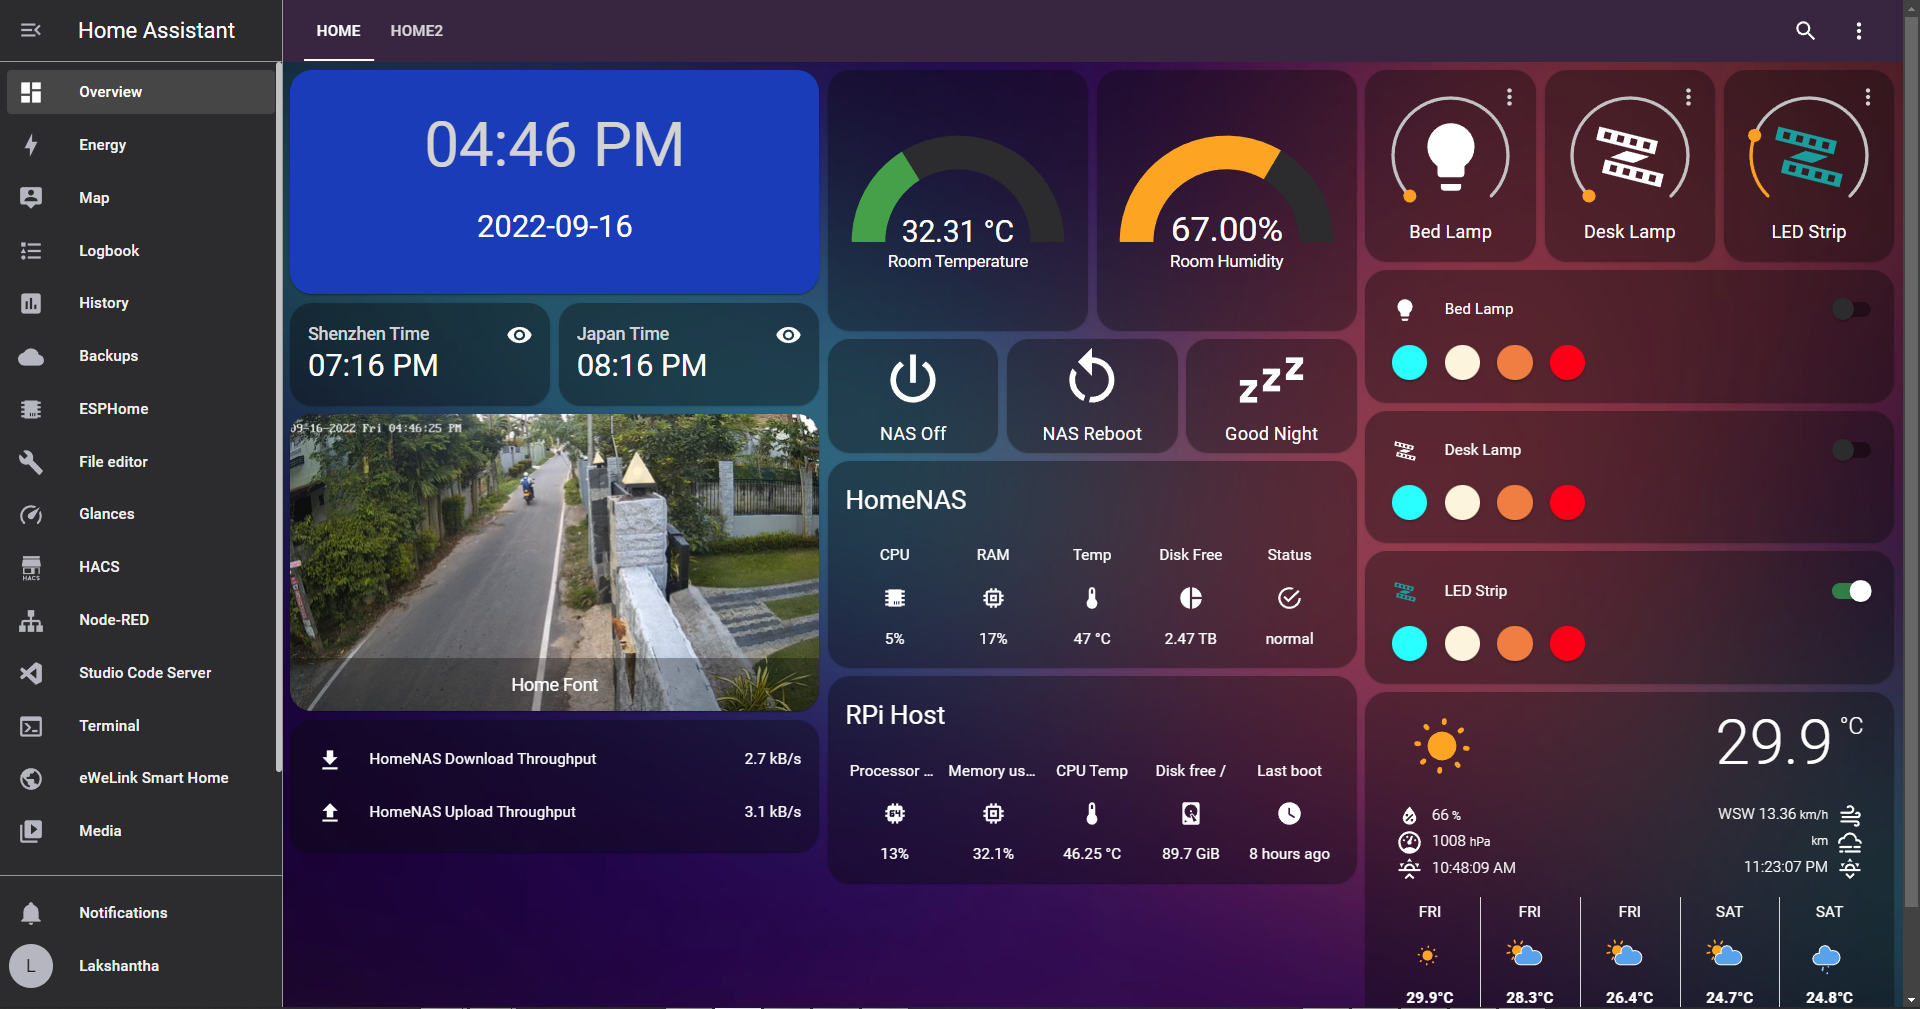
After integrating smart lights, temperature, humidity sensors, CCTV and more, a complete Smart Home dashboard on Home Assistant will look like below
During the HA installation process, we tested using wireless connectivity.
Home Assistant Supervised Installation - Bookworm
Step 1: Update and Install Dependencies
sudo apt update
sudo apt-get install -y jq wget curl udisks2 apparmor-utils libglib2.0-bin network-manager dbus systemd-journal-remote systemd-resolved
Step 2: Start and Enable Network Manager
Check the status of Network Manager
sudo systemctl status NetworkManager.service
NetworkManager does not start, start and enable
sudo systemctl start NetworkManager
sudo systemctl enable NetworkManager
Step 3: Modify Boot Parameters
Edit the cmdline.txt file:
sudo nano /boot/firmware/cmdline.txt
Add the following at the end of the line:
systemd.unified_cgroup_hierarchy=false lsm=apparmor
Reboot the system:
sudo reboot
Step 4: Install Docker
sudo curl -fsSL get.docker.com | sh
sudo gpasswd -a $USER docker
newgrp docker
Step 5: Install OS Agent
wget https://github.com/home-assistant/os-agent/releases/download/1.6.0/os-agent_1.6.0_linux_aarch64.deb
sudo dpkg -i os-agent_1.6.0_linux_aarch64.deb
Step 6: Install Home Assistant Supervised
wget https://github.com/home-assistant/supervised-installer/releases/download/1.6.0/homeassistant-supervised.deb
sudo dpkg -i homeassistant-supervised.deb
Upon successful correction, a blue screen will appear, allowing you to select Raspberry Pi4 64 model.

After a few minutes, the installation will begin.
You can then view the Home Assistant Dashboard UI on a web browser using <your_reTerminal_ip>:8123.
It will take some time to finish the initial startup process. Once it has finished starting up, create an account and follow the initial setup instructions
If there are warnings in notifications, please reboot the reTerminal.
Tech Support
Thank you for choosing our products! We are here to provide you with different support to ensure that your experience with our products is as smooth as possible. We offer several communication channels to cater to different preferences and needs.