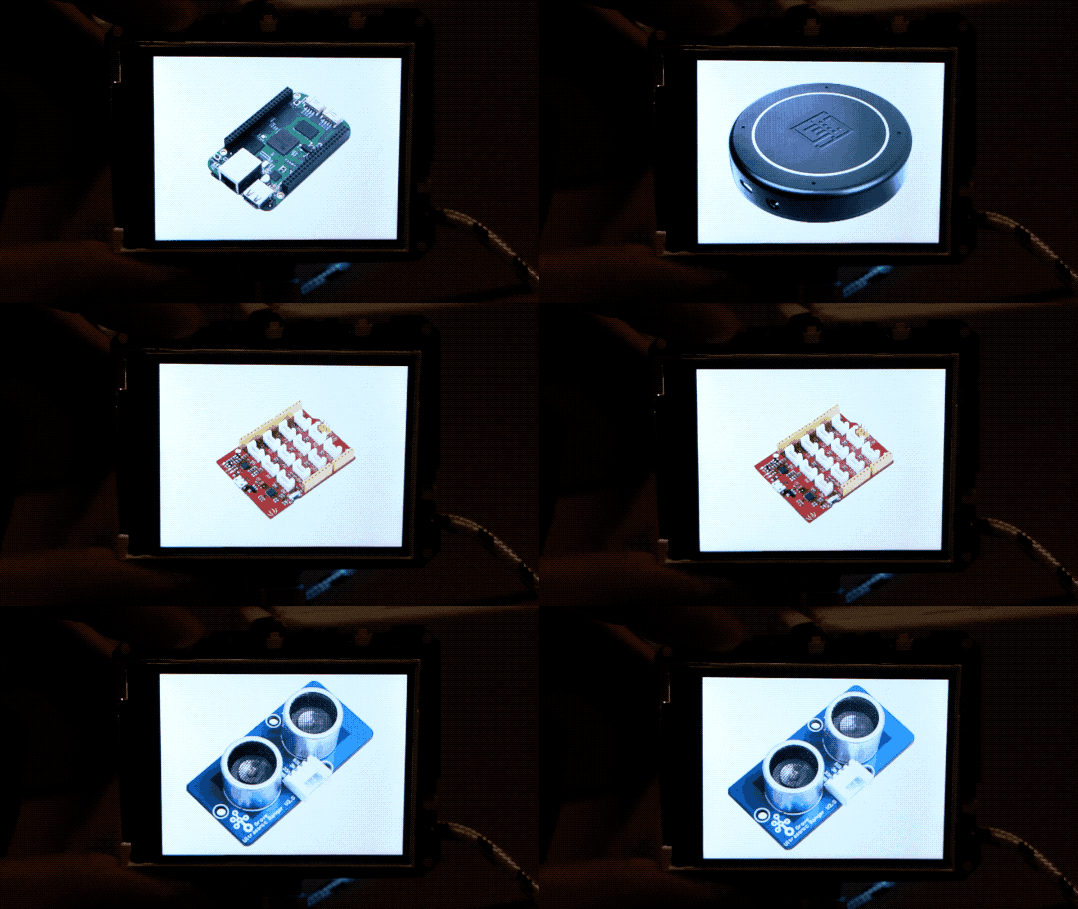
Wio Terminal Displaying photos

Overview
This example demonstrates how to display images from SD card in loop.
Features
- Looping through photos
Arduino libraries needed
Install the LCD screen library
Seeed_Arduino_LCD, please visit Wio Terminal Overview for more information.Install the SD Card library
Seeed_Arduino_FS, Please visit Seeed-Arduino-FS for more information.Install the
RawImage.hlibrary, Please visit Loading Images for more information.
Arduino Instructions
Download the
displayPhotos.inoandRawImage.hfile and upload to your Wio Terminal throughArduino IDE. Make sure you installed all the libraries.Drag the
photosfile and save the entire file in the SD card.You should see Image starts looping!
Code
#include"TFT_eSPI.h"
#include "Seeed_FS.h" //Including SD card library
#include"RawImage.h"  //Including image processing library
TFT_eSPI tft;

void setup() {
    //Initialise SD card
    if (!SD.begin(SDCARD_SS_PIN, SDCARD_SPI)) {
        while (1);
    }
    //Initialise LCD screen
    tft.begin();
    tft.setRotation(3);

}
//storing the names of photos
const char* list[] = {"photos/1.bmp", "photos/2.bmp", "photos/3.bmp", "photos/4.bmp"};

void loop() {
    for (uint8_t cnt = 0; cnt < 4; cnt++) {
        drawImage<uint16_t>(list[cnt],0,0); //dispalying images one by one
        delay(1000);
    }
}
Wio Terminal Displaying photos with Button
Overview
This example is similar to the above, but instead built-in buttons are used to change the displaying images!
Features
Left-Button: Previous Image
Right-Button: Next Image
Arduino libraries needed
Install the LCD screen library
Seeed_Arduino_LCD, please visit Wio Terminal Overview for more information.Install the SD Card library
Seeed_Arduino_FS, Please visit Seeed-Arduino-FS for more information.Install the
RawImage.hlibrary, Please visit Loading Images for more information.
Arduino Instructions
Download the
displayPhotos_buttons.inoandRawImage.hfile and upload to your Wio Terminal throughAdruino IDE. Make sure you installed all the libraries.Drag the
photosfile and save the entire file in the SD card.Press the left button to scroll left and press right button to scroll right!
Code
- To intialise Buttons
void setup() {
    ...
    pinMode(BUTTON_1, INPUT); //left button
    pinMode(BUTTON_3, INPUT); //right button
    ...
}
Complete Code
#include"TFT_eSPI.h"
#include "Seeed_FS.h" //Including SD card library
#include"RawImage.h"  //Including image processing library
TFT_eSPI tft;

bool left_flag = false;
void button_handler_left() {
  left_flag = true;
}

bool right_flag = false;
void button_handler_right() {
  right_flag = true;
}

void setup() {
  //Initialise SD card
  if (!SD.begin(SDCARD_SS_PIN, SDCARD_SPI,16000000)) {
    while (1);
  }
  tft.begin();
  tft.setRotation(3);

  pinMode(BUTTON_1, INPUT);
  pinMode(BUTTON_3, INPUT);
  attachInterrupt(digitalPinToInterrupt(BUTTON_1), button_handler_left, FALLING);
  attachInterrupt(digitalPinToInterrupt(BUTTON_3), button_handler_right, FALLING);

}

const char* list[] = {"1.bmp", "2.bmp", "3.bmp", "4.bmp"};
int8_t cnt = 0;

void loop() {
  if (left_flag) {
    cnt++;
    left_flag = false;
    if (cnt == 4) {
      cnt = 0;
    }
  }
  if (right_flag) {
    cnt--;
    right_flag = false;
    if (cnt < 0) {
      cnt = 3;
    }
  }
  drawImage<uint16_t>(list[cnt], 0, 0);
}