Jetson Xavier AGX H01 Kit Driver Installation
This wiki will show you how to install driver to Jetson Xavier AGX H01 Kit. There are server ways to accomplish that.
Install Jetson Xavier AGX H01 with Command Line
This is the installation through command lines, with stabilized steps.
Materials Required
- Ubuntu Host PC
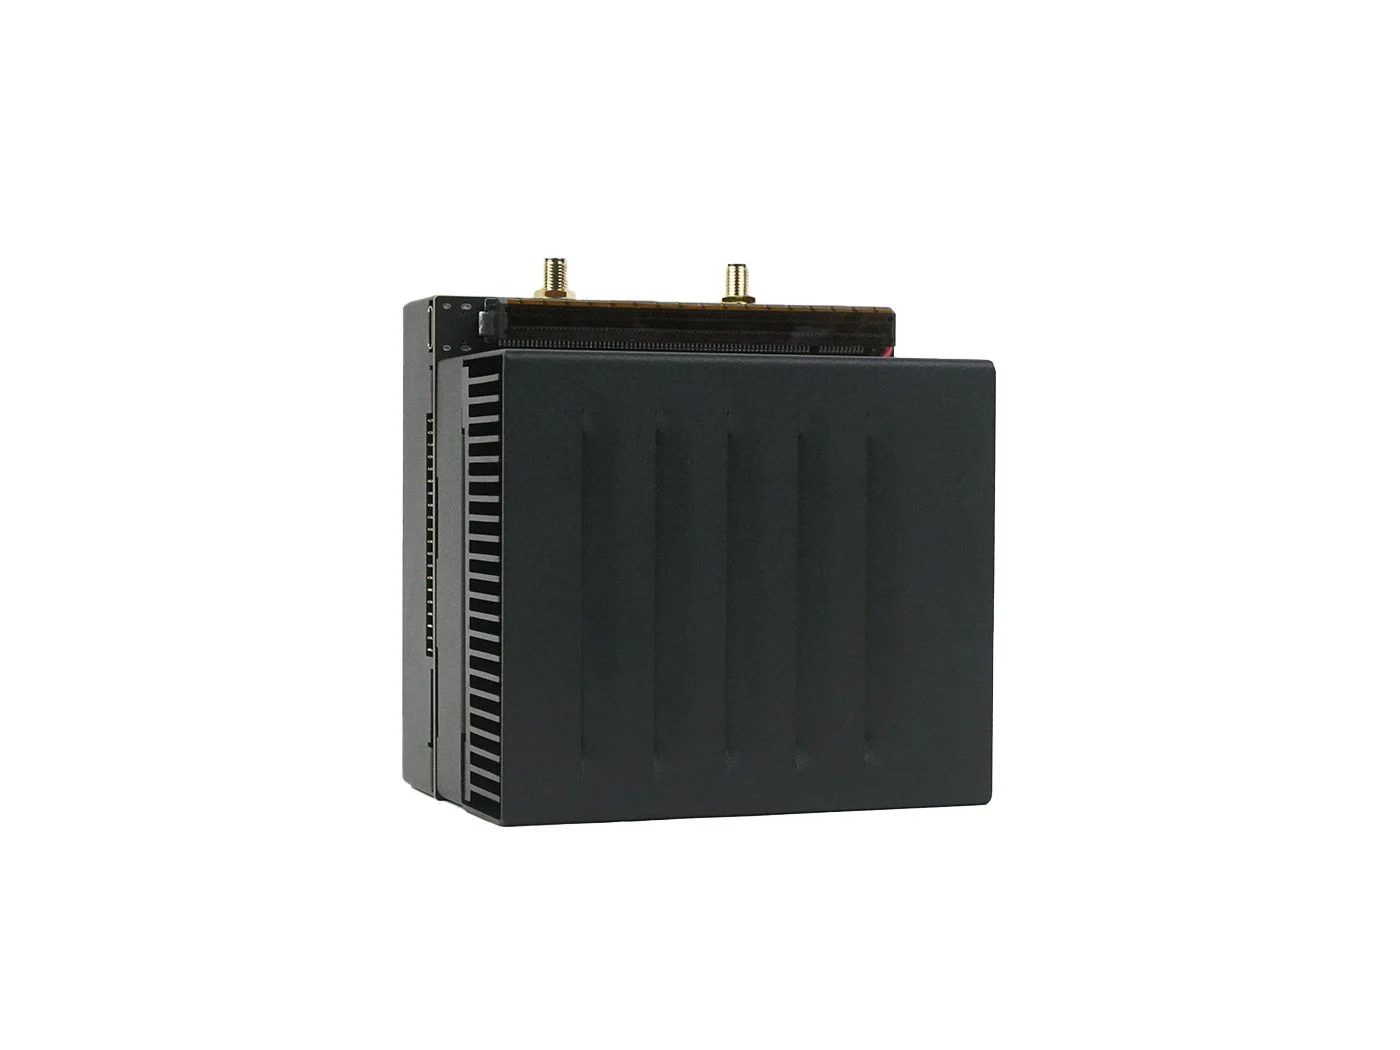
- Jetson Xavier AGX H01
- Type C data transmission cable
Driver Installation
Before will install the driver, it is required to set the board into the Force Recovery Model.
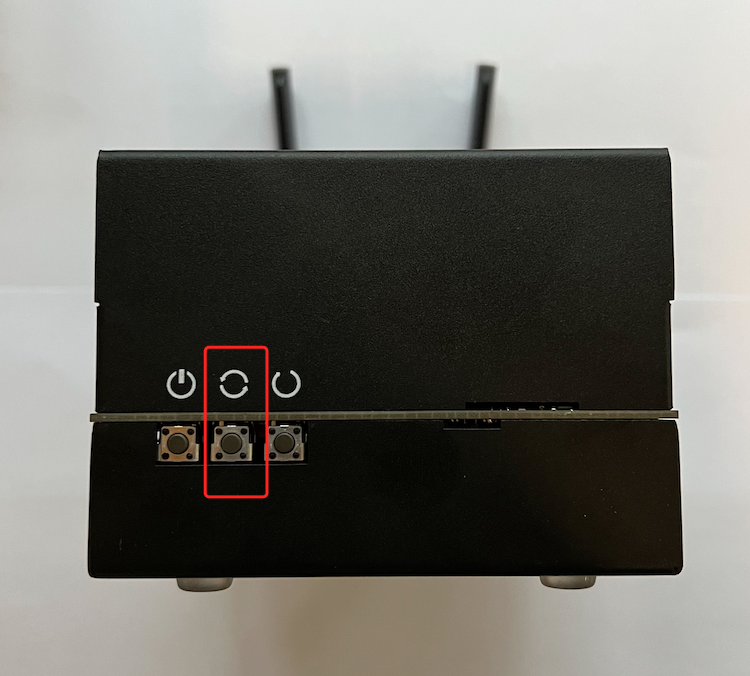
Force Recovery Model
There is a recovery button on the board, which is in the middle of three buttons. Hold the recovery button and then power it up, which will enter the Force Recovery Model.
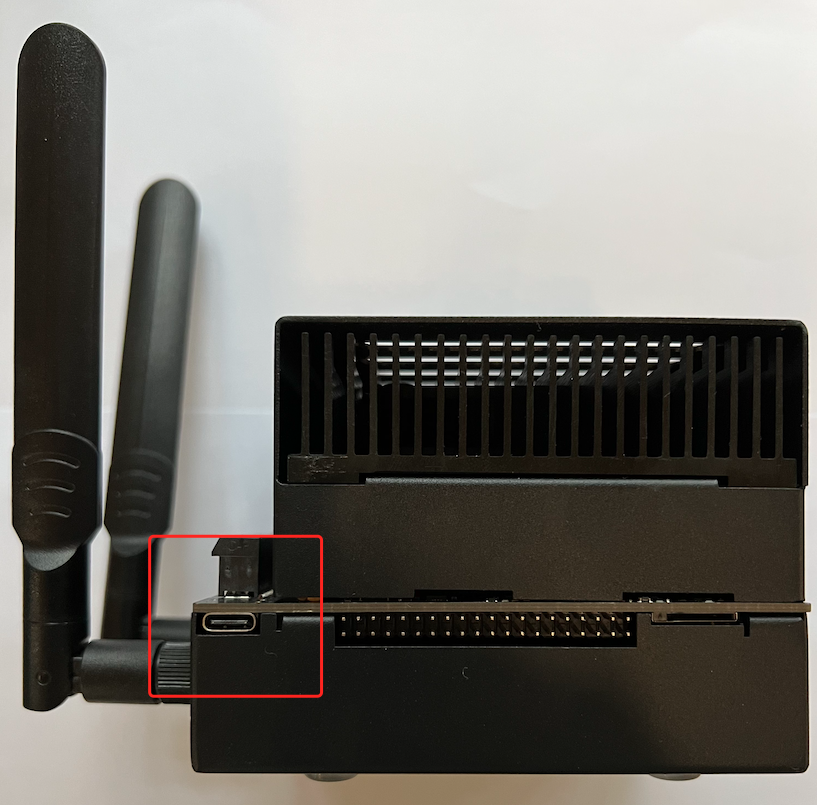
Connect Jetson Xavier AGX H01 with the Ubuntu host PC with a Type-C data transmit cable.
Driver Required
We provide different versions of drivers for different versions of Jetpack system, for your convenience to install.
| JetPack Version | Driver Required | Jetson Linux Archive |
|---|---|---|
| 4.4 | Click to Download | NVIDIA L4T 32.4.3 |
| 4.6.1 | Click to Download | NVIDIA L4T 32.7.1 |
| 5.0.1 | Click to Download | NVIDIA L4T 34.1.1 |
| 5.0.2 | Click to Download | NVIDIA L4T 35.1 |
| 5.1 | Click to Download | NVIDIA L4T 35.2.1 |
| 5.1.1 | Click to Download | NVIDIA L4T 35.3.1 |
| 5.1.2 | Click to Download | NVIDIA L4T 35.4.1 |
Getting Started
The example here is using NVIDIA L4T 32.7.1 to install Jetpack 4.6.1 on the Jetson AGX H01.
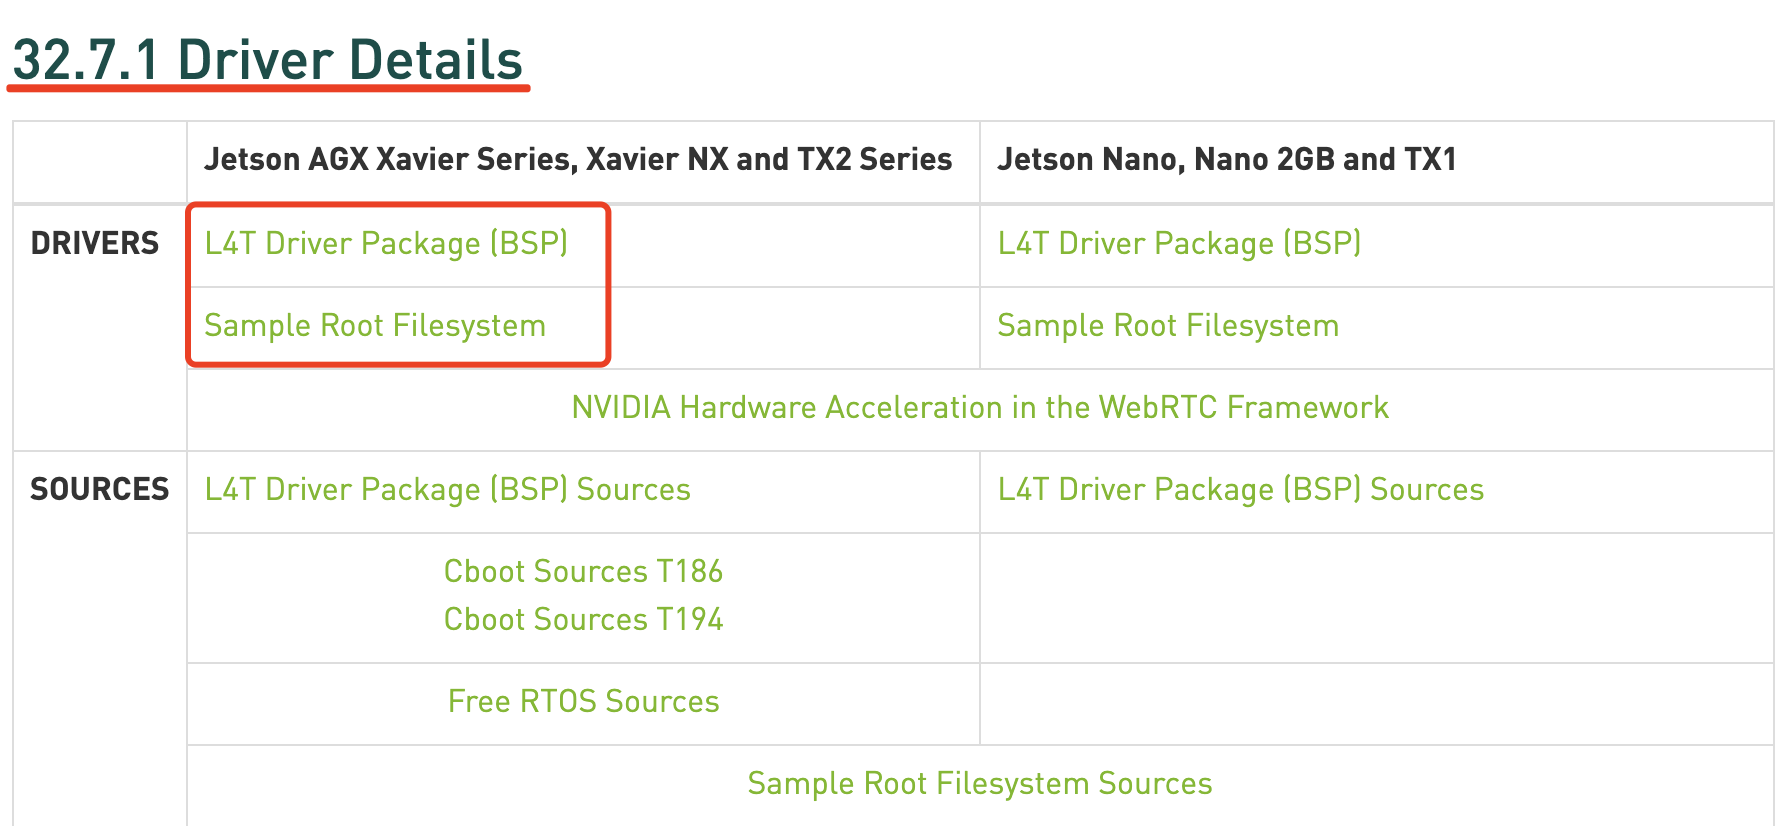
- Step 1. Download the drivers on the host PC form NVIDIA. The required 32.7.1 drivers are shown below:
- Step 2. Download additional required installation files H01_Drivers on the host PC.
Move downloaded files at Step 1 into the same folder with H01_Drivers. Now you will see three unzipped files in the same folder.
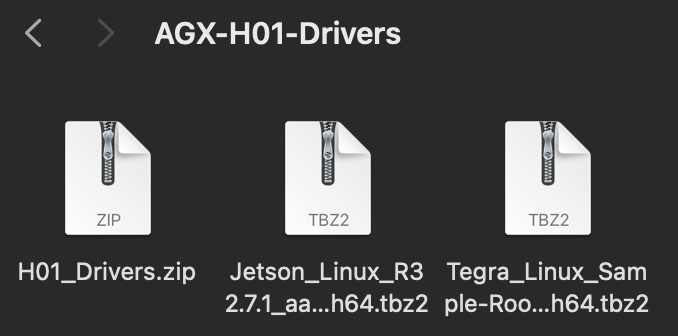
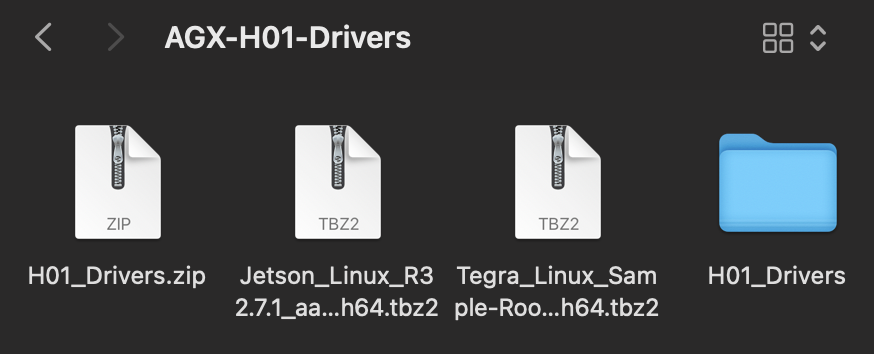
- Step 3. Unzip the file of AGX_H01_Drivers.zip.
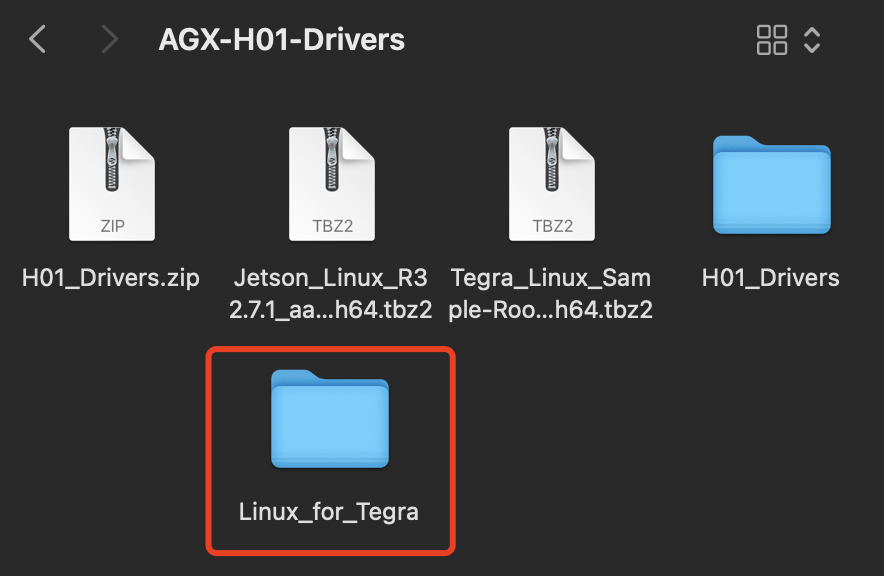
- Step 4. Open terminal in the folder and unzip the rest files. Execute the command below:
tar xf Jetson_Linux_R32.7.1_aarch64.tbz2
cd Linux_for_tegra/rootfs
sudo tar xfp ../../Tegra_Linux_Sample-Root-Filesystem_R32.7.1_aarch64.tbz2
cd ..
sudo  ./apply_binaries.sh
!!!Note If you donwnload files in somewhere else, make sure you add the path to the files. Like example here is "/Desktop/AGX/". If you directly open the terminal in the file, the path will be automatically added.
The command lines should be like:

- Step 5. Move back and copy & paste the file from downloaded H01_Driver file to the unzipped file Jetson_Linux_R32.6.1_aarch64.tbz2.
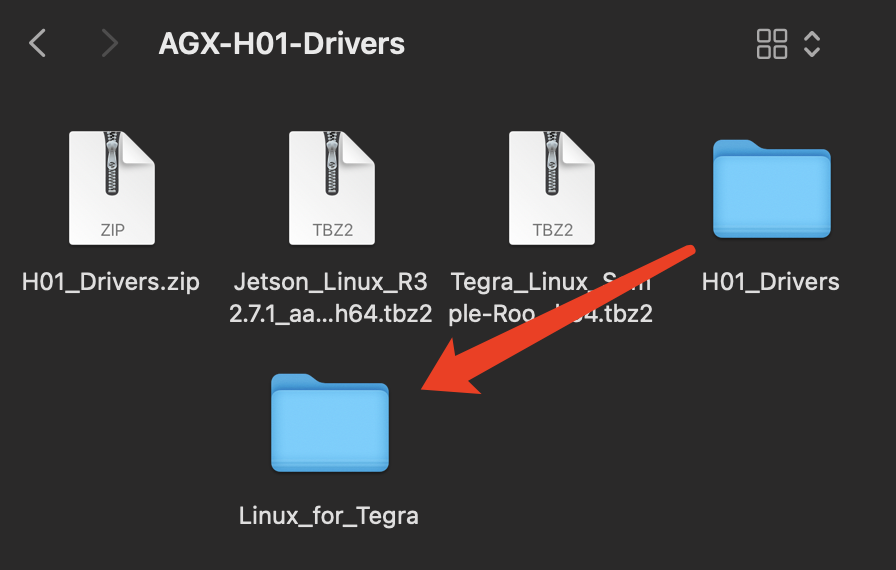
Here are the commands below:
cd ..
cp -a -f H01_Driver/Linux_for_Tegra/kernel Linux_for_Tegra/
cd Linux_for_Tegra/
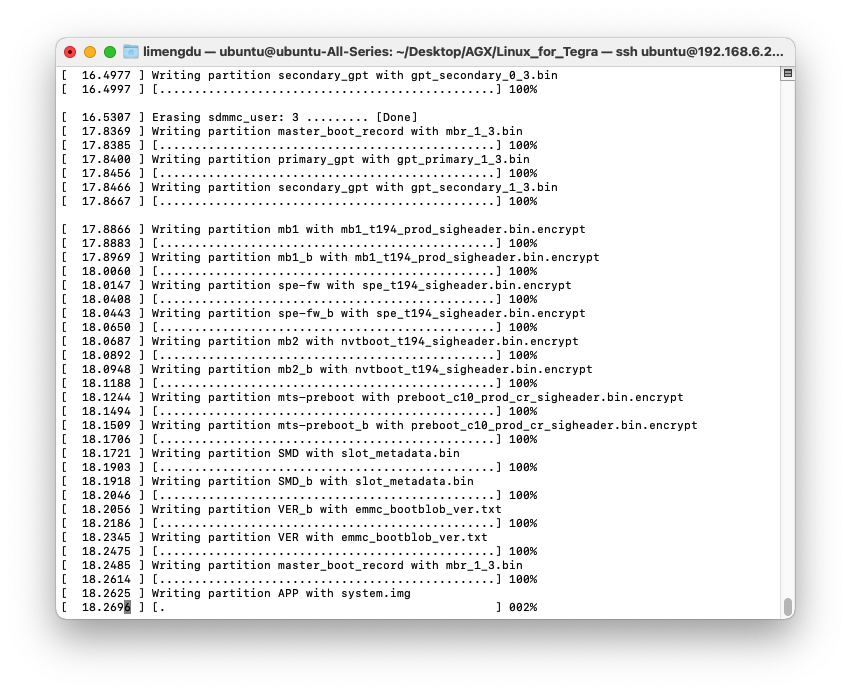
sudo ./flash.sh jetson-xavier mmcblk0p1
The flash will be running and the progress is like:
The final result shoule be like:

Tech Support & Product Discussion
Thank you for choosing our products! We are here to provide you with different support to ensure that your experience with our products is as smooth as possible. We offer several communication channels to cater to different preferences and needs.