Connect AWS IoT Core with N3uron
Introduction
We have outlined the process of transmitting data from your reTerminal DM device to AWS IoT Core using the MQTT protocol. This tutorial will seamlessly integrate with the aforementioned process. In this tutorial, we will delve into the intricacies of interfacing between the N3uron Edge IIoT platform and AWS IoT Core.
Prerequisites
Hardware
| reTerminal DM |
|---|
 |
Software
We highly recommend studying the Getting Started with N3uron guide. It provides essential insights into navigating the N3uron web interface, understanding concepts such as the Web UI and Web Vision module, grasping the concept of tags, and creating basic dashboards. If you haven't explored these fundamentals yet, it's advisable to do so before proceeding further. You can access the guide through the provided link.
If you haven't explored our guide on integrating AWS IoT Core with reTerminal DM, we recommend doing so as well. This comprehensive guide covers everything from the basics to the advanced steps of publishing a value to IoT Core. As it complements the current tutorial, it's beneficial to familiarize yourself with this content too.
Configure N3uron IIoT Platform
Create a Module Instance Within N3uron’s WebUI Interface
- Step 01: In the Navigation panel, select Config.
- Step 02: In the Explorer panel, select Modules.
- Step 03: Click on the Model menu and select New Module.

- Step 04: The instance can be given any name but for the example we will use MQTT.
- Step 05: Set the Module Type property to MqttClient. Leave the rest of the properties as their default values and click Save.

Configure N3uron’s MQTT Module within the WebUI’s Explorer Panel
- Step 01: In the Explorer panel, select the MQTT instance you have just created.
- Step 02: Click on the Model menu button and select New Connection.
- Step 03: Give the New connection a name. In this example, it has been named AWS.

- Step 04: Configure the connection properties:
- A: Select Amazon Web Services from the Destination Broker drop down menu. Authentication mode will be Certificate. Also Client Id is N3uron in this example.
- B: Load the Certificate, Private key and CA certificate you downloaded and saved when you created the Thing in the AWS IoT Console.
- C: In the AWS IoT console, in the left-hand menu, go to Settings and copy your Device Data Endpoint. Go back to N3uron and paste it in the Broker URL field.
- D: Leave the rest of the properties as their default values and click on Save.

Subscribe to a Topic Using N3uron’s MQTT Module
- Step 01: In the Model panel, right-click on the AWS Connection, select New Subscriber, and give it a name. In this example, we will simply use Subscriber.

-
Step 02: Click on it and add a name in the Topic field. In this example, we have used device/data.(In our AWS tutorial , we have published data under this topic.)
-
Step 03: Set the following properties using the values shown below, leaving the rest of them as their default values:
- Qos: Qos 0.
- Encoding: UTF8
- Compression: None
- Serialization: JSON
- Data parser/Type: MqttClient JSON
And Save it.

Create a Tag
- Step 01: Within the Explorer panel, select Tags.
- Step 02: In the Model menu, right-click on the folder icon, select New Tag, and give it a name. In this example, we will use Subscribed_value.

-
Step 03: In the Configuration panel, set the following properties using the values shown below, leaving the rest of them as their default values:
- Type: Number.
- Source/Enabled: Yes
- Module Type: MqttClient
- Module name: MQTT
- Config/Subscriber: AWS/Subscriber
-
Step 04: Click on Save.

After you run the python script which we provide on AWS IoT and reTerminal DM or EdgeBox and AWS IoT. Go back to the N3uron WebUI interface and in the left-hand panel, select Data/Real Time. You should now see the Subscribed_Value tag you created before with a value.

Visualization
If you have create a webvision module you can start this steps.
- Step 01: Navigate to WebVision in the Config section and click on Open Designer. Log in using your Administrator credentials.

- Step 02: In the Templates section, create a new Container named as you wish. Then, designate this container as the startup. This will set this as our initial WebVision screen. It will appear with an asterisk symbol (*) beside it.

- Step 03: Change the background color of the container.

- Step 04: Inside the Main container, navigate to Components and add a new component. For this example, select the Label component.

- Step 05: You can modify the properties of the label for a better appearance.

- Step 06: Within the Label component, select the tag that will provide the values displayed on the Label component.


- Step 07: Select tag Property

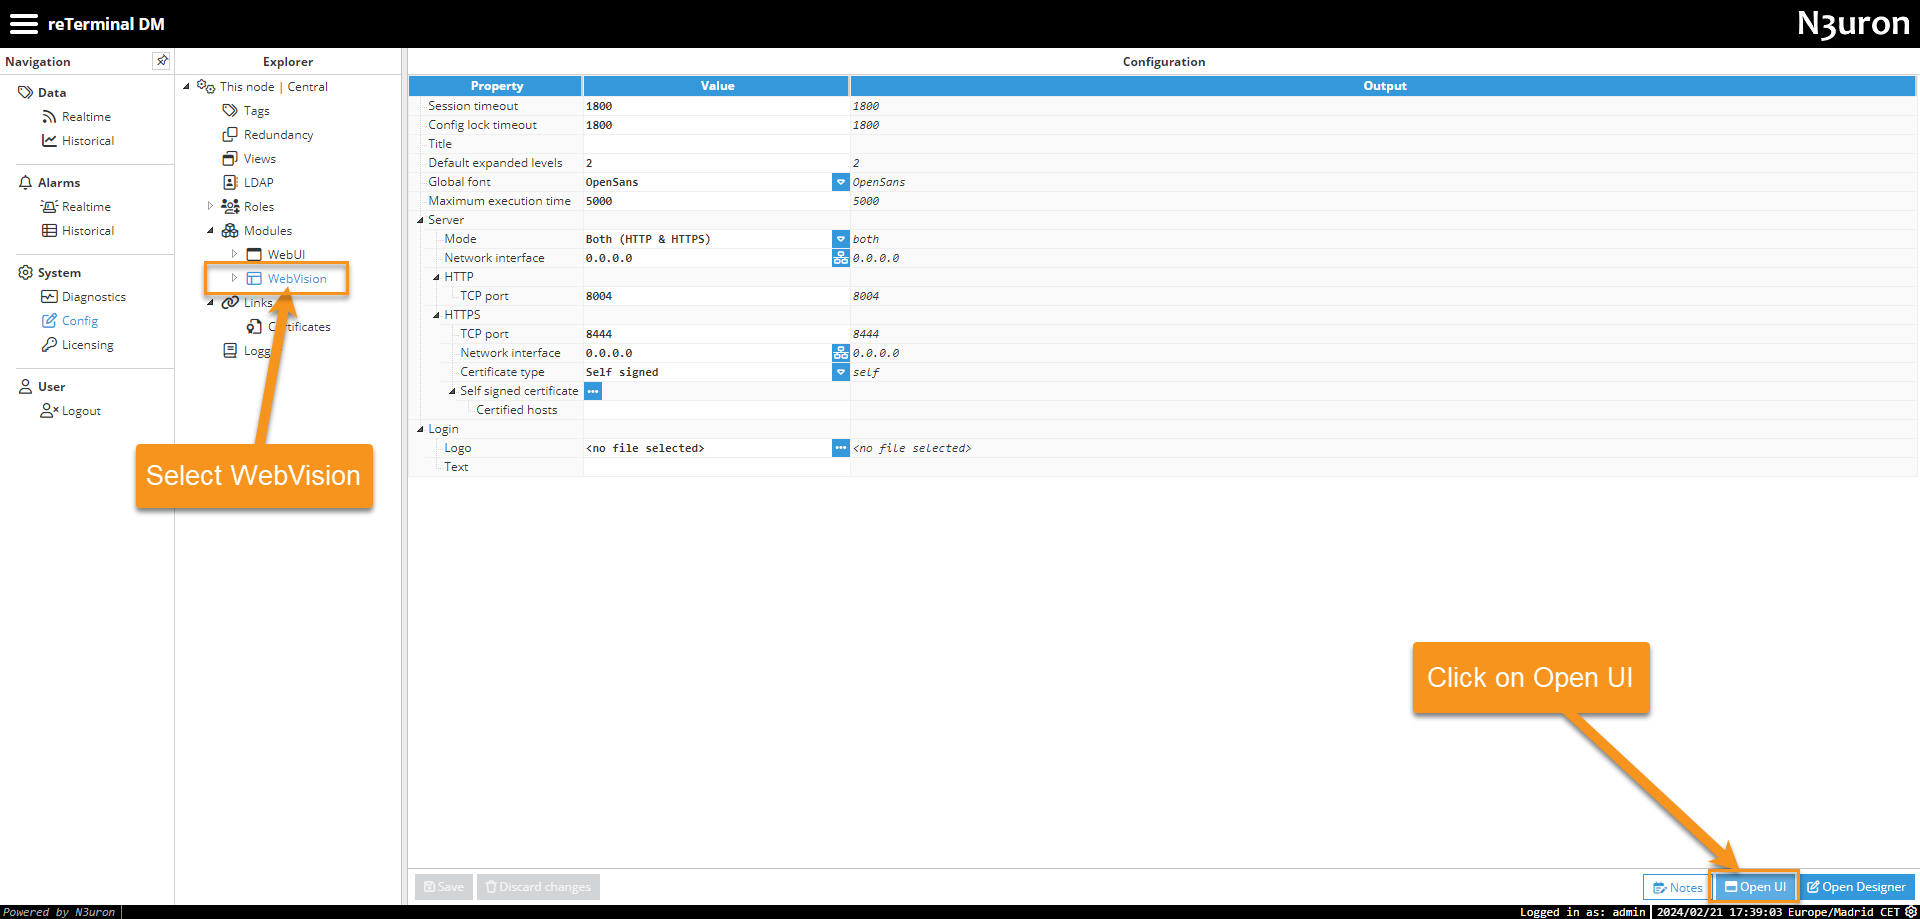
- Step 08: Next, navigate to WebVision in the Config section and click on Open UI. Log in using your Administrator credentials.
Subsequently, you will witness the ultimate result, which involves updating the label values in accordance with the data subscribed from the cloud.

Tech Support & Product Discussion
Thank you for choosing our products! We are here to provide you with different support to ensure that your experience with our products is as smooth as possible. We offer several communication channels to cater to different preferences and needs.