The PDM Microphone Usage on Seeed Studio XIAO nRF52840 Sense
Overview
Seeed Studio XIAO nRF52840 Sense is equipped with a PDM (Pulse Density Modulation) Microphone which can receive audio data in real-time and can be used for audio recognition. With its wireless connectivity and fine performance in processing audio data thanks to the FPU, it is ideal for interesting TinyML projects like remote voice controlling of devices.
- Seeed Studio XIAO nRF52840 is not equipped with this PDM Microphone module.
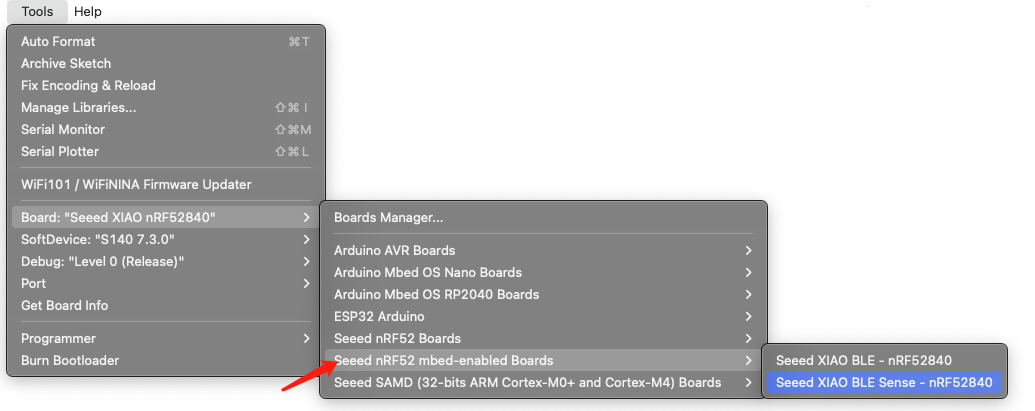
- The PDM Microphone will perform better when we use the Seeed nrf52 mbed-enabled Boards Library, so we highly recommend that.
This wiki will introduce the basics of using the PDM Microphone on this board and include two examples:
- Visualizing Raw Data: This example demonstrates how to visualize raw data from the microphone in real-time.
- Saving Recorded Audio: This example shows how to save recorded audio from the microphone onto an SD card.
Let's explore these examples now!
Example 1: Visualize Raw Data from PDM Microphone in Real-Time
In this example, we will visualize the raw data from the PDM Microphone on a Serial Monitor and Serial Plotter in real-time.
Prerequisites
- Step 1. Get the Arduino Library, Download Seeed_Arduino_Mic Library as a zip file

- Step 2. Open Arduino IDE, navigate to
Sketch > Include Library > Add .ZIP Library...and open the downloaded zip file

Run Example
- Step 3. Navigate to
File > Examples > Seeed Arduino Mic > mic_serial_plotterto open mic_serial_plotter

- Step 4. Upload the codes and open the Serial Monitor
Once you upload the codes, it will not be executed automatically until you click Serial Monitor on the upper right corner of the Arduino window.

Now you will see the raw microphone data displayed in real-time on the serial monitor as shown above!
Visualizing Raw Data
- Step 5. If you navigate to
Tools > Serial Plotterand open Serial Plotter, you will see the raw microphone data displayed in real-time on a waveform graph!

Example 2: Save Recorded Audio from the Microphone onto an SD Card
Just like the Seeed Studio XIAO series, Seeed Studio XIAO nRF52840 Sense is perfectly compatible with Seeeduino Seeed Studio XIAO Expansion board. It can be installed on the expansion board, allowing you to use the SD card module on the board. If you prefer not to use the expansion board, you can connect a separate SD card module through the SPI interface.
Prerequisites
- Step 1. Attach the Seeed Studio XIAO nRF52840 Sense to a Seeed Studio XIAO Expansion Board and insert an SD card into the SD card slot of the expansion board.

When you see the light on the expansion board regularly flashing green, the connection is successful.
Since we have already installed the Seeed_Arduino_Mic Library before, we do not need to install it again for this example. However, if you do not have it installed, please follow the instructions from the example above.
- Step 2. Download Seeed_Arduino_FS Library as a zip file

Note: This library is needed to access the SD card and save the data.
Run Example
- Step 3. Open Arduino IDE, navigate to
Sketch > Include Library > Add .ZIP Library...and open the downloaded zip file.
- Step 4. Navigate to
File > Examples > Seeed Arduino Mic > mic_Saved_OnSDcardto open mic_Saved_OnSDcard.

- Step 5. Upload the codes and open the Serial Monitor
Saving data
Note: Once you upload the codes, they will not execute automatically until you click Serial Monitor in the upper right corner of the Arduino window.
Now the audio data will start sampling, record for 5 minutes, and save the data to the SD card automatically.

This test.9568.wav is a 5-second audio file and it is saved on the SD card.
If you want to resample audio data, you should push the reset button and then click Serial Monitor again to start sampling.