The content of this tutorial may no longer be valid and new software maintenance and technical support is no longer available.
Speech Recognition based on Edge Impulse using XIAO nRF52840
In this wiki, I will show how to use Edge Impulse with the ML capabilities of the Seeed Studio XIAO nRF52840 for Speech Recognition. We will use the Microphone which is already on the XIAO nRF52840 Sense.
Knowledge before project
The XIAO nRF52840 is not officially supported by Edge Impulse and it's not present as a device to collect data from, but I'm just going to demonstrate how can we use it to run inference using the device microphone.
Getting Started
To follow this tutorial , you need the following hardware
| Seeed Studio XIAO nRF52840-Sense |
|---|
 |
Hardware Preparation
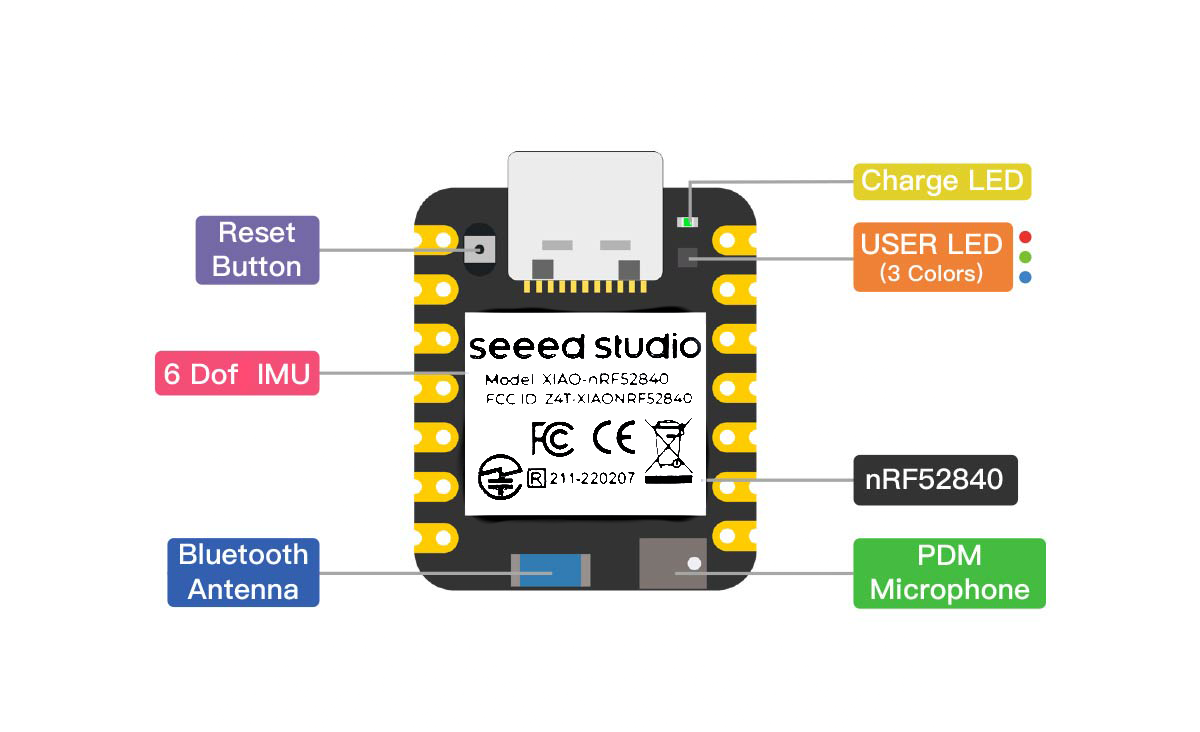
We don't need any hardware preparation. The XIAO nRF52840 already has everything we need to this project. We just need the PDM microphone.
Here's the hardware pinout for XIAO nRF52840 Sense
Software Preparation
To try this, we just need three things:
- Google Speech commands dataset(check below)
- Edge Impulse Account
- Arduino IDE
Dataset
- I'm going to use the Google speech command dataset. Not the all dataset, just some words from it.
- For now, download the dataset and unzip it. The complete dataset is 2.3GB.
- This Google Speech commands dataset is used by Google in their micro speech example for TensorFlow Lite for MicroControllers.
- You can find the code here.
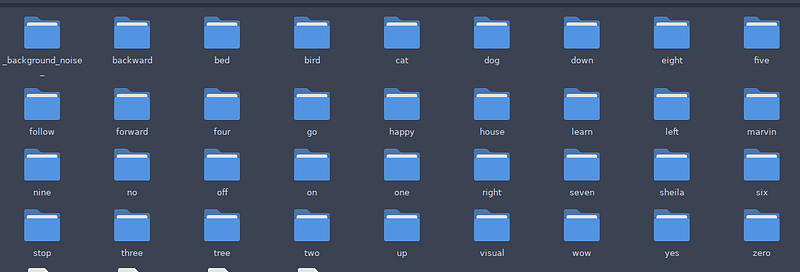
We can download the dataset from the first link above and it will be extracted as:
Getting Started
Now Let us get started using Edge Impulse to create an ML model based on the dataset.
Step 1 - Open the Edge Impulse
- Edge Impulse is a machine learning (ML) development platform that enables developers to create and deploy custom ML models to edge devices, such as microcontrollers and smartphones.
- It provides a variety of tools and resources to help build and optimize ML models for specific tasks, such as keyword spotting, anomaly detection, and classification.
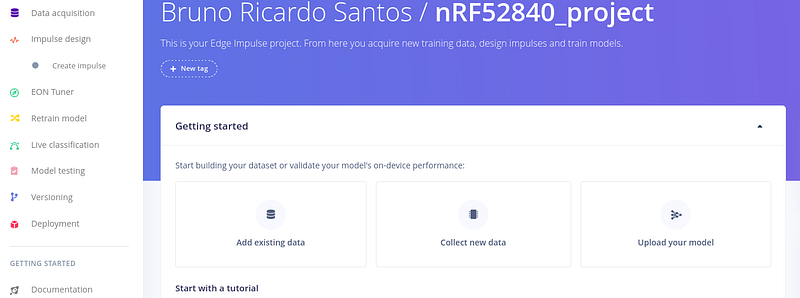
Let's create a new project. Give it a name.

After creating a new project, go to the data acquisition page.
Step 2 - Add data
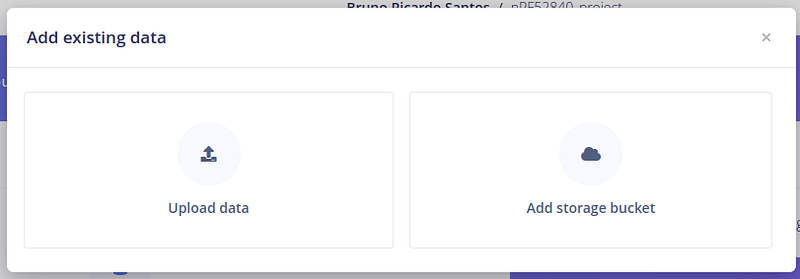
Because we're going to use the Google speech commands dataset, choose "Add existing data". Next, choose "Upload data"
Next, we get to select the data - Let's choose one of the folders from the speech dataset.
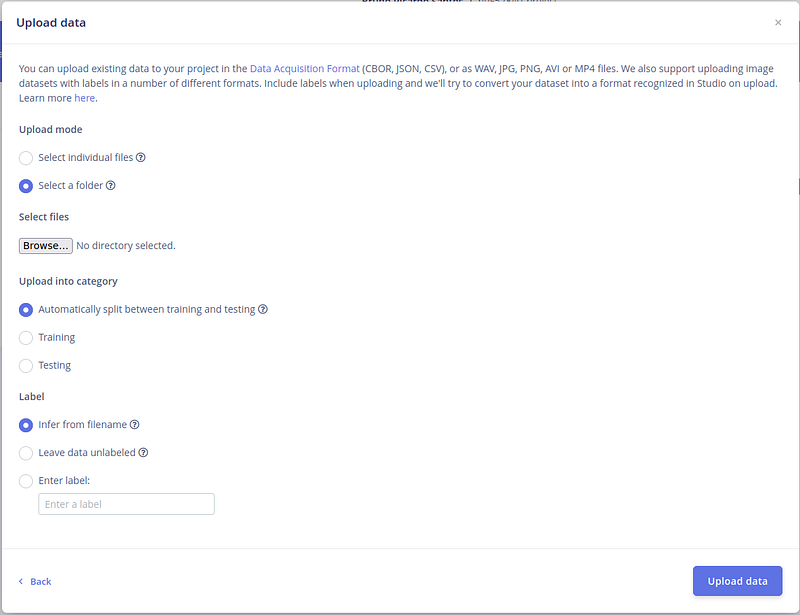
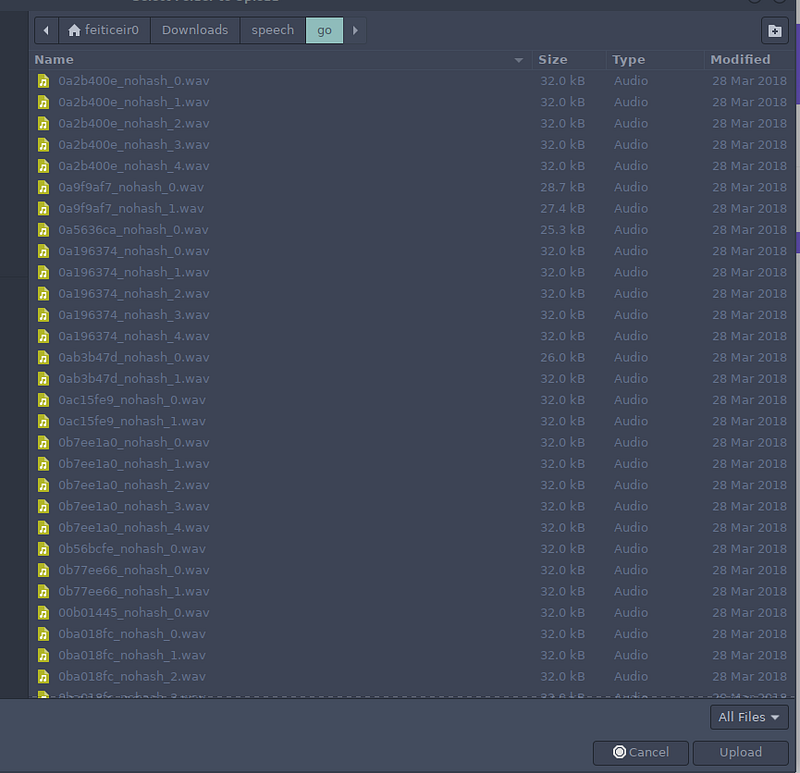
The dataset has a lot of words to train with. Let's choose 3 folders (our labels) to train and the background noise. We're getting 4 labels. Press the button "Browse". The first one is "go". Choose the folder - you can see all the .wav files - and press "Upload".
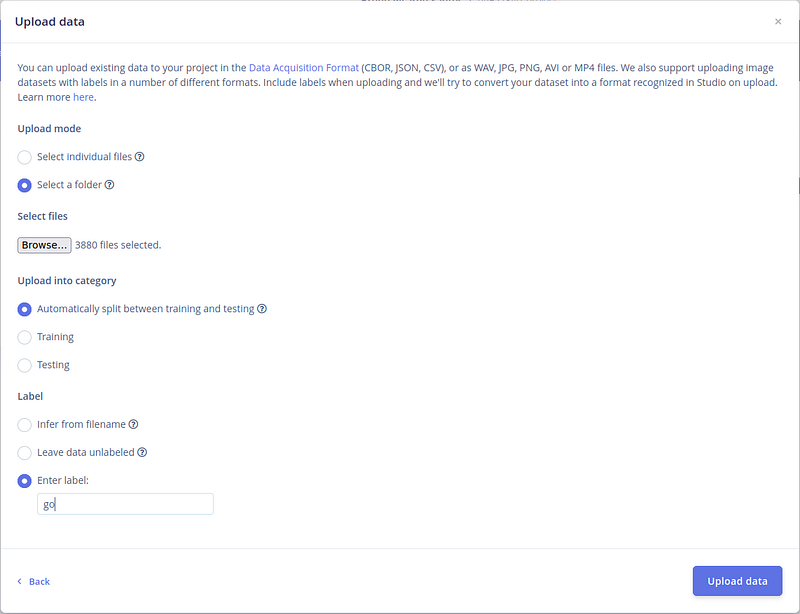
Next, let's keep the default options for the category. Let Edge Impulse split the data. For the label, write the label yourself. After all this, press "Upload data".
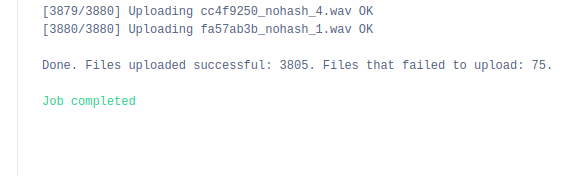
On the right side, you'll see the files being uploaded. It can take a while, because they're many.
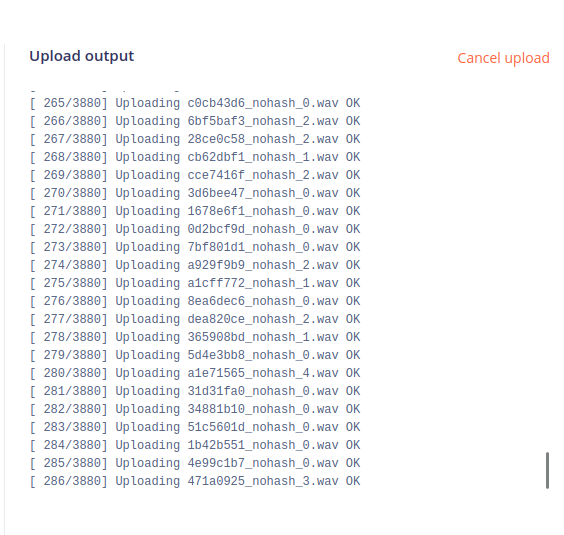
After a while, it completes and shows a small resume of the files uploaded.
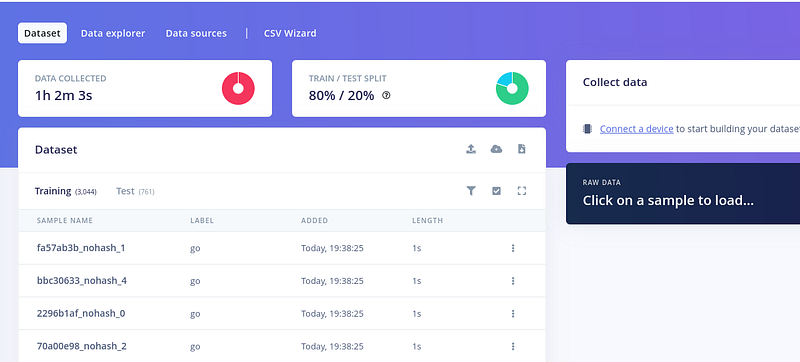
After this, this is the screen
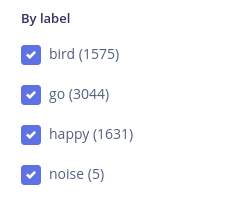
To upload more data, press the small upload button on the right side, above the files list. Repeat this 3 more times - 2 more labels and the background noise. I'm going to choose happy, bird and the "background noise" folder with the label "noise". In the end, this are all the labels we have
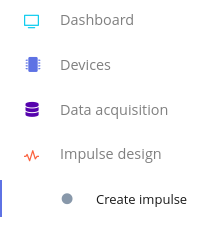
Next, let's create the network to learn our words. Click on Impulse design to create the impulse
Step 3 - Select training method
Because the clips are 1 second each and 16Khz, let's keep the window size the same and the frequency. Now, let's add a processing block.
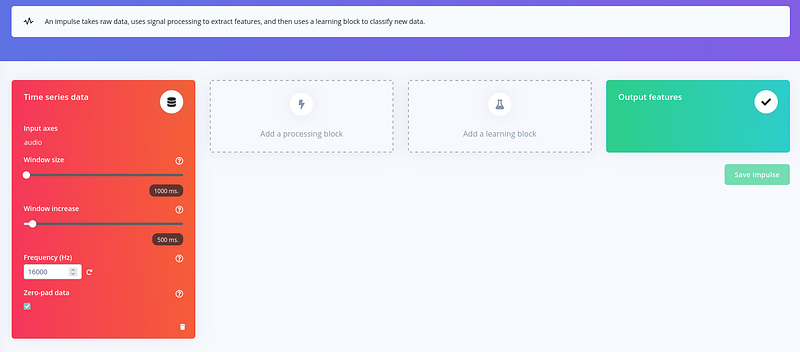
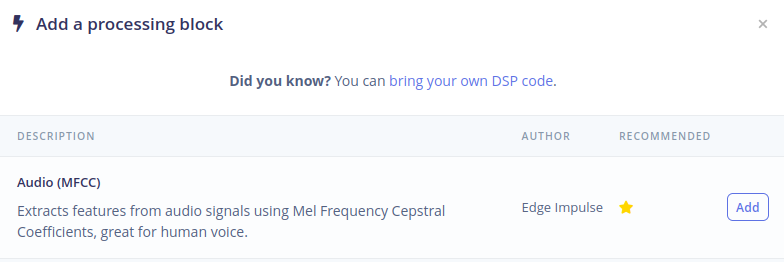
Edge Impulse helps us a lot here too. Click on "Add a processing block" and choose Audio (MFCC).
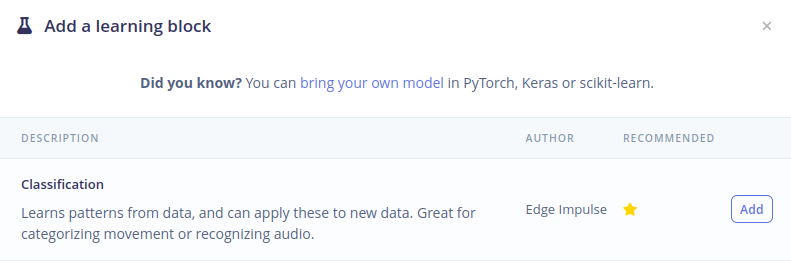
Next, click on the "Add learning block" and choose Classification.
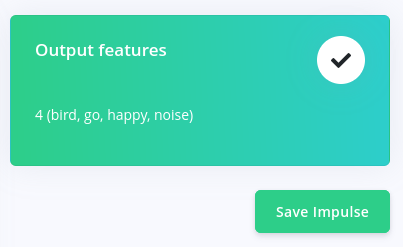
By now, our last column - Output features - has our 4 labels (bird, go, happy, noise). Press "Save Impulse" to save our work so far.
Step 4 - Generate the features
Now, let's a take a look at the MFCC parameters. If you want, you can change the values. For now, let's keep the default values. Click "Save Parameters". After you save the parameters, we get a new window to "Generate features".

After clicking, Edge Impulse will start generating the features.
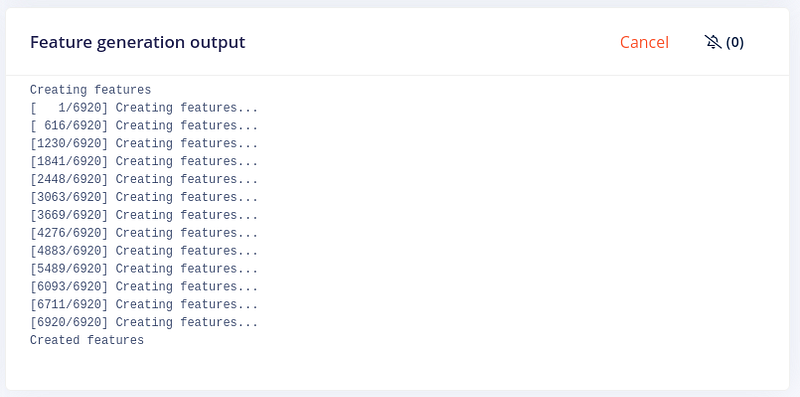
After a while, we get our features generated and we can visualize them
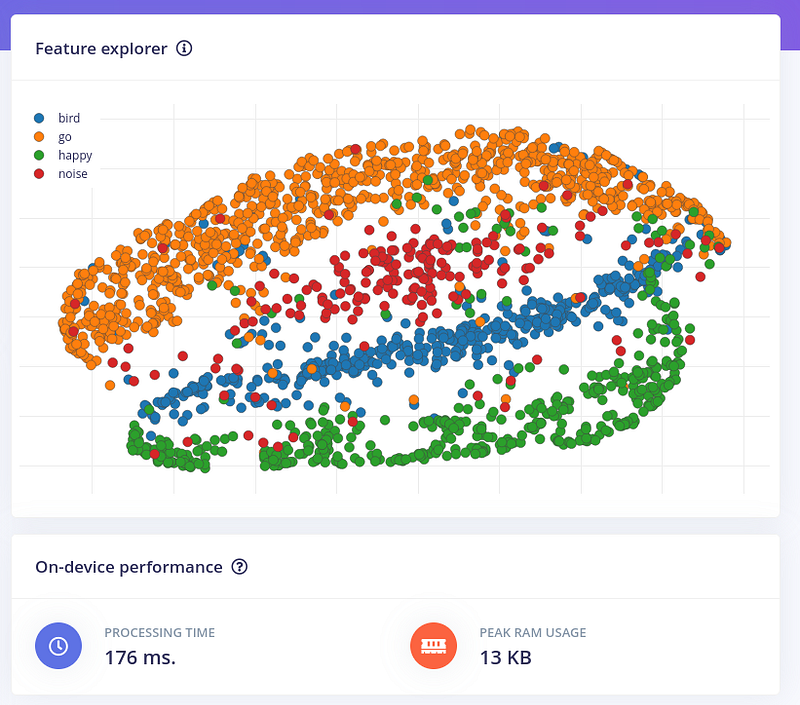
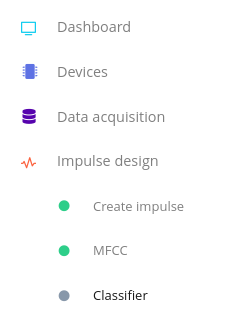
Now we get to train our network with the chosen parameters. Click on "Classifier".
Step 5 - Classifier
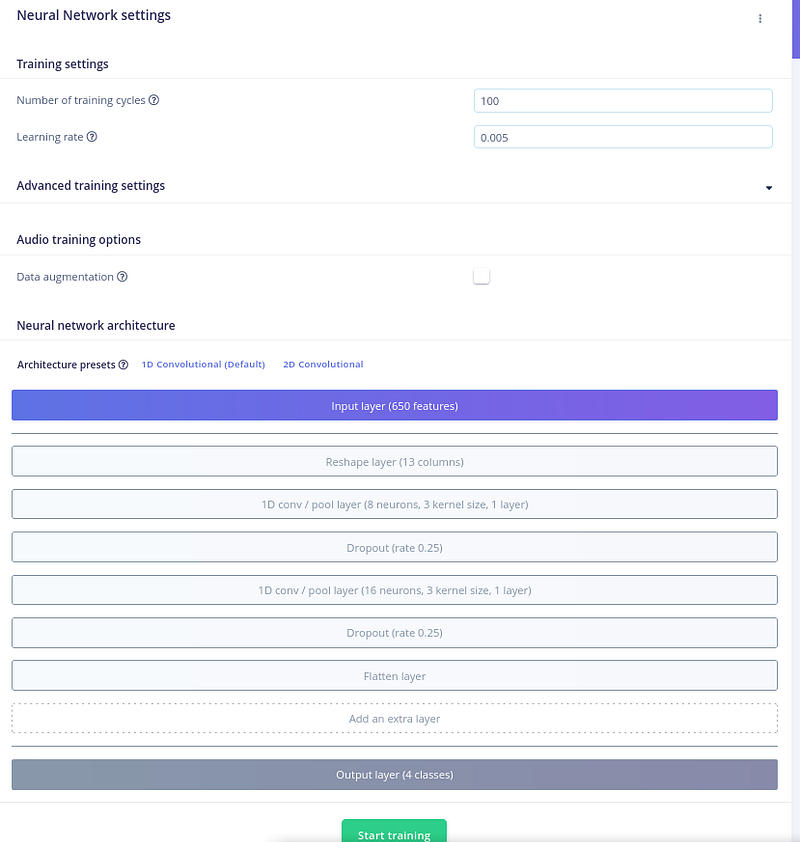
Here we can tweak our network settings, like training cycles, if we want data augmentation and so on. Edge Impulse provides a simple but effective neural network architecture for keyword spotting. The architecture consists of the following layers:
- Input layer: The input layer takes the MFCC features as input.
- Hidden layers: The hidden layers learn to extract higher-level features from the MFCC features. Edge Impulse supports a variety of hidden layer types, such as convolutional layers and recurrent layers.
- Output layer: The output layer predicts the probability that the audio input contains a keyword.
We can change the default parameters, but the defaults are enough. Click on "Start Training".
After start training, on the right side of the screen we get the watch the progress of the training.
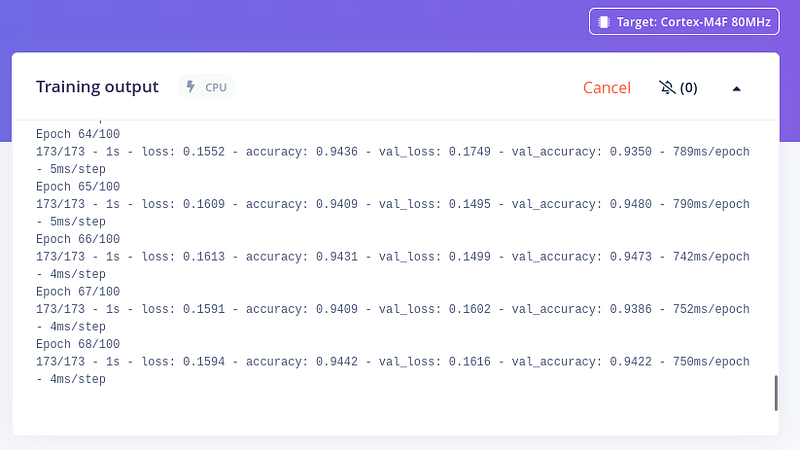
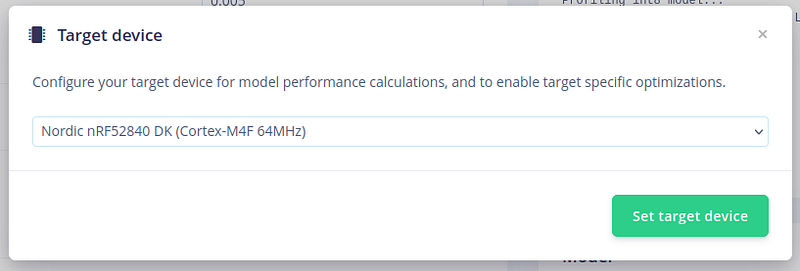
We can change the Target device to nRF52840 - like our XIAO nRF52840 Sense - so we can see performance calculations and optimizations.
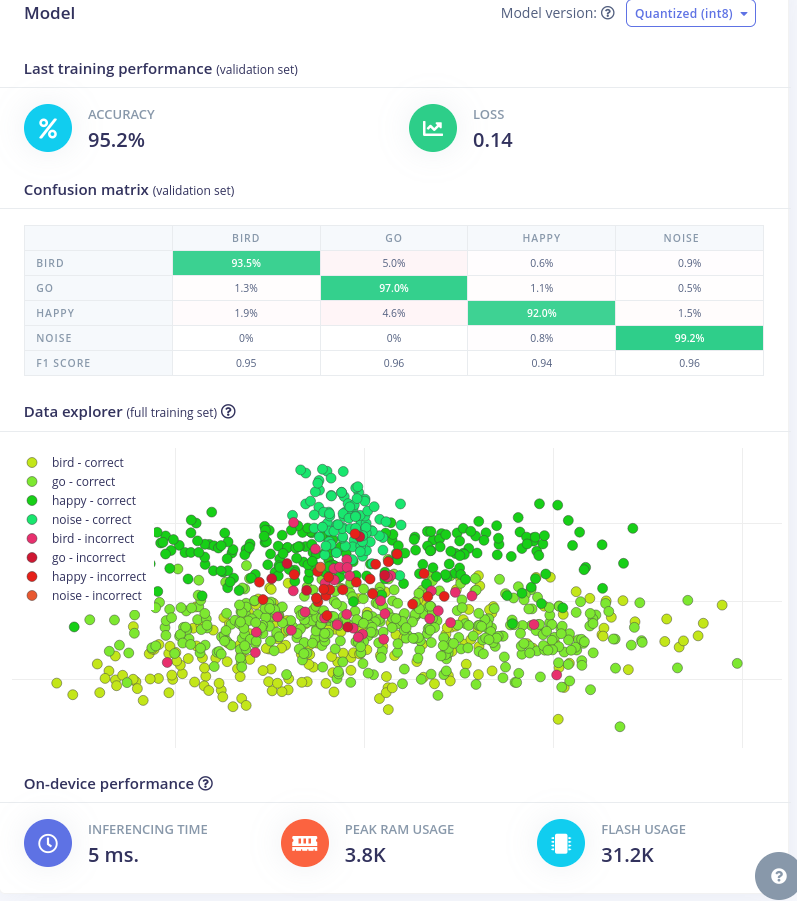
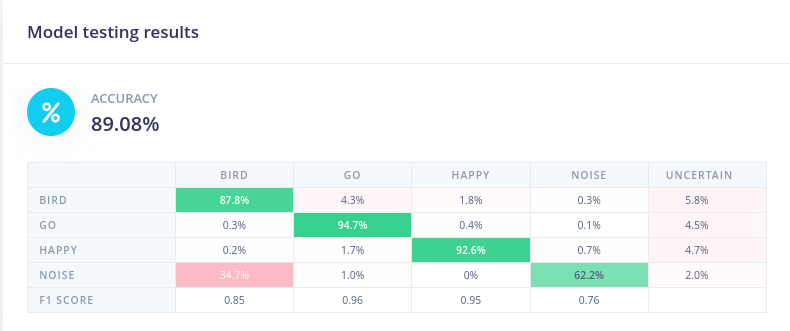
After the training is complete, we get the Confusion matrix and data explorer
Now with the network ready, let's try some samples and do some live classification. If you go to live classification, we can choose a sample and the the classification result. Here, for a bird example, we get bird in the result. That's great. The model is working.

Now, let's go to model testing. Let's test the model by using the split samples for testing. Click "Classify all".
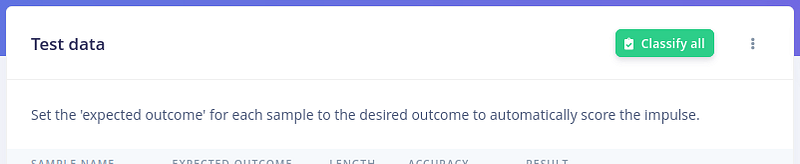
We get almost 90% accuracy.
Step 6 - Deployment and get the Arduino library
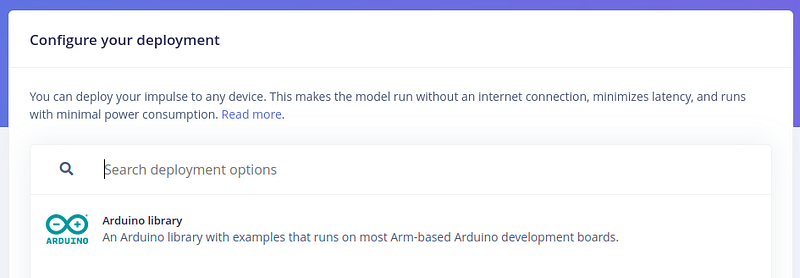
Now, let's go to deployment to get the files for our microcontroller.
Deployment Options
Let's choose Arduino
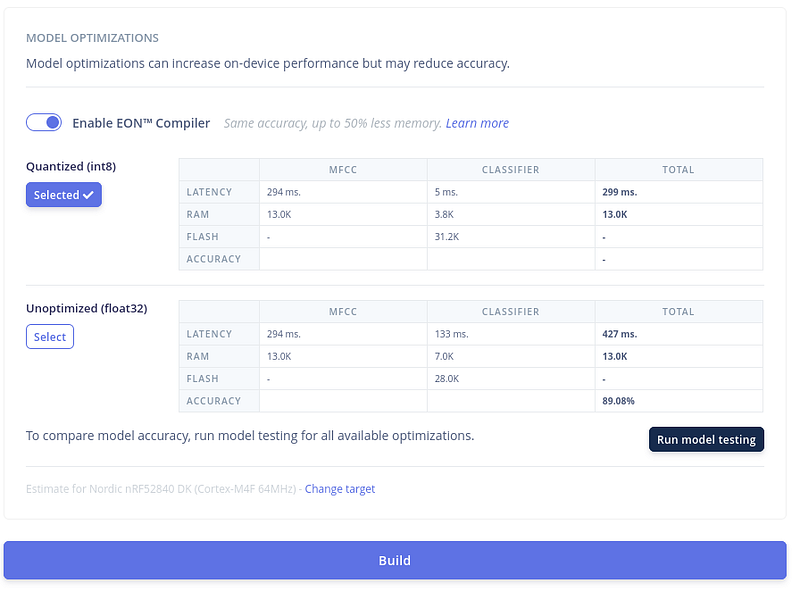
Next, let's keep the Quantized(int8) selected and click "Build" to download the files to use with the Arduino IDE We can play a bit with the optimizations. If you realized that the accuracy is low, try to turn off the EON compiler and try again.
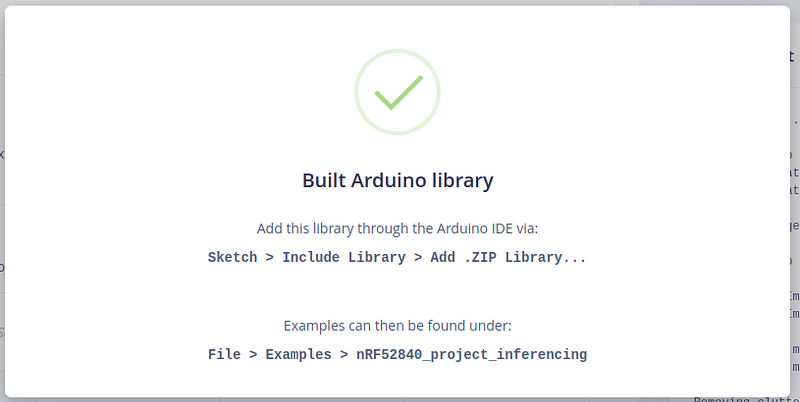
After a while, the files will be downloaded automatically.
Step 7 - Add the library to the Arduino IDE
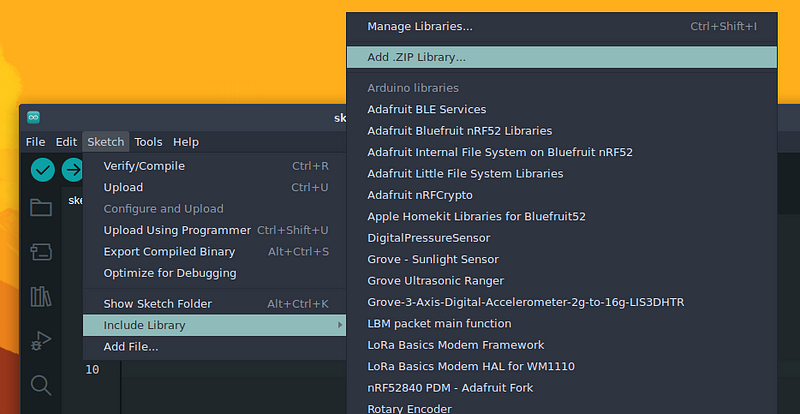
In Arduino IDE, let's add the newly downloaded files. Go to Sketch > Include Library > Add .ZIP Library
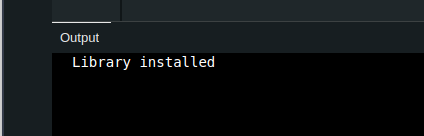
Choose the downloaded file. After a while, a message will appear on the output window saying that the Library is installed.
Step 8 - Voice control the RGB lights on the XIAO nRF52840 Sense
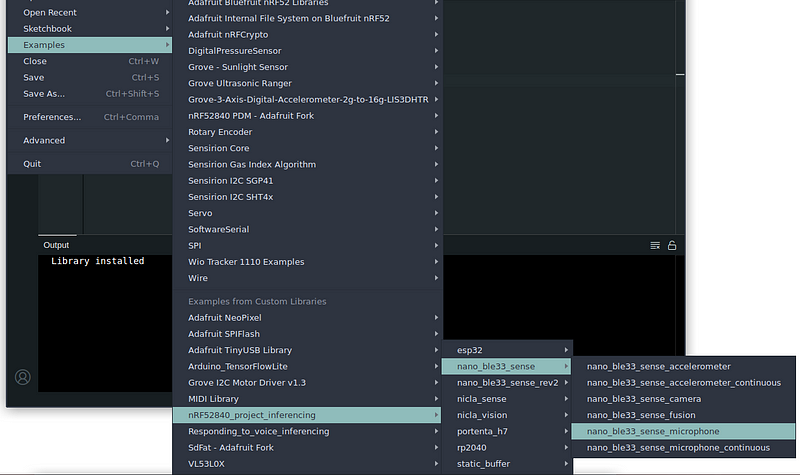
Let's open an examples Go to Examples > <your_files_names> > nano_ble33_sense > nano_ble33_sense_microphone
Why the Arduino BLE 33 Sense ? They use the same library - PDM (pulse-density modulation) - to control the microphone. Arduino Nano BLE 33 Sense has a MP34DT05 and the XIAO nRF52840 Sense has the MSM261D3526H1CPM. With the sketch opened, let's compile it and see if we don't have any errors.
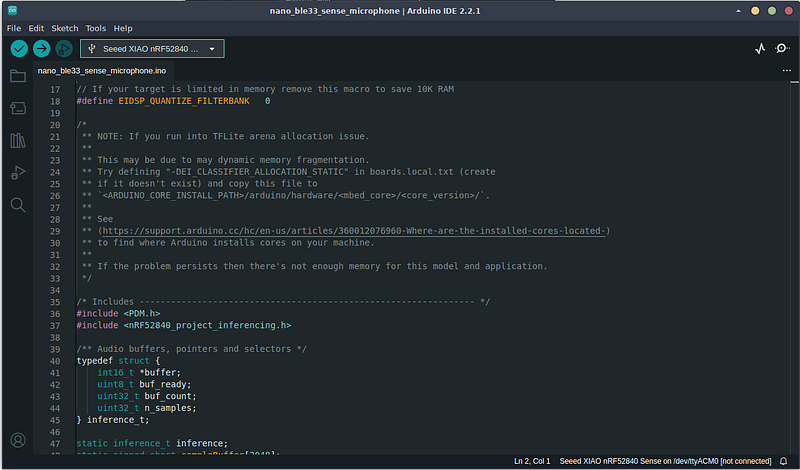
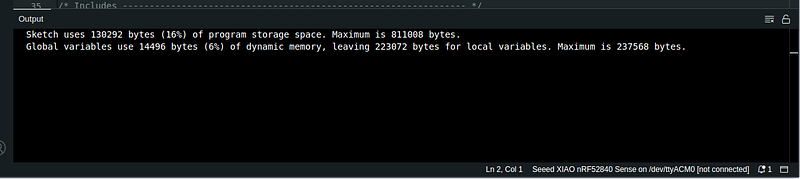
After a while, the sketch gets compiled and no error reported.
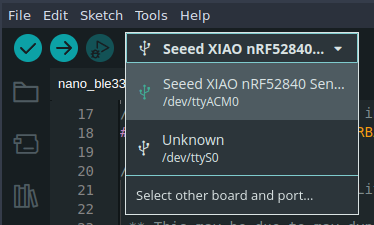
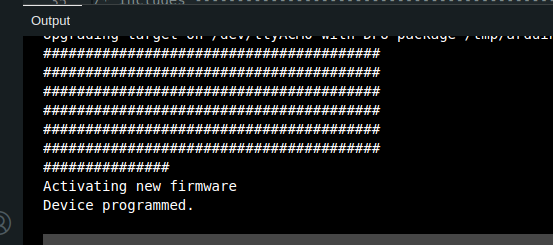
Now, connect the XIAO nRF52840 Sense (if you haven't done it so) and upload the code to the board.
Now, open the serial port (Ctrl+Shitf+M) and check the inference results (the board already started recording, doing inferencing and predictions)
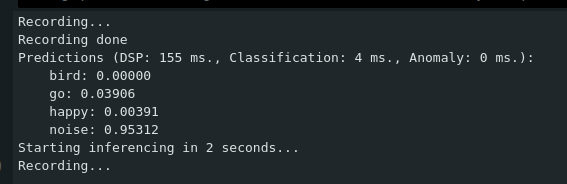
Try to say one of the words chosen. I've said go
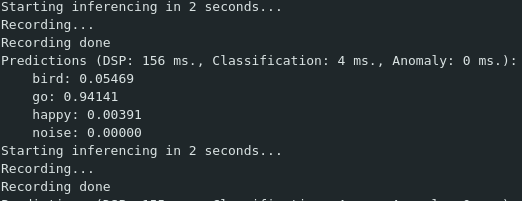
If it detects the word correctly, the more probable world will have a result closest to 1.0 and the others a closer value to 0.0 Now, let's have a bit of fun and change the code a bit. The XIAO nRF52840 Sense has a built-in LED that has 3 colors:
- Red - LED_BUILTIN or LED_RED

- Green - LED_GREEN

- Blue - LED_BLUE
Since we have 3 words, let's assign a color to each one and light the respective color for the word.
- Red will be for bird
- Green for Go
- Blue for happy
Because it will be easier, I've check the board PIN definitions and the following PINs are signed to the LED color:
- RED - Pin 11
- GREEN - Pin 13
- BLUE - Pin 12
First, we need to define a threshold. We know that the predictions go from 0.0 to 1.0 . The closer to 1.0, the certain we are of the classification of the word. This value can be tweaked later on. I'm going to set it at 0.7.
First, define some variables. I've define these right after the included libraries:
/* threshold for predictions */
float threshold = 0.7;

/**
  LABELS INDEX:
  0 - bird
  1 - go
  2 - happy
  3 - noise
*/
// LED pin (defines color) to light up
/**
 PIN 11 - RED
 PIN 12 - BLUE
 PIN 13 - GREEN
*/
int LED = 0;
int oldLED;
int oldLED will define the previous LED light up so we can turn it off when there's no prediction or the prediction changes.
int LED is the current LED that we will turn on.
Next, in the loop() function, inside the for loop instruction, where we loop thought the CLASSIFIER_LABEL_COUNT (around line 129 - already with the lines above):
for (size_t ix = 0; ix < EI_CLASSIFIER_LABEL_COUNT; ix++) {
We use a if instruction to check for the classification value . If it's above the defined threshold, we check which word has been recorded using a switch instruction.
The complete for loop, with our additions, is:
for (size_t ix = 0; ix < EI_CLASSIFIER_LABEL_COUNT; ix++) {
        ei_printf("    %s: %.5f\n", result.classification[ix].label, result.classification[ix].value);
        //lets light up some LEDS

        if (result.classification[ix].value > threshold) {
          //now let's see what label were in
          switch (ix) {
            case 0: LED = 11; break;
            case 1: LED = 13; break;
            case 2: LED = 12; break;
            default: LED = 0;
          }
          //in Sense, LOW will light up the LED
          if (LED != 0) {
            digitalWrite (oldLED, HIGH); //if we enter a word right next to previous - we turn off the previous LED
            digitalWrite (LED, LOW);
            oldLED = LED;
          }
          else //turn off LED
            digitalWrite (oldLED, HIGH);
        }
    }
After the changes, just upload the code to your microcontroller and try to say the words trained and see the LED turning on according to the word.
And this is it. Although not directly supported, we can now use the XIAO nRF52840 Sense to run some ML models using Edge Impulse
✨ Contributor Project
- This project is supported by the Seeed Studio Contributor Project.
- Thanks Bruno's efforts and your work will be exhibited.
Tech Support & Product Discussion
Thank you for choosing our products! We are here to provide you with different support to ensure that your experience with our products is as smooth as possible. We offer several communication channels to cater to different preferences and needs.