XIAO ESP32C3 Prism Display
Getting Started
If you want to follow this tutorial through everything, you will need to prepare the following.
| XIAO ESP32C3 | Grove Shield for XIAO with battery management chip | Grove Smart IR Gesture Sensor (PAJ7660) |
|---|---|---|
 |  | 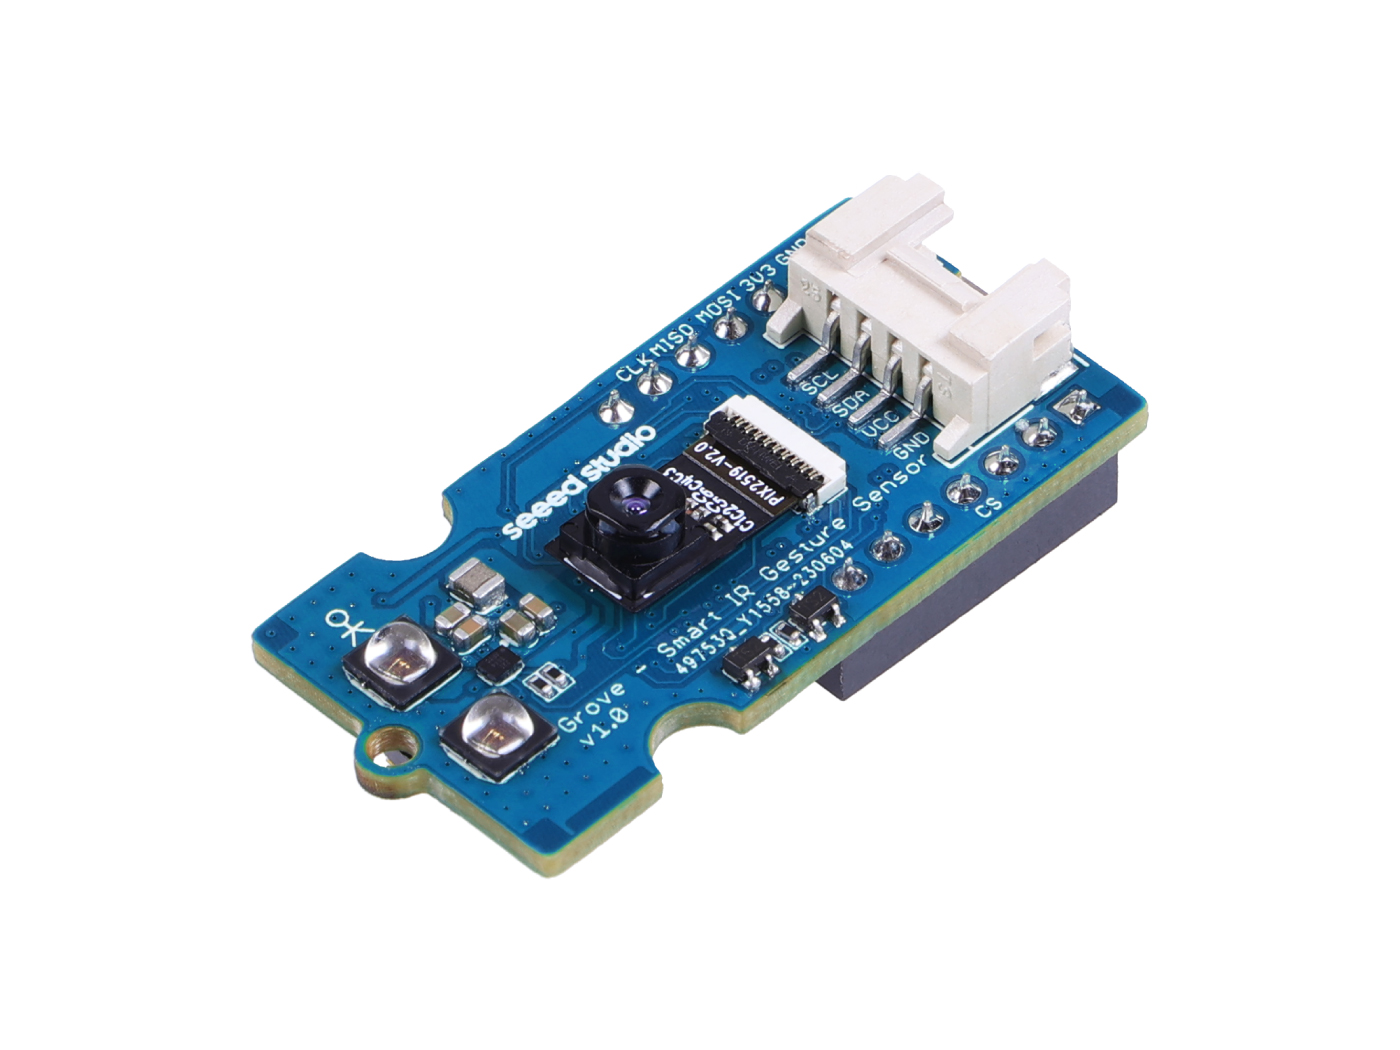 |
This project uses the ESP32C3 to create a three-dimensional display using a splitter prism. This guide works to explain the steps required to build the enclosure, attach associated electronics, and install the firmware. Additional documentation is provided for the tasks of updating the list of cryptocurrencies tracked and downsizing and processing animated images for use in the image browser.
Primary Steps
- Download and 3D print enclosure
- Attach associated electronics
- Setup environment
- Configure the XIAO ESP32C3
Additional Documentation
Download and 3D print enclosure
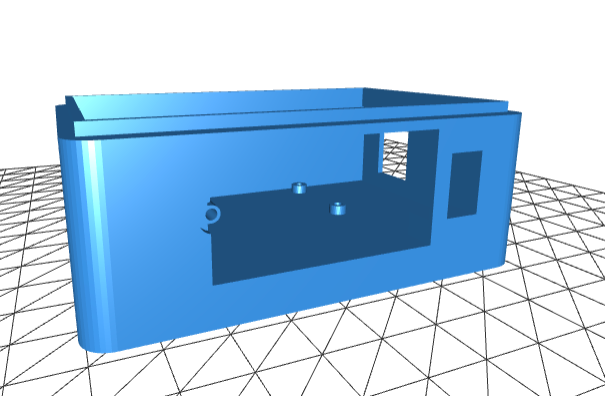
The 3D enclosure consists of two halves which are designed to be press fit together after internal parts assembly. Supports should be used for printing the parts to ensure the structure is assembled correctly.
The parts can be found in the github repository and available for preview via their STL viewer:
https://github.com/Timo614/xiao-prism-buddy/blob/main/docs/enclosure/xiao-prism-top.stl
https://github.com/Timo614/xiao-prism-buddy/blob/main/docs/enclosure/xiao-prism-bottom.stl
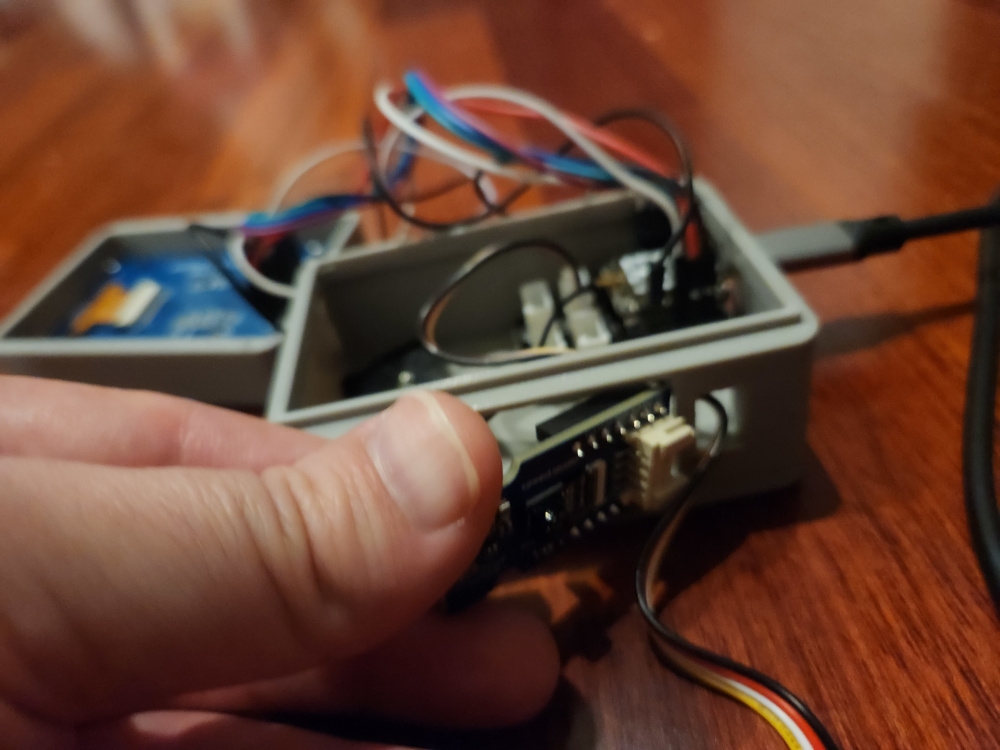
Attach associated electronics

The Grove shield simplifies setup for the prism display as it allows the use of simple breadboarding wires to complete the assembly without the need for soldering. The Grove shield should have the secondary set of female headers soldered into the open pins adjacent to the Xiao pins. This shield should be screwed into the two screw holes available on the enclosure. This can be a bit tricky so it can be helpful to put the screws in first and then lower the shield down and tighten each screw.
From here there are two main connections:
- An i2c connection to the gesture sensor
- The spi connection to the display
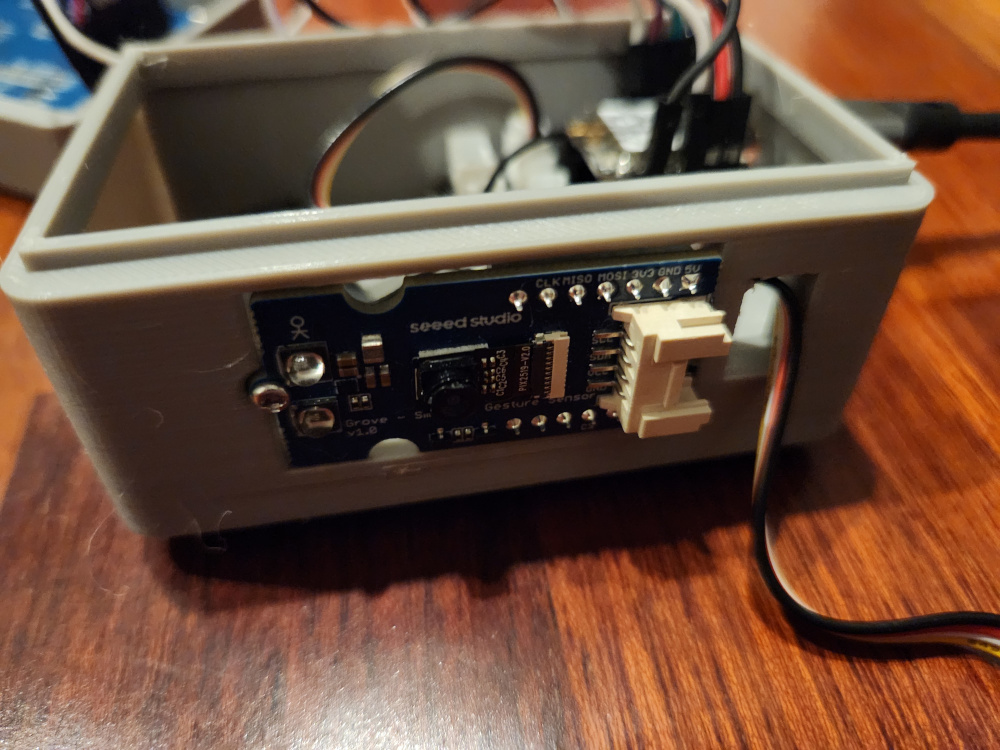
For the i2c connection a Grove 4 pin connector is used from the shield to the gesture sensor.
The enclosure is designed to allow for the gesture sensor to be seated snugly with its screw holding it securely against the outside of the enclosure. To position the gesture sensor properly the USB side should be positioned first and then once the body is flush the screw should be installed.
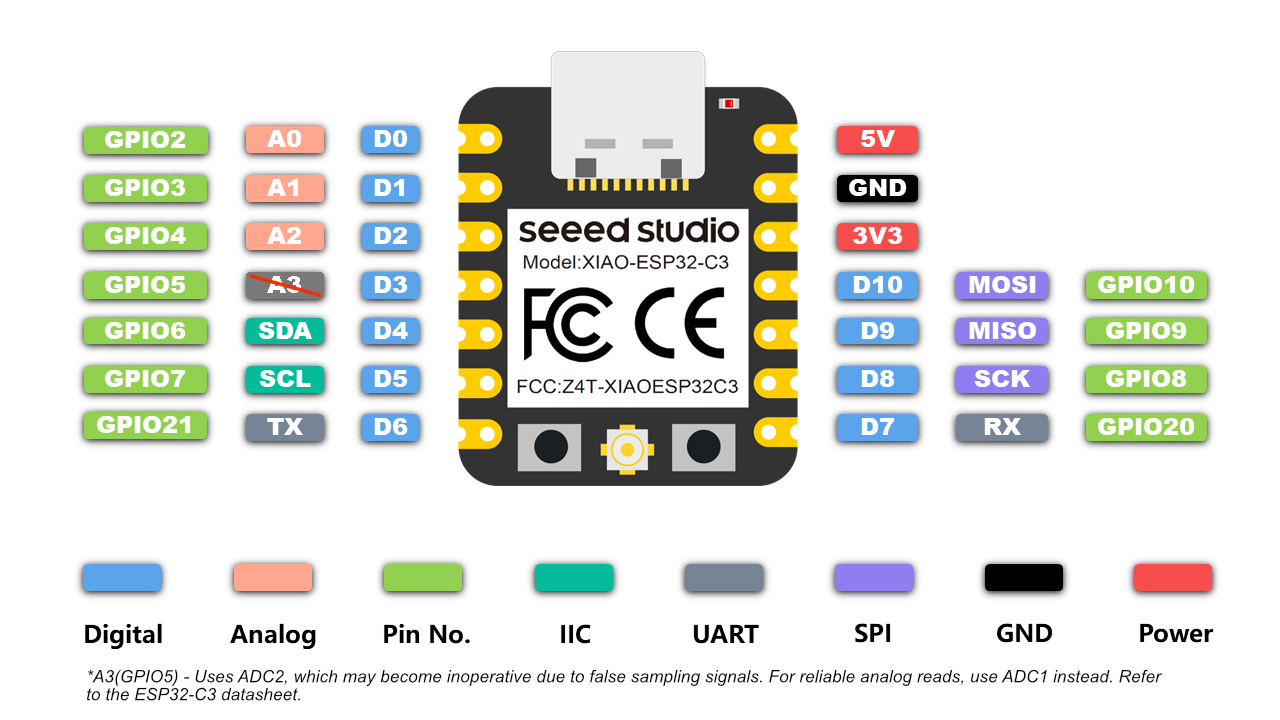
The spi connection is a bit more involved in that it requires several more pins.
3V3 on the Xiao is connected to the display's VCC Pin
GND on the Xiao is connected to the display's GND Pin
D0 on the Xiao is connected to the display's CS Pin
D1 on the Xiao is connected to the display's BL Pin
D2 on the Xiao is connected to the display's DC Pin
D3 on the Xiao is connected to the display's RST Pin
D8 (SCK) on the Xiao is connected to the display's SCL Pin
D10 (MOSI) on the Xiao is connected to the display's SDA Pin
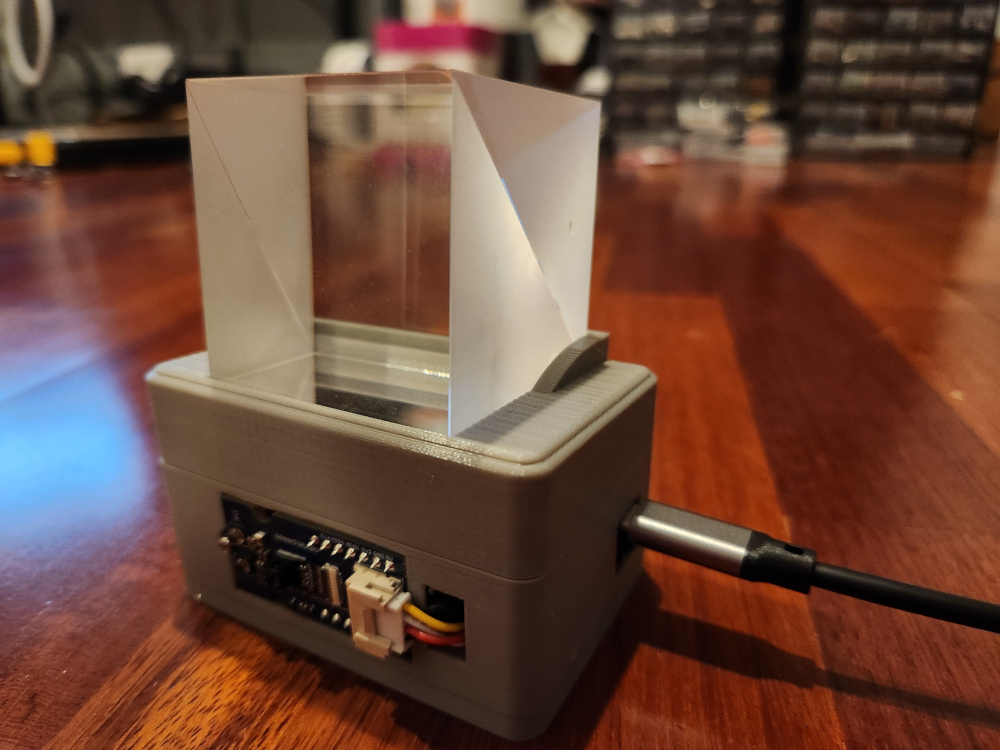
With the wires attached to all components the device can be fully assembled. The enclosure is setup to allow for a press fit closure if printed with similar tolerances.
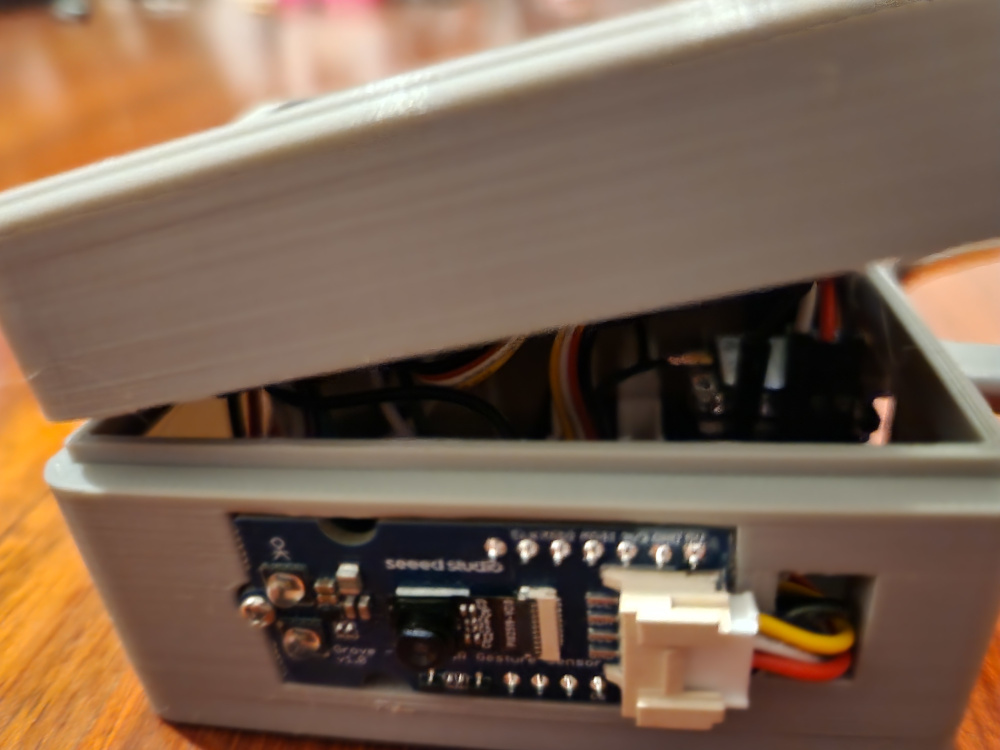
With the assembly completed place the prism on top of the screen.
Setup environment
The easiest approach to setting up a local environment is to use visual studio code as it simplifies machine configuration.
- Clone the repository from GitHub: https://github.com/Timo614/xiao-prism-buddy
- Open the repository in Visual Studio Code
- Install the ESP-IDF extension
- Install ESP-IDF 5.0.4
- Set the ESP-IDF Espressif Device Target to esp32c3
- Configure environment variables for your wifi network (see step below)
- Build, flash, and monitor your device
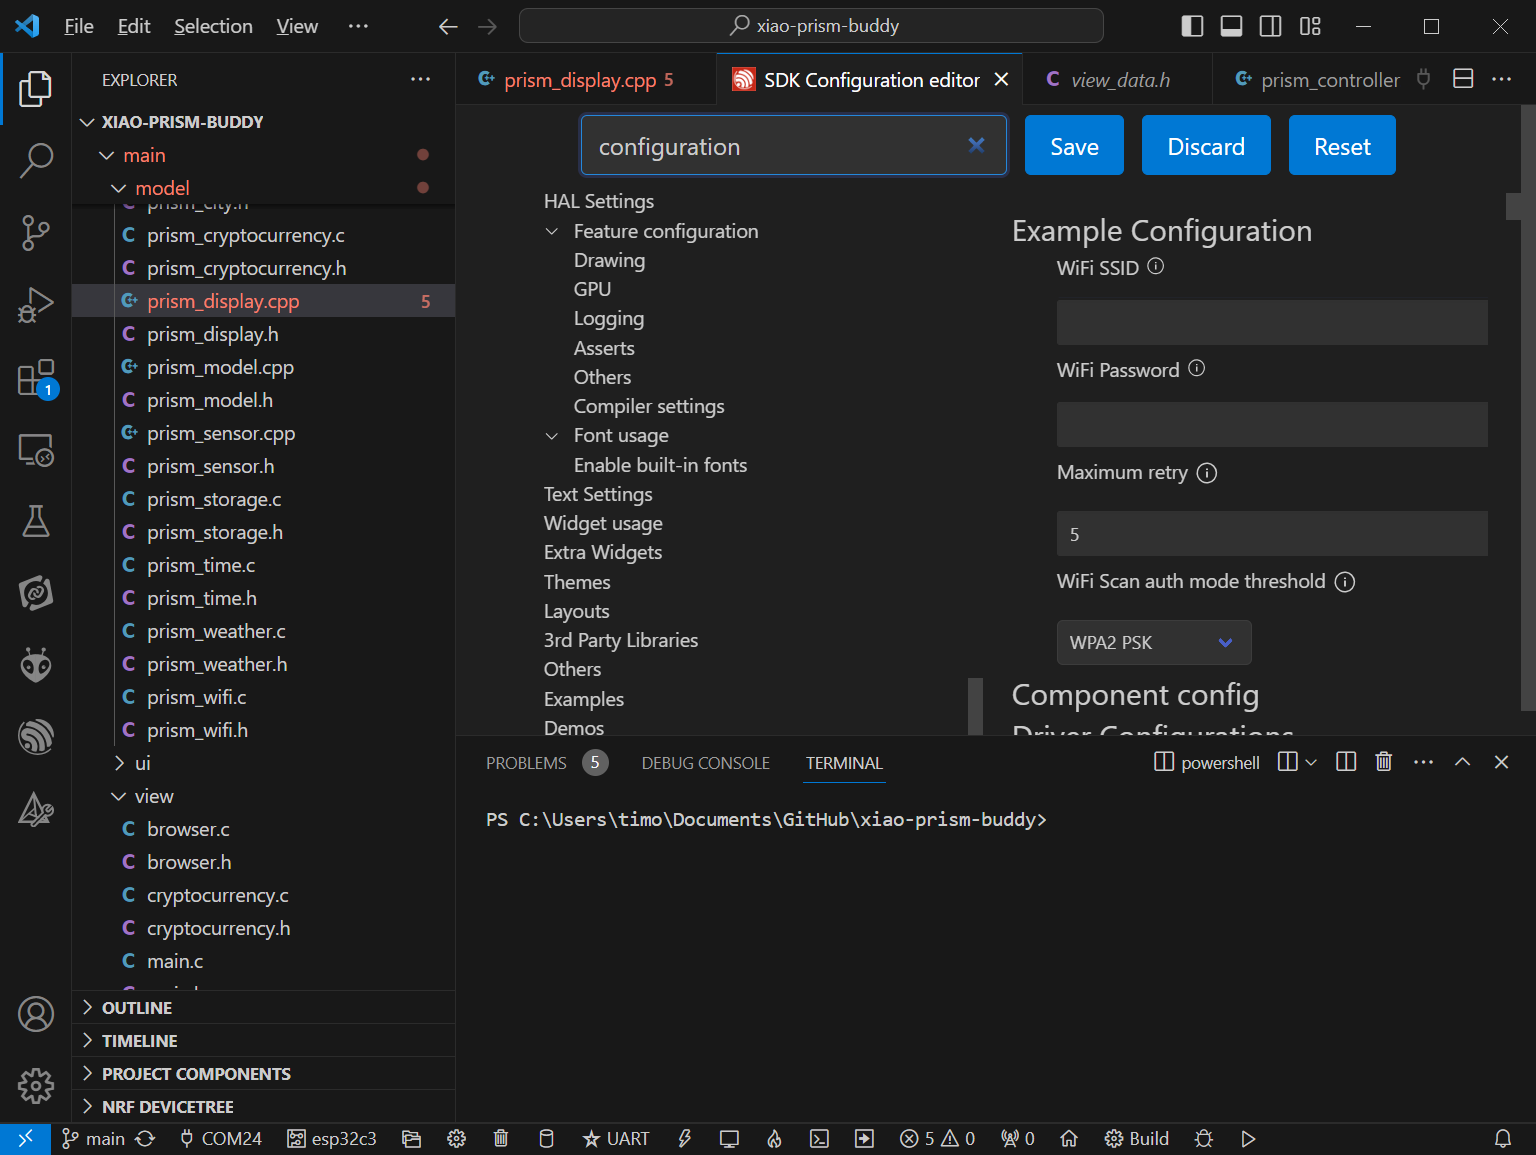
Configure the XIAO ESP32C3
The next step to preparing your application is to configure your credentials for the wifi network.
Press Ctrl + Shift + P to open the quick menu and type menuconfig. This will filter the list down to include an entry for ESP-IDF: SDK Configuration editor (Menuconfig).
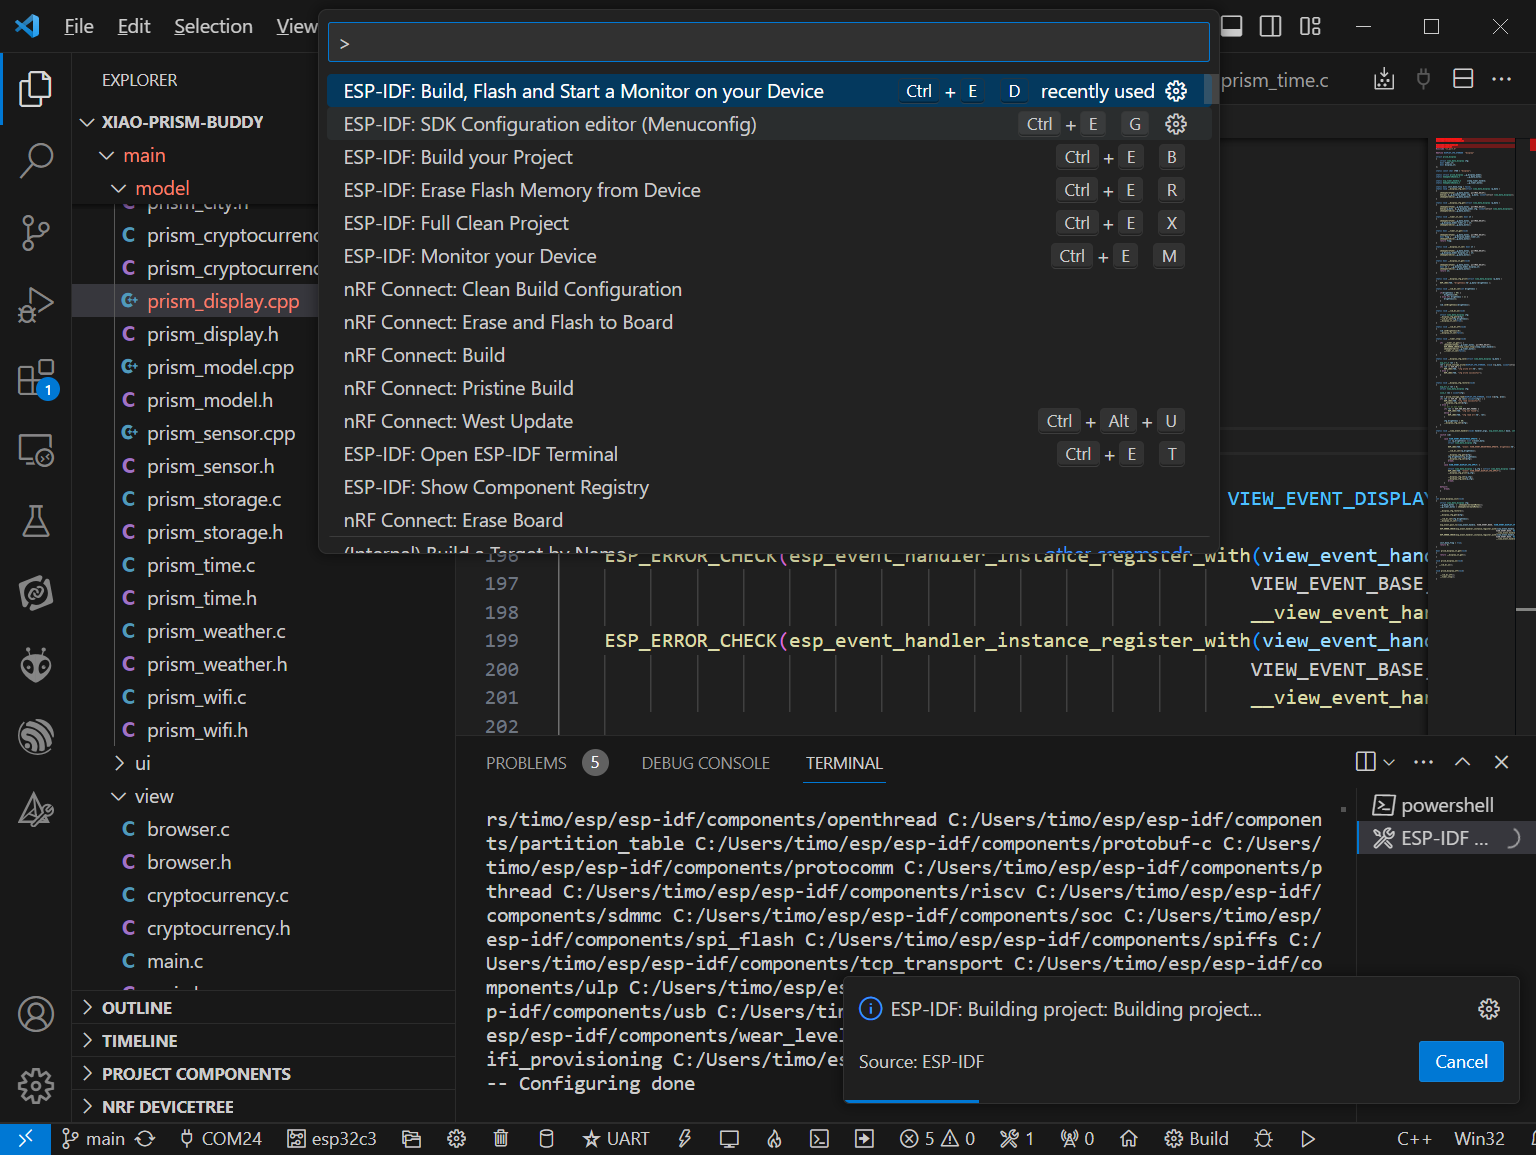
When in this menu please set a wifi network name and password for accessing it.
Adding new cryptocurrencies
The Xiao Prism Buddy can be modified to show different cryptocurrencies as it is powered by CoinGecko. CoinGecko provides a free tier to their API that allows access with rate limitations to users.
The application hits the /simple/price endpoint every 15 minutes updating a set of configured cryptocurrencies. The currency used by the call is configurable via the config.h file in the repository along with the currency symbol displayed in app. The api documentation can be referenced for further information about the call itself.
The process to add new cryptocurrencies is a bit involved currently but can be accomplished in the following steps:
- Update the total count of cryptocurrencies to reflect the correct count (this hardcoded value is used for cycling through on the page itself) https://github.com/Timo614/xiao-prism-buddy/blob/main/main/controller/prism_controller.cpp#L29
- In the cryptocurrency model file search for one of the existing cryptocurrencies (ie: bitcoin) and add a new entry in each associated segment of code (the data initialization, coingecko response parsing, coingecko get request string, etc.) https://github.com/Timo614/xiao-prism-buddy/blob/main/main/model/prism_cryptocurrency.c
- Update the cryptocurrency view data struct to reflect the new cryptocurrency https://github.com/Timo614/xiao-prism-buddy/blob/main/main/view_data.h#L54
- In the controller logic search for an existing cryptocurrency (ie: bitcoin) and copy associated logic there for handling event data and rendering https://github.com/Timo614/xiao-prism-buddy/blob/main/main/controller/prism_controller.cpp
- Provide a png file of appropriate size for the new cryptocurrency, use the LVGL Online Image Converter to convert the PNG to a C file and reference in the controller as needed above https://lvgl.io/tools/imageconverter
Downsizing and processing animated images
One limitation for working with a microcontroller is the lack of flash available. GIF files take up a considerable amount of flash so this makes their inclusion more difficult. A set of processes was followed for converting the images used in the application which is documented here in the event others wish to perform the same steps for altering the image browser images used to ones of their own choosing.
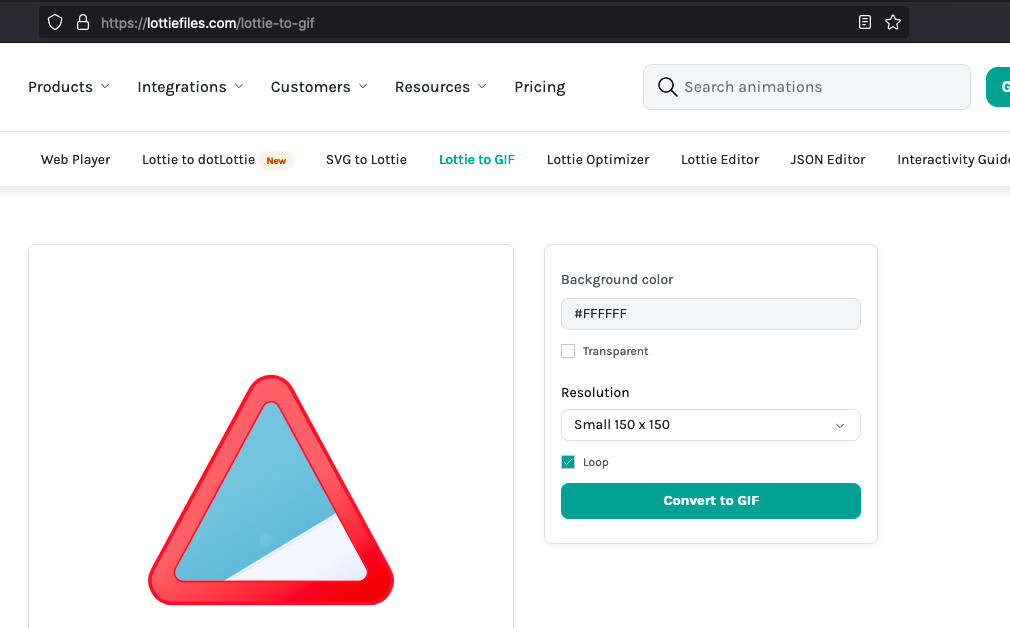
- Select a suitable animated image. Ideally something that is transparent, that is set to loop, and has decent dimensions. To make the process easier I found looking for Lottie files in particular to be helpful. For the application I was able to find several useful images via https://lottiefiles.com/
- Using a Lottie to gif converter to convert the Lottie file to a transparent GIF file (such as https://lottiefiles.com/lottie-to-gif)
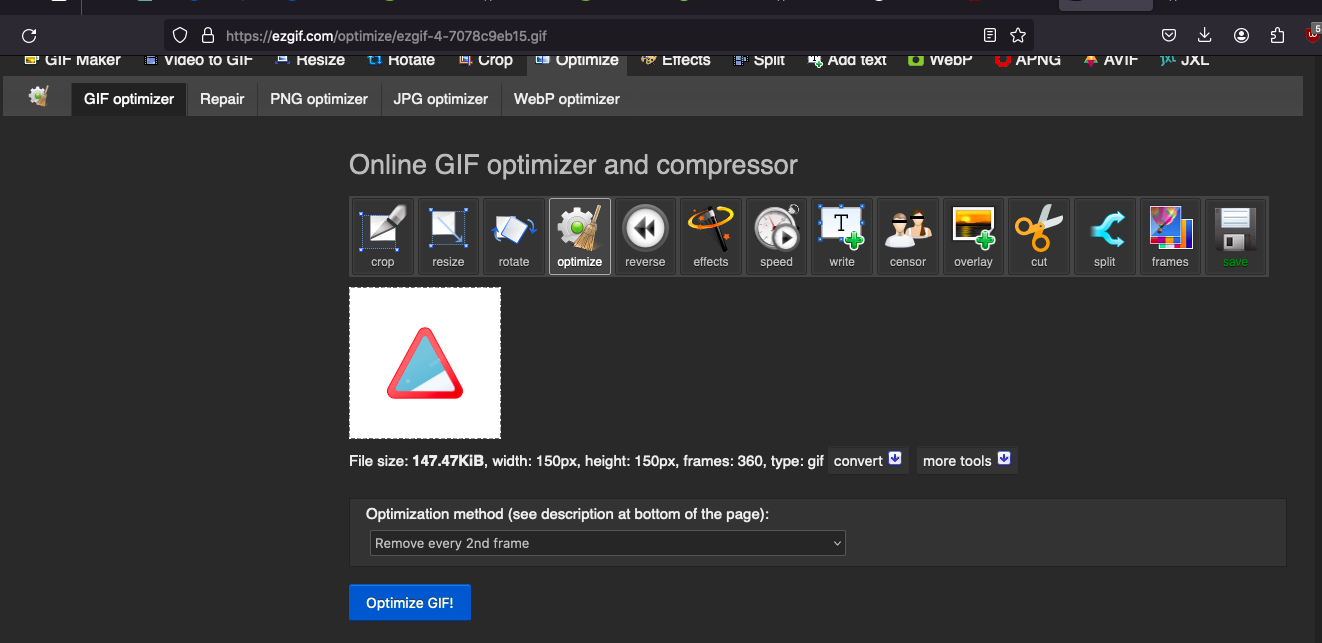
- Using a GIF editor of your choosing make the following modifications (I found the online tool https://ezgif.com provided these capabilities in their optimize suite for GIFs I used for the purposes of this application):
3.1. Decrease the number of frames between frames until only around 20 frames remain
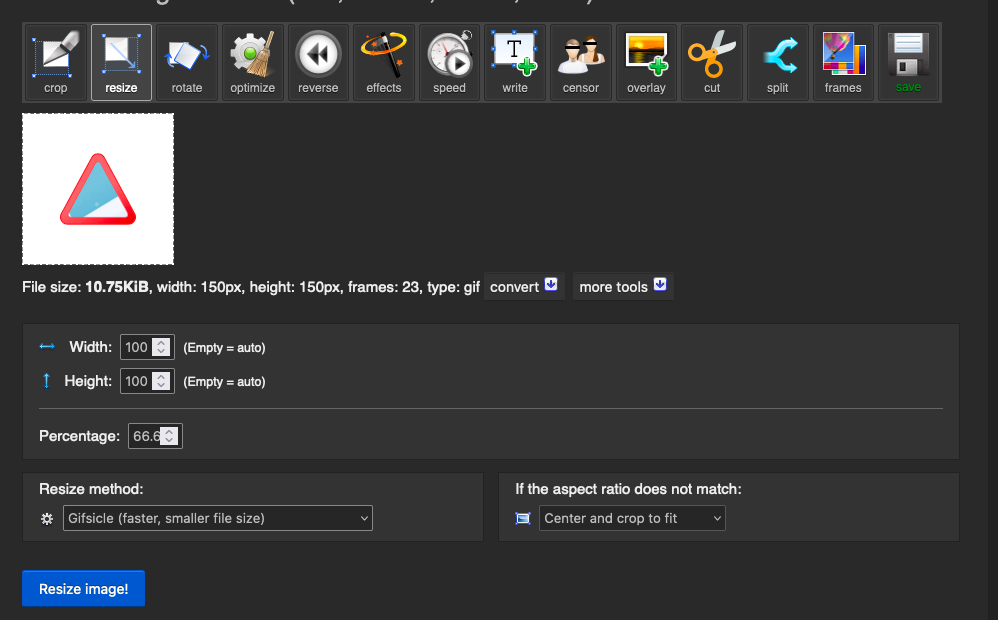
3.2. Resize the image to around 100x100 or less
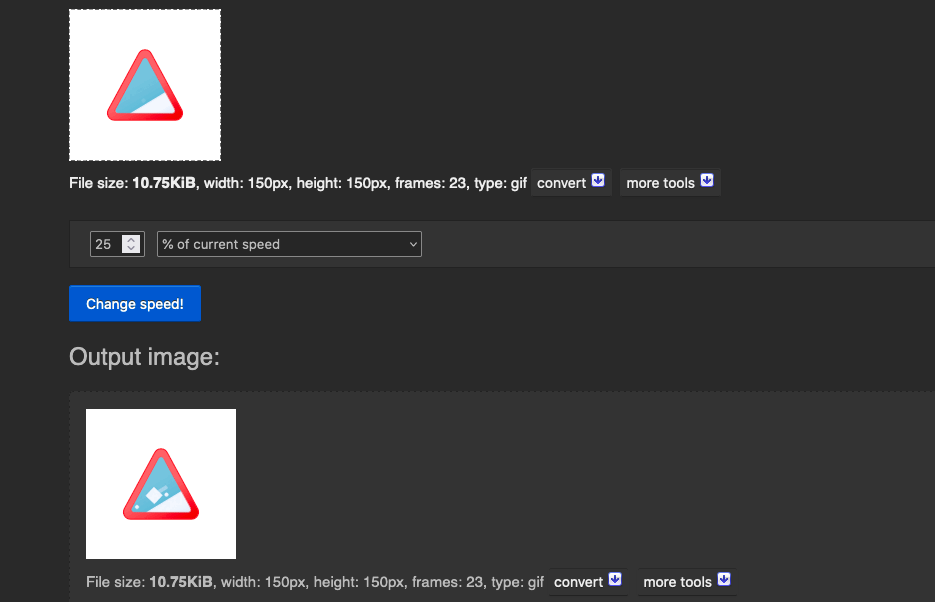
3.3. Slow the image down as without the additional frames it will be extremely fast
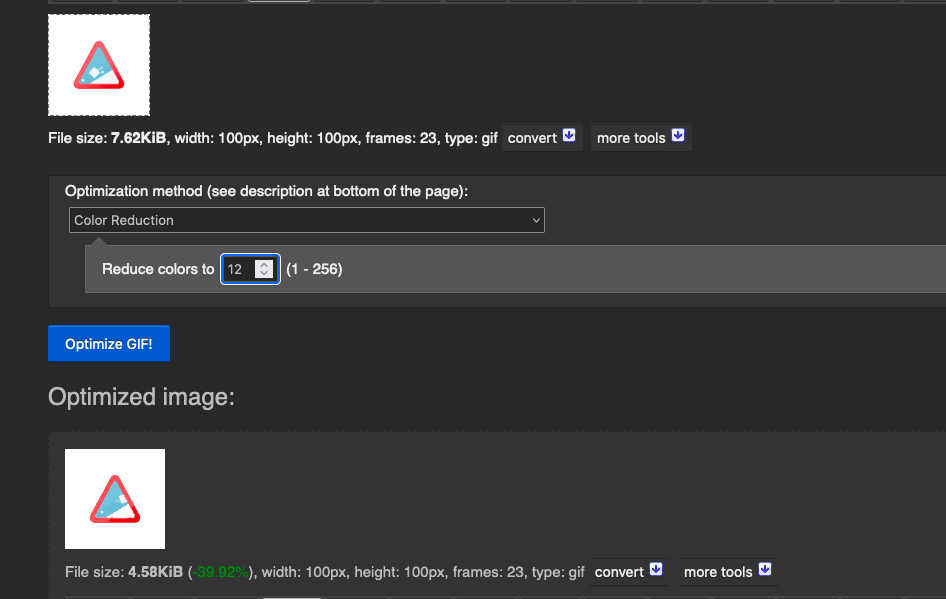
3.4. Reduce the color composition of the GIF to reduce its size
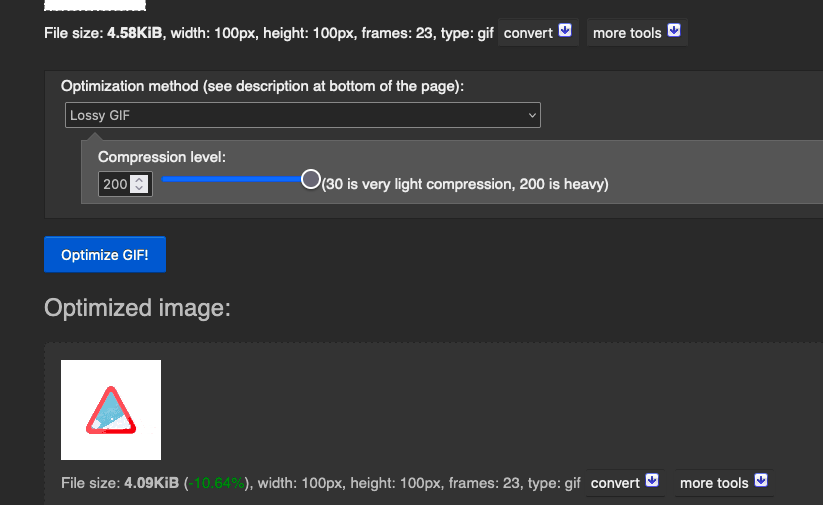
3.5. Further compress the GIF as needed
- Use the LVGL Online Image Converter to convert the GIF file to a C array as per the documentation from LVGL. Note:
Select "Raw" color format and "C array" Output format.
With these steps followed you have a file size reduced while still effective GIF image processed for display on the Prism device. The easiest approach is to replace the existing fire or watermelon image for testing.
Tech Support & Product Discussion
Thank you for choosing our products! We are here to provide you with different support to ensure that your experience with our products is as smooth as possible. We offer several communication channels to cater to different preferences and needs.