Getting Started with 6x10 RGB MATRIX for XIAO
Introducing the "6x10 RGB-MATRIX for XIAO" - a dazzling addition to the XIAO product series by Seeed Studio. Now, with the 6x10 RGB-MATRIX, you have the power to illuminate your projects with a spectrum of colors. Comprising 60 meticulously arranged WS2812 LEDs, this matrix isn't just about aesthetics; it's a tool to bring your creative visions to life. Whether you're crafting an interactive art piece, designing a dynamic notification system, or simply wish to add a splash of color to your creations, this matrix is your canvas. Tailored for seamless integration with the XIAO main controller, its adaptability is further highlighted with the inclusion of VCC, GND, and DIN solder pads, ensuring flexibility across a multitude of scenarios.
Introduction
Features
- 60 WS2812 LEDs: Arranged in a 6x10 grid, these LEDs are perfect for creating vibrant displays.
- Compact Design: Each LED is just 1mm x 1mm, offering a high-density display without taking up much space.
- Versatile Connection: While it's designed for the XIAO main controller, we've also included VCC, GND, and DIN solder pads for broader applications.
- RGB Capabilities: Each LED can display a wide range of colors, giving you the freedom to create dynamic and colorful displays.
Specification
- LED Type: WS2812
- Number of LEDs: 60
- Arrangement: 6 rows x 10 columns
- LED Size: 1mm x 1mm
- Connection Port for XIAO: D0
- Additional Pads: VCC, GND, DIN, DOUT
Applications
- Interactive Displays: Use the LED matrix for dynamic visual feedback in your projects.
- Notifications: Create colorful notifications or alerts for your devices.
- Art Installations: Incorporate the LED matrix into art pieces for a modern touch.
- Wearable Tech: Integrate into clothing or accessories for a futuristic look.
- Gaming: Enhance gaming experiences with vibrant visual effects.
- General Lighting: Use for ambient lighting or mood-setting in various environments.
Getting Started
Welcome to the quick start guide for the 6x10 RGB-MATRIX for XIAO. This guide aims to help you set up and get started with your new LED matrix expansion board in conjunction with the XIAO RP2040 main controller.
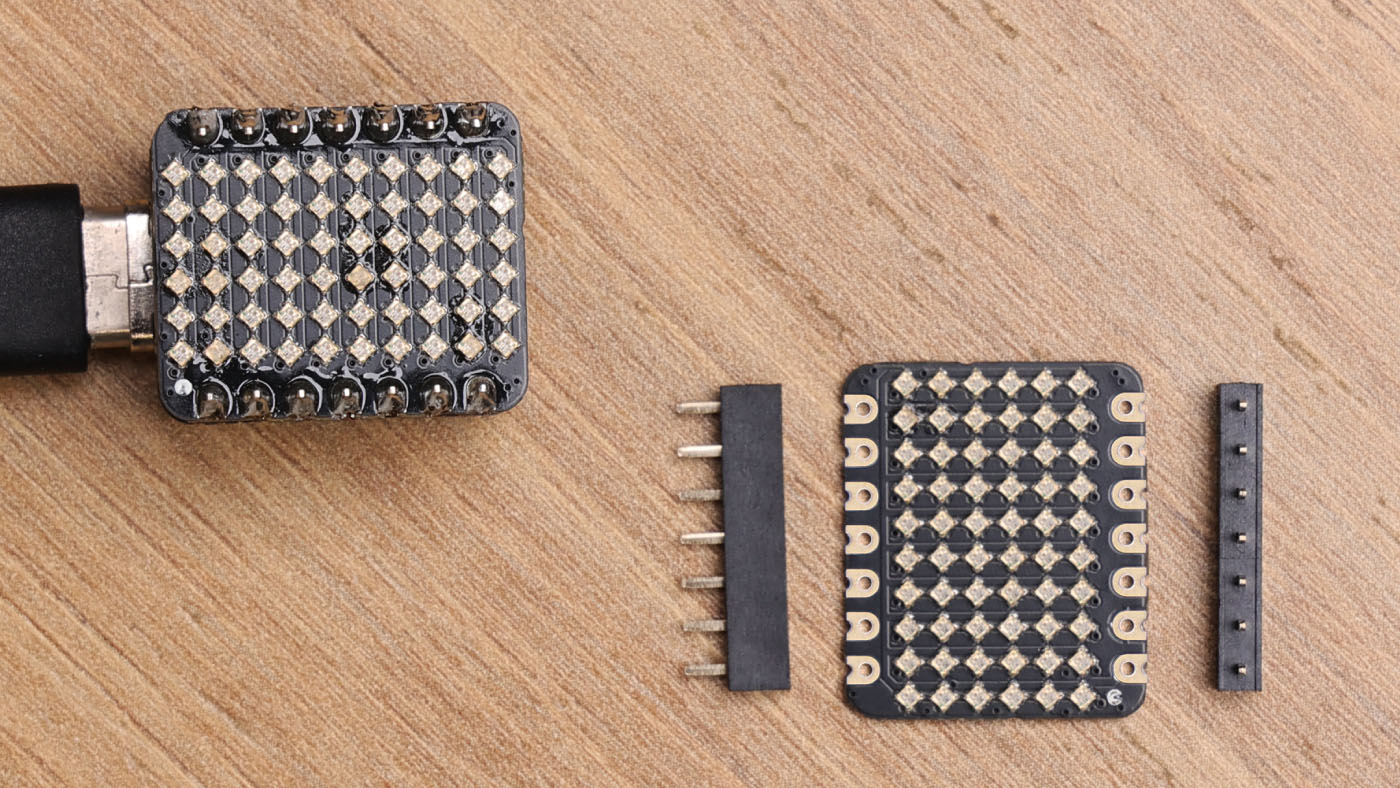
Hardware Preparation
Upon receiving your product, some soldering will be required. We've provided two pin headers with the package. You'll need to solder these headers onto the expansion board.
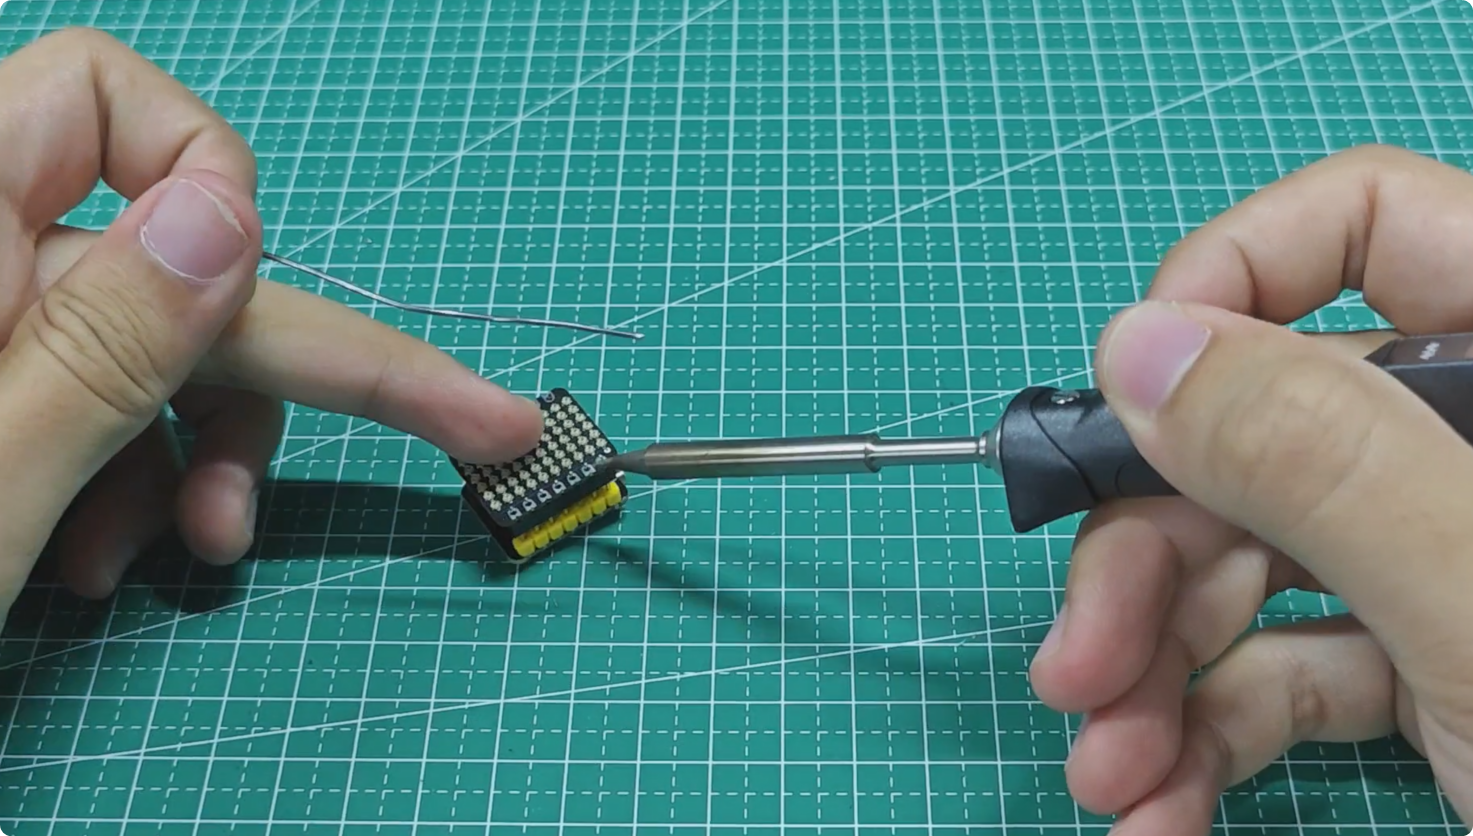
Once the soldering is complete, you can proceed to connect the expansion board to the XIAO RP2040 main controller.
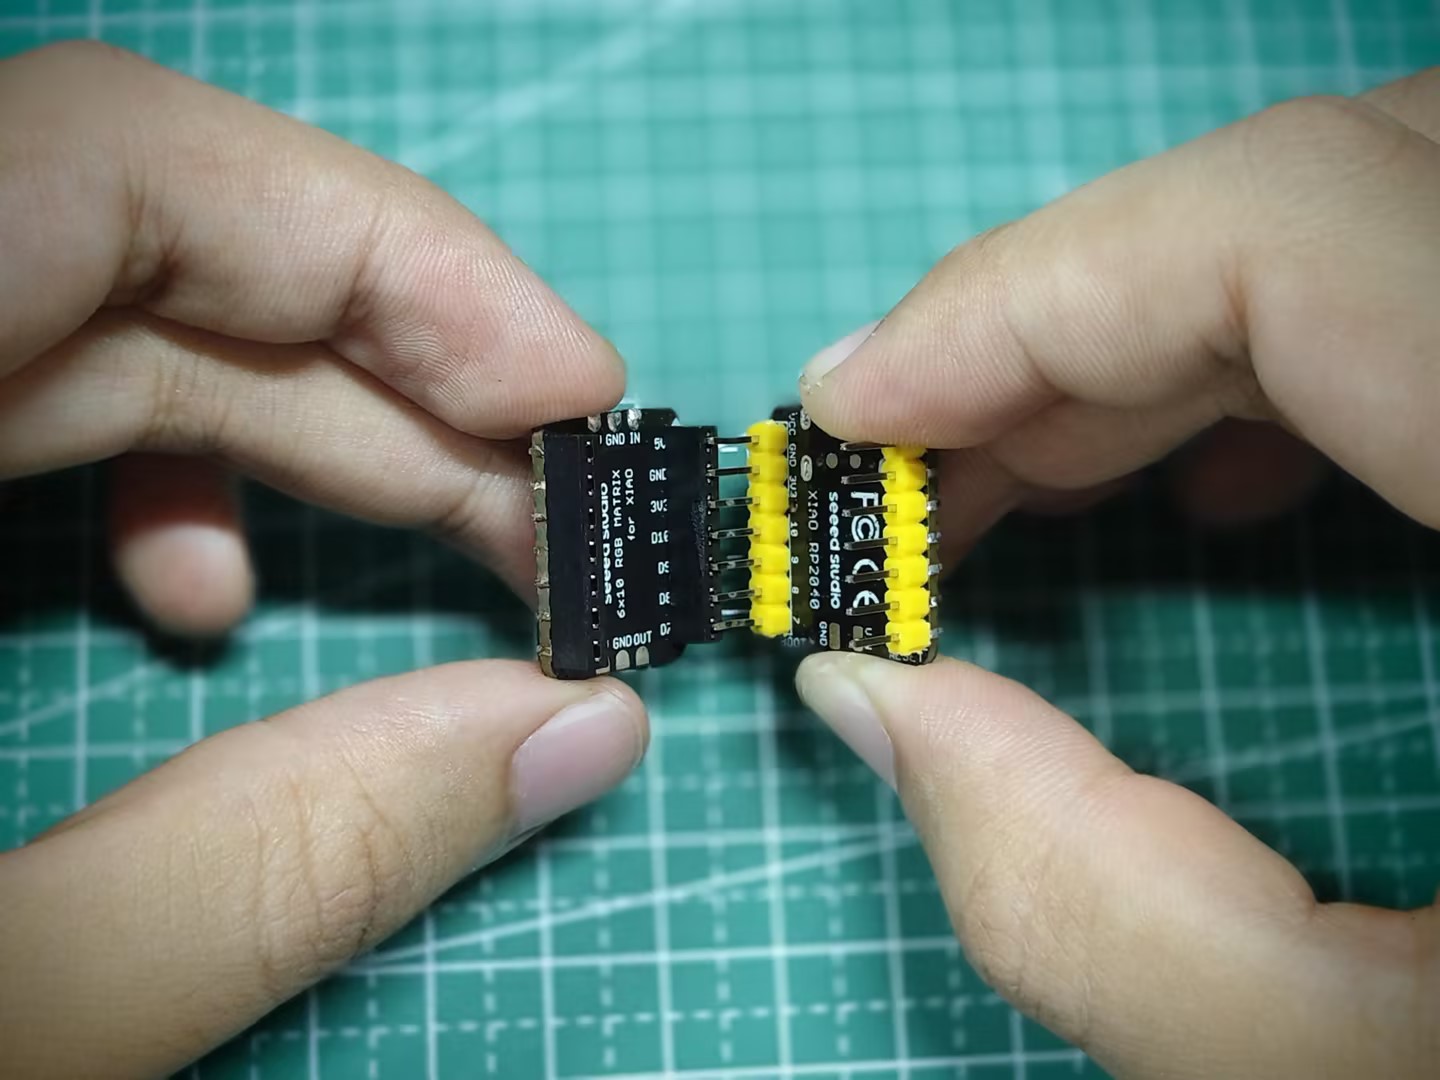
Please be especially careful when connecting, do not connect while the XIAO is powered, and do not connect the wrong power pins. Otherwise, it is likely that the board will burn out.
Software Preparation
This tutorial will use XIAO RP2040 as the master, if you are using XIAO RP2040 for the first time, please read its Getting Started Wiki.
Meanwhile, all the example programs provided in this tutorial will work on other XIAOs as well, and you can also configure the Arduino development environment in advance according to the XIAO you are using.
Arduino Library Overview
If this is your first time using Arduino, we highly recommend you to refer to Getting Started with Arduino.
Function
Before we get started developing a sketch, let's look at the available functions of the library.
-
Adafruit_NeoPixel(uint16_t n, int16_t pin = 6, neoPixelType type = NEO_GRB + NEO_KHZ800);—— NeoPixel constructor when length, pin and pixel type are known at compile-time.Input parameters:
n: Number of NeoPixels in strand.p: Arduino pin number which will drive the NeoPixel data in.t: Pixel type -- add together NEO_* constants defined in Adafruit_NeoPixel.h, for exampleNEO_GRB+NEO_KHZ800for NeoPixels expecting an 800 KHz (vs 400 KHz) data stream with color bytes expressed in green, red, blue order per pixel.
Return value: Adafruit_NeoPixel object. Call the
begin()function before use. -
void begin(void)—— Configure NeoPixel pin for output. -
void show(void)—— Transmit pixel data in RAM to NeoPixels. -
void setPin(int16_t p)—— Set/change the NeoPixel output pin number. Previous pin, if any, is set to INPUT and the new pin is set to OUTPUT.Input parameters:
p: Arduino pin number (-1 = no pin).
-
void setPixelColor(uint16_t n, uint8_t r, uint8_t g, uint8_t b, uint8_t w)—— Set a pixel's color using separate red, green, blue and white components (for RGBW NeoPixels only).Input parameters:
n: Pixel index, starting from 0.r: Red brightness, 0 = minimum (off), 255 = maximum.g: Green brightness, 0 = minimum (off), 255 = maximum.b: Blue brightness, 0 = minimum (off), 255 = maximum.w(Optional): White brightness, 0 = minimum (off), 255 = maximum, ignored if using RGB pixels.
-
void setPixelColor(uint16_t n, uint32_t c)—— Set a pixel's color using a 32-bit 'packed' RGB or RGBW value.Input parameters:
n: Pixel index, starting from 0.c: 32-bit color value. Most significant byte is white (for RGBW pixels) or ignored (for RGB pixels), next is red, then green, and least significant byte is blue.
-
void fill(uint32_t c = 0, uint16_t first = 0, uint16_t count = 0)—— Fill all or part of the NeoPixel strip with a color.Input parameters:
c: 32-bit color value. Most significant byte is white (for RGBW pixels) or ignored (for RGB pixels), next is red, then green, and least significant byte is blue. If all arguments are unspecified, this will be 0 (off).first: Index of first pixel to fill, starting from 0. Must be in-bounds, no clipping is performed. 0 if unspecified.count: Number of pixels to fill, as a positive value. Passing 0 or leaving unspecified will fill to end of strip.
-
void setBrightness(uint8_t b)—— Adjust output brightness. Does not immediately affect what's currently displayed on the LEDs. The next call toshow()will refresh the LEDs at this level.Input parameters:
b: Brightness setting, 0=minimum (off), 255=brightest.
-
void clear(void)—— Fill the whole NeoPixel strip with 0 / black / off. -
void updateLength(uint16_t n)—— Change the length of a previously-declared Adafruit_NeoPixel strip object. Old data is deallocated and new data is cleared. Pin number and pixel format are unchanged.Input parameters:
n: New length of strip, in pixels.
-
void updateType(neoPixelType t)—— Change the pixel format of a previously-declared Adafruit_NeoPixel strip object. If format changes from one of the RGB variants to an RGBW variant (or RGBW to RGB), the old data will be deallocated and new data is cleared. Otherwise, the old data will remain in RAM and is not reordered to the new format, so it's advisable to follow up withclear().Input parameters:
t: Pixel type -- add together NEO_* constants defined in Adafruit_NeoPixel.h, for exampleNEO_GRB+NEO_KHZ800for NeoPixels expecting an 800 KHz (vs 400 KHz) data stream with color bytes expressed in green, red, blue order per pixel.
-
static uint32_t Color(uint8_t r, uint8_t g, uint8_t b)—— Convert separate red, green and blue values into a single "packed" 32-bit RGB color.Input parameters:
r: Red brightness, 0 to 255.g: Green brightness, 0 to 255.b: Blue brightness, 0 to 255.
Return: 32-bit packed RGB value, which can then be assigned to a variable for later use or passed to the
setPixelColor()function. Packed RGB format is predictable, regardless of LED strand color order.
Installation
- Method One
The Adafruit NeoPixel Library will be used in this tutorial, you can search for it in the Arduino's library manager and download and install it.

- Method Two
Download the library via the button below.
Since you have downloaded the zip Library, open your Arduino IDE, click on Sketch > Include Library > Add .ZIP Library. Choose the zip file you just downloaded,and if the library install correct, you will see Library added to your libraries in the notice window. Which means the library is installed successfully.

Demo: Running Lights
The following sample program is used to achieve the effect of running lights, where the lamp beads will be lit sequentially one by one. This program is compatible with all XIAO.
#include <Adafruit_NeoPixel.h>
#ifdef __AVR__
 #include <avr/power.h> // Required for 16 MHz Adafruit Trinket
#endif

// Which pin on the Arduino is connected to the NeoPixels?
#define PIN        A0 // On Trinket or Gemma, suggest changing this to 1

// How many NeoPixels are attached to the Arduino?
#define NUMPIXELS 60 // Popular NeoPixel ring size

// When setting up the NeoPixel library, we tell it how many pixels,
// and which pin to use to send signals. Note that for older NeoPixel
// strips you might need to change the third parameter -- see the
// strandtest example for more information on possible values.
Adafruit_NeoPixel pixels(NUMPIXELS, PIN, NEO_GRB + NEO_KHZ800);

#define DELAYVAL 500 // Time (in milliseconds) to pause between pixels

void setup() {
  // These lines are specifically to support the Adafruit Trinket 5V 16 MHz.
  // Any other board, you can remove this part (but no harm leaving it):
#if defined(__AVR_ATtiny85__) && (F_CPU == 16000000)
  clock_prescale_set(clock_div_1);
#endif
  // END of Trinket-specific code.

  pixels.begin(); // INITIALIZE NeoPixel strip object (REQUIRED)
}

void loop() {
  pixels.clear(); // Set all pixel colors to 'off'

  // The first NeoPixel in a strand is #0, second is 1, all the way up
  // to the count of pixels minus one.
  for(int i=0; i<NUMPIXELS; i++) { // For each pixel...

    // pixels.Color() takes RGB values, from 0,0,0 up to 255,255,255
    // Here we're using a moderately bright green color:
    pixels.setPixelColor(i, pixels.Color(0, 10, 0));

    pixels.show();   // Send the updated pixel colors to the hardware.

    delay(DELAYVAL); // Pause before next pass through loop
  }
}
Upload the program and if all goes well, you can see the light beads light up one by one.
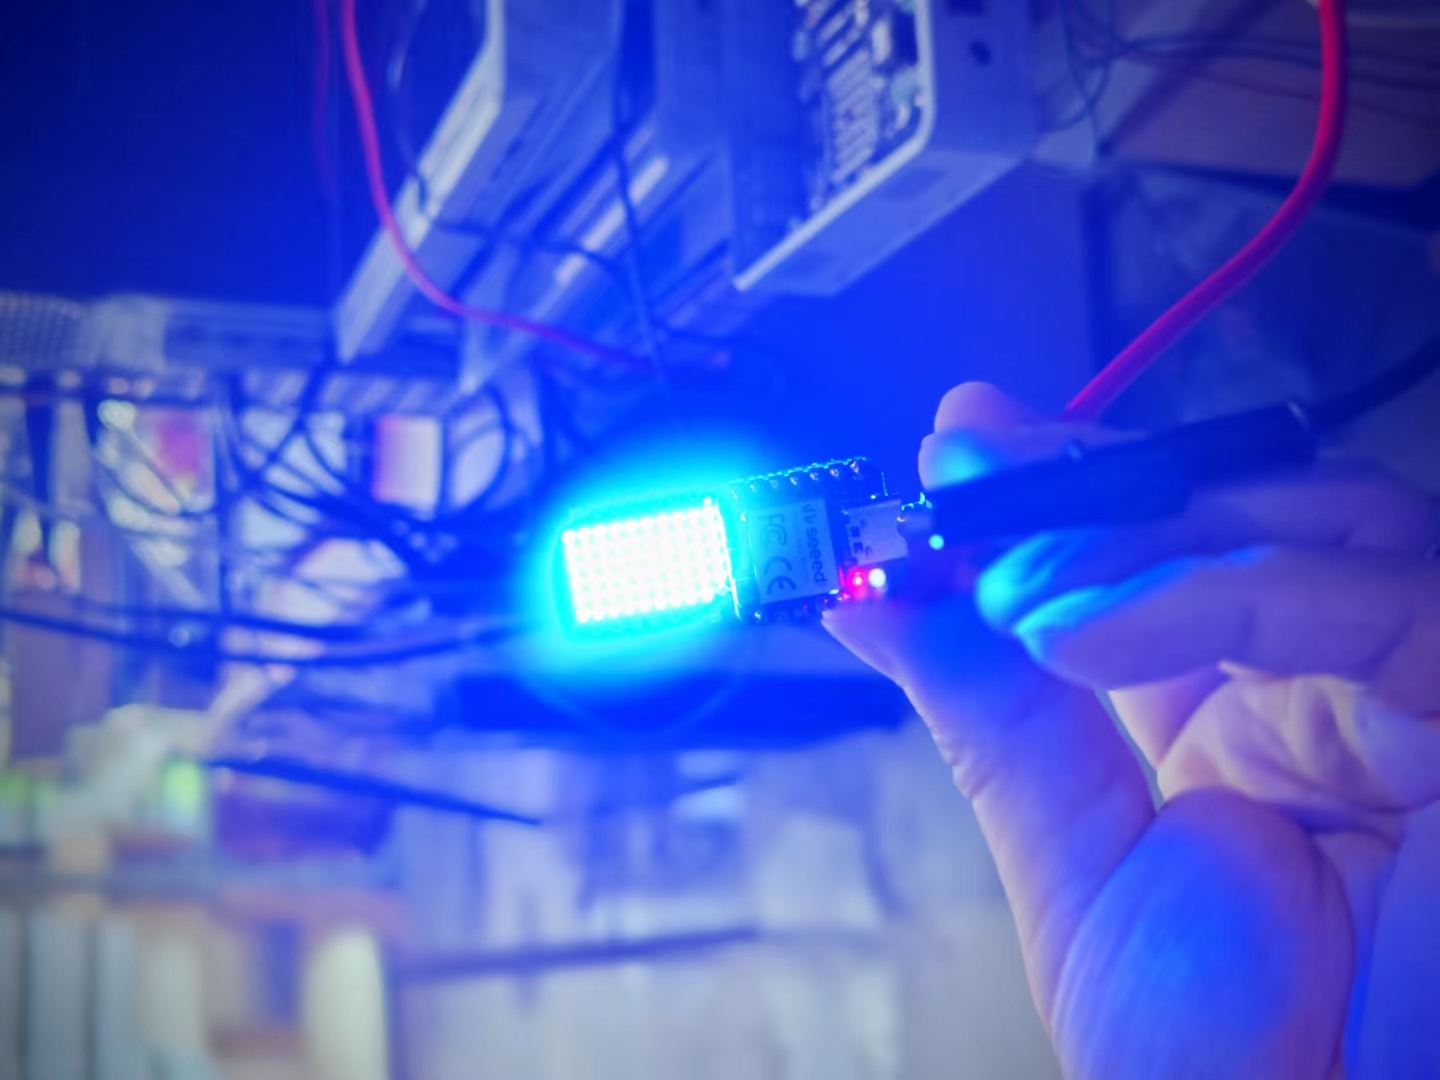
This program specially reduces the brightness of the lamp beads, if the brightness is pulled to the maximum, looking directly at the lamp beads for a long time may cause damage to your eyes.
Multiple light boards splicing
RGB MATRIX for XIAO supports multiple splice extensions with guaranteed power supply. You can splice multiple light boards in sequence as instructed in the figure below.
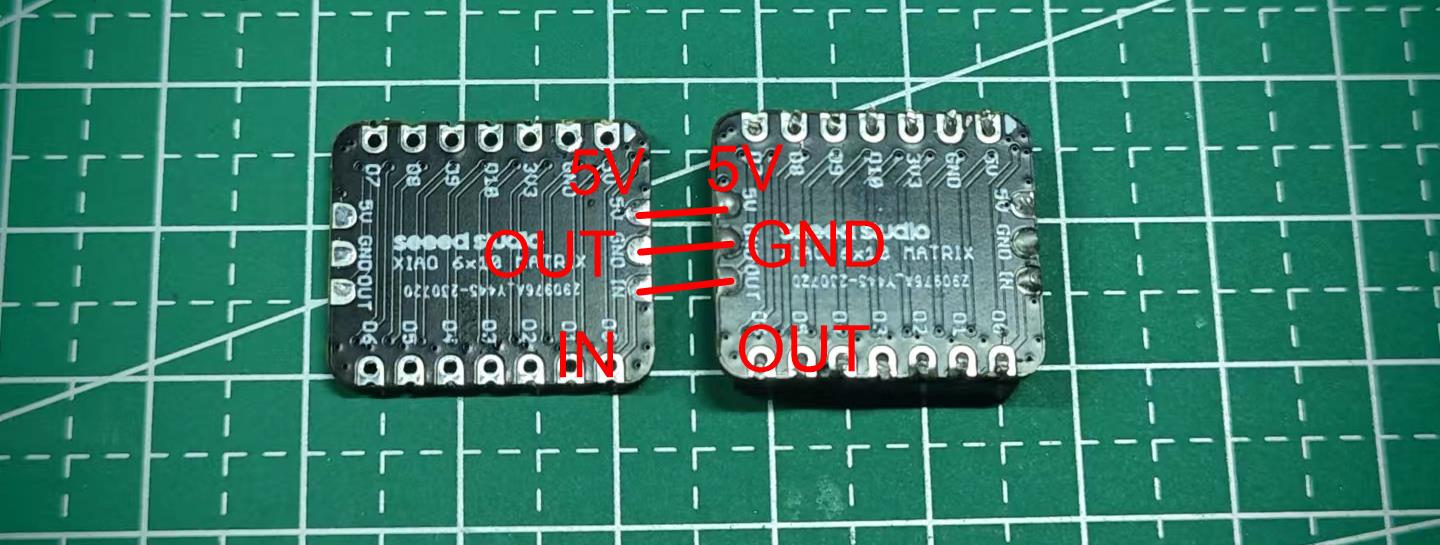
When multiple light panels are spliced together, they may become hot and under-powered. At this time, the light boards may display abnormally, at this time, please supply additional power to the light boards to ensure that each light board can have a stable 5V input.
Resources
- [ZIP] PCB&SCH Eagle file
- [PDF] Datasheet - WS2812B
Tech Support & Product Discussion
Thank you for choosing our products! We are here to provide you with different support to ensure that your experience with our products is as smooth as possible. We offer several communication channels to cater to different preferences and needs.